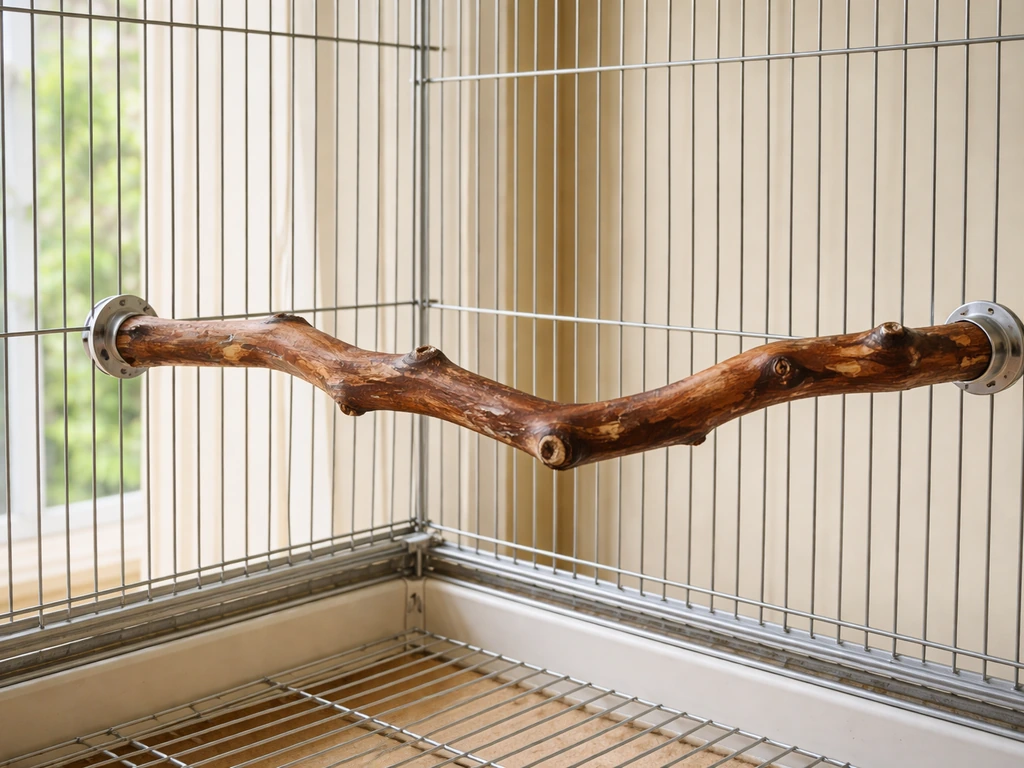
You can make a manzanita bird perch with a branch, a drill, a couple of hardware-store bolts or zip ties, and about an hour of your time. Cut the branch to fit your cage or aviary, inspect and clean it thoroughly, drill a pilot hole through the base, bolt or tie it in place, and you're done. Manzanita is one of the best natural perch materials you can use because it's hard, non-toxic, and naturally textured in ways that keep birds comfortable and entertained for years.
How to Make Manzanita Bird Perches: DIY Step by Step

Marcus Thornton
28 May 2026
What manzanita perches are and why birds love them
Manzanita is a shrubby hardwood native to the western United States. The branches are dense, gnarled, and twisted in ways that vary naturally along their length, which means a single branch gives a bird multiple diameters to stand on throughout the day. That variety matters a lot. In the wild, birds move between branches of different thicknesses constantly, and that movement exercises the tendons and muscles in their feet. A single uniform-diameter dowel perch does none of that. Manzanita's irregular texture also gives birds genuine grip, especially in humid environments where smooth wood gets slippery.
The wood is confirmed safe for birds by multiple avian organizations and rescue groups, including Northwest Parrot Rescue and Parrots for Patriots, both of which include manzanita on their safe-wood lists. It's also genuinely hard, which means it resists chewing better than softer woods and holds up to the repeated wet-dry cycle of cleaning. Commercially made manzanita perches are sold widely, but buying raw branches and building your own lets you size them exactly to your cage, choose the right fork angles, and save real money, especially if you're outfitting a larger aviary.
Beyond the physical benefits, manzanita branches work as enrichment. The irregular shape encourages birds to shift their footing, explore the surface, and sometimes shred loose bark. That kind of low-level mental engagement is good for birds that spend a lot of time in a cage or enclosed aviary space.
Choosing and preparing manzanita wood safely
Where to source manzanita
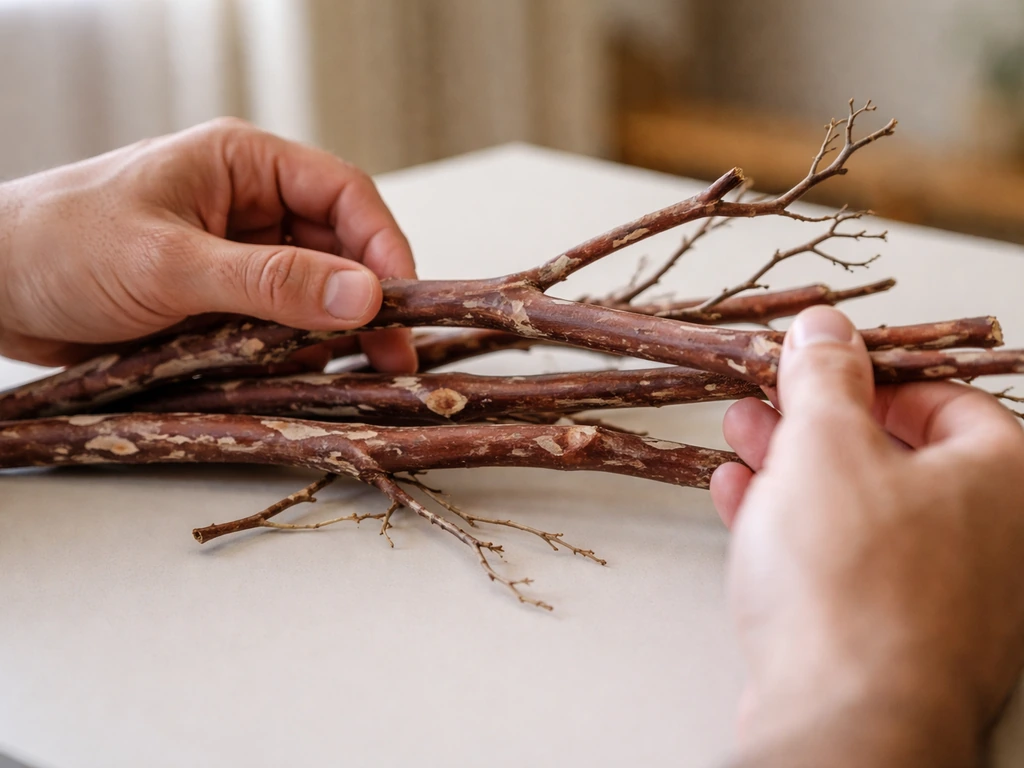
You can buy raw manzanita branches from bird supply retailers, specialty wood sellers online, or sometimes landscape suppliers. If you're collecting from the wild or your own property, make sure you're identifying the plant correctly. Manzanita (Arctostaphylos species) has smooth, reddish-brown bark and hard, dense wood. Never collect branches from roadsides or areas that might have been sprayed with pesticides or herbicides. PEAC explicitly warns that pesticides can penetrate wood through the bark, so location matters. Avoid anything near agricultural fields, golf courses, or treated landscaping.
Inspection checklist before you bring it inside
Before any branch goes near your bird, go through this inspection. It takes five minutes and prevents a lot of problems later.
- Check for mold or soft spots: press firmly along the branch. Any give or discoloration means rot inside. Discard it.
- Look for insect galleries: small round holes, fine powdery dust, or tunnels under loose bark indicate wood-boring beetles or other pests. Discard or bake (see below).
- Smell it: a musty, earthy, or chemical smell is a red flag. Fresh manzanita should smell neutral to mildly woody.
- Check for sharp edges: snap points from pruning, splintered ends, or jagged bark edges need to be sanded smooth before the branch goes in the cage.
- Confirm it hasn't been treated: never use wood from lumber yards unless it's explicitly labeled untreated and species-verified. Pressure-treated wood contains compounds that are toxic to birds.
Cleaning and sterilizing the wood
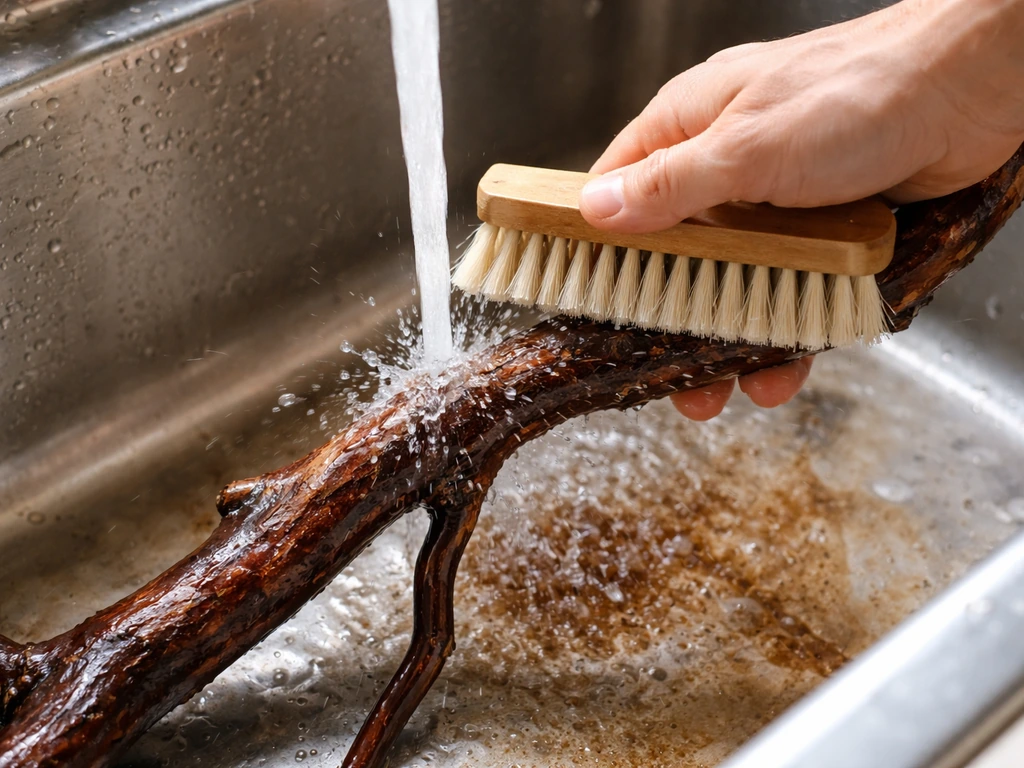
Scrub the branch thoroughly with a stiff brush under hot water first to remove surface dirt, loose bark, and debris. Then you have two solid options for sterilization. The first is baking: place the branch in an oven at 200 to 250 degrees Fahrenheit for one to two hours. This kills mites, eggs, and most pathogens without chemicals.
Let it cool completely before handling. Check it during baking because very dry branches can occasionally crack, and if you smell anything scorching, pull it out early. The second option is a diluted bleach soak: mix one ounce of unscented bleach per quart of water, scrub the branch, let it sit for 15 to 20 minutes, then rinse extremely thoroughly and let it dry completely in the sun or a warm room for at least 24 hours.
Both methods work well. I usually bake smaller pieces and use the bleach soak on large branches that won't fit in the oven.
Step-by-step build plans for different setups
Option 1: Single cage perch (most common)
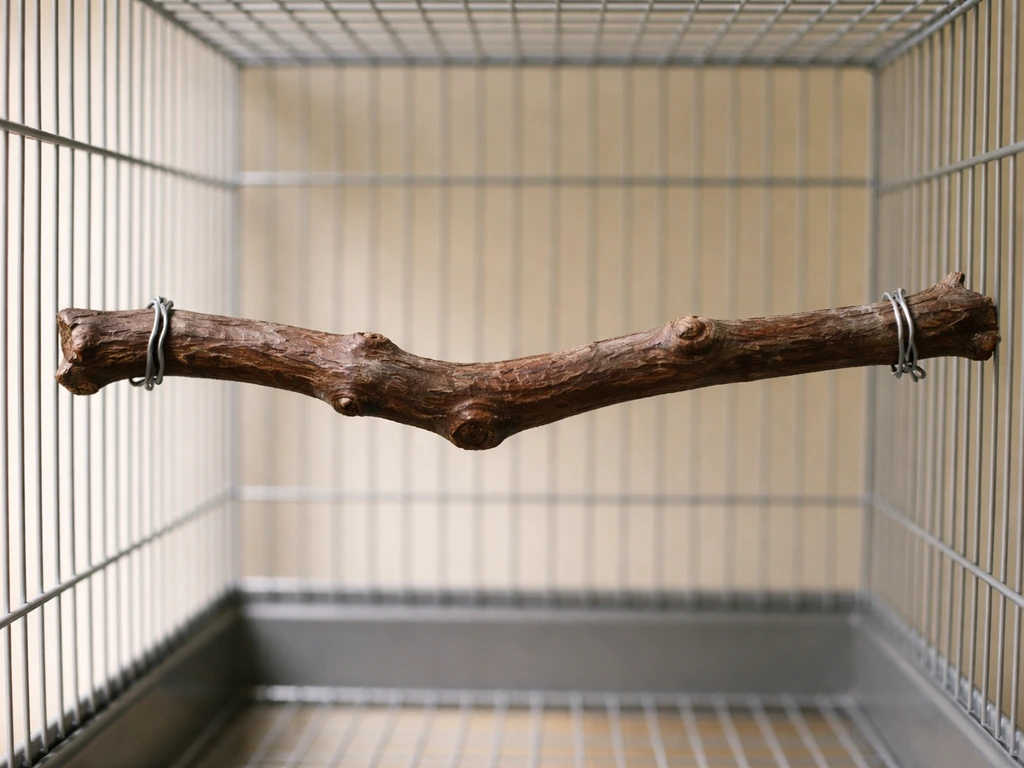
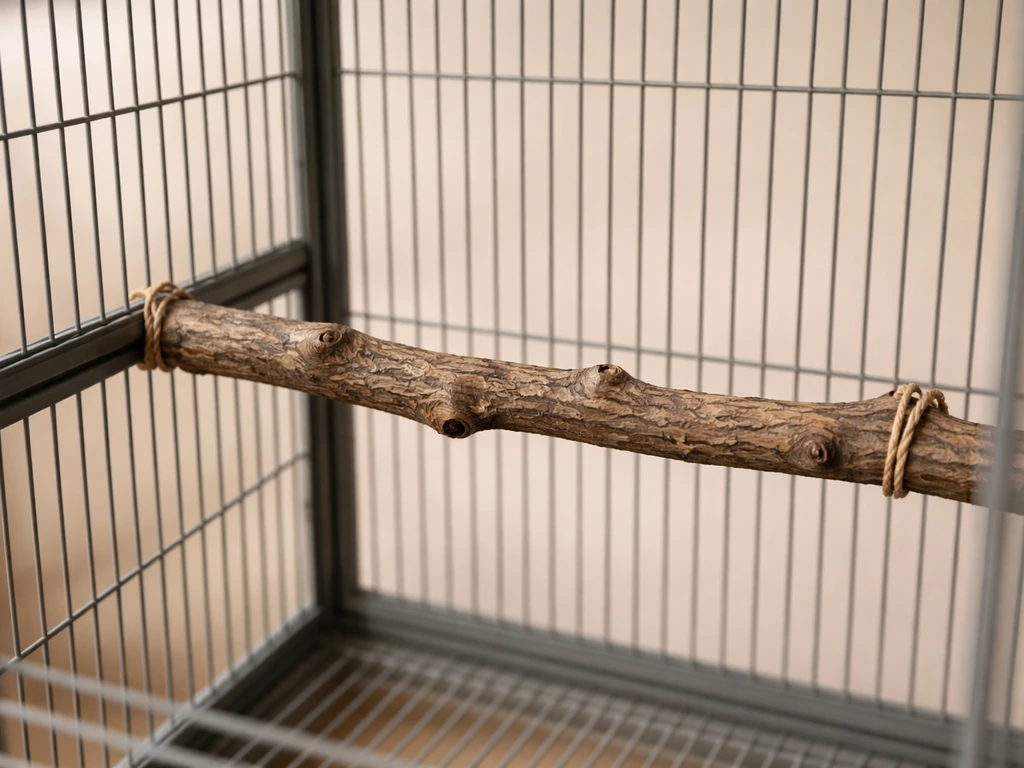
This is the basic build and a great place to start. You're mounting one manzanita branch horizontally across the interior of a cage, secured at both ends to the cage bars. Once you’re comfortable mounting a perch, you can use the same DIY thinking to plan and build a bird climbing net for extra enrichment build your own.
- Measure the interior width of your cage and cut your branch to that length, plus about half an inch on each side to create a ledge that rests against the bars.
- Sand both cut ends smooth. If there's bark on the ends that will contact metal hardware, peel it back slightly so the connection is wood-to-metal, not bark-to-metal, which is more stable.
- Drill a pilot hole through each end of the branch, sized to match your bolt or perch bolt hardware. A 3/16-inch pilot hole works for most standard cage perch bolts. Drilling the pilot hole is non-negotiable: manzanita is hard and will split if you skip this step.
- Thread a stainless steel or zinc-free bolt through the cage bar hole (or use a commercial perch bolt with a wing nut) and through the pilot hole in the branch end. Tighten by hand until snug, then a quarter turn more with pliers. Don't overtighten or you'll compress and crack the wood.
- Repeat on the opposite end. Wobble test it: grab the branch and try to rotate or pull it. If it moves, tighten incrementally until it's firm.
Option 2: Multi-perch or ladder setup
If you're building a stand-alone perch tree or a ladder-style multi-level setup for a larger cage or aviary, the approach is similar but you're connecting multiple branches to a central vertical support or base. Choose a thicker manzanita branch (1. 5 to 2 inches in diameter) as the vertical spine and attach shorter horizontal branches at different heights and angles using wood screws, lag bolts, or heavy-gauge wire wraps. Drill pilot holes for every fastener.
If you're going the wire-wrap route, use stainless steel or bird-safe coated wire and wrap tightly at the junction, folding the ends down flat so there are no exposed sharp points. A freestanding perch tree needs a weighted base: bolt the spine to a piece of thick hardwood or use a weighted ceramic pot filled with non-toxic gravel or sand. The base should be wide enough that the structure doesn't tip when the bird lands on the outermost branch.
Option 3: Forked branch perch (easiest for beginners)
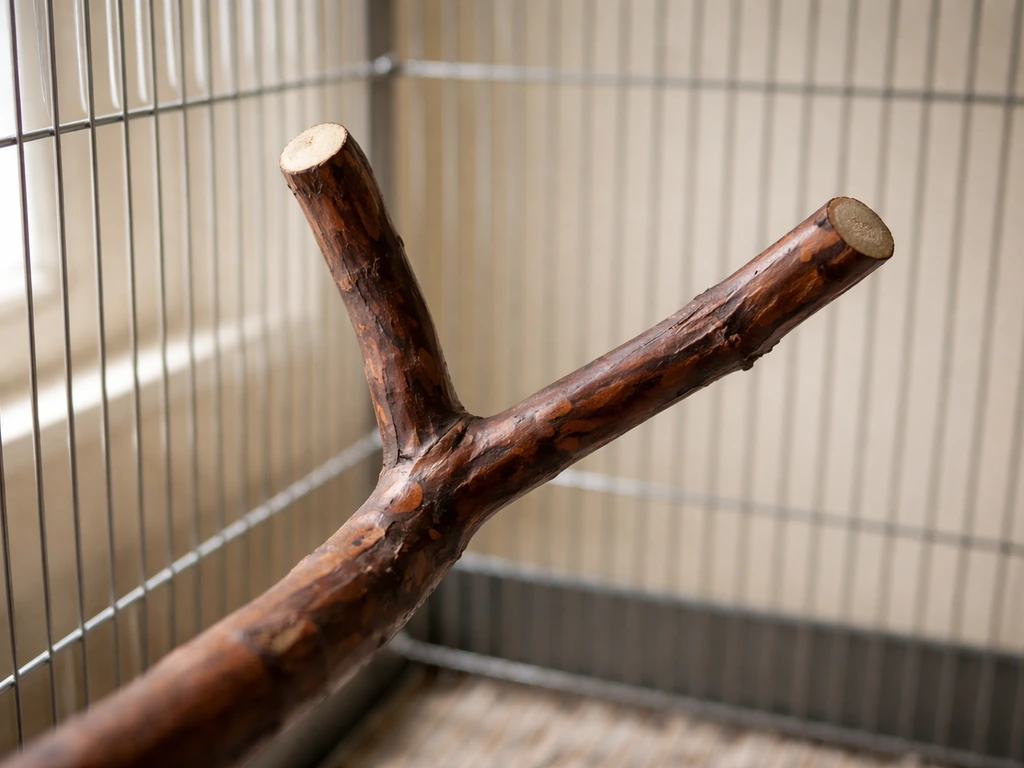
If you find a naturally forked manzanita branch, that Y-shape gives you a built-in perch structure with almost no cutting or drilling. Trim the two upper arms to useful lengths, sand all cut ends, clean and bake the whole piece, then mount the base to a weighted stand or clip it to cage bars using large stainless steel carabiners or adjustable perch clamps available at most bird supply stores. You can use these manzanita techniques to build a bird shower perch that’s secure, textured, and easy to clean. This is genuinely one of the most enriching perch shapes you can offer because the fork creates two perching zones at slightly different angles and heights.
Sizing, spacing, and placement that actually works
Getting the diameter right for your bird
The rule of thumb that works consistently is the three-quarters wrap: when your bird stands on the perch, its toes should wrap about three-quarters of the way around. If the toes overlap all the way around, the perch is too small. If the toes barely curl at all, it's too large. The manzanita branch's natural taper usually gives you multiple spots along its length where the diameter is right, which is part of what makes it better than a uniform dowel. The table below gives starting-point diameter ranges for common bird sizes.
| Bird Type | Recommended Perch Diameter | Notes |
|---|---|---|
| Finches, canaries | 3/8 to 1/2 inch | Thin branches; avoid anything that forces toes to fully straighten |
| Budgies, lovebirds | 1/2 to 3/4 inch | Good match for smaller manzanita side branches |
| Cockatiels, conures | 3/4 to 1 inch | Mid-range manzanita branch diameter works well here |
| African greys, Amazons | 1 to 1.5 inches | Use the main trunk-like sections of larger branches |
| Macaws, cockatoos | 1.5 to 2+ inches | Need thick manzanita branches; verify weight support |
Placement and spacing inside a cage or aviary
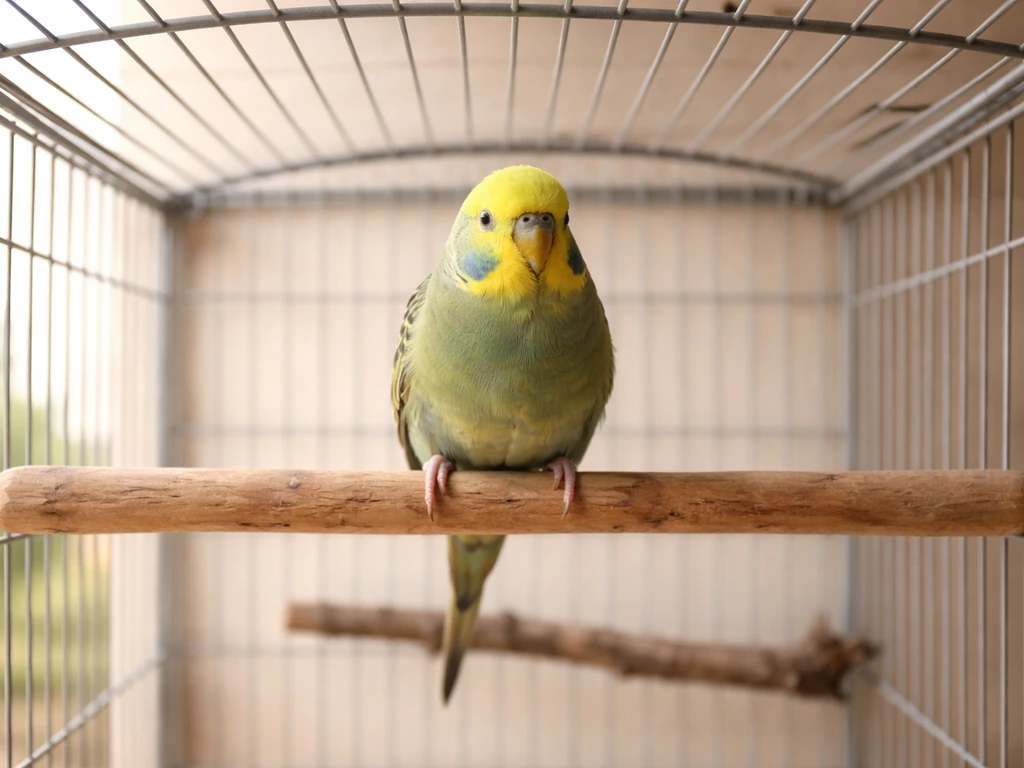
Height matters more than most people realize. The highest perch in the cage should be your bird's primary resting spot, positioned so the bird's head doesn't hit the cage ceiling when it sits upright. Place perches at different heights so the bird has to move between them. Don't line them up vertically over each other: droppings fall straight down, and a perch directly below another will get fouled constantly, which is both unsanitary and unpleasant for the bird.
Offset them horizontally by at least a few inches. Keep perches away from food and water dishes by 6 to 8 inches minimum, and don't position any perch so the bird is sitting directly over a food bowl. Use two or three perches of different diameters rather than stacking four identical ones: the variety is the point.
Finishing choices, maintenance, and cleaning
To sand or not to sand
Leave the bark on wherever it's firmly attached. Natural bark gives birds grip and something to explore with their beaks. Sand only the cut ends to remove splinters, and lightly sand any sharp protrusions or cracked spots along the branch surface. Do not coat the wood with varnish, stain, sealant, or any finish. Manzanita's natural hardness means it doesn't need protection, and any coating introduces chemicals that will end up in your bird's system. Skip it entirely.
Day-to-day cleaning routine
Wipe down perches daily with a damp cloth or paper towel to remove droppings before they dry and harden. Once a week, do a thorough scrub with a stiff brush and one of two safe cleaning solutions: diluted white vinegar (one part vinegar to two parts water) or a bird-safe disinfectant like Virkon S mixed to the manufacturer's recommended dilution. Both options are used and recommended by avian care sources.
After cleaning with any product, rinse with clean water and let the perch dry completely before putting it back in the cage. Wet wood left in place can develop mold, which is exactly what you were trying to avoid in the first place. If you have a second set of perches ready, rotate them so one set is always drying while the other is in use. That simple swap makes weekly cleaning actually happen instead of getting skipped.
How often to replace perches
Manzanita is hard enough that a well-maintained perch can last several years even with a heavy-chewing bird. Replace a perch when you see deep cracks that trap debris and can't be cleaned, when the wood feels soft or spongy anywhere, or when fastener holes have widened enough that the perch wobbles despite tightening. Some surface scoring from beak use is totally normal and not a reason to replace.
Common problems and how to fix them
Splitting along the grain
Manzanita that was dried too quickly or collected too green will sometimes split as it continues to dry after installation. Small surface cracks are usually cosmetic and not a problem. A crack that runs from the bolt hole along the length of the branch is more serious because it weakens the mount point. If you catch it early, you can drill a new pilot hole a few inches to one side of the crack and re-mount. If the crack is severe, replace the branch. Going forward, let freshly collected branches dry slowly in a shaded, ventilated spot for several weeks before baking and using them. Baking very green wood too fast is the number-one cause of splitting.
Wobble and loose hardware
Perches loosen over time as wood compresses slightly around the bolt. The fix is usually just re-tightening, but if the bolt hole has widened, you need a different approach. Fill the hole with a small wood plug (a piece of toothpick and wood glue works in a pinch), let it dry completely, then re-drill your pilot hole through the fill. Newport Fasteners and basic carpentry guidance both confirm this is the standard fix for oversized pilot holes in wood. If the cage bar hole is the loose point, add a rubber washer between the bolt head and the bar to add friction.
Slippery surfaces
If a section of bark has worn smooth and the bird is slipping, don't reach for sandpaper perch covers or abrasive wraps. Those cause painful abrasions on bird feet. Instead, use a coarse file or rough sandpaper to roughen just the smooth spot slightly, creating texture without sharpness. Avoid going so aggressive that you create splinters.
Pest infestation
If you notice fine sawdust appearing under the perch or tiny exit holes in the wood after installation, you have a wood-boring beetle that survived your initial treatment. Remove the perch immediately. Bake it again at 250 degrees Fahrenheit for two to three hours if the branch is otherwise in good shape, or discard it if the damage is extensive. Re-inspect your wood storage area for other affected pieces. Next time, be more thorough during the initial inspection before baking.
Tools, materials list, and quick-start checklist
What you need
| Item | Purpose | Budget Alternative |
|---|---|---|
| Manzanita branch(es) | The perch itself | Source raw from wild/landscaping if pesticide-free area confirmed |
| Hand saw or pruning saw | Cutting branch to length | Sturdy pruning shears for smaller branches |
| Electric drill with 3/16" and 1/4" bits | Drilling pilot holes | Hand drill works for softer/smaller pieces |
| Stainless steel perch bolts with wing nuts | Cage bar attachment | Stainless steel machine bolts and washers from hardware store |
| Heavy-gauge stainless steel wire | Alternative branch-to-branch attachment | Zip ties (check for bird-safe, no sharp ends) |
| 80-grit and 120-grit sandpaper | Smoothing cut ends and rough spots | Coarse file or rough stone |
| Stiff scrub brush | Cleaning the branch | Old toothbrush for tight spots |
| White vinegar or bird-safe disinfectant | Sterilizing and routine cleaning | Diluted unscented bleach (rinse very thoroughly) |
| Oven (for baking) | Sterilizing the wood | Extended sun-drying plus thorough bleach soak if no oven |
Quick-start checklist to get your first perch done today
- Source a manzanita branch: confirmed non-toxic location, no chemical treatment, pesticide-free area.
- Inspect for rot, pests, sharp edges, and chemical smell. Discard any branch that fails.
- Scrub with hot water and a stiff brush.
- Bake at 200 to 250 degrees Fahrenheit for one to two hours, or soak in diluted bleach for 20 minutes and rinse thoroughly.
- Let the branch dry completely (minimum 24 hours after any liquid treatment).
- Measure your cage interior and cut the branch to length with a saw.
- Sand all cut ends smooth. Address any sharp protrusions along the surface.
- Drill pilot holes at the mounting points (both ends for a horizontal cage perch).
- Attach to cage bars using stainless steel perch bolts and wing nuts. Tighten until firm.
- Wobble test before introducing your bird. Re-tighten if needed.
- Place the perch at the correct height, offset from other perches, away from food and water dishes.
- Begin daily wipe-downs and schedule weekly deep cleaning from day one.
If you want to expand from here, the same principles apply to more elaborate builds. A multi-branch ladder setup follows the same pilot-hole-and-bolt logic but stacks branches at different heights. A freestanding perch tree just needs a weighted base to stay stable. And once you're comfortable working with manzanita, you can apply many of the same techniques to other bird-safe branch types, which opens up a lot of options for keeping your setup varied and interesting for your birds.
FAQ
Can I store a manzanita branch for a while before I disinfect it and build the perch?
Yes, but only if you remove all residue first. For storage, keep manzanita dry and sealed away from pests, then re-clean (brush under hot water) and fully re-dry before you bake or use the bleach soak. If it smells sour, has visible mold, or feels damp inside the crevices, do not put it in the cage.
What should I do if my bolted manzanita perch wobbles after installation?
If the perch can move, tighten and re-check immediately, then again after 24 to 48 hours. Wood compresses around hardware, so wobble can start even if it felt solid at first. If wobble persists after re-tightening, the pilot hole is likely oversized, and you should use the wood-plug-and-re-drill approach rather than using bigger bolts or forcing the fit.
How do I choose the right bolt size and placement so I do not crack the manzanita?
Match the fastener size to the branch thickness and do not use tiny hardware just to make it “fit.” Drill pilot holes for each fastener, and ensure the bolt has enough material to bite without cracking the wood, especially near any natural twists. A good rule is that you should be able to tighten firmly without the branch creaking or moving.
How can I tell if the perch is level and secure enough before letting my bird use it?
Use a straightedge and visual checks. The perch should be level enough that your bird can stand comfortably without one side dropping, and the ends should be secured so the branch cannot rotate. When you test, apply gentle downward and sideways pressure with your hands, then check for any rocking at the mount points before the bird uses it.
Should I remove the bark from manzanita, or can I leave it on?
Leave bark where it is firmly attached, but do not ignore loose bark that flakes off onto the cage floor. You can gently remove any bark that is already detaching and then lightly sand or file any rough edge left behind. Avoid removing all bark, since natural texture improves grip and exploration.
How do I decide whether a crack is cosmetic or a safety problem?
If you see a crack that starts near the bolt hole and runs along the length, treat it as structural, not cosmetic. In that case, replace the branch if the crack is significant, or re-mount using a new pilot hole a few inches away only if the branch is otherwise sound and the crack does not continue to grow when handled.
My bird is slipping on one worn spot, what is the safest way to fix it?
If only a small area of bark has worn smooth, do not cover it with abrasive materials. Instead, roughen that smooth section with a coarse file or lightly rough sand, then wipe off dust and let it fully dry. This restores texture without creating sharp, abrasive edges that can injure feet.
Do I need to rinse after using vinegar or Virkon S, and how dry is dry enough?
If you are using a disinfectant, rinse very thoroughly and let it dry completely before returning it to the cage. Vinegar solutions should be followed by a water rinse, and product-based disinfectants require drying per the product direction. Never rely on “surface dry” alone, trapped moisture can lead to mold.
How should I place perches if my cage layout makes it hard to keep them away from food and water?
Keep perches away from high-spill areas. Position them so urine and droppings do not land directly on food or water, and avoid placing perches directly over bowls or right against the dish area. If your cage layout forces it, use a drip guard or relocate the perch rather than adding “covers” that can be abrasive.
What signs mean I might have wood-boring insects even after I bake or bleach the perch?
Look for tunneling damage (tiny exit holes), fresh sawdust, and any new softness around damaged areas. Remove the perch as soon as you suspect beetles, re-bake if the wood looks otherwise intact, and inspect nearby stored wood too. Do not try to “patch” insect holes with fillers, since the internal damage can remain hidden.
Can I use the same manzanita perch build method for different bird sizes and species?
Use manzanita for different species only when the species can safely grip it. For very small birds, confirm the diameter lets toes wrap about three-quarters of the way around, not fully around and not barely curled. For larger, heavy-chewing birds, prioritize thicker branches and replace early if fastener holes widen or the wood starts to feel spongy.
What extra safety checks should I do when building a freestanding manzanita perch tree?
Yes, but treat it like the same mount-point safety problem. For a perch tree, the weighted base must be wide enough that the structure does not tip when the bird lands at the outer branches. Use a thicker spine, drill pilot holes for every attachment, and make sure wire-wrapped junctions have no exposed sharp ends.
Next Articles
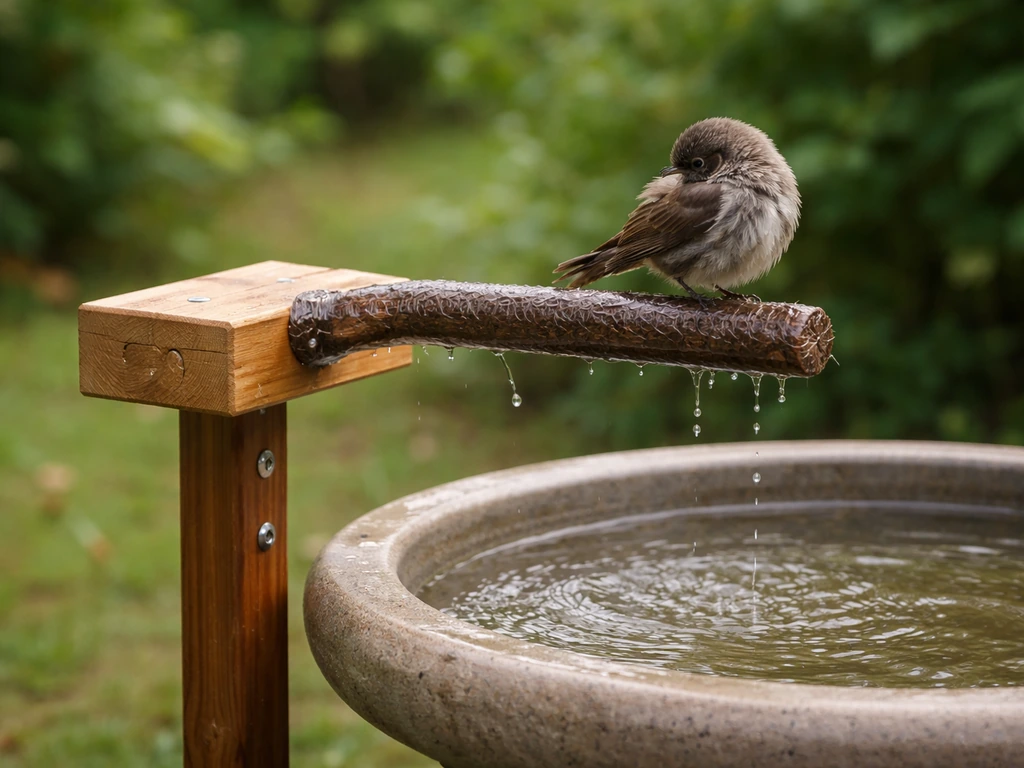
How to Make a Bird Shower Perch: DIY Step-by-Step
Build a safe, water-resistant bird shower perch with step-by-step DIY plans, materials, mounting options, and bird-safe
How to Make Bird Perches Out of Branches Step by Step
Step-by-step guide to craft safe bird perches from branches: picking wood, sizing, cleaning, mounting, and troubleshooti
How to Make a Bird Ladder: Wooden DIY Step by Step
Step-by-step plan to build a safe wooden bird ladder, with sizing, spacing, tools, anchoring, and bird-safe finishing.