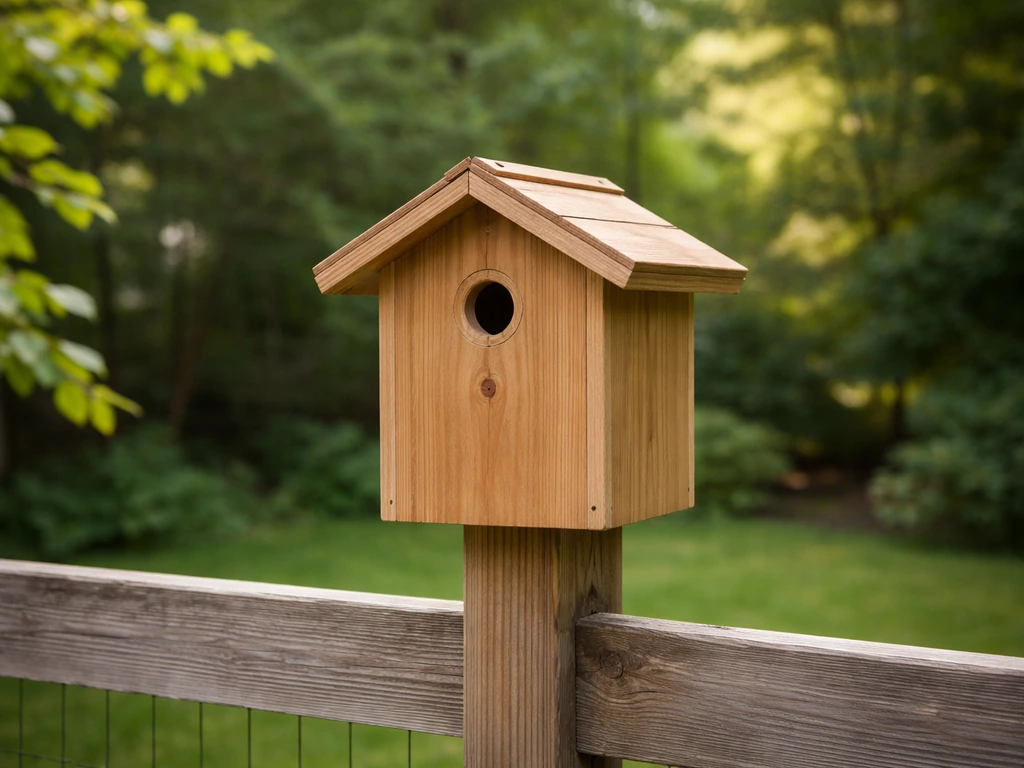
Yes, you can absolutely build a wren bird house today, and it will take you a couple of hours at most. A wren nest box is one of the most forgiving DIY bird projects out there: small footprint, simple cuts, no fancy joinery. What matters most is getting the entry hole diameter right, nailing the interior dimensions, and mounting it in a spot wrens actually want to use. Get those three things right and wrens will find it.
How to Build a Wren Bird House Step by Step

Marcus Thornton
3 Apr 2026
Wren basics to choose the right house design

Before you cut a single board, it helps to know which wren you're building for, because the two most common backyard species have slightly different requirements. House wrens (Troglodytes aedon) are found across most of North America and are aggressive little cavity nesters that will patrol a whole yard. Carolina wrens (Thryothorus ludovicianus) are chunkier, louder, and prefer thicker cover in the eastern and southeastern U.S. Both will use a simple wooden nest box, but the Carolina wren needs a slightly larger floor space.
For a house wren, the California Bluebird Recovery Program recommends an entrance hole of exactly 1 inch in diameter and a mounting height of around 6 feet. For a Carolina wren, NestWatch lists a 1 1/2-inch round hole (or a 2 1/2" x 5" slot opening) and a mounting height of 3 to 6 feet, in habitat described as forests, thick underbrush, edges, and suburban backyards near trees or tall shrubs.
The Carolina Fence Garden Handbook specifies the interior floor at 4" x 4", interior height (floor to ceiling) at 8 inches, and the entrance hole centered 6 inches above the floor. Texas Parks and Wildlife notes the top of the hole can sit as high as 8.
75 inches above the floor on slightly taller boxes. Those are the numbers this guide is built around, with notes wherever house wren dimensions differ.
The distinction matters if you live in the Southeast and want Carolina wrens specifically. If you're in the Midwest, West, or Northeast and mostly see house wrens, drop the hole down to 1 inch and you'll actually exclude starlings and house sparrows more effectively, which is always a win. If you want to build a box specifically tuned for Carolina wren nest box design, I'd recommend going that route with dedicated plans for that species.
Materials and tools list
The whole box can be built from a single 1x6 cedar or pine board, 5 feet long. Cedar is my first choice because it naturally resists rot and doesn't need exterior finishing to last a decade. Rough-cut cedar is even better because the textured inner surface gives nestlings something to grip when they're ready to fledge. If you're working with what you have in the garage, untreated pine works fine. Just avoid pressure-treated lumber, plywood with interior glues, or MDF: those materials off-gas chemicals that aren't safe inside a nest cavity.
- 1x6 cedar or untreated pine board, 5 feet long (or equivalent scrap pieces)
- 1 1/2" exterior screws (about 20) or galvanized nails
- One 1 1/2" Forstner bit or spade bit for the entry hole (house wren: 1" bit)
- Waterproof exterior wood glue (optional but adds durability at joints)
- Small hinge or piano hinge for the cleanout door (or use a pivot-nail system)
- One screw eye or mounting bracket for hanging/pole attachment
- Drill, drill bits, and a countersink bit
- Hand saw or miter saw
- Tape measure, pencil, and square
- Sandpaper (80-grit for rough edges only; keep the interior rough)
One tool note: the USDA Forest Service specifically mentions using a high-speed 1 1/2-inch-diameter wood bit or hole cutter for the entry hole. A Forstner bit gives the cleanest cut and is worth borrowing from a neighbor or renting if you don't own one. A spade bit works, just go slow and back the cut from the other side to avoid tearout. You don't want rough splinters around the entry hole edge.
Step-by-step build: cut list and assembly
The cut list
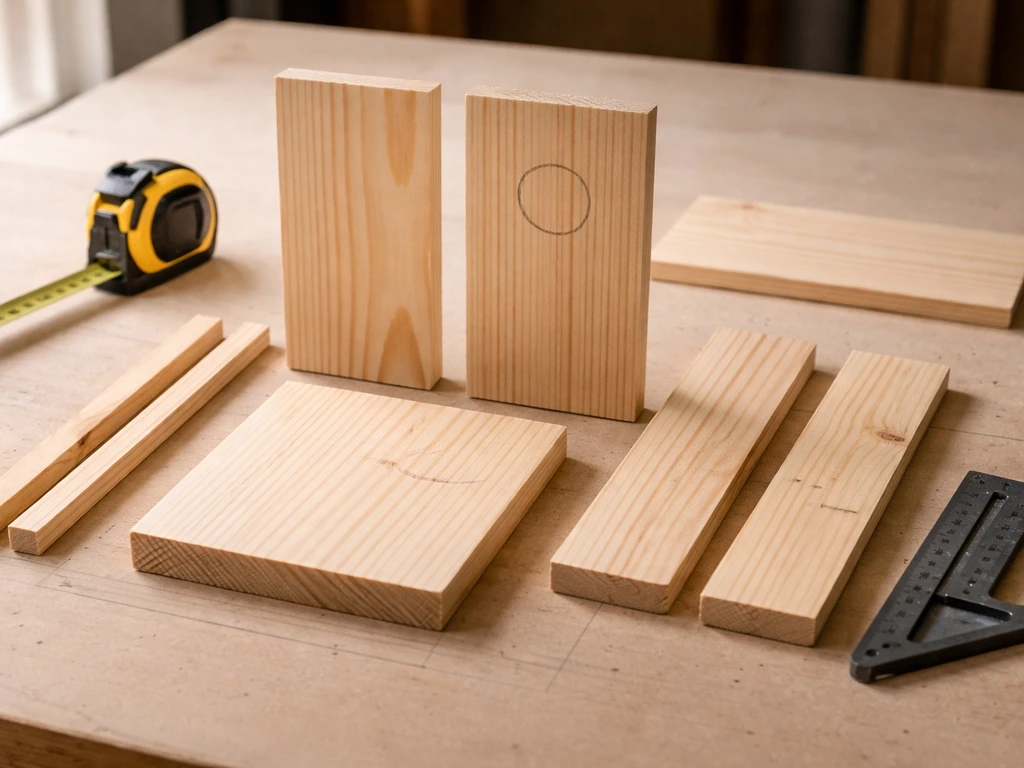
| Piece | Dimensions (nominal 1x6 = 3/4" thick) | Notes |
|---|---|---|
| Floor | 4" x 4" | Trim the 1x6 down to 4" wide; bevel or notch corners for drainage |
| Front | 4" wide x 9" tall | Entry hole centered 6" above floor; hole is 1 1/2" diameter |
| Back | 4" wide x 12" tall | Extra height for mounting; drill two pilot holes top and bottom |
| Side panels (x2) | 4 3/4" wide x 9" tall | Slightly wider than front/back to allow roof overhang clearance |
| Roof | 6" wide x 7" long | Overhang protects entry hole and vent gaps from rain |
| Cleanout/side door (option) | Use one side panel as a hinged door instead of a fixed side | Easiest cleanout method for beginners |
These dimensions give you an 8-inch interior height and a 4" x 4" floor, matching the Carolina Fence Garden Handbook spec exactly. The back panel runs long so you have wood above and below the box to attach to a post or tree. If you're building for house wrens, everything stays the same except you swap the 1 1/2" hole bit for a 1" bit.
Assembly order
- Cut all pieces to size. Label them in pencil so you don't mix up front and back.
- Drill the entry hole in the front panel first, before assembly. Clamp the front panel to a scrap board, then drill from the front face through to the scrap to prevent blowout on the back side. The center of the hole sits 6 inches above where the floor will sit (not 6 inches from the top edge of the front panel).
- Notch or bevel the four corners of the floor piece at about 45 degrees, about 1/4 inch deep. This gives water a path out and prevents the floor from sitting in a puddle.
- Attach the floor to the back panel first, using two screws from the back. Keep the floor recessed about 1/4 inch from the bottom edge of the back panel so it's slightly protected.
- Attach the front panel to the floor. Pre-drill countersink holes to avoid splitting the wood.
- Attach the two side panels. If you're making a hinged cleanout door, attach only one side permanently and leave the other to pivot on two screws top and bottom (or add a small hinge and a turn-button latch).
- Set the roof on top with at least a 1-inch overhang past the front face. This protects the entry hole from rain and shields the ventilation gaps. Attach from above with screws into the side panels and back.
- Sand any sharp outer edges lightly. Do not sand or smooth the interior walls: rough texture helps nestlings climb out.
Ventilation and drainage
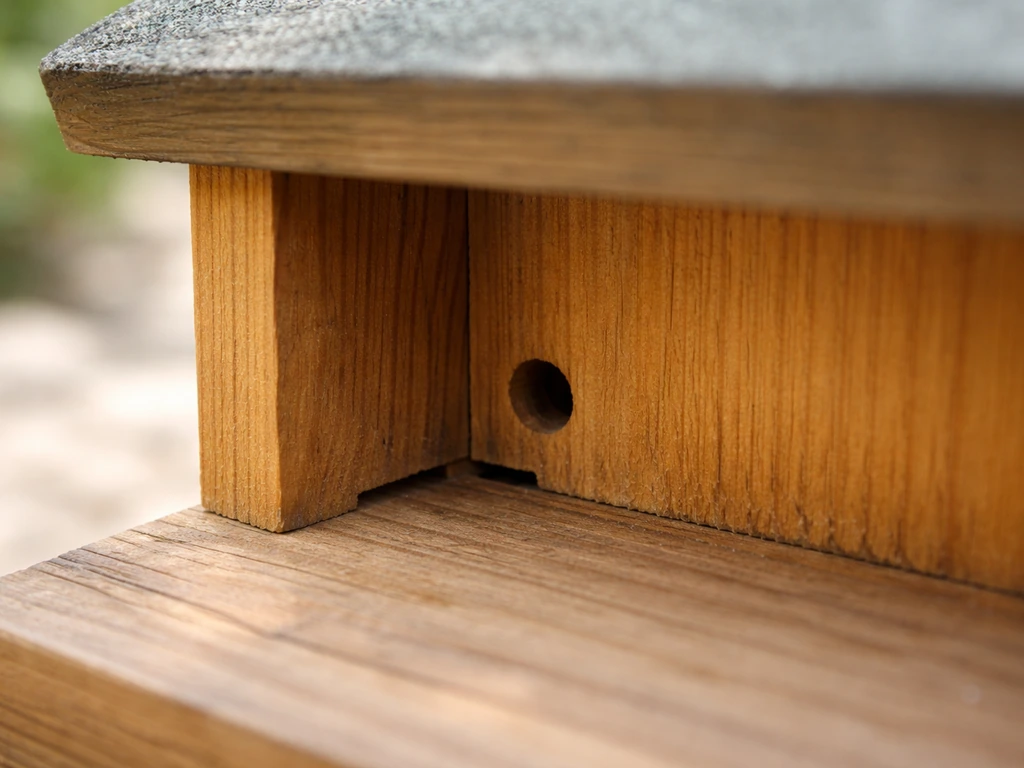
Tennessee's TWRA nest box guidance is specific about this: drill or cut a small drainage and ventilation opening at each floor corner, and make sure the roof overhang extends well past any vent holes on the front or sides. A 1/4-inch hole in each floor corner handles drainage. For ventilation, leave a 1/4-inch gap along the top of each side panel before the roof closes in, or drill two 1/4-inch holes near the top of the side panels. These small gaps regulate heat in summer, which matters a lot: an overheated box can kill nestlings on hot afternoons.
Entry hole sizing, placement on the box, and mounting height
The entry hole is the single most important detail on the whole box. For Carolina wrens, use a 1 1/2-inch round hole. For house wrens, a 1-inch hole is the standard, though Farm Store's 2026 nesting guide notes that 1 1/2 inches is used for house wrens in western populations. If you're unsure which species you have, err toward the smaller hole: it excludes more competition. The hole center should sit 6 inches above the floor (bottom of the interior), measured on the inside of the front panel.
Do not add a perch below the entry hole. Wrens don't need one and a perch gives predators and nuisance birds like house sparrows a foothold to harass the occupants. I made that mistake on my first build and watched a house sparrow use it like a launching pad. Removed it and never looked back.
For mounting height, the NestWatch species table lists 3 to 6 feet for Carolina wrens. House wrens are comfortable at 6 feet. I personally mount mine at about 5 feet: it keeps the box accessible for monitoring and cleaning without being so low that cats can reach it from the ground. Mount the box on a smooth metal pole rather than a wooden post if you can: it's much harder for predators to climb. More on that below.
Finishing, predator protection, and making it last
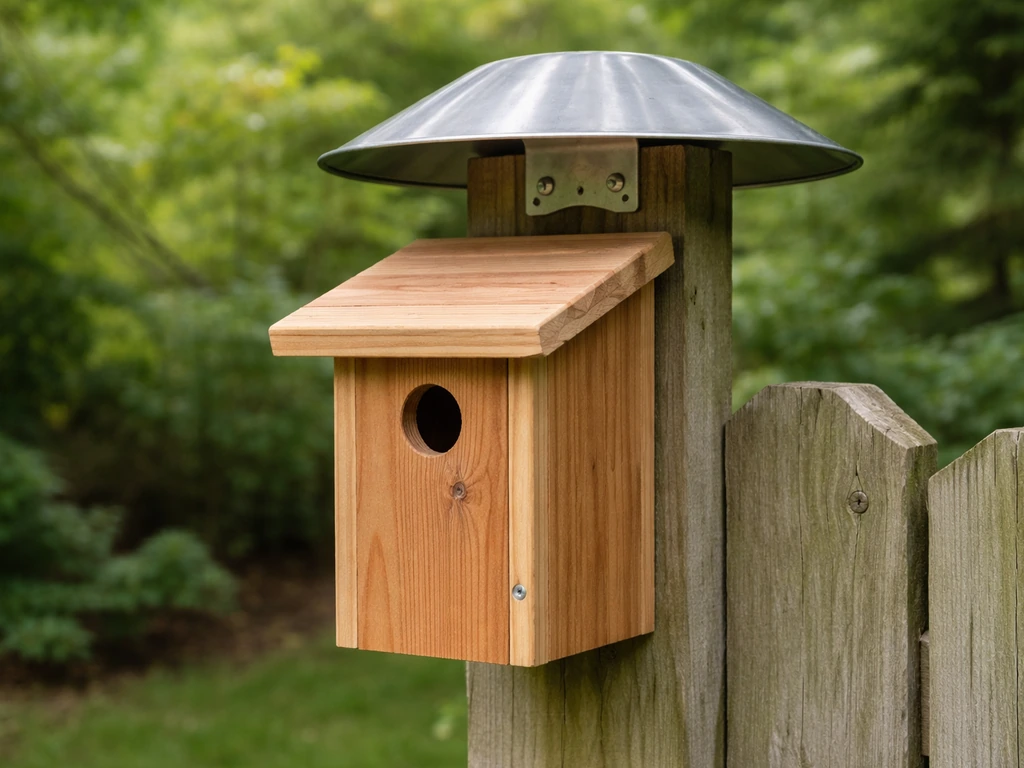
On the exterior, cedar can go bare and will weather gracefully for years. If you want to paint or seal it, use a light exterior-grade finish on the outside surfaces only and let it cure completely before mounting. A water-based exterior polyurethane (like the type used for outdoor wood projects) can protect pine boxes effectively; the critical rule is to never apply any finish to the interior walls, floor, or inside face of the roof. Let whatever you apply to the exterior cure fully, ideally a week in open air, before birds have access to the box.
For predator protection, NestWatch is unambiguous: mount the box on a metal pole with a baffle. A stovepipe baffle or a commercial wrap-around cone baffle below the box is the most effective defense against raccoons, snakes, and squirrels. NestWatch's FAQ reinforces that adding a predator guard or baffle will prevent most predators from accessing nest boxes.
You can also add a predator guard plate around the entry hole itself: a wooden block or metal plate with the same hole diameter, about 3/4 inch thick, attached flush over the exterior entry hole. This extends the tunnel depth to about 1 1/2 inches, making it much harder for a raccoon paw to reach in and hook eggs or nestlings.
Kettle Moraine Woodworking makes a predator guard designed with a 1 1/8-inch opening for house wrens and chickadees, sized to allow the birds in while physically blocking larger mammals.
The Virginia Nest-Box Guide for Cavity-Nesting Birds emphasizes that incorrect entry hole diameter is one of the most common ways boxes get taken over by the wrong species, so it's worth double-checking your hole with a caliper or a drill bit gauge before assembly. Ohio DNR's attracting birds guidance similarly recommends placing boxes on a post with a predator guard and treating the baffle as non-negotiable if you want long-term nesting success.
Where to install it and how to troubleshoot if wrens don't show up
Wrens want cover nearby but not too nearby. Place the box 5 to 15 feet from dense shrubs, brush piles, or a wood edge. The entry hole should face away from prevailing weather (typically facing east or southeast in most of the U.S.) so rain doesn't blow directly in. Avoid full south exposure in hot climates: afternoon sun can overheat the box in summer. Wrens are also territorial, so if you want to attract multiple pairs, space boxes at least 100 feet apart. NestWatch (Cornell Lab) also recommends keeping nest boxes within about 100 feet of woody vegetation while ensuring there is open space for wrens to fly freely to and from the entrance House Wren.
Don't put the box deep in dense shade or directly on a tree trunk in a heavily wooded area. House wrens in particular prefer semi-open spots, like a garden edge or a yard with scattered trees. If you're installing a hanging-style bird house rather than a pole-mounted box, the same habitat rules apply: aim for semi-open cover with some shrub buffer nearby.
If wrens aren't moving in after two to three weeks during nesting season (April through July in most regions), check a few things. First, is the box getting direct hot afternoon sun? Move it or add a small shade board above the roof. Second, is there competition from house sparrows? House sparrows are more aggressive and will take over boxes quickly. The smaller 1-inch hole helps, and removing any sparrow nest starts immediately if you see them building in your wren box. Third, is there a predator smell or disturbance nearby? Cats that patrol under the box will keep wrens away. A baffle and some distance from cat traffic routes helps.
If you enjoy building different styles and want to experiment with natural material construction, making a willow bird house is another option that works well for small cavity nesters in garden settings. And if you're building for other species in your yard at the same time, a DIY robin bird house uses completely different dimensions and an open-front design, so don't mix up your plans.
Monitoring schedule and seasonal maintenance
New Jersey Audubon recommends checking nest boxes weekly between April and August. That sounds like a lot, but a weekly check takes about two minutes: approach slowly, tap the box lightly before opening, and give the birds a moment to settle. You're looking for active nest construction, eggs, or nestlings. Record what you see and the dates. Cornell Lab encourages tracking nesting dates specifically, since it helps you understand your local birds' patterns and also tells you when a brood has fledged so you know it's safe to clean.
Once a brood has fledged, clean the box promptly. The Wildlife Conservation Trust advises cleaning out nest boxes after each brood has fledged, which prevents parasite buildup and makes the box attractive for a second nesting. House wrens often raise two broods per season, so a mid-summer cleaning between clutches is worth doing. The U.S. Fish & Wildlife Service's For the Birds guidance reinforces that post-nesting cleaning is the key to long-term box success and disease prevention.
The University of California ANR notes that nest box maintenance is most effective before winter, so build that into your routine: do a final clean-out and inspection every fall before temperatures drop. Check for cracks, loose screws, and warped wood. Tighten the hinge on your cleanout door. If the entry hole has enlarged from woodpecker activity (it happens), patch it with a wooden guard plate and re-drill to the correct diameter. A well-maintained wren box should last 10 to 15 years with cedar, or 5 to 8 years with pine.
Cleaning steps
- Confirm the nest is empty and all young have fledged before opening.
- Open the cleanout door or side panel and remove the old nest material completely.
- Scrub the interior with a stiff brush. A weak solution of hot water and white vinegar works well; avoid bleach or strong chemical cleaners.
- Let the box dry in open air for at least a day before closing it back up.
- Check for mites or blow fly larvae in the nest debris. If you see heavy parasite loads, a brief inside wipe with a dilute povidone-iodine solution is an option, but full drying before reuse is essential.
- Re-inspect the entry hole diameter and the baffle below the pole. Replace or tighten anything loose before the box is reoccupied.
The cleanout door design you built into the box from the start is what makes this whole process easy. I've gone back to retrofit hinged access on boxes I originally built without it, which is a pain. Build it in from day one. If you ever want to go a step further and add a viewing window, the concept used in a window bird house design lets you observe nest activity without disturbing the birds, which is genuinely useful for tracking fledge dates without opening the box every week.
One last thing: wrens are bold and adaptable, which is what makes them so rewarding to host. Get the hole size right, mount it at a sensible height with a baffle underneath, give them some brushy cover nearby, and clean the box each season. Do all that and you'll have wrens in your yard year after year. The build itself is maybe two hours on a weekend morning. Everything after that is just paying attention.
FAQ
How can I confirm my entry hole is the correct size after cutting?
Use a caliper or drill-bit gauge on the finished hole, not the planned size. Round openings can “shrink” from rough sanding or swell from splinters, so check diameter after you smooth the entry edge. If the hole ended up larger than spec, patch with a flush wood plug or predator-guard plate and re-drill to the correct opening before you mount the box.
Can I paint or seal a wren bird house, and what should I avoid?
Yes, but only outside surfaces should be finished. If you accidentally get paint or sealant on the interior walls, roof inside face, or floor, let it fully cure for at least a week with good airflow, then lightly scrape any residue from interior surfaces before birds start using it. Many finishes also smell stronger in warm weather, which can deter early nesting.
Is it okay to add a perch below the entry hole to make it easier for wrens?
Don’t. Wrens do not need a perch, and adding one increases predator access and makes it easier for aggressive birds to attack the entrance. If you already added a perch on your first build, remove it or block it so there is no platform directly below the hole.
What’s the best mounting choice for predator protection, pole-mounted or tree/post-mounted?
If you mounted the box on a wooden post, use a predator baffle system plus good placement, but the risk stays higher than a metal pole. Metal poles are harder to climb, so if you can, remount on a smooth pole after your first attempt. If you cannot remount, wrap-around cones and a tight baffle below the box are the next-best defense.
What should I do if I suspect starlings or house sparrows are competing for the box?
If you see starlings or house sparrows trying to enter, the fastest fix is usually entry-hole control. For wrens, err toward the smaller hole size for your likely species, then immediately remove any active sparrow nest material if it’s inside your wren box. Also reduce open access from below by ensuring the baffle and any guard plate are securely in place.
Can I skip drainage and ventilation holes on the bottom and sides?
Plan for ventilation before the roof closes in. If you didn’t add the small corner drainage holes or top-side ventilation gaps, overheated boxes can be deadly in summer. Retrofitting is possible by drilling small corner holes and adding side gaps near the top, but it is much harder to do cleanly after assembly.
How often should I check the nest box, and when is a bad time to look?
Yes, but time it. Weekly checks during April to August are a good baseline, but avoid checking during heavy storms or the hottest part of the day. Approach quietly, tap once, and close quickly. If you notice nestlings, minimize how long the box stays open, and don’t leave the door off overnight.
When is the right time to clean out the box, and how soon after fledging?
A good cleaning rule is after a brood finishes, not on a fixed calendar date. If you see eggs or nestlings, wait. Once fledged, clean promptly, remove old nesting material, and inspect for new damage or enlarging at the entry hole, since woodpeckers and weather can widen openings.
How do I handle cleaning when wrens raise more than one brood?
Wrens can start multiple broods, so your schedule should adapt to the nesting outcome. If the box was successful earlier in the season, a mid-summer clean-out between broods can help reduce parasites and keep the box attractive. The key is not cleaning while a brood is actively nesting.
My wren box didn’t get used quickly, what should I check first?
Most “it wasn’t used” problems come from location and entry access. First check sun exposure, especially hot afternoon sun, then confirm the entrance faces away from prevailing rain. Next verify predator protection is in place and that nearby cover is within the 5 to 15 foot range. Also watch for cat activity under the box, even if the baffle is installed.
Can I add a viewing window to observe wrens without harming nesting success?
For helping fledglings and minimizing disruption, you can add a viewing window concept, but it must be built so it does not increase overheating or leave interior surfaces exposed to moisture. If you do add one, keep it on the side that lets you observe without frequent full box openings, and do not use materials that can off-gas or crack in outdoor heat.
How do I prevent splintering around the entry hole edge?
Tear-out and splintering around the entry is a common mistake, and it can discourage use. Use a hole cutter or Forstner-style bit, support the wood as you drill, and smooth only enough to remove sharp splinters. Do not oversand the surrounding area because you can enlarge the hole beyond your target.
Should I move the bird house if wrens start showing interest, or keep it fixed?
Test the box with placement before you finalize landscaping. Move it only if needed, but avoid constant re-positioning during nesting attempts. If placement is likely wrong, adjust early in the season so wrens have time to settle and build.
Next Articles

How to Build a Chimney Swift Bird House DIY Guide
Step-by-step DIY plans to build a chimney swift bird house, with correct dimensions, placement, and weatherproofing for

How to Build an Oriole Bird House: Step-by-Step DIY
Step-by-step DIY for building an oriole bird house with right dimensions, weatherproofing, predator-safe placement, and

How to Build a Chickadee Bird House Step by Step
Step-by-step DIY chickadee bird house with cut list, chickadee entry sizing, ventilation, drainage, and mounting tips.