Blue jays don't typically use enclosed nest boxes the way bluebirds or wrens do. They're open-cup nesters, meaning they build their nests in tree forks and shrub branches rather than inside a cavity. But here's the thing: you can absolutely build a platform-style nesting shelf or a three-sided open-front box that blue jays will actually consider using. The key is getting the design right for their nesting preferences, picking safe materials, and placing it in a spot that matches how blue jays actually behave. If you follow this guide, you'll have a solid, weather-resistant structure up in your yard in a single afternoon.
How to Make a Blue Jay Bird House Step by Step
Marcus Thornton
28 May 2026
Blue jay house basics: what to build and why
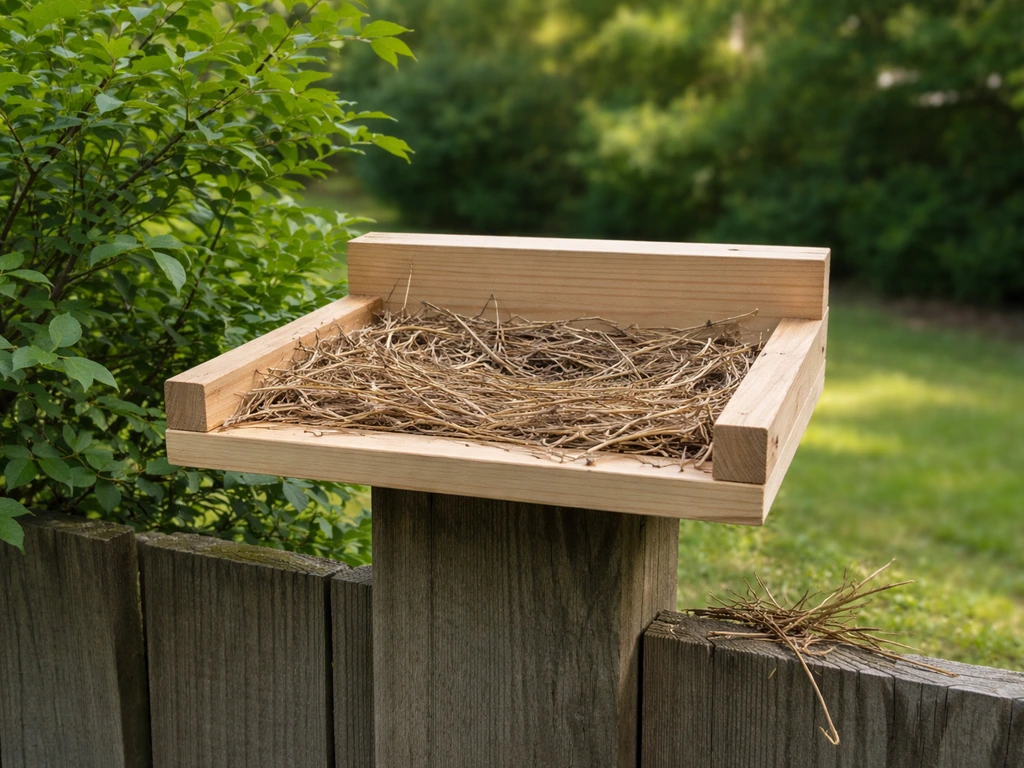
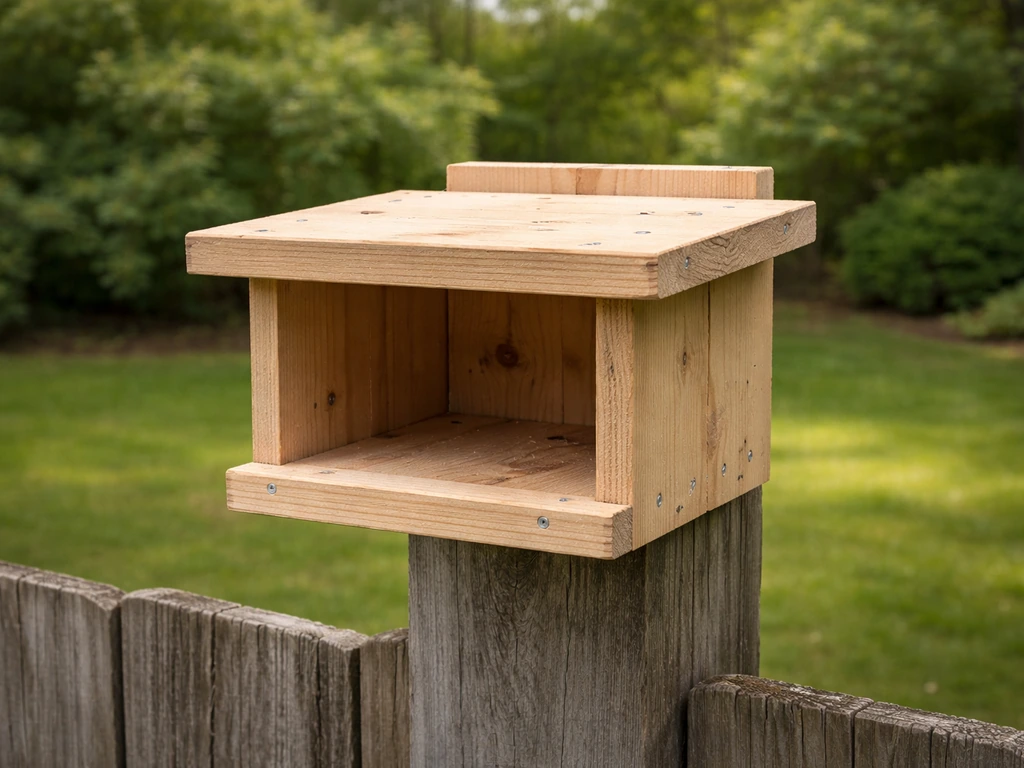
Before you cut a single board, it helps to understand what you're actually building. Blue jays (Cyanocitta cristata) are not cavity nesters. They won't squeeze through a 1.5-inch hole into a dark wooden box the way a bluebird or Carolina wren would. What they will use is a sturdy open-front or three-sided nesting shelf, sometimes called a nesting platform, where they can build their cup-shaped twig-and-grass nest in relative peace. Think of it less like a birdhouse and more like a cozy shelf they furnish themselves.
The practical upshot for your build is that you skip the entry hole entirely and instead leave the front fully or mostly open, while still providing a roof for rain protection, sides for wind blocking, and a solid floor with drainage. Texas Parks & Wildlife provides example specifications for common cavity nesters, including an entrance diameter of 1 1/8 inches and placing the top of the hole about 8.75 inches above the floor entry hole entirely. This open-front design is beginner-friendly because it removes the fussiest part of most birdhouse builds: drilling a perfectly sized, perfectly positioned entrance hole. It also makes monitoring and cleaning much easier, which matters for the long-term health of any nesting structure you put up.
One honest note: blue jays are notoriously picky and skittish. They may or may not use your platform in the first season. Don't take it personally. I've had platforms sit empty for a full year before a pair started investigating. The design and placement tips in this guide give you the best realistic shot, but wild birds make their own choices. If blue jays don't bite, robins and mourning doves often love the same open-platform style, so the build is never wasted.
Sizing and layout for blue jays
Blue jays are medium-to-large songbirds, noticeably bigger than bluebirds or chickadees. Your platform needs to accommodate a nest that can be 7 to 8 inches across, plus the birds need room to land, turn around, and feed nestlings. Here are the dimensions that work well in practice.
| Component | Recommended Dimension | Notes |
|---|---|---|
| Floor (base) | 8" × 8" minimum, 10" × 10" ideal | Larger floor gives more room for nest cup and perching |
| Side walls (height) | 6" to 8" tall | Tall enough to shelter from wind and rain splash |
| Front opening | Fully open or 2" lip at bottom only | Open front lets jays land and access nest easily |
| Roof | Overhangs front by at least 4"–5" | Critical for rain protection; deeper overhang = drier nest |
| Mounting height | 8 to 15 feet off ground | Jays prefer elevation; higher placements reduce predator access |
| Orientation | Face away from prevailing winds, ideally north or east | Reduces overheating in afternoon sun and rain entry |
The roof overhang is one of the most important details here. Nest box research across multiple cavity-nesting species consistently recommends at least a 5-inch overhang above any opening to help deflect rain and reduce the reach of predators like raccoons and cats. For an open-front platform, I go a minimum of 4 to 5 inches of front overhang, and I angle the roof slightly forward so water sheds away from the nest area. No perches are needed or recommended, and don't add decorative trim around the front opening. Jays don't need it and extra woodwork just gives predators more to grab onto.
For drainage, cut small notches at each corner of the floor (sometimes called dog-ears) or drill four 1/4-inch holes near the corners. This lets any rainwater that blows in drain out quickly instead of soaking and rotting the nest material. For ventilation, leave a small gap (about 1/4 to 1/2 inch) between the tops of the side walls and the underside of the roof, or drill a couple of 1/2-inch holes on each side wall near the top. Good airflow keeps the platform from turning into an oven on hot summer days.
Materials and safe hardware choices
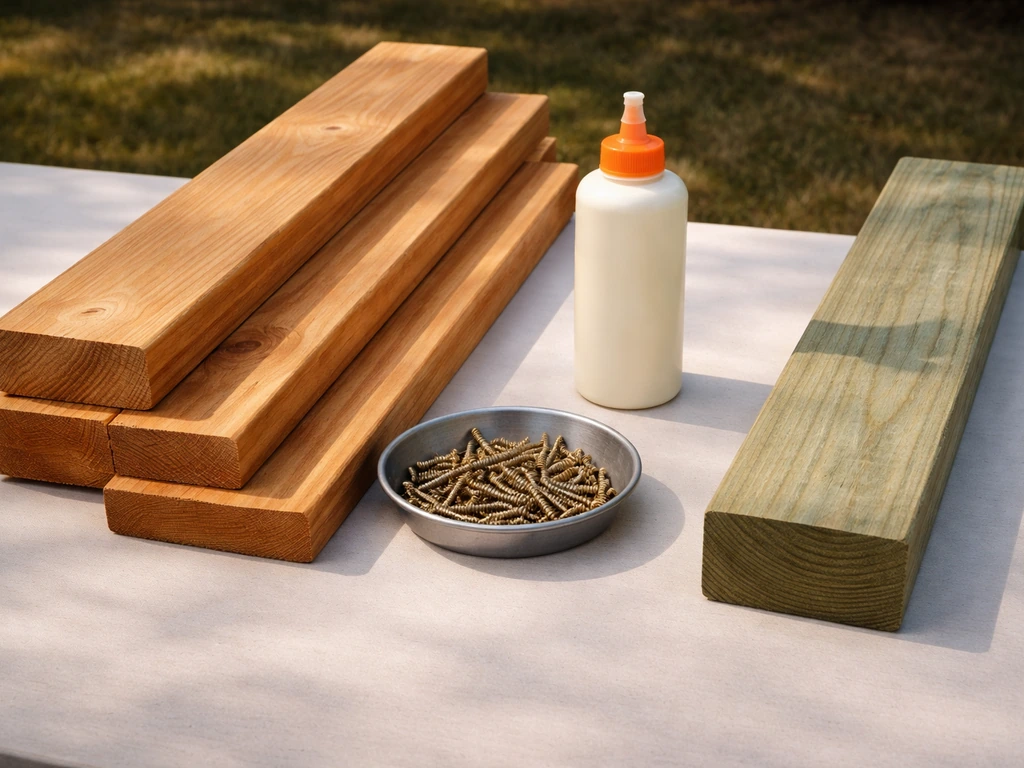
Cedar is the gold standard for outdoor birdhouses and nesting platforms. It naturally resists rot and insects, weathers beautifully, and doesn't need paint or stain to last years outdoors. Redwood is another excellent choice for the same reasons. Both are more expensive than pine, but for a small platform like this you're talking about one or two boards, so the cost difference is minimal. If budget is a concern, untreated pine or exterior-grade plywood works fine as long as you plan to add a weather-protective finish (more on that below).
The one hard rule on materials: never use pressure-treated lumber. It contains copper compounds that are toxic to birds, and there's no good reason to risk it when untreated options work just as well. Similarly, avoid painted or stained scrap wood unless you know the finish is fully cured and non-toxic. Fresh paint fumes in an enclosed or semi-enclosed space can harm eggs and nestlings.
For fasteners, use galvanized or brass screws wherever possible. Galvanized deck screws (1.5-inch or 2-inch) are inexpensive, widely available, and hold up outdoors without rusting and staining your wood. If you prefer nails, ring-shank galvanized nails grip better than smooth nails and resist pulling out as the wood expands and contracts through seasons. Avoid standard steel nails or screws; they rust quickly outdoors and the rust weakens joints over time.
- Cedar or redwood (preferred): naturally rot-resistant, no finish needed
- Untreated pine or fir: good budget option, benefit from an exterior finish
- Exterior-grade plywood (3/4-inch): acceptable for beginners, seals edges well
- Never use: pressure-treated wood, OSB (oriented strand board), or particle board
- Fasteners: 1.5" to 2" galvanized deck screws or ring-shank galvanized nails
- One brass screw per access panel for the latch mechanism
- Exterior wood glue (optional but adds joint strength before screwing)
Tools, measurements, and cut list
This build is genuinely beginner-friendly. You don't need a table saw or a drill press. A circular saw or even a good handsaw, a power drill, and a tape measure will get you there. Here's what you'll want on the workbench.
- Tape measure and pencil
- Circular saw, miter saw, or handsaw
- Power drill with #2 Phillips bit
- 1/4-inch drill bit (for drainage holes)
- 1/2-inch drill bit (for ventilation holes, optional)
- Sandpaper, 80 and 120 grit
- Clamps (2 to 4, any style)
- Safety glasses and hearing protection
For the lumber, one 6-foot length of 1×10 cedar (actual width about 9.25 inches) or one 8-foot 1×8 board gives you everything you need. Here's the cut list for a 10-inch-square platform with 7-inch sides and a generously overhanging roof.
| Part | Dimensions (cut size) | Quantity |
|---|---|---|
| Floor | 10" × 10" | 1 |
| Back wall | 10" × 8" | 1 |
| Side walls | 10" × 7" (front edge angled to match roof pitch, optional) | 2 |
| Roof | 15" × 12" (overhangs front by 5" and sides by 1") | 1 |
| Front lip (optional) | 10" × 2" (keeps nest from falling out) | 1 |
| Mounting cleat (back) | 10" × 3" (attaches to back for pole/tree mounting) | 1 |
A quick note on the roof dimensions: the 15-inch depth gives you a 5-inch overhang past the front opening when the back of the roof is flush with the back wall. That extra overhang is worth every inch. The 12-inch width gives about 1 inch of side overhang on each side, which handles wind-driven rain nicely. If your saw cuts are slightly off, it doesn't matter much. This is a nesting platform, not furniture.
Step-by-step assembly
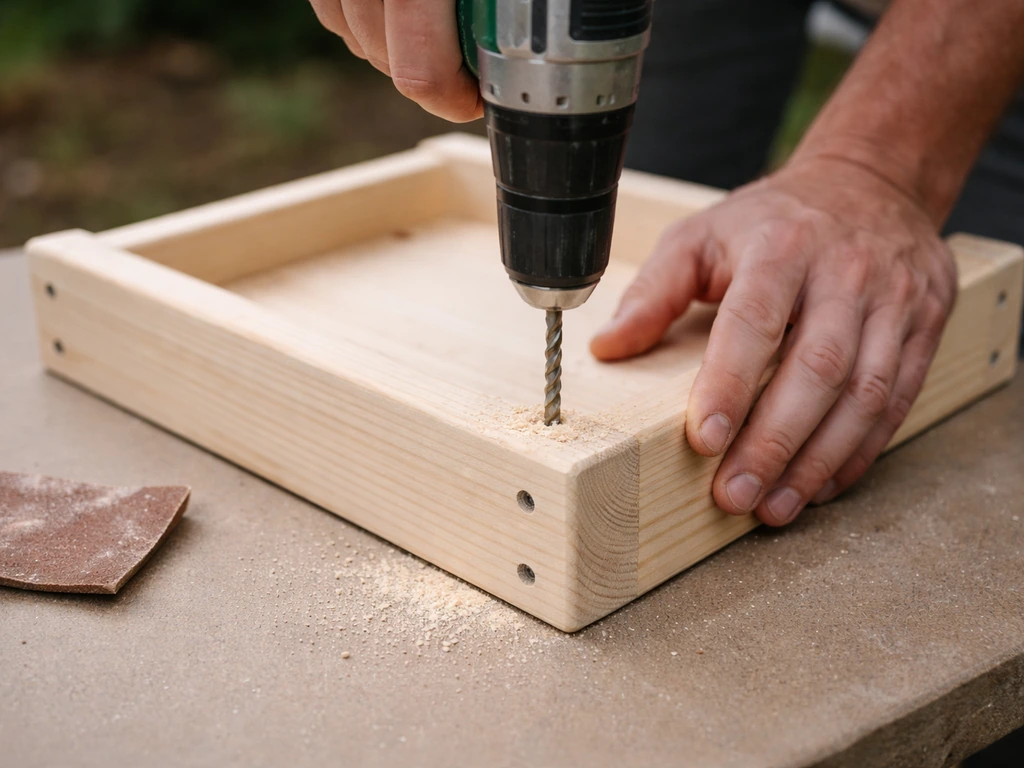
Before you start assembling, lightly sand all your cut edges with 80-grit sandpaper, then finish with 120-grit. Rough edges splinter and can injure birds, and smooth joints close up better. Take five minutes on this step. It matters.
- Drill drainage holes in the floor first. Using your 1/4-inch bit, drill four holes near the corners of the floor piece, about 1/2 inch in from each edge. Alternatively, cut small triangular notches at each corner with your saw. Either method works; the goal is water exits fast.
- Attach the back wall to the floor. Stand the back wall piece upright and position the floor flat against its bottom edge. Pre-drill two pilot holes through the back wall into the floor edge (this prevents splitting), then drive two 2-inch galvanized screws. Add a thin bead of exterior wood glue to the joint first if you want extra strength.
- Attach the side walls. Position one side wall flush with the back wall edge and the bottom edge of the floor. Pre-drill and screw through the back wall into the side wall edge with two screws, and through the floor into the bottom of the side wall with two more screws. Repeat for the other side. You now have a three-sided box with an open front.
- Add the optional front lip. If you cut a 2-inch front lip piece, screw it to the front bottom edge of the floor. This little ledge keeps nest material from sliding out without closing off the front. Totally optional but worth doing.
- Drill ventilation holes (if not leaving a gap). If your roof will sit directly on top of the side walls without a gap, drill two 1/2-inch holes on each side wall about 1 inch from the top edge. If you plan to leave a 1/4-inch gap between roof and side walls, skip this step.
- Attach the mounting cleat to the back. Center the 3-inch cleat horizontally on the back wall, about 1 inch from the top. Screw it on with four screws. This cleat is what you'll use to mount the platform to a post, tree, or fence. You can also drill a single large hole through the cleat for a carriage bolt if you prefer bolt-mounting.
- Attach the roof. Set the roof piece on top so it overhangs the front by 5 inches and overhangs the sides equally. If you want a slight forward pitch to shed water, raise the back edge about 1/2 inch with a thin shim before screwing. Pre-drill through the roof into the tops of the side walls and back wall, then drive screws. Use at least six screws across the roof for a solid hold.
- Add the access panel latch. Drive one brass screw partway into the bottom edge of one side wall, positioned so you can rotate it to hold the floor in place or swing it away for cleaning. This simple rotating-screw latch is the easiest access design for a platform this size. Alternatively, hinge the floor with a small exterior-grade hinge so it drops open for cleaning.
Step back and check your joints. Every seam should be tight with no large gaps except the intentional ventilation gap near the roof. Give the whole structure a gentle shake. If anything feels loose, add a screw. Now is much easier than after it's mounted 12 feet in the air.
Finishing, mounting hardware, and predator protection
To finish or not to finish
If you built with cedar or redwood, you honestly don't need any finish at all. Natural unpainted wood is fine, and it blends into the environment better than painted surfaces. If you used pine or plywood, apply one or two coats of a water-based exterior finish on the outside surfaces only. Never finish the interior surfaces or the floor.
If you want color, muted earth tones (gray, brown, tan) are better than bright whites or greens. Avoid dark colors on the roof; dark roofs absorb heat and can cook eggs on a hot afternoon. If you want to build a bird house in a specific color like red, choose safe, weather-friendly finishes and keep any interior surfaces unpainted red bird house.
Predator guards
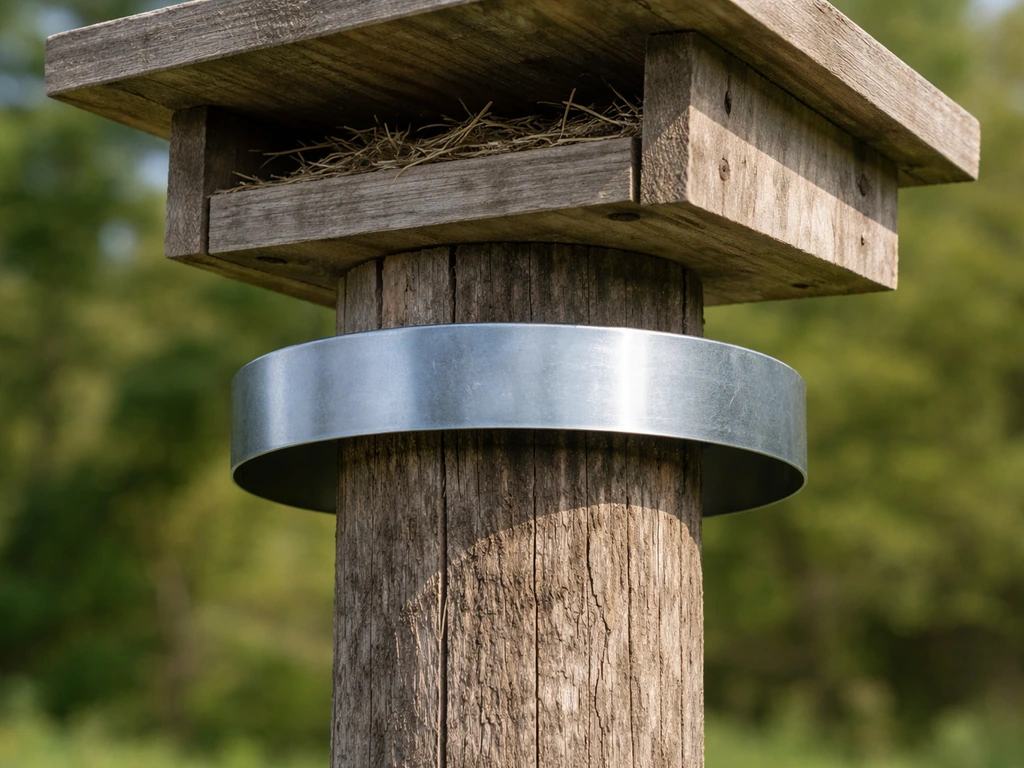
This is the step most people skip and then regret. Raccoons, cats, snakes, and squirrels will all raid an unprotected nesting platform. The single most effective protection is mounting the platform on a smooth metal pole (not a tree) and installing a stovepipe-style cylindrical metal baffle below it. These cylindrical baffles, shaped like a wide pipe about 6 inches in diameter and 18 to 24 inches tall, are the easiest and most reliable predator guard you can put on a pole. Mount it so the top of the baffle is at least 4 feet off the ground. Raccoons and cats can't grip a smooth metal cylinder and can't climb past it.
If you're mounting on a tree or wooden post, a raccoon guard plate around the post below the platform adds meaningful protection, though tree-mounted platforms are harder to fully predator-proof. You can also add a small predator guard plate directly to the front of the platform, which reduces how far a raccoon can reach into the nest from outside. A screw or angled nail through a pre-drilled hole on your access panel keeps the panel locked against casual predator interference.
Weather protection tips
Check that all your screw heads are flush or slightly countersunk so they don't collect standing water. Seal any end-grain cuts on pine or plywood with exterior wood glue or a dab of exterior caulk; end grain soaks up water fast and rots first. Make sure the roof drains properly by confirming the front edge hangs lower than the back edge. Even a slight forward angle helps enormously over years of rain.
Installation, monitoring, and keeping things clean
Where and how to mount it
Mount the platform between 8 and 15 feet high. Blue jays are comfortable at tree-canopy height and feel exposed at low elevations. A smooth metal pole in a semi-sheltered spot at the edge of your yard, near mature trees or tall shrubs but not buried inside dense canopy, is the sweet spot. Face the open front away from the direction of your prevailing wind and afternoon sun. In most of the US, that means orienting the opening toward the north or east. Avoid spots with heavy foot traffic or loud activity nearby. Blue jays are bold birds but they don't want to nest next to a busy patio.
Monitoring during nesting season
Once a pair starts building in your platform (typically April through June in most of the US), monitor weekly. Keep your visits quick and calm: a glance from a slight distance to confirm eggs or chicks are present, everything looks dry, and no predator damage has occurred. Don't touch the nest or linger. Blue jays won't necessarily abandon a nest if you check it, but repeated disturbance adds stress during an already demanding time. Monitor from the first signs of nest-building through fledging, which takes about 17 to 21 days after hatching.
Cleaning and off-season maintenance
Clean your platform once the nesting season is fully over, typically between September and February. For purple martins, you can follow the same general approach to safe materials and predator protection, but use a martin-specific layout and entrance design purple martin bird house. Remove all old nest material, sweep out the interior, and let it air dry completely before the next season. Old nests can harbor parasites and insects that harm the next brood.
A stiff brush and mild soap-and-water rinse work fine. Rinse thoroughly and let the platform dry in the sun before closing it back up. While it's open, check for any loose screws, soft spots in the wood, or damaged roof joints and fix them before winter.
Quick pre-install checklist
- Floor has drainage holes or corner notches
- Side walls have ventilation holes or roof gap is in place
- Roof overhangs front by at least 4 to 5 inches
- All interior surfaces are unfinished (no paint, stain, or sealant)
- Access panel opens and closes easily with latch in place
- All screws are galvanized or brass and fully driven flush
- Mounting cleat is secure with at least four screws
- Stovepipe baffle or predator guard is ready to install on the pole
- Platform is oriented to face away from prevailing wind and afternoon sun
- Mounting height is 8 feet minimum
Building for blue jays is a slightly different challenge than building for cavity nesters like bluebirds or cardinals, which use the more traditional enclosed box with an entry hole. If you want to attract cardinals instead, you can adapt the plan into a traditional enclosed birdhouse with an entry hole sized for northern cardinals. If you've built or are curious about those styles, the design principles around drainage, ventilation, and predator-proofing carry over directly.
The open-platform approach here is honestly one of the more satisfying builds because it's fast, forgiving for beginners, and versatile enough to attract multiple species. Get it up before late April if you can. Blue jays start scouting nest sites early in spring, and a platform that's been weathering in place for a few weeks looks far more natural to them than one that just appeared yesterday.
If you're also wondering how to build a Martin bird house, the main difference is choosing the right entry hole and providing a cavity setup that fits purple martins' nesting habits.
FAQ
Will a blue jay use a platform that’s wider or taller than the plan, or does it have to match the exact dimensions?
They will still consider it if the opening stays open-front or three-sided and the nest space can fit a 7 to 8 inch wide cup nest. Focus on providing room for turning and feeding, plus enough roof overhang. If you make the platform much larger, it can attract other birds or give predators more reach, so keep proportions similar and avoid tall “shelf” sides that block airflow.
Do I need to leave the floor fully open, or should the floor be solid?
For this style, use a solid floor with drainage. Cut small corner notches or add corner holes, but keep the main floor intact so the nest cup has stable support. A fully open or slatted floor can let nesting material fall through and can increase chilling during rain or wind.
Should I add a “landing” board or perch so the blue jays can come and go easily?
In most cases, skip perches. Blue jays do not need them for this platform style, and perches can double as predator footholds and make the structure easier to raid. If you want to help birds access it, rely on placement near shrubs or tree canopy rather than adding wood sticking out for grip.
How can I tell whether the platform is being used versus other birds building nearby?
Look for nest-building behavior at the site, like carrying twigs and lining material. Blue jay nests are cup-shaped and made of woven twigs and grasses. Also check the amount of scratching and disturbance around the platform, and confirm whether eggs or chicks are present when you do your brief weekly glance.
What’s the best time of day to monitor a nesting platform without causing stress?
Choose calm, predictable timing, typically mid-morning when birds are active but temperatures are moderate. Keep visits short, approach from an angle that doesn’t block their escape route, and avoid repeated visits on hot afternoons or during heavy storms.
Should I remove old nests immediately after the nesting season or wait until winter?
Remove nests after the nesting attempt is fully finished, usually in the September to February window. Waiting a long time can increase the chance of parasites and insect buildup, especially if the nest stayed damp. If you notice soft, wet, or moldy material, clean sooner once you confirm the brood is done.
Can I paint or stain the platform to match my yard, and what should I avoid?
Unpainted cedar or redwood is easiest and safest. If using pine or plywood, use a water-based exterior finish only on the outside surfaces, let it fully cure before mounting, and avoid dark roof colors that absorb heat. Do not finish interior surfaces, and avoid any strong-smelling or tacky coatings.
Is pressure-treated lumber absolutely off-limits, even if I seal it?
Yes, it’s best to avoid it entirely. Pressure-treated wood contains copper-based chemicals intended to protect the lumber, and even sealed surfaces can still pose a risk during weathering. Untreated cedar, redwood, or exterior-grade pine are safer choices for bird structures.
How do I predator-proof this if I cannot mount it on a metal pole?
If tree or post mounting is your only option, use a raccoon guard plate around the pole plus a predator baffle concept as close to the opening as you can manage. Prioritize keeping the underside area hard to climb, and consider a secondary guard that limits how far a predator can reach into the front opening. Full predator-proofing is harder with wood mounting, so choose the smoothest post you can find and ensure guards are secured firmly.
What is the safest way to secure the roof and prevent gaps as the wood expands and contracts?
Use exterior-rated galvanized or brass screws, and keep joints tight during assembly. Countersink or flush heads so standing water does not collect around fasteners. After mounting, periodically check that the roof still overhangs correctly and that the ventilation gap near the top has not shifted closed.
If the platform sits empty for a season, should I move it or keep it where it is?
If there are no signs of investigation, consider small relocation adjustments rather than replacing the whole design. Move it a short distance within 8 to 15 feet elevation target, closer to natural cover, and adjust orientation relative to prevailing wind and afternoon sun. If blue jays start scouting, leave it in place and monitor rather than making frequent changes.
Can I use a similar design for other species like cardinals, or do I need an enclosed box instead?
The platform can attract some open-cup nesters, but cardinals are cavity nesters and generally do better with an enclosed structure and an appropriately sized entrance hole. You can reuse the same ideas for drainage, ventilation, and predator guards, but switch to a traditional box design with a hole sized to the target species for better results.
How far from the ground and from nearby trees or shrubs should it be?
Aim for 8 to 15 feet high and place it in semi-sheltered terrain, near mature trees or tall shrubs, but not buried in dense, tangled canopy. Face the open front away from heavy afternoon sun and toward the area that offers the most favorable visibility and protection. Avoid locations with frequent foot traffic or loud activity.
Next Articles
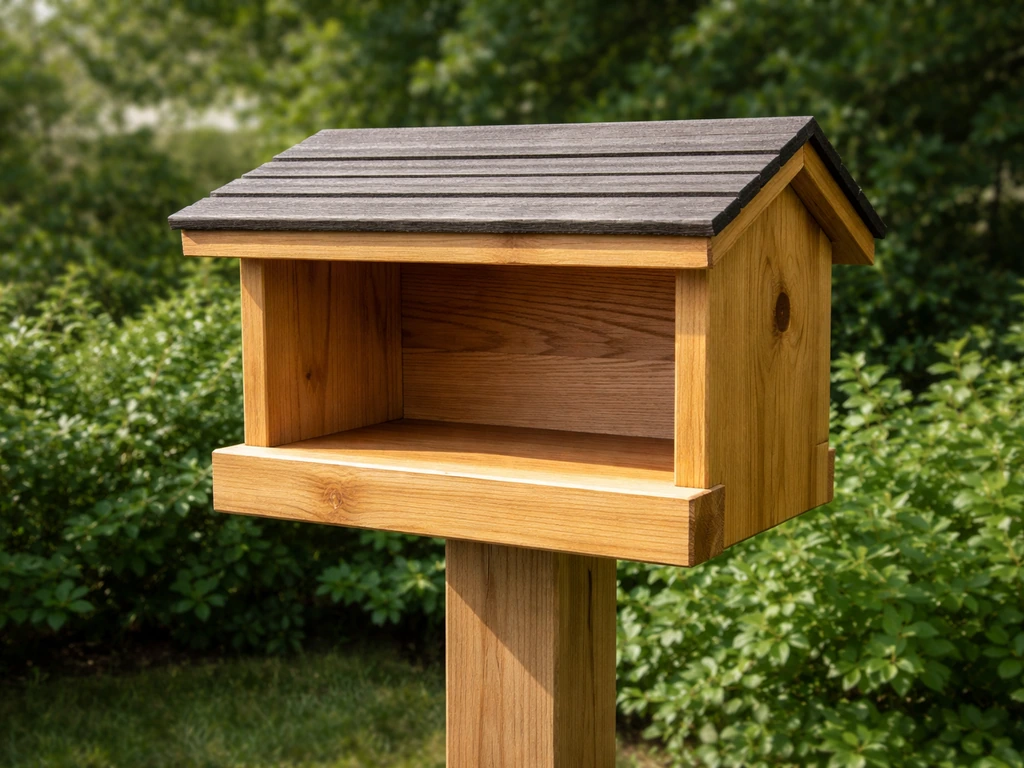
How to Make a Cardinal Bird House Step by Step
Step-by-step plans, measurements, and placement tips to build a weatherproof cardinal bird house that attracts red cardi
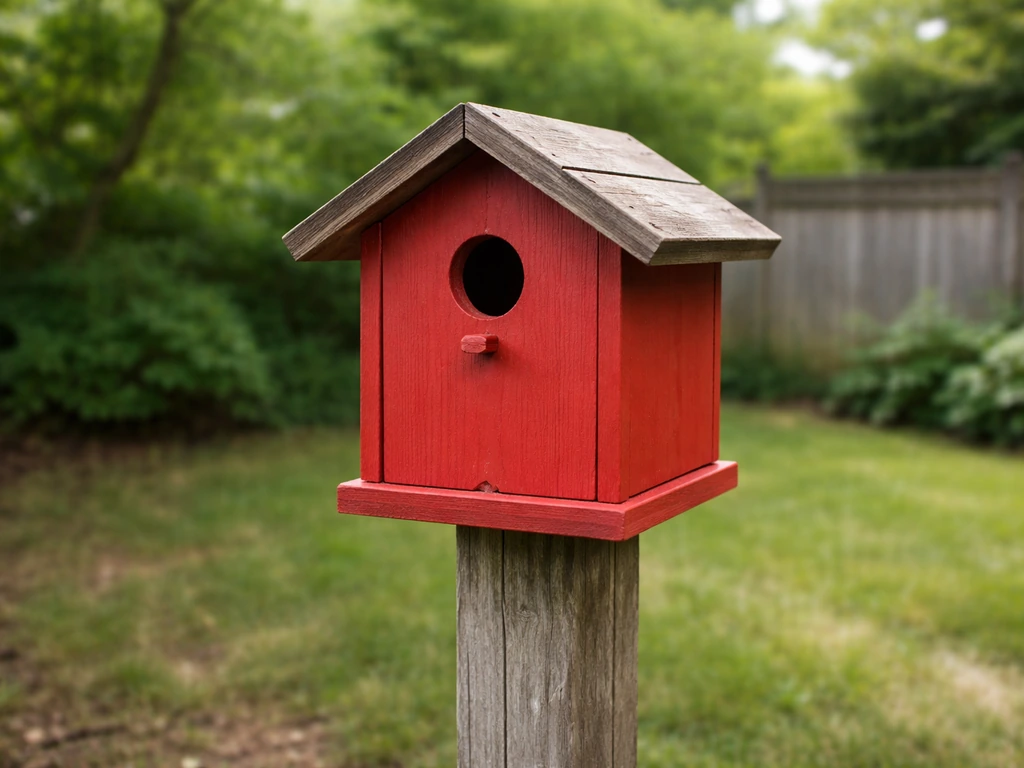
How to Build a Red Bird House: Step-by-Step DIY Guide
Step-by-step DIY guide to build a bird-safe red birdhouse with correct dimensions, ventilation, drainage, paint, and mou
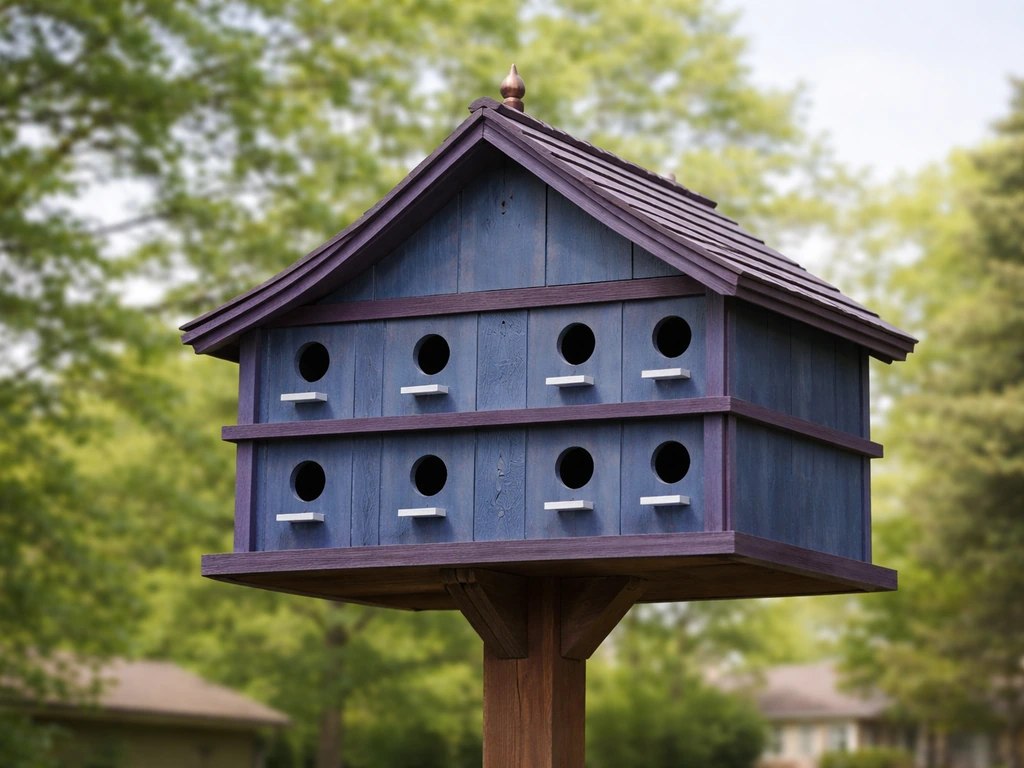
How to Build a Martin Bird House for Blue Martins
Step-by-step guide to build a blue or purple martin house with correct dimensions, entry slots, mounting, and setup for