A DIY bird launcher, in a backyard enrichment context, is a simple device that releases or gently propels a lightweight, bird-safe item (like a wrapped treat ball, foraging pellet pouch, or enrichment disc) so your bird has to work for its food. Think of it less like a slingshot and more like a timed treat-release trigger that adds movement and surprise to foraging. You can build a reliable beginner version in an afternoon with cardboard, PVC pipe, a short bungee cord or rubber band, and a few basic tools. This guide walks you through the whole process: what to build, how to build it safely, how to test it, and how to use it without stressing your bird.
How to Make a Bird Launcher for Safe Backyard Enrichment

Marcus Thornton
13 May 2026
What a bird launcher actually means in backyard enrichment
The phrase "bird launcher" means very different things depending on who's searching. In dog-training circles, it refers to a spring-loaded box that flushes live birds for hunting dogs to retrieve. That's not what we're building here. In an enrichment context, a bird launcher is a low-energy release device that sends a foraging item (a wrapped pellet, a treat ball, a crumpled paper bundle) a short, safe distance so the bird investigates, chases, or forages from it. The movement mimics something a bird would chase in the wild, which stimulates natural behavior without any real projectile risk.
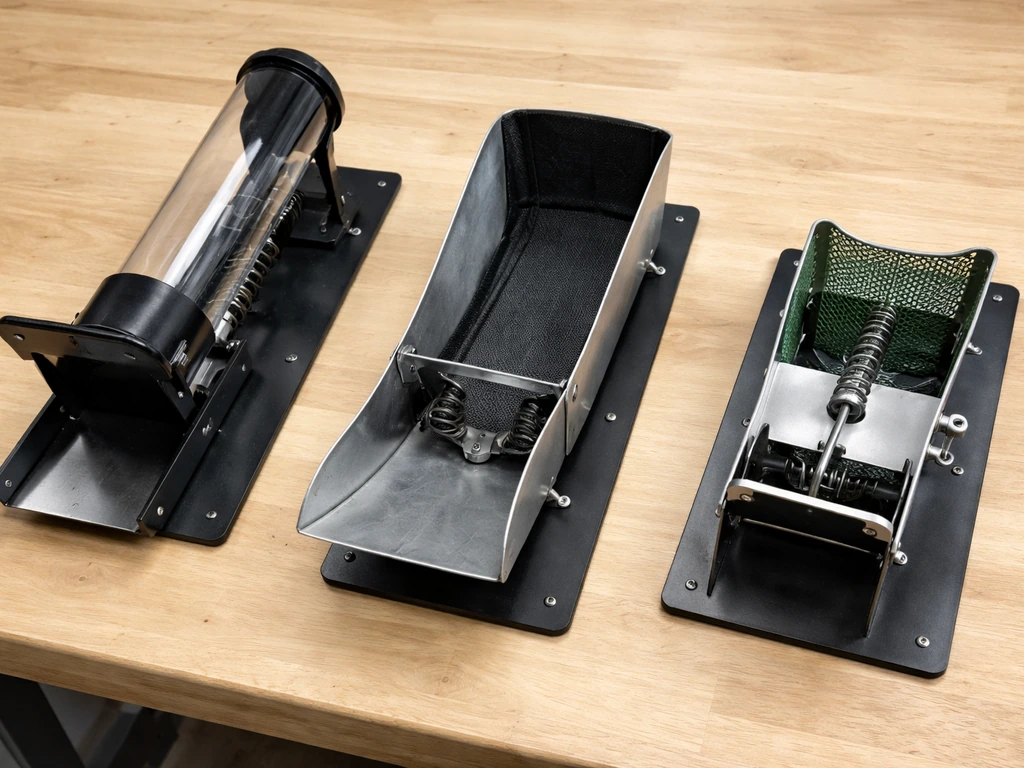
There are three common forms people build for this purpose. First, a tube-and-flap launcher: a short PVC or cardboard tube mounted at a shallow angle with a hinged flap held by a cord; when you pull the cord, the flap releases a treat roll sitting inside. Second, a spring-arm launcher: a flat arm (a craft stick or thin wood strip) tensioned by a rubber band, cocked back and locked with a simple pin, that flicks a lightweight foraging ball a short distance when released. Third, a gravity-drop launcher: a tube pointed at a steep angle with a sliding door; you load a treat pouch at the top and open the door remotely so it drops or rolls out. Each has a different energy level and different ideal use cases, which I'll help you choose between below.
Safety rules and bird-welfare requirements before you build anything
I want to be blunt here: the most common mistake people make is building something first and thinking about safety second. Don't do that. There are a handful of non-negotiables that apply to every launcher design, and skipping any one of them can hurt your bird.
- Use only bird-safe materials. That means untreated wood, food-grade or bird-safe hard plastic (too large to be swallowed), unprinted or natural-dye-printed cardboard, and stainless steel hardware. Avoid anything galvanized (zinc-coated) or soldered, as both zinc and lead cause serious toxicity in birds even with brief contact.
- Keep energy levels low. This is an enrichment toy, not a launcher in the hunting sense. The item being launched should travel no more than 12 to 18 inches and land softly. If it hits a perch, a cage bar, or the bird itself, it should not cause injury. Test every build with a soft treat-ball before your bird is anywhere near it.
- No sharp edges, pinch points, or entanglement risks. Sand every cut edge. Check that no gap in your launcher is small enough to catch a toe or beak. Avoid rope or fiber elements that can unravel into strings, which birds can get entangled in or swallow.
- Always supervise new devices for the first several sessions. Even a well-built launcher can behave unexpectedly, and your bird may interact with it in ways you didn't anticipate. Watch closely for the first few days.
- Use a physical safety lock when loading. A simple safety pin through a latch hole (the same principle used in commercial launchers) prevents accidental early release while you're positioning the device or placing the treat.
- Match the launch energy to the bird's size. A small finch or budgie needs far less launch force than a macaw or African grey. If you're working with small birds, the gravity-drop design is almost always the safest choice.
- Keep launch items bird-safe too. Wrapped pellets, Nutri-Berries in a paper tube, or crumpled newspaper bundles with hidden treats are ideal. Never use anything containing avocado, chocolate, caffeine, or other toxic foods, and avoid brightly colored commercial pellets with artificial dyes.
One more thing worth mentioning: if your bird ever seems distressed, freezes, or tries to flee from the launcher rather than engaging with it, stop the session immediately. The goal is curiosity and engagement, not fear. Some birds need days or even weeks of gradual introduction before they'll interact confidently with a new moving device.
Pick the right design for your space and your bird
The three launcher types aren't interchangeable. Here's a quick comparison to help you decide before you buy a single piece of material.
| Design | Best for | Space needed | Energy level | Skill level |
|---|---|---|---|---|
| Tube-and-flap | Medium to large parrots (conures, greys, amazons), outdoor aviaries | 18+ inches clear floor space | Low to medium | Beginner |
| Spring-arm | Medium birds in play gyms, supervised indoor sessions | 24+ inches clear floor space | Medium (adjustable) | Beginner to intermediate |
| Gravity-drop | All bird sizes, indoor cages, small spaces, small birds | Any size enclosure | Very low | Beginner |
If you have a large outdoor aviary, the tube-and-flap design gives the most satisfying "flush" effect and is easy to mount on a frame or fence rail. If you're working with an indoor play gym and a parrot that's already comfortable with foraging toys, the spring-arm design adds the most behavioral complexity. If your bird is small, new to enrichment, or easily startled, start with the gravity-drop version every time. It's forgiving, gentle, and almost impossible to over-tension.
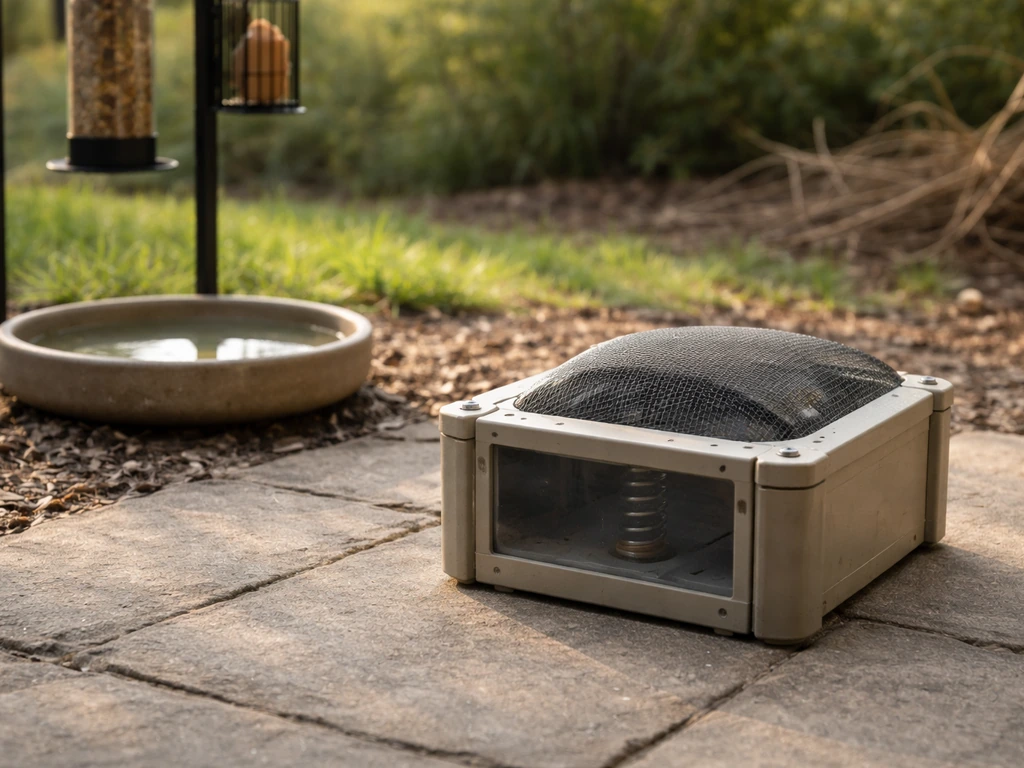
Also consider your enclosure size honestly. The RSPCA is clear that birds need adequate space to fly safely, so launching an item in a tight cage where the bird can't retreat or reorient is not enrichment, it's stress. Caitec’s Buffet Ball is designed for cage-mounted enrichment, but even with a cage-mounted device you still need enough space for safe retreat and reorientation, matching the RSPCA guidance on avoiding stress in tight cages the RSPCA is clear that birds need adequate space to fly safely. For indoor cage use, stick to the gravity-drop design and very short drop distances. Reserve the more energetic designs for a dedicated play area, aviary, or supervised free-flight space.
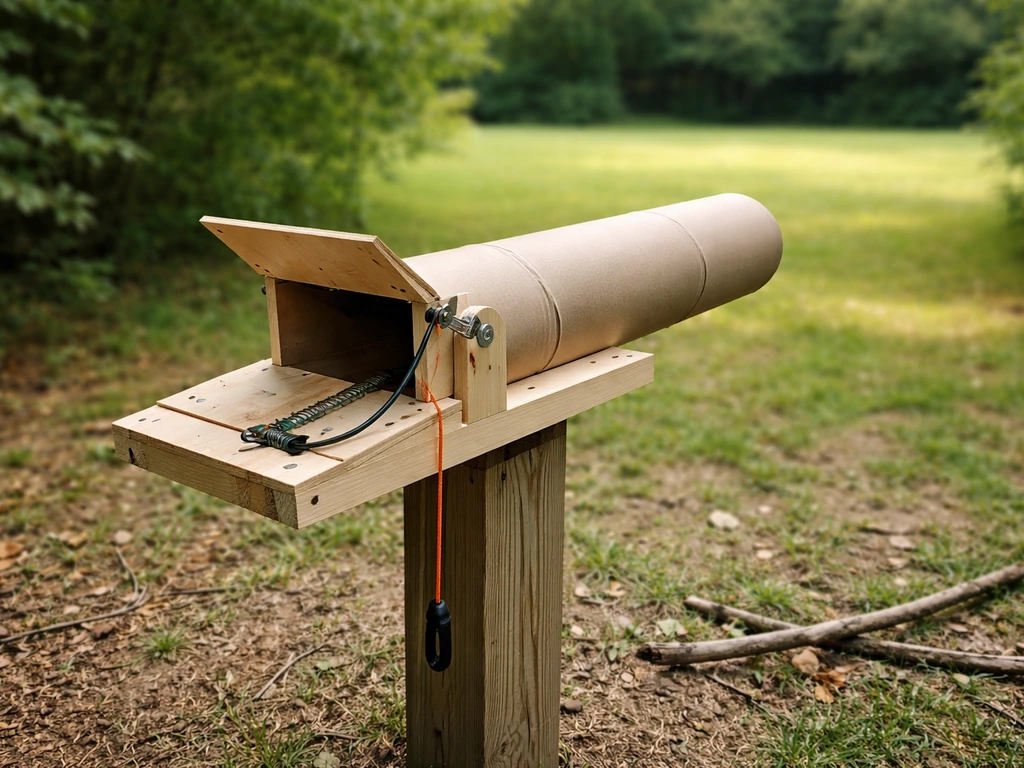
Beginner DIY build: the tube-and-flap launcher
This is the version I'd recommend for most people starting out. It's forgiving to build, easy to adjust, and the flap-release mechanism gives you a satisfying and controllable result. I'm going to walk you through it step by step. If you want to make bird bells, focus on selecting safe materials, keeping the sound gentle, and testing the setup before your bird tries it.
Materials list
- One section of PVC pipe, 2 inches diameter, 12 inches long (food-grade or labeled bird-safe; confirm no lead stabilizers in the plastic)
- One square of 3mm untreated plywood or thick cardboard, approximately 3 x 3 inches (for the flap)
- Two small stainless steel screw eyes (confirmed lead- and zinc-free)
- One length of natural cotton cord, 24 inches (or a thin leather lace)
- One small stainless steel safety pin or a bent stainless steel cotter pin (for the safety lock)
- One wooden base block, untreated pine, approximately 6 x 4 x 1 inches
- Two stainless steel hose clamps or zip ties rated for outdoor use
- Sandpaper, 120 grit and 220 grit
- Non-toxic PVA wood glue or a hot glue gun with food-safe glue sticks
- Optional: a second hose clamp to mount the assembly to a cage bar or aviary frame
Tools
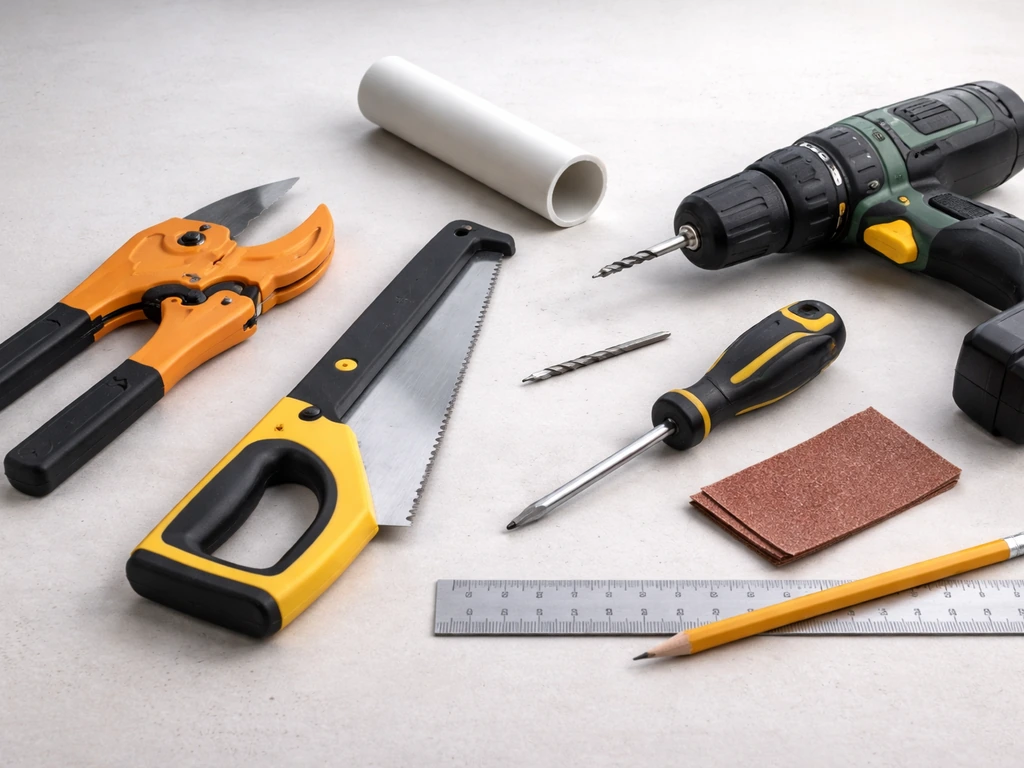
- Hand saw or PVC pipe cutter
- Drill with a small bit (3mm) for pilot holes
- Screwdriver
- Ruler and pencil
- Fine-grit sandpaper or a small sanding block
Step-by-step assembly
- Cut your PVC pipe to 12 inches if it isn't already. Run sandpaper around both cut ends until there are no sharp burrs at all. Run your finger around the inside rim too: if it catches your skin, it'll catch a beak or toe.
- Cut the plywood flap to roughly 3 x 3 inches (or slightly larger than your pipe opening). Sand all edges smooth with 220 grit. This is the piece that sits across the open end of the tube and holds the treat item inside.
- Drill a small pilot hole through the center-top edge of the flap. Thread a screw eye into the hole so the flap can pivot or swing when the cord pulls it. If you're using cardboard instead of plywood, reinforce the hole with a small washer glued underneath.
- Attach the flap to the open end of the PVC tube using a small hinge made from a folded piece of thick leather glued with PVA, or use a very short zip tie looped loosely through a hole drilled near the pipe rim. The flap should swing open freely when you pull the cord but sit flush when closed.
- Thread the cotton cord through the screw eye on the flap and run it along the outside of the tube to a second screw eye mounted near the back end of the tube. This is your release cord. When you pull it, the flap swings open.
- Drill a small hole through the side of the pipe near the front (about 1 inch back from the open end) to accept your safety pin. When the device is loaded and the flap is closed, push the safety pin through this hole so it physically blocks the flap from opening accidentally. This is your safety interlock — always use it.
- Mount the tube at a shallow angle (about 20 to 30 degrees from horizontal) onto the wooden base block using hose clamps or zip ties. Make sure the open (flap) end is pointing away from any cage bars, walls, or areas where your bird perches close up.
- Test the assembly with no bird present and no treat loaded. Pull the release cord from a safe distance. The flap should swing cleanly open without sticking. If it sticks, sand the edges of the flap down slightly or loosen the hinge point.
How to set up, adjust launch range, and test safely

Before your bird ever sees this device, run at least five dry tests with a lightweight stand-in item, like a crumpled ball of newspaper roughly the size of the treat you'll actually use. Watch where it lands every single time. It should land no more than 12 to 18 inches from the tube opening on a flat surface. If it's traveling further than that, lower the tube angle toward horizontal. If it's barely moving, raise the angle slightly or check that the flap is swinging fully open.
Placement matters a lot. The open end of the tube should face into open floor space or a clear section of the aviary, not toward perches, food bowls, or nesting areas. The bird should be able to see the item land and choose whether to approach it. If the item is flying into a corner or getting blocked by cage furniture, reposition the launcher before your bird's first session.
For the very first test with your bird present, load the launcher with a real treat item (see the next section for what to use), insert your safety pin, place the launcher in position, and let your bird see the device from a comfortable distance before you release anything. Give them a minute to look at it. Then pull the release cord slowly and watch their reaction. Curiosity and head-tilting are great signs. Alarm calling, feather-flattening, or bolting to the far end of the enclosure means you need to slow down the introduction process.
Using the launcher for foraging and training
The best items to load into a DIY bird launcher are lightweight foraging bundles that your bird has to work to open. A Nutri-Berry or similar treat wrapped in a small square of unprinted newspaper and twisted at both ends works perfectly. So does a small cardboard tube (like a toilet paper roll segment) stuffed with a few pellets and creased shut at both ends. The item should be soft enough that if it hits a perch or a wall at low velocity, it won't cause any harm, and it should be something the bird can tear into and find a reward inside.
Avoid anything hard (seeds in an unpadded capsule, small stones, firm plastic balls used at full launch energy) because even a light impact to a wing or eye can cause injury. The payload should be the foraging puzzle, not an obstacle.
On frequency: the RSPCA recommends giving birds smaller meals more often and in different places to mimic natural foraging behavior. The launcher fits perfectly into that model. Use it for one or two foraging sessions per day, not as the primary feeding method. Rotate it with other enrichment approaches, like hiding treats in cardboard tubes wedged in cage bars or wrapping food in paper for chewing, so your bird doesn't become dependent on any single foraging method. Be mindful of portion size too: foraging enrichment can add up to extra calories quickly, so adjust the bird's regular diet accordingly.
If you want to use the launcher for basic training (teaching a bird to search for and retrieve a specific item), start with the gravity-drop version and a highly motivating treat. Release the item while using a consistent verbal cue. Over several sessions, the bird will associate the cue with the release event. This kind of target-and-retrieve behavior is genuinely stimulating and builds confidence in birds that are already comfortable with basic foraging toys. Think of it as a progressive difficulty system: start easy with something the bird can immediately find and open, then gradually increase the wrap complexity or the distance.
Maintenance, cleaning, and fixing common problems
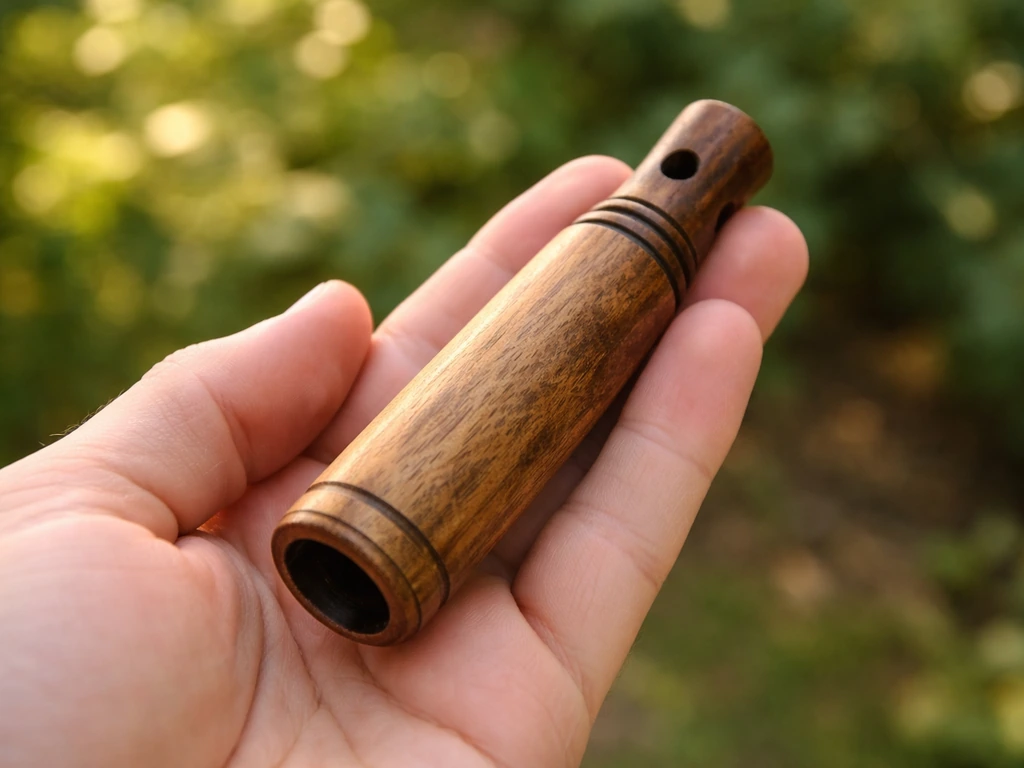
Clean the launcher after every two to three sessions, or immediately if a wet treat leaves residue inside the tube. A bottle brush and warm water with a tiny amount of plain dish soap is all you need for the PVC tube. Rinse thoroughly (soap residue is an irritant for birds) and let it air dry completely before reloading. The wooden base can be wiped down with a damp cloth. If you also want a wooden bird call, you can use the same approach of choosing safe materials and shaping the wood to produce a gentle sound without sharp edges wooden base. Never soak untreated wood, as it will swell and potentially trap moisture that grows mold.
Check the flap hinge and cord attachment points daily before each session. Wear on the cord or the hinge is the most common failure point. If the cord shows fraying, replace it immediately. If the flap is getting sticky or warping (especially in outdoor humidity), sand it lightly or replace the plywood piece with a fresh cut. Keep a spare flap already cut and sanded so you can swap it in seconds.
Troubleshooting quick reference
| Problem | Likely cause | Fix |
|---|---|---|
| Flap won't open when cord is pulled | Flap edge catching on pipe rim | Sand the flap edges down by 1-2mm; check that the hinge pivot point moves freely |
| Treat item falls out before release (misfires) | Tube angle too steep or item too light | Lower the tube angle or use a heavier foraging bundle |
| Treat item barely moves after release | Tube angle too flat or flap only partially opens | Raise the angle slightly and confirm the flap swings fully open |
| Treat item travels too far | Tube angle too steep for the item weight | Lower angle by 5-degree increments until landing zone is consistent |
| Flap warping or sticking in humid weather | Untreated wood absorbing moisture | Apply a single coat of food-safe beeswax to the flap; see upgrade options below |
| Bird ignores the launcher completely | Device is new and unfamiliar | Leave it unloaded in the enclosure for several days before using; let the bird investigate it passively |
Optional upgrades: making it more durable, adjustable, and weatherproof
Once your basic build is working reliably, there are several upgrades worth considering depending on how you use it and where it lives.
Adjustable angle base
Replace the fixed hose clamps with a rotating mount made from two interlocking plywood discs with a bolt through the center and a wing nut to lock position. This lets you dial in the exact launch angle in 5-degree steps rather than rebuilding the whole base every time you want to change the range. Mark your preferred angles with a pencil so you can repeat them consistently.
Remote cord extension
Run the release cord through a second screw eye mounted further back (up to 3 feet away) so you can trigger the release from a distance. This is especially useful for training purposes, because it removes your physical presence from the bird's immediate line of sight when the item releases, which creates a more naturalistic foraging trigger.
Weatherproofing for outdoor aviaries
If your launcher lives outdoors, two changes make a big difference. First, replace the plywood flap with a cut from a thick food-safe HDPE cutting board (the white or natural-colored kind found in any kitchen supply store). It won't warp, rot, or absorb moisture. Second, replace the cotton cord with a natural leather lace, which holds up better to UV and rain than cotton. Wipe the PVC tube down monthly with a damp cloth and inspect the screw eyes for any signs of rust or corrosion, replacing them immediately if found.
Replaceable tube liner
Cut a cardboard tube (a paper towel roll trimmed to length) to sit snugly inside the PVC pipe as a disposable liner. If you want to make a bird scarer from a plastic bottle, you can use the same idea of safe, lightweight movement to encourage natural curiosity without blasting anything. The foraging item sits in the liner, and after each session you just pull out the liner and recycle it, keeping the PVC tube clean with minimal effort. This is especially useful for messy treats or wet fruit-based enrichment items.
Weighted anti-tip base
Screw or clamp a second, wider piece of plywood (10 x 6 inches) under your existing base, and add a small pocket on the underside filled with clean gravel or smooth river stones. The added weight keeps the launcher stable even if a large bird lands nearby or the release cord is pulled at an angle. Stability matters: a device that tips over mid-session is both a mess and a potential injury risk if it lands on your bird.
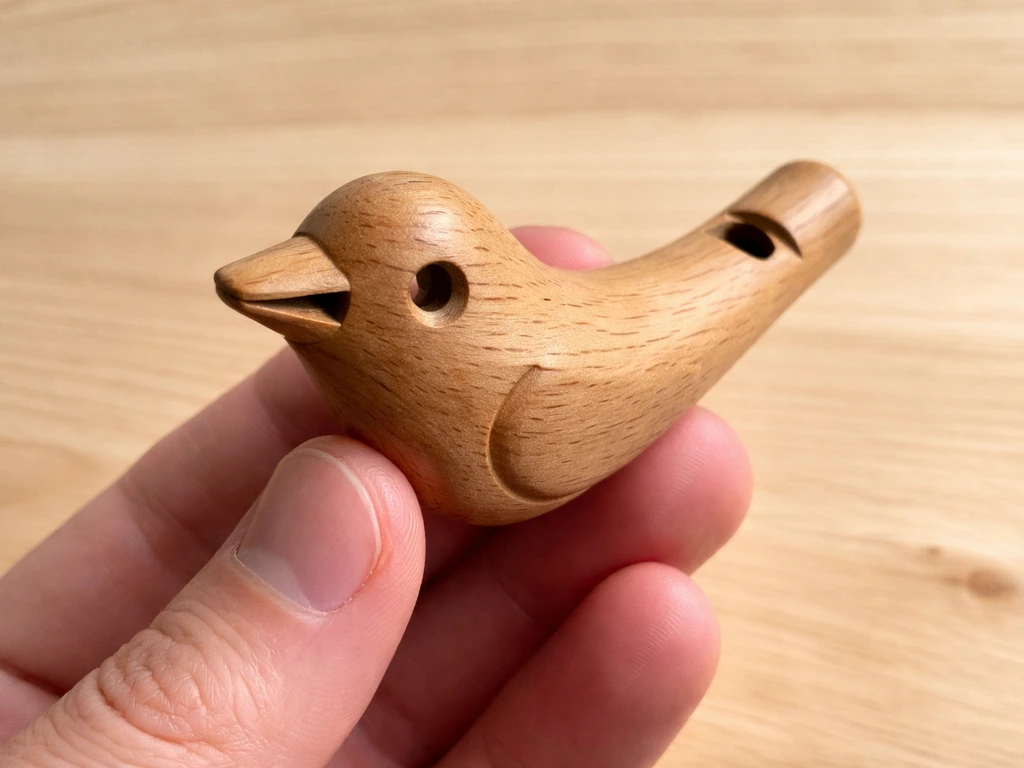
If you enjoy making tools and toys for your birds, this kind of project pairs naturally with other enrichment builds like wooden bird whistles, foraging calls, and noise-making devices that engage different senses. The same principles apply across all of them: safe materials, thoughtful energy levels, and a gradual introduction process that lets your bird decide when they're ready to engage.
FAQ
What size bird can use a DIY bird launcher like this?
The limiting factor is payload weight and launch range. Keep the payload soft and lightweight, and in early sessions aim for the item to land within about 12 to 18 inches so the bird can approach at its own pace. For very small birds, reduce payload size (use smaller wrapped treats or a shorter tube liner) so the landing and tearing effort match their strength.
How do I choose the right treat or foraging item so it does not damage the bird?
Pick items that tear open easily and have no hard core, firm plastic, or unpadded impact risk. Test with your intended treat and observe whether the bird can safely chew and handle it after it lands, not just whether it “holds together” in flight. If the item splinters, snaps open violently, or leaves sharp fragments, swap it.
My launcher payload is inconsistent, sometimes landing too far or not releasing fully. What should I troubleshoot first?
Start with the tube angle and flap swing clearance. Make sure the flap fully clears when released, and inspect the cord and hinge for friction or stretch. Then confirm the payload fit is consistent (too loose can shift before release, too tight can jam the flap). Only after those are stable should you consider adjusting energy inputs.
Can I mount the launcher to a cage or inside an aviary where the bird is already perched nearby?
Avoid mounting where the bird cannot retreat or reorient. Even if the range is short, place the open tube end so the landing area is in open floor space, not toward perches, bowls, or nesting spots. If the bird lands on furniture near the launcher during a test, reposition before using it with real treats.
Is it safe to use the launcher as a primary feeding method?
No, treat it as enrichment, not the main diet delivery system. Use it for one or two foraging sessions per day, then rotate with other foraging options. Since foraging can add up quickly, weigh or estimate daily calories and reduce regular meal portions accordingly so the bird does not gain weight.
What signs mean my bird is stressed rather than engaged?
If you see freezing, repeated attempts to flee, alarm calling that escalates each release, or refusal to approach even after a pause, stop and slow the introduction. Some birds need gradual exposure over days, starting with the device present and reward near it, before you ever trigger a release.
How can I reduce mess and residue when using wet fruit or sticky treats?
Use a disposable liner approach (a snug cardboard tube) so sticky payloads do not coat the PVC tube. Also increase cleanup frequency, remove the liner immediately after use, and rinse and dry thoroughly. If you notice wet residue lingering inside the tube after a session, shorten the session interval or switch to a drier wrap.
How often should I inspect parts, and what exactly should I replace first?
Do a quick check before each session, focus on cord fraying and flap hinge wear. Replace the cord immediately if any fibers look worn, and swap the flap if it warps or becomes sticky. Keeping a spare pre-cut flap ready prevents you from using a partially degraded part during training.
Can I use the launcher for training target-and-retrieve, and how do I prevent frustration?
Yes, but keep the distance and complexity low at first. Use the gravity-drop style for training, add a consistent verbal cue, and start with an item the bird can instantly find and open. If the bird seems to lose interest after several attempts, shorten the distance and simplify the wrap rather than increasing difficulty.
What should I do if the payload sometimes “misses” or lands in a corner?
Do not just adjust the release speed or energy. Reposition the launcher so the landing zone stays in open space and is visible. If corners or obstacles repeatedly interfere, change the enclosure layout for the session (temporary barriers or selecting a clearer section) rather than forcing the bird to retrieve from unsafe spots.
How should I clean the launcher so soap residue does not irritate my bird?
Rinse thoroughly after washing the tube, then let it air dry completely before the next use. A good check is to smell for any “soapy” odor after drying. For sticky residues, repeat the rinse step, and wipe any wooden base surfaces with a damp cloth rather than soaking them.
Are there upgrades that improve safety without increasing launch power?
Yes. Angle repeatability helps you keep the same gentle range, a distant trigger (second screw eye and longer cord) reduces your sudden presence, and a stable weighted base prevents tipping if the bird lands near the launcher. These changes improve control and consistency without needing more energy.
Next Articles
How to Make a Bird Call Out of Wood Step by Step
Step-by-step DIY guide to make a wooden bird call, from choosing wood to tuning airflow for clear birdlike sounds.
How to Make a Wooden Bird Whistle Step by Step
Step-by-step guide to make a wooden bird whistle: wood choice, cutting windway, tuning, finishing safely, troubleshootin

How to Build a Chimney Swift Bird House DIY Guide
Step-by-step DIY plans to build a chimney swift bird house, with correct dimensions, placement, and weatherproofing for