You build a basic birdhouse shape, add a seed hopper or tray around or beneath the house opening, and let gravity or a simple ledge do the work of dispensing seed to visiting birds. The key is making sure seed flows out reliably rather than just sitting packed against the wood where it rots. Done right, this combo structure acts as both a visual focal point in your yard and a real feeding station that songbirds will return to daily.
How to Make a Bird Seed Covered Birdhouse Feeder

Marcus Thornton
7 May 2026
What exactly is a bird seed covered birdhouse?
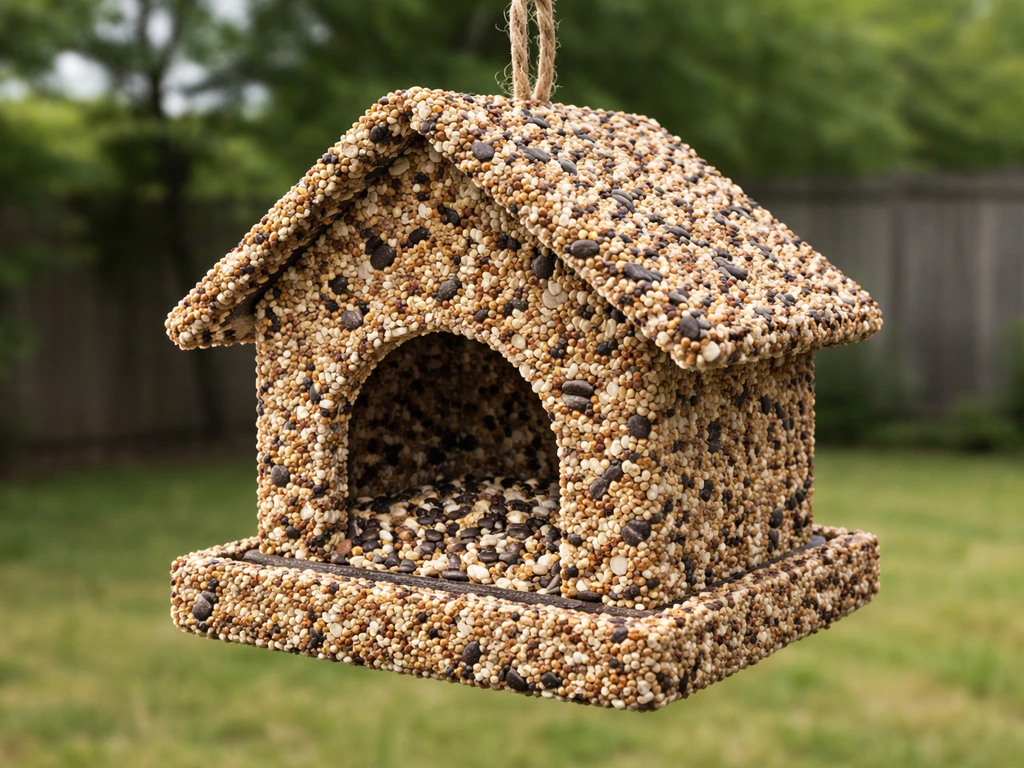
A bird seed covered birdhouse, sometimes called a birdhouse feeder or bird seed house, is a hybrid project that combines the look of a traditional birdhouse with the function of a seed feeder. The house shape is decorative and sometimes structural, but the real action happens at the feeding zone: a seed hopper, trough, or tray that either wraps around the base of the house or sits beneath the entrance hole so birds can perch and feed from it. Some designs literally cover the exterior walls with seed pressed into adhesive, but those are mostly decorative ornaments, not functional feeders. What we're building here actually works, meaning seed flows to birds cleanly and the structure holds up through rain and wind.
This is different from a standard nest box. A nest box is designed for birds to live and raise chicks inside. A birdhouse feeder is designed to attract birds to eat, not nest. The house shape draws birds in visually and gives them a sense of shelter and cover near the food source, which genuinely does help birds feel safe enough to feed regularly.
Materials and tools you'll need
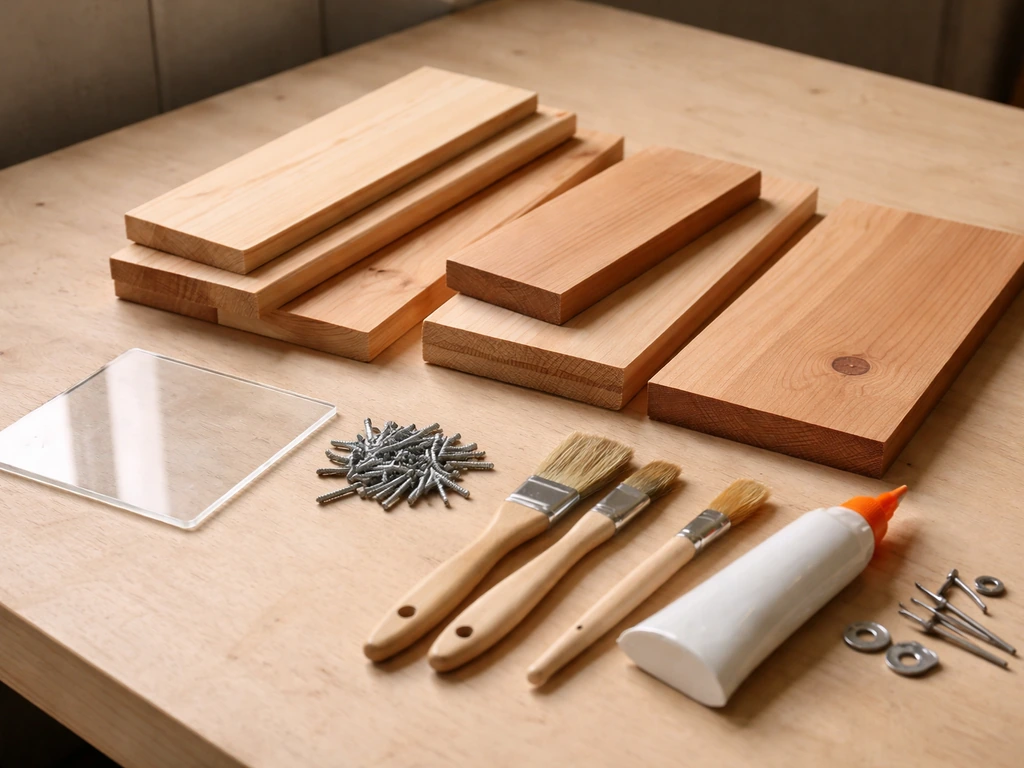
You don't need a full workshop for this. Most of what I use comes from a single trip to a hardware store or a rummage through the scrap wood pile. Here's what to gather before you start cutting anything.
Wood and structural materials
- One piece of untreated cedar, redwood, or pine board (1 inch thick, at least 6 inches wide, 4 to 5 feet long): cedar is the gold standard because it resists moisture and doesn't need paint, but scrap pine works fine if you seal it
- One piece of thin plywood or hardboard for the back panel if you want a hanging mount
- Small wood scraps or craft sticks for interior dividers if you're building a hopper-style seed chamber
- A short length of 1/2-inch or 3/4-inch dowel rod for the perch (optional, but birds appreciate it)
- Repurposed option: old wooden crates, pallet wood cut to size, or salvaged fence boards all work well here
Seed dispensing components
- A small acrylic or plexiglass sheet (about 4x6 inches) for the front seed window if you're building a hopper-style feeder: this lets you see when seed is running low
- A shallow tray or platform (wood or metal): you can cut this from scrap or repurpose a small plastic plant saucer with drainage holes drilled in
- Wire mesh or hardware cloth with 1/4-inch openings for a mesh tray bottom: allows water to drain through and prevents seed from sitting in moisture
- Repurposed option: a metal jar lid, a terracotta saucer, or even a short section of plastic drainpipe cut lengthwise makes a decent seed trough
Fasteners, adhesives, and finishes
- Exterior wood glue (waterproof type)
- 1-1/4 inch galvanized screws or nails: galvanized resists rust and won't leach chemicals into the wood
- Non-toxic, water-based exterior paint or stain if you want to add color: avoid paints with heavy metals or fungicides
- Natural linseed oil as an alternative finish: it seals the wood and is safe for birds
- Silicone caulk for sealing any gaps where water could pool
Tools
- Hand saw or circular saw for cutting boards
- Drill with bits: you'll need a 1-inch to 1-1/2-inch spade bit or hole saw for the entrance hole, plus smaller bits for pilot holes and drainage holes
- Sandpaper (80 and 120 grit)
- Clamps to hold pieces while glue dries
- Measuring tape, pencil, and a square
- No drill? A hand brace with a sharp bit does the same job and is quieter
Step-by-step build: putting the birdhouse feeder together
This build makes a house-shaped feeder with a gravity-fed seed hopper in the main body and a small tray platform at the base where birds can perch and feed. The entrance hole is decorative and sized to look like a real birdhouse, and it also functions as the seed opening slot at the bottom of the hopper. Total build time is about two to three hours, not counting drying time. If you want a bird cage craft instead, you can adapt the same yard-friendly approach by choosing lightweight, safe materials and building a sturdy enclosure. If you want the full build in one place, follow the step-by-step guide for how to make a bird at home.
- Cut your floor piece first: 5 inches by 5 inches is a good size for a small feeder house. Drill four 1/4-inch drainage holes in the corners so any water that gets in drains out fast.
- Cut two side panels: 4 inches wide and about 8 inches tall, with the top cut at an angle to form the roof pitch. A 45-degree cut works fine and looks clean.
- Cut the front and back panels: the front panel needs a 1-inch to 1-1/2-inch round hole centered about 7 inches up from the base, which is where birds will access seed. The back panel can be a simple rectangle with a hanging hole drilled at the top.
- Cut the roof pieces: two pieces about 5 inches wide and 6 inches long, joined at a ridge. If you want a seed hopper behind the entrance hole, leave a 1/2-inch gap at the bottom of the front roof panel where seed can trickle down to the tray.
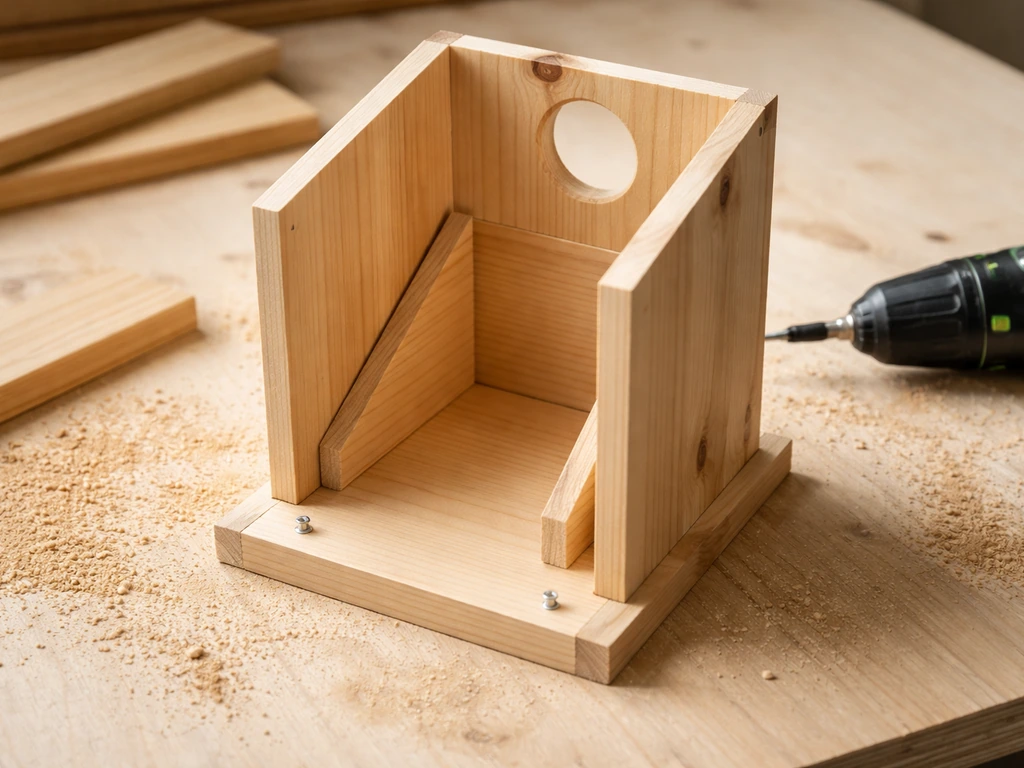
- Assemble the box: glue and screw the floor to the sides first, then attach the front and back panels. Keep everything square as you work. Let the glue tack up for about 10 minutes before driving screws.
- Build the seed hopper chamber: inside the house body, glue two thin scrap wood dividers from the floor up toward the entrance hole, creating a narrow channel that holds seed and funnels it toward the opening. Think of it like a V-shape pointing at the entrance hole.
- Add the tray platform: cut a piece of wood or hardware cloth about 6 inches by 6 inches and attach it below the entrance hole, angled very slightly forward (about 5 degrees) so seed rolls to the front edge where birds can reach it. This is the feeding shelf.
- Attach the roof: glue and nail the roof panels to the top edges of the side panels. If you want to be able to open the roof for refilling, use a simple hook-and-eye latch at the ridge instead of permanent glue.
- Sand all edges smooth: rough edges can catch moisture and splinter over time. A quick pass with 120-grit sandpaper on all exterior edges takes two minutes and extends the life of the feeder significantly.
- Seal and finish: apply two coats of exterior linseed oil or water-based paint to all outer surfaces. Let it dry fully (at least 24 hours) before adding seed.
How to cover the birdhouse with seed effectively
This is the part that trips most people up. The goal isn't to just pack seed against the outside of the house and hope for the best. You want seed to flow to birds reliably, stay dry enough to be safe to eat, and be easy for you to refill. Here's how to make that actually happen. If you want the full DIY birdhouse feeder walkthrough, start with how to make DIY birdhouse feeder and then choose the best seed-covering method for your setup.
The hopper method (most reliable)
A hopper feeder stores seed inside the house body and lets gravity pull it down toward the entrance opening or tray as birds eat. This is what the V-channel divider in the build above creates. Fill it from the top through an opening roof. The seed stays sheltered from direct rain, flows to the feeding tray on its own, and you only need to top it off every few days depending on how busy your yard is. Sunflower seeds and safflower seeds work best in a hopper because they're round and flow well. Millet can clump in humid conditions, so use it sparingly in the hopper or just sprinkle it directly on the tray.
The adhesive seed coat method (decorative, limited function)
You can cover the exterior walls of the house with seed using a thick coat of peanut butter, corn syrup mixed with gelatin, or a commercial suet-style binder. Press mixed seed firmly into the coating and let it set. This looks fantastic and birds will pick at it directly from the walls. The honest downside: this coating weathers in rain, goes rancid in warm weather, and attracts insects and rodents if not monitored. Use it as a seasonal accent in cooler months, not as your primary feeding method. If you do this, plan to strip and reapply every week or two.
The tray dispensing method (simplest, easiest to clean)
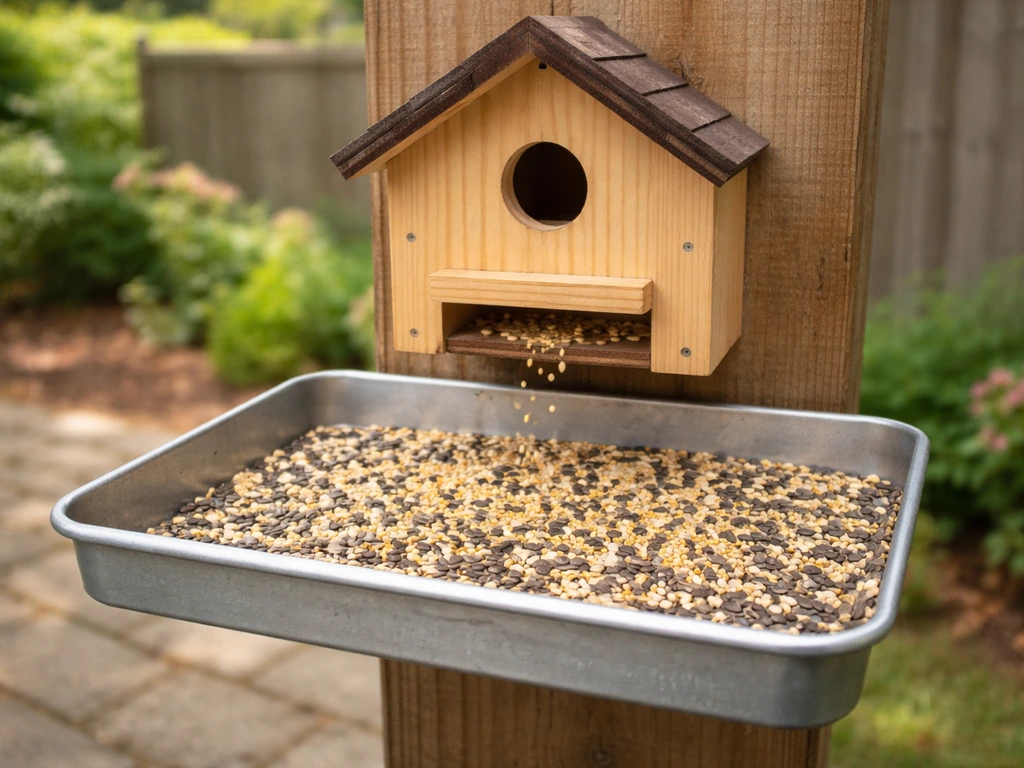
A wide, shallow tray mounted below the entrance hole is the easiest approach and works with almost any seed type. Add a small lip around the edge (about 1/2 inch tall) to keep seed from scattering in the wind, but keep it low enough that birds can see over it from the perch. The mesh tray bottom is important here: it lets rain drain through so seed doesn't sit in water and mold. Tray feeders do expose seed to the elements more than a hopper does, so check and refresh tray seed every couple of days in wet weather.
Placement, setup, and safety
Where you hang or mount this thing matters more than most people realize. Get the placement wrong and you'll either have birds ignoring it or hitting your windows on the way in.
Window collision risk
Place your feeder either within 3 feet of the nearest window or more than 10 feet away. The reasoning is simple: birds very close to a window can't build up enough speed to seriously injure themselves if they do hit the glass, and birds far enough away have room to bank away before reaching it. The danger zone is the middle distance of 3 to 10 feet, where a bird can get a full head of steam. Audubon actually recommends pushing the safe far distance to 30 feet if you can manage it, which is worth doing if your yard has the space. Audubon also suggests using suction cups to mount feeders directly on the window or keeping feeders within 3 feet of the window, if you cannot place them 30 feet away.
Height and mounting
For a feeding station like this, mounting between 4 and 6 feet off the ground hits a sweet spot: high enough to be out of easy reach of ground predators like cats, but low enough that you can comfortably refill and clean it without a ladder. Mount it on a smooth metal pole if possible. Cats and squirrels struggle to climb a slick metal post, especially if you add a baffle (a cone-shaped squirrel guard) about halfway up.
Shelter and visibility
Position the feeder near some natural cover like a shrub, small tree, or dense hedge within about 10 feet. Birds feel safer feeding when they have somewhere to bolt to if startled, and they'll use the feeder much more frequently if cover is nearby. At the same time, don't bury it so deep in a bush that predators can use the branches to reach it or ambush feeding birds. A clear line of sight from the feeder to the nearest escape cover is the goal.
Weather and moisture protection
The roof overhang is your main defense against rain soaking the seed. Make your roof overhang at least 2 inches past the feeding tray on all sides. If you built a hopper, seal the top opening with a tight-fitting lid. Angling the tray slightly forward, as mentioned in the build steps, also helps water run off the front instead of pooling on the seed. Virginia DWR specifically warns that tray feeders without a cover dramatically increase the risk of mold and fungal growth in wet seed, which can harm birds, so don't skip the roof.
Matching the feeder to specific bird species
Not every backyard bird wants the same thing. If you have a specific species in mind, a few small design changes can make a big difference in who shows up at your feeder house.
| Bird Species | Preferred Seed | Tray or Hopper? | Entrance Hole Size (if decorative) | Notes |
|---|---|---|---|---|
| Black-capped Chickadee | Sunflower chips, nyjer | Either | 1 to 1-1/8 inch | Comfortable at small enclosed feeders; loves partial cover |
| White-breasted Nuthatch | Sunflower seeds, suet | Hopper or tray | 1 to 1-1/4 inch | Will cling to the side of a house feeder, not just the perch |
| House Finch | Black-oil sunflower, nyjer | Tray preferred | N/A (open platform fine) | Gregarious; will crowd a tray feeder with multiple birds at once |
| Dark-eyed Junco | Millet, sunflower chips | Low tray or ground scatter | N/A | Prefers lower feeders or seed fallen below the main tray |
| Northern Cardinal | Sunflower seeds, safflower | Wide tray | N/A (needs open platform) | Large bird; needs a wide, sturdy perch and open sight lines |
| American Goldfinch | Nyjer (thistle), sunflower chips | Tube-style or small hopper | N/A | Nyjer seed flows poorly in wide hoppers; use a fine-mesh port |
The entrance hole in this kind of feeder is mostly decorative, but sizing it to match a real species adds authenticity and can subtly influence who feels comfortable approaching. A chickadee-sized 1-to-1-1/8-inch hole at the front of the house body signals a small-bird-friendly zone. If you're targeting cardinals or larger birds, skip the small entrance hole and go with a fully open platform design on the feeder tray instead.
Seed choice does most of the species-targeting work. Black-oil sunflower seed is the single best all-around option if you want a wide variety of visitors. Nyjer (thistle) seed in a tight-mesh hopper or tray specifically draws finches. Safflower is a good choice if you want to discourage starlings and house sparrows while still attracting cardinals and chickadees. Mixing these in a blend is fine for a tray, but keep your hopper stocked with one primary seed type so it flows cleanly without jamming.
If you enjoy decorating your finished feeder, that's a whole separate creative direction worth exploring. If you want bird decorations that also function as feeders, the next steps will help you cover and assemble a birdhouse feeder properly. If you want to go beyond function, learn how to decorate bird house designs that still stay bird-safe and practical decorating your finished feeder. Painted designs, carved details, and themed exteriors can all personalize this project without affecting function, as long as you use bird-safe finishes.
Keeping it clean, full, and working properly
This is the part of feeder ownership that makes or breaks the whole thing. A dirty feeder doesn't just look bad; it can genuinely spread disease among the birds visiting your yard. Salmonella, aspergillosis (a mold-based fungal disease), and other pathogens thrive in wet, decomposing seed. Discard any seed that becomes wet or damp to help keep birds safe wet or damp seed. Here's the practical maintenance routine that keeps things safe.
Cleaning schedule
Clean your feeder about once every two weeks as a baseline. During warm, humid weather or after several days of rain, bump that up to once a week. If you ever see birds looking lethargic or sick near the feeder, take it down immediately, clean it thoroughly, and leave it empty for at least two weeks before putting it back up. This is the recommendation from Iowa DNR and it's good practice. One sick bird can spread illness fast through a group that's all using the same food source.
How to clean it
- Empty all remaining seed from the hopper and tray
- Disassemble any removable parts (tray, roof lid, perch)
- Scrub all surfaces with warm soapy water and a stiff brush to remove seed residue, hulls, and droppings
- Mix a disinfecting solution of 9 parts water to 1 part household bleach
- Soak or scrub the feeder components in the bleach solution for a few minutes
- Rinse thoroughly with clean water until no bleach smell remains
- Let all parts air dry completely before reassembling and refilling: putting wet seed into a damp feeder is a fast way to grow mold
Don't forget the ground below the feeder. Raking up fallen seed hulls and waste every week or two prevents a buildup of moldy debris at ground level, which can be just as harmful to ground-feeding birds like juncos and sparrows as a dirty feeder itself.
Troubleshooting common problems
- Seed clogging in the hopper: this almost always means the seed got wet and swelled or compacted. Use dry seed, make sure your roof seals tightly, and check that the hopper channel isn't too narrow. Widening the V-channel to at least 3/4 inch across at the base usually solves the flow problem.
- Squirrels emptying the feeder overnight: add a squirrel baffle on the mounting pole and consider switching to safflower seed, which most squirrels dislike but many songbirds love.
- Mold forming on the tray seed: check your drainage holes are clear and not clogged with debris. Replace wet seed immediately rather than adding fresh seed on top. If mold keeps recurring, increase your cleaning frequency.
- Birds not using the feeder: give it one to two weeks after first setup before worrying. Move the feeder closer to natural cover if birds aren't visiting. Also check that the seed is fresh: stale or rancid seed smells off to birds even when it looks fine to us.
- Wood warping or cracking: this usually means the wood got wet repeatedly without a chance to dry. Reseal the exterior surfaces with linseed oil or exterior paint and check your roof overhang is keeping the tray reasonably dry.
- Insects invading the seed: ants are the most common problem. Apply a sticky insect barrier (like Tanglefoot) to the mounting pole below the feeder, or use a water moat on the hanging wire above it.
Wear and long-term durability
Expect to reseal the exterior every one to two years if you used linseed oil, or every two to three years if you used a quality exterior paint. The tray takes the most abuse since it's constantly exposed to seed, moisture, and bird droppings. If you built the tray as a separate removable piece, which I'd strongly recommend, you can replace just that piece when it wears out without rebuilding the whole feeder. Cedar and redwood will outlast pine by several years with the same care, so if longevity matters to you, spend a little more on the wood choice up front.
FAQ
What’s the safest way to “cover” the birdhouse with seed without making it unsafe or messy?
If you want a seed-covered exterior, treat it as a decorative seasonal add-on, not your only feeding surface. Use a binder that stays non-toxic to birds, keep the coating thin enough that it dries between showers, and commit to stripping and reapplying frequently (weekly to biweekly in wet weather) so it doesn’t go rancid or moldy.
Why does my seed jam or stop flowing, even when the hopper looks well-built?
Most jams come from inconsistent seed mix or poor gravity flow paths. Use one primary seed type in the hopper (for example, black-oil sunflower), keep the hopper interior smooth, avoid tight turns right near the outlet, and confirm the outlet opening is wide enough for individual seeds to pass without bridging.
Can I use any seed, or should I stick to specific types?
Stick to seeds that match the feeder type. Round, flow-friendly seeds work best in gravity hoppers (black-oil sunflower, safflower), while finer or clumping seeds are better on open trays where you can refresh them. If you try mixed seeds in a hopper, the mix can bridge and block flow.
How do I keep tray seed from getting wet and molding?
Rely on protection, drainage, and refresh cycles. Ensure rain can run off the roof overhang on all sides, use a mesh or slotted tray bottom, and check after heavy rain. In wet conditions, you may need to empty and restart the tray feed more often than the usual every couple of days.
Do birds still feed from it if the “entrance hole” is too small or the tray position is off?
Yes, but it can reduce activity and change which species visit. A chickadee-sized hole is small-bird friendly, but if you target larger birds, a small hole can discourage them from approaching. Also keep the tray height and lip visible from the perch so birds can see the food and land comfortably.
Should I mount it on a pole or hang it, and what height is best for both birds and maintenance?
A smooth metal pole at about 4 to 6 feet usually works well because it reduces climbing and keeps the feeder accessible. Hanging can swing and slow refilling and cleaning, especially if the tray gets wet from motion or trapped runoff.
What spacing from windows is truly safest, and why does it matter?
Aim for either very close (under about 3 feet) or far away (10 feet or more) to reduce the likelihood of birds reaching full speed toward glass. If you can manage it, pushing farther out (for example, around 30 feet) gives birds more time and distance to bank away if they hesitate or misjudge the surface.
How often should I clean, and what should I do after seeing a sick bird?
Clean on a schedule, but increase frequency after weather events. As a baseline, clean about every two weeks, then switch to weekly after extended humidity or rain. If you see lethargic birds or signs of illness, remove the feeder, clean thoroughly, leave it empty for at least two weeks, then restart with fresh seed.
Do I need to clean under the feeder too, or is that overkill?
Don’t skip it. Fallen hulls and seed waste can build up moldy debris that still exposes birds, especially ground-feeders like juncos and sparrows. Rake or sweep beneath the feeder every week or two, and keep the area as dry and clear as you can.
How can I reduce squirrels and cats without harming birds?
A baffle around halfway up the pole helps prevent climbing and is generally more effective than relocating repeatedly. Combine that with placement near escape cover for birds (but not so deep in bushes that predators can ambush). Make sure the baffle doesn’t interfere with safe landing space at the feeder.
How long will the feeder last, and when should I reseal or replace parts?
Expect the tray to wear faster than the main house because it takes constant seed, moisture, and droppings. Reseal the exterior about every one to two years with linseed oil, or every two to three years with good exterior paint. If the tray is removable, replace only the tray instead of rebuilding the whole feeder when it becomes stained or rough.
Next Articles
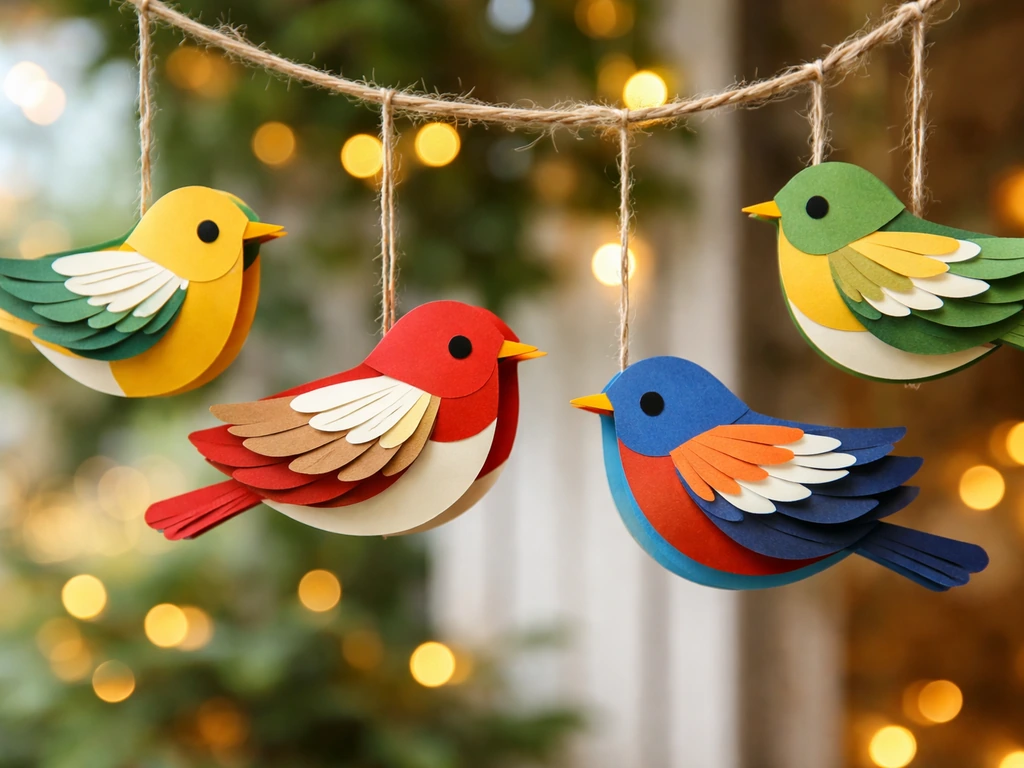
How to Make Bird Decorations: Paper Birds and Ornaments
Step-by-step guide to make paper bird ornaments and non-paper Christmas bird decorations with safe, outdoor-ready tips.
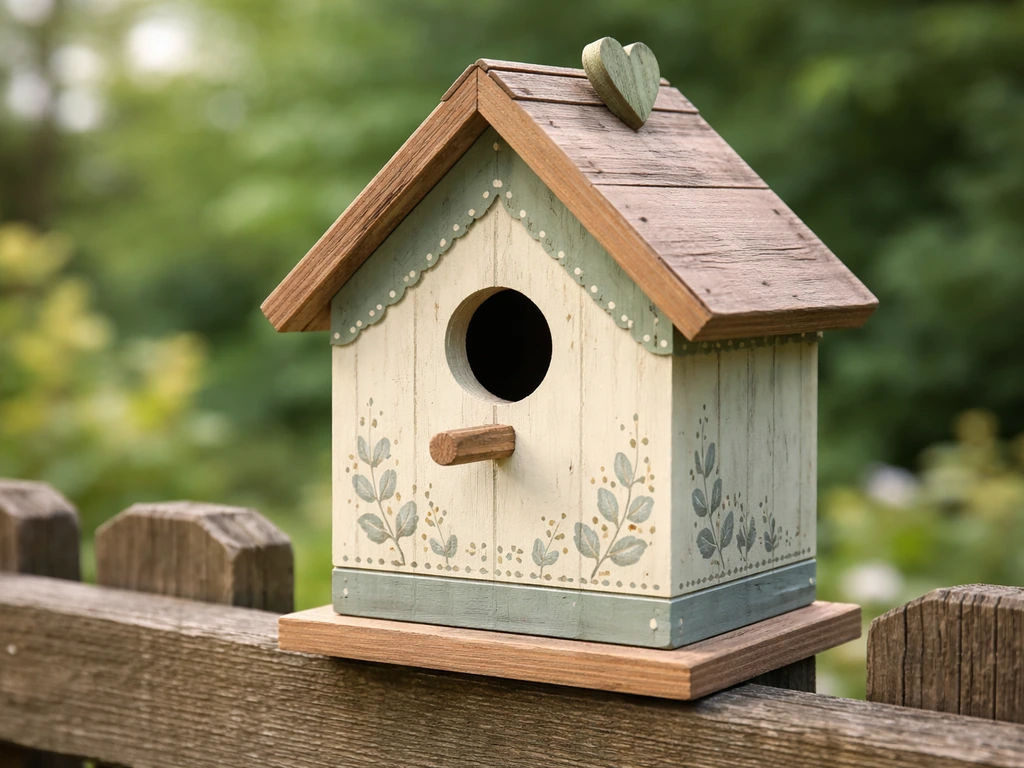
How to Decorate a Bird House Safely Step by Step
Step-by-step how to decorate a bird house safely with bird-safe paints, finishes, and durable outdoor details.

How to Build a Chimney Swift Bird House DIY Guide
Step-by-step DIY plans to build a chimney swift bird house, with correct dimensions, placement, and weatherproofing for