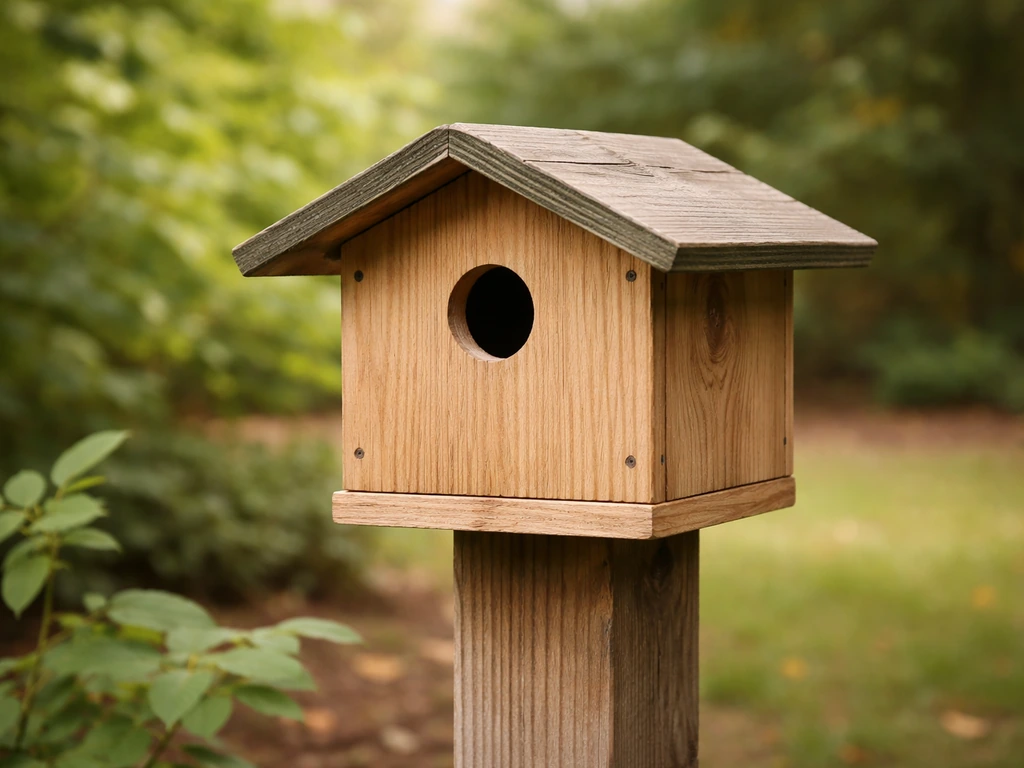
You can build a functional wild bird shelter in a single afternoon using a piece of 3/4-inch untreated pine or cedar, basic hand tools, and a few screws. The most practical starting point for most backyards is a simple enclosed nesting box, which protects birds from weather and predators while giving them a safe place to raise young. Get the entrance hole size right for your target species, add drainage and ventilation holes, mount it at the correct height facing away from prevailing weather, and attach a predator guard. That's really the whole formula.
How to Make a Wild Bird Shelter: Simple DIY Plans

Marcus Thornton
21 May 2026
What kind of wild bird shelter you actually need
"Bird shelter" covers a few different things depending on what you're trying to accomplish. A roosting shelter is a simple enclosed box or covered structure birds duck into on cold nights or during storms. A nesting box is an enclosed cavity where birds raise eggs and chicks. An open-fronted shelter works for robins, phoebes, and barn swallows that prefer a ledge or partial enclosure over a fully closed box. For most people in most backyards, a standard enclosed nesting box does double duty: it's used for nesting in spring and summer, and birds roost in it during cold months.
If your main goal is general weather protection rather than attracting a specific nesting species, an open lean-to style shelter with a solid sloped roof mounted in a sheltered spot also works well. But if you're new to this and want one project that delivers the most value, build the enclosed nesting box. It's what most birds are looking for, it's the most studied and refined design, and it scales up or down easily depending on who you're trying to attract.
One thing I'd steer you away from: don't start with an elaborate multi-chamber design or a wide-open platform. Those have their place, but they require more site-specific knowledge and attract fewer species reliably. Start simple, learn what shows up, and add more structures later. You can always build a bird pond or expand into a broader habitat setup once you know what's already visiting your yard. If you want a bigger project, you can also combine the shelter with a bird sanctuary model to plan the whole yard habitat bird pond.
Where to place it
Placement matters as much as the build itself. Get this wrong and birds will ignore even a well-made shelter. The right location depends on the species, but there are universal rules that apply to almost every wild bird shelter.
Height off the ground
For most cavity-nesting songbirds like chickadees, wrens, and bluebirds, mount the box between 5 and 10 feet off the ground. Too low and predators can reach it easily. Too high and it becomes difficult to monitor and clean. Bluebird boxes do well at 4 to 6 feet when paired with a predator guard on the post. Wood ducks and other larger cavity nesters can go higher, sometimes 10 to 15 feet, because they naturally nest in tall trees.
Direction and sun exposure
Face the entrance hole away from prevailing wind and rain, which in most of North America means pointing east or southeast. This keeps the interior dry during storms and lets morning sun warm the box gently without baking it in afternoon heat. Avoid south and west facing orientations unless you're in a very cool, cloudy climate where extra warmth helps. I learned this the hard way when I put up a box facing west in a sunny yard and watched eggs fail during a heat wave.
Surroundings and habitat
Position the shelter near cover like shrubs or trees, but not so close that predators can jump directly onto it. A few feet of open space around the box helps adult birds spot approaching threats. Keep it away from bird feeders, which attract too much activity and stress nesting birds. If you're building out a fuller backyard setup including food sources and a water feature, space your shelter at least 20 to 30 feet from those busy areas.
Materials and tools
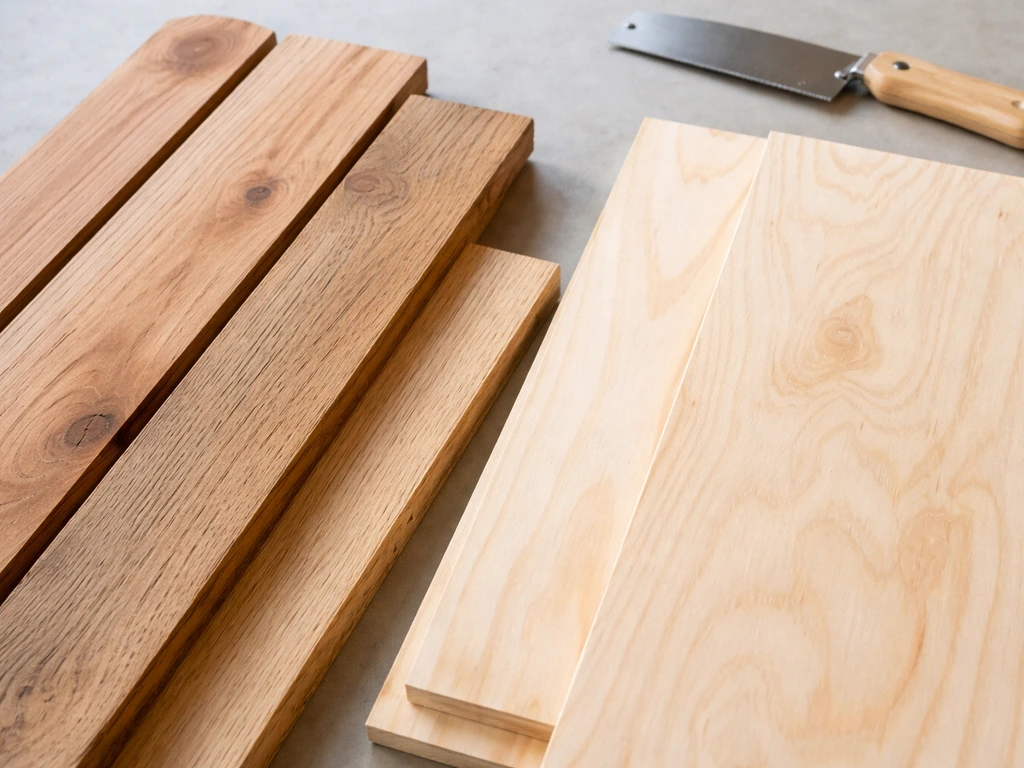
You don't need expensive lumber or specialty hardware. The most important rule is to use untreated wood. Pressure-treated lumber contains preservatives that are toxic to birds. Stick to natural cedar, pine, or Douglas fir. Cedar is the best choice because it naturally resists rot and insects without any treatment needed. Plain pine works fine too, especially if you weatherproof it correctly on the outside only.
Wood options
- Cedar boards (1x6 or 1x8): the ideal choice, naturally weather-resistant and widely available
- 3/4-inch untreated pine plywood: works well for flat panels, holds screws reliably, and is easy to cut
- Rough-cut lumber or tree slabs: excellent natural option that birds readily accept, interior roughness helps chicks grip walls when climbing to the exit
- Repurposed hardwood pallets: can work if the wood is untreated and not contaminated with chemicals, check the pallet markings for HT (heat treated) and avoid MB-stamped pallets which were treated with methyl bromide
- Old wooden fence boards: great repurposed option if untreated and not painted with lead-based paint
Finishes and hardware
Never use stains, varnishes, or paints on the interior of the box. If you want to paint the exterior, use a water-based latex paint in a natural, muted color like gray, brown, or tan. Avoid white on the outside since it reflects heat poorly in cold climates and stands out to predators. Use galvanized or stainless steel screws (not nails, which work loose over time) and galvanized hinges for the cleanout panel. A few basic tools cover the whole build.
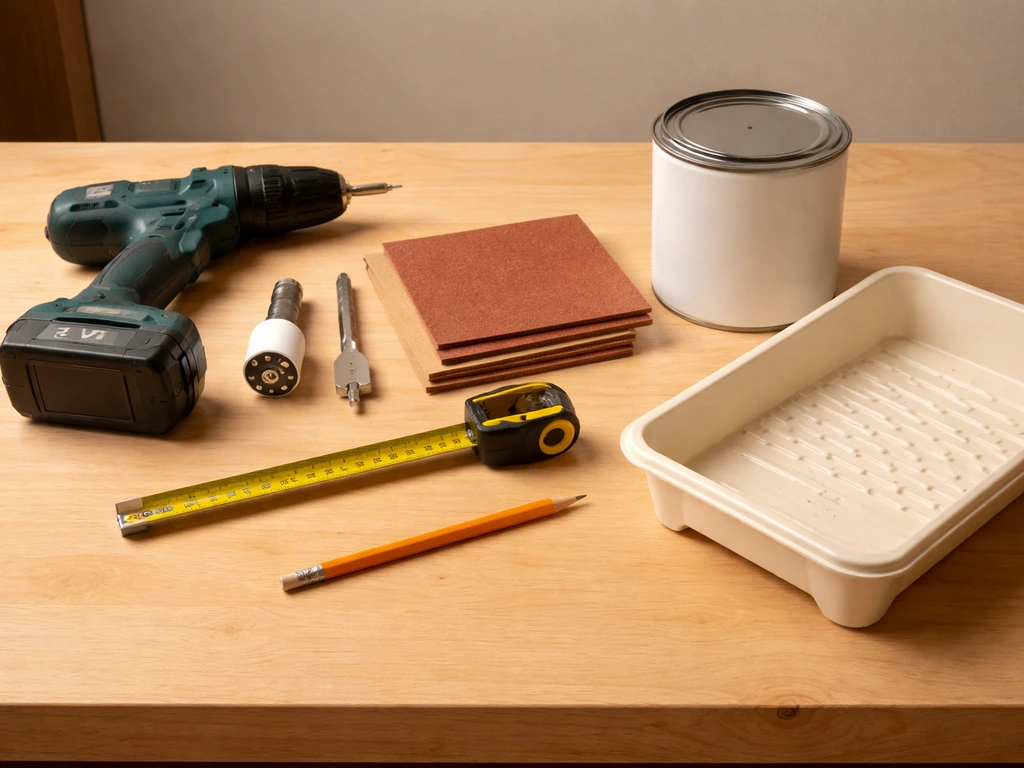
- Tape measure and pencil
- Hand saw or circular saw
- Drill with assorted bits (spade bit or hole saw for the entrance hole)
- Screwdriver or drill driver
- Sandpaper (80-grit for rough spots, 120-grit for edges)
- Clamps (optional but helpful when gluing or holding panels in place)
- Waterproof wood glue (optional, adds durability at joints)
Step-by-step build plan: the basic enclosed shelter
This plan builds a standard enclosed nesting box sized for small to medium cavity-nesting birds. You can adjust the entrance hole diameter and cavity depth to target specific species, which I'll cover in the species section below. The basic box uses a single 1x6 cedar board (6 inches nominal, 5.5 inches actual) at about 6 feet long, which gives you all the panels you need with minimal waste.
Cut list
| Panel | Dimensions | Notes |
|---|---|---|
| Floor | 4" x 4" | Slightly smaller than walls to allow drainage gaps at corners |
| Back | 5.5" x 14" | Full board width, tall enough for mounting |
| Front | 5.5" x 10.75" | Shorter than back to create roof overhang angle |
| Two sides | 5.5" x 9" each | Angled top cut to match roof slope |
| Roof | 6" x 8" | Wider than box to overhang and shed rain |
Assembly steps
- Cut all panels to size using your cut list. If cutting by hand, clamp the board securely and use slow, steady strokes. Rough edges are fine for the interior and actually help chicks climb out.
- On each side panel, cut the top edge at a slight angle (about 10 to 15 degrees) so the roof slopes forward. This sheds water away from the entrance and makes cleaning easier when you open the front.
- Drill the entrance hole in the front panel. Use a spade bit or hole saw at the correct diameter for your target species (see species section). Center it horizontally and place it at least 6 inches above the floor of the cavity.
- Drill ventilation holes in each side panel near the top: two 5/8-inch holes per side wall (four total) placed just below the roofline. Also drill four drainage holes in the floor, each 3/8 to 1/2 inch in diameter, one near each corner.
- Rough up the interior of the front panel below the entrance hole with sandpaper or a chisel. This gives fledglings something to grip when they're ready to leave the nest.
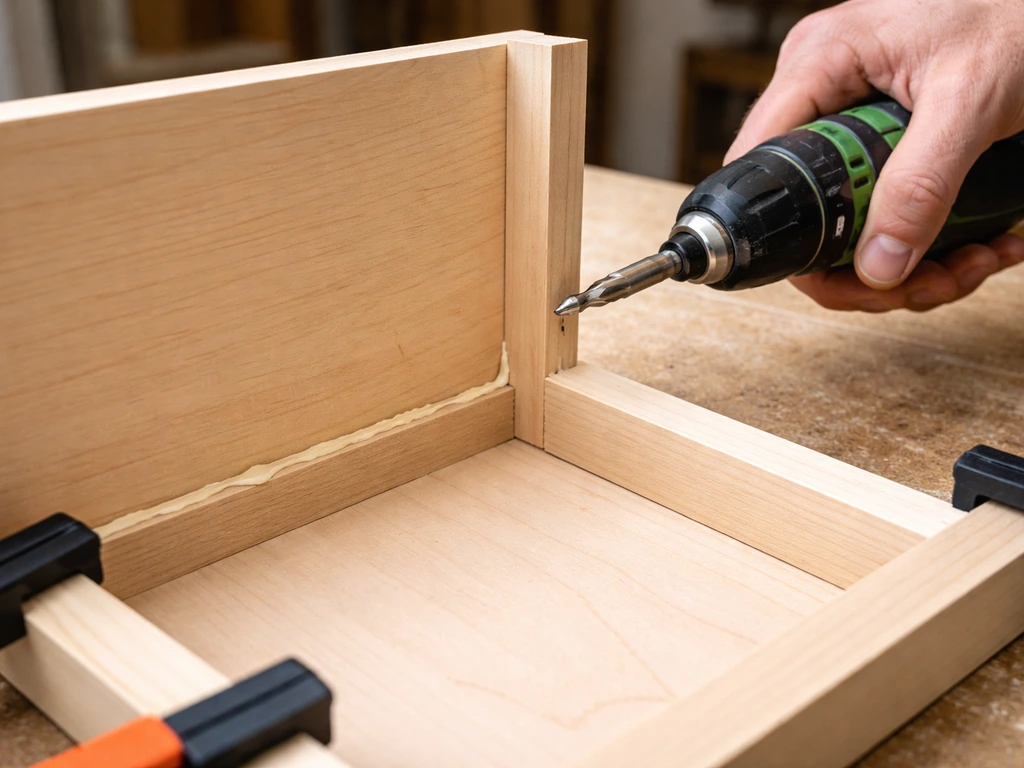
- Assemble the back, two sides, and floor first. Pre-drill screw holes to avoid splitting the wood, then drive 1.5-inch galvanized screws at each joint. Add a small bead of waterproof wood glue at each seam before screwing for extra durability.
- Attach the front panel. Instead of screwing it shut permanently, mount it with two screws on the sides near the top so it pivots open for cleaning. A single screw at the bottom acts as a latch that you rotate to unlock.
- Mount the roof with a slight overhang on all sides (especially the front). Screw or nail it to the tops of the side and back panels. Do not seal the small gap between the top of the front panel and the underside of the roof: this gap (about 1/2 inch) provides additional airflow.
- Sand all exterior edges smooth to prevent splinters and water-trapping rough spots. Apply a light coat of water-based exterior paint or raw linseed oil to the outside surfaces only. Leave the interior completely bare wood.
- Attach a mounting strip or bracket to the back panel so you can secure it to a post or tree at the correct height.
Weatherproofing, ventilation, and bird safety details
A poorly ventilated box can kill chicks on a hot day, and a leaky box causes nest failure and discourages birds from returning. Both problems are easy to avoid if you build them into the design from the start rather than trying to fix them later.
Ventilation
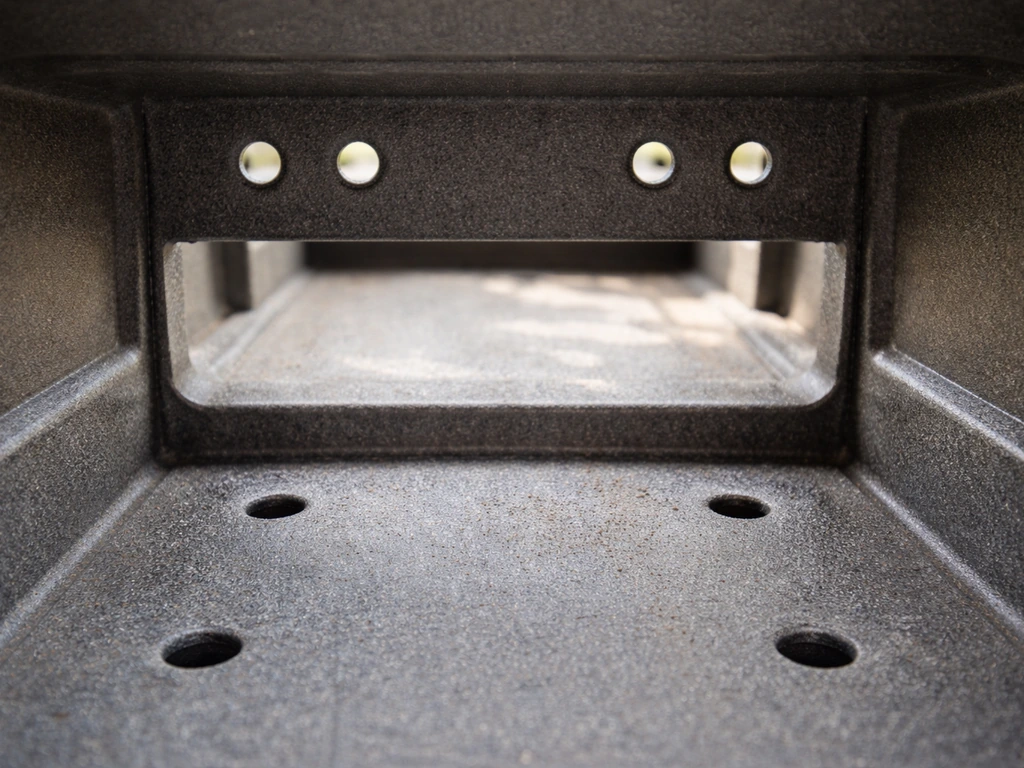
The two 5/8-inch holes per side wall near the top create cross-ventilation that keeps the cavity from overheating. The 1/2-inch gap between the front panel top and the roof adds a convective vent that pulls hot air out passively. For very hot climates, you can also drill small 1/8 to 1/4-inch holes through the back panel about 1 inch below the roofline for additional airflow. The Alaska Department of Fish and Game also recommends drilling small ventilation holes, about 1/8 to 1/4 inch in diameter, through the back panel about an inch below the roofline for additional airflow 1/8 to 1/4-inch holes. Don't overdo it though: too many holes reduce the insulating effect you need for early spring nesting when nights are still cold.
Drainage
The four drainage holes in the floor handle any water that gets in through the entrance during rain. Another approach is to cut the floor panel slightly smaller than the interior box dimensions by about 1/4 inch on each side, leaving small gaps at each corner that drain passively. Combine both methods if you live in a very rainy area.
Weatherproofing the exterior
Cedar weathers well on its own, but if you're using pine, an exterior-only finish extends the life of the box significantly. Raw linseed oil soaks into the wood and repels moisture without introducing toxic compounds. Water-based exterior latex paint in a neutral color also works and adds the benefit of reflecting heat in sunny spots. Apply one coat, let it cure for at least a week before mounting the box, and reapply every two to three years. Never paint the interior, the entrance hole edges, or anywhere birds might peck.
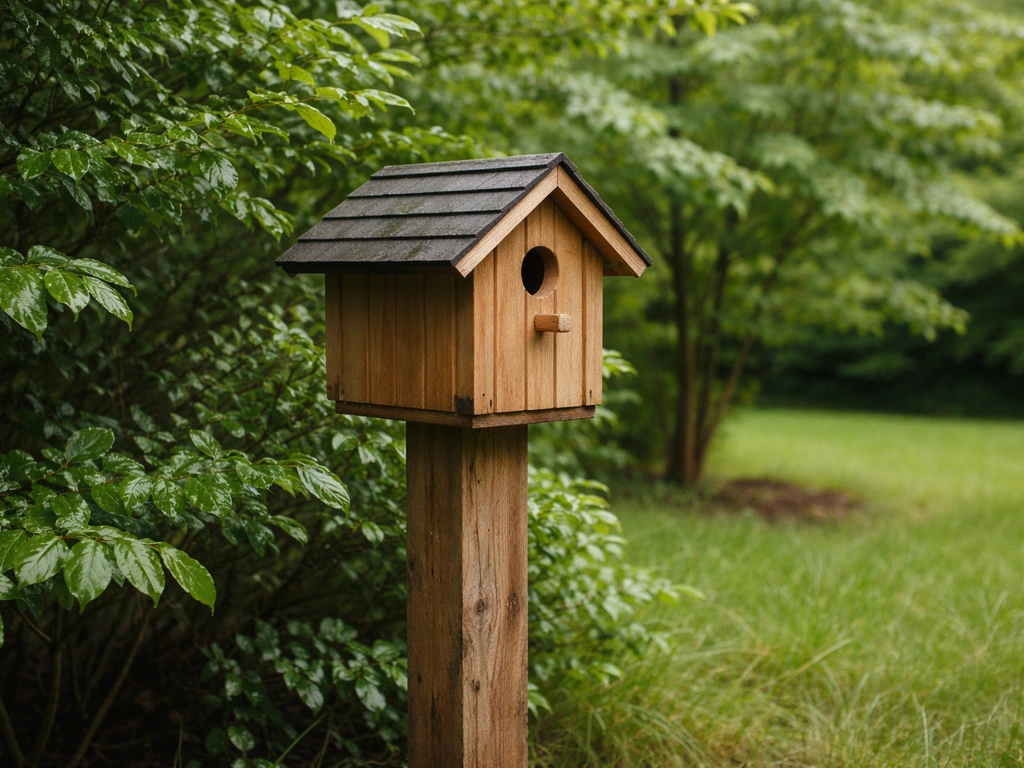
No perches

This is one of the most common mistakes I see on DIY boxes: adding a small dowel perch below the entrance hole. It looks decorative, but it actually creates a foothold for predators like house sparrows and starlings that harass nesting birds. Leave it off entirely. The birds you're trying to attract don't need it and actively prefer boxes without one.
Predators, durability, and keeping the shelter working year after year
Predator guards
Research from NestWatch found that boxes with predator guards had nest success rates 6.7% higher on average than boxes without them. That's a meaningful difference, and the guard itself takes about 10 minutes to add. The simplest and most effective option is a stovepipe baffle: a section of smooth metal pipe (6 to 8 inches in diameter) mounted around the post below the box. Raccoons and squirrels can't grip the smooth surface to climb past it. You can also use a cone-shaped metal baffle that mounts on the post below the box, which is easier to find at hardware stores.
A 3/4-inch thick wooden entrance hole extender (a short collar of wood added around the outside of the entrance hole) makes it harder for predators to reach in and grab eggs or chicks. Cut a piece of scrap wood with a matching hole and screw it flush over the existing entrance hole. This extends the tunnel depth to about 1.5 inches, which is enough to deter most raccoon hands.
Durability
Use screws instead of nails throughout. Galvanized or stainless steel hardware won't rust and fail after a few winters. Reinforce corner joints with wood glue in addition to screws. Check the roof attachment each spring since that's usually the first joint to loosen. If you're mounting on a wooden post rather than a metal pole, treat the base of the post with a wood preservative rated for ground contact (applied only below grade, not near the box itself) to prevent rot.
Cleaning and monitoring
Clean the box out once per season, ideally in late fall after the last nest is clearly abandoned. Open the hinged front panel and remove old nesting material completely. NestWatch also highlights using a hinged side or front panel so you can open the birdhouse for cleaning and monitoring Open the hinged front panel and remove old nesting material completely.. Old nests harbor parasites, bacteria, and mites that harm the next occupants. Some people worry that cleaning removes scent clues that attract birds back, but studies consistently show that birds prefer clean boxes and return to them at higher rates. Wear gloves and a dust mask when cleaning since dried bird droppings can carry pathogens. Inspect the interior for damage, re-drill any ventilation holes that have become clogged, and check that the drainage holes are clear before closing it back up.
How to attract specific birds with simple tweaks
The entrance hole diameter is the single most powerful tool for targeting a specific species. It determines who fits in and who gets excluded. Here are the most common backyard species and what they need.
| Species | Entrance Hole Diameter | Cavity Depth (floor to hole) | Mounting Height | Notes |
|---|---|---|---|---|
| Eastern/Western Bluebird | 1.5 inches | 6 inches | 4–6 feet | Open habitat, face away from trees; pair with predator guard on metal post |
| Carolina/House Wren | 1.25 inches | 4–6 inches | 5–10 feet | Tolerates partial shade; hang from branch or fence post |
| Black-capped Chickadee | 1.125 inches | 6–8 inches | 5–15 feet | Provide wood shavings inside as starter material; prefers edge habitat |
| Tree Swallow | 1.5 inches | 6 inches | 5–10 feet | Needs open area near water; faces competition from bluebirds at same sites |
| Downy Woodpecker | 1.25 inches | 8–10 inches | 8–20 feet | Fill cavity with wood chips; they excavate their own nesting material |
| Wood Duck | 3 x 4 inch oval or 4-inch circle | 10–22 inches | 10–20 feet above water or ground | Fill with 3–4 inches of wood shavings; mount over or near water |
Beyond hole size, habitat tweaks matter a lot. Bluebirds want open meadow-style spaces and will ignore a perfect box placed in dense trees. Wrens happily nest in shrubby tangles and don't need much open space at all. Chickadees like woodland edges. If you're not getting any takers after a full season, try moving the box rather than rebuilding it. Location problems are much more common than construction problems in my experience.
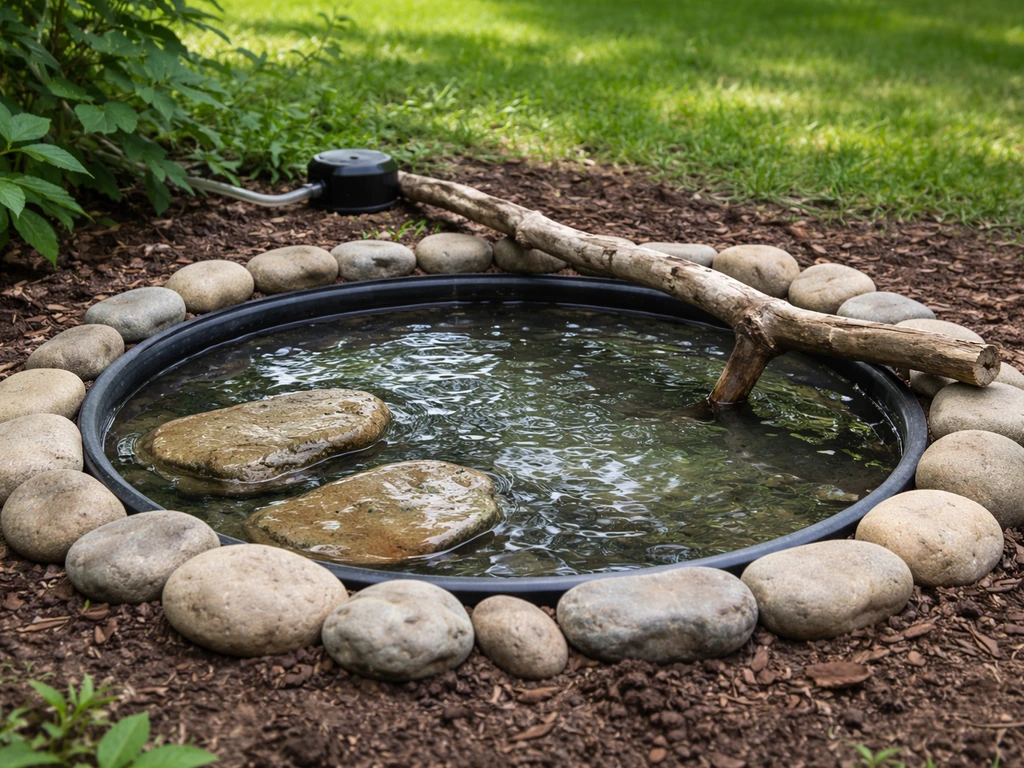
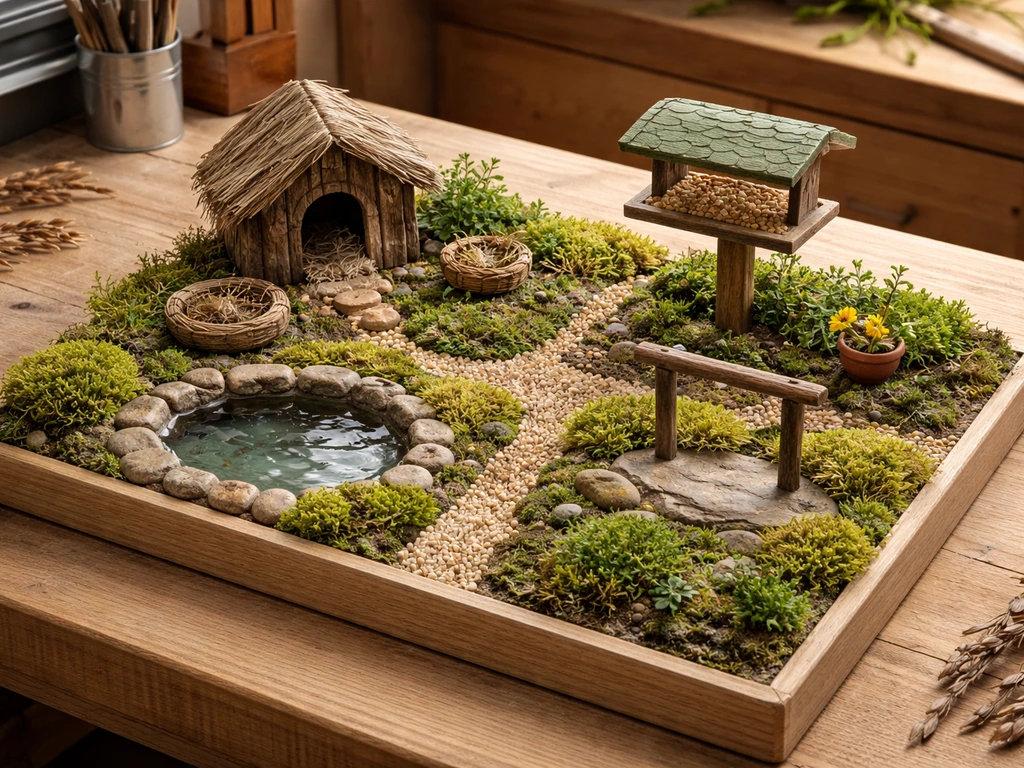
If you want to go further and build out a complete backyard setup for birds, the shelter is a great foundation. If you're aiming at how to make a bird habitat, focus on shelter, food, water, and safe cover working together complete backyard setup for birds. Adding a shallow water source nearby (kept clean and fresh) dramatically increases bird activity around the whole yard. Once you have the shelter basics down, you can add a small bird pond nearby to give birds an easy, clean water spot. Layering in native plantings that provide natural food and cover turns a single shelter into a real habitat. The shelter is the anchor, but the surrounding environment is what makes it work year-round rather than just during nesting season. A bird-friendly home also means offering safe, clean food and water, reducing threats, and keeping cats indoors during nesting season the surrounding environment is what makes it work year-round.
One last thing: put the box up before you think you need to. Late winter, around February or early March in most of North America, is when birds start scouting nest sites. If your box isn't up and ready by then, you'll miss the first wave of interest. Build it now, mount it today if you can, and check on it every week or two. The first time you spot a bird carrying nesting material through that entrance hole is genuinely one of the most satisfying payoffs a DIY project can deliver.
FAQ
How long should I leave the box alone after installing it and should I check it often?
Once mounted, do quick visual checks from a distance rather than opening the box. In most cases, wait until you see nesting activity stop (late fall) to clean it. If you must inspect earlier because you suspect failure, limit disturbance, close it promptly, and avoid handling chicks or nestlings for more than a brief moment.
What if birds keep attacking the box or not using it after a full season?
First verify the entrance orientation and height against the target species, then check for nearby stressors like active bird feeders or dense cover too close to the entrance. If you hear aggressive residents (often house sparrows), repositioning the box farther from feeders and adding stronger predator protection usually helps. Only after you fix placement issues should you change the entrance hole size.
How do I choose the right entrance hole size if I see multiple species in my yard?
Aim to exclude the most likely competitor while allowing the species you want. If you are unsure, build one basic enclosed box with a hole size that matches your best guess, then observe for a full breeding cycle. Changing hole size after birds begin using the box can cause abandonment, so adjust before the season if possible.
Can I mount a shelter on a tree instead of a post?
Yes, but you still need predator prevention. Trees allow easy access for raccoons and some climbing predators, so ensure the guard can work at that height and placement. Also leave enough clearance from branches that could act as a predator access route and keep the entrance oriented away from driving rain.
Is it okay to use recycled wood or old lumber for a wild bird shelter?
Only if it is untreated and structurally sound. Avoid lumber that may have been stained, painted, or pressure-treated in the past, even if it looks clean. If you are reusing scraps, check edges and surfaces that birds may peck, since residues on the interior can be harmful.
Do I need to add a perch or landing platform for birds to enter the box?
In general, no. The article specifically steers against adding a dowel or perch under the entrance, since it can create footholds for unwanted predators. If birds are struggling to land, it is usually a placement issue (height, near cover, or entrance orientation), not a need for a perch.
What should I do if the ventilation holes get clogged or the box overheats?
Check ventilation and drainage during seasonal maintenance, especially after heavy insect activity or after storm debris. If you are in a very hot climate, additional small back-panel airflow can help, but avoid adding too many holes because insulation matters for early spring broods. When drilling extra holes, start minimal and verify the interior stays dry and comfortable.
Can I paint the exterior white or any color I like?
You can paint the outside, but avoid white in cold climates because it can reflect heat in ways that may not be beneficial. Use a water-based exterior latex in muted natural tones, and never paint the interior surfaces, entrance edges, or any area birds can peck.
How do I clean the box safely without spreading parasites?
Wear gloves and a dust mask as mentioned, remove all old nest material, and avoid shaking debris that could aerosolize droppings. Let everything dry completely before closing it back up, then check that drainage and ventilation are unobstructed. If a nest failed due to visible mites or heavy debris, consider discarding disposable gloves between boxes.
What should I use to secure the roof and how often should I re-check it?
Use screws throughout and re-check roof attachments each spring, since that joint tends to loosen first. If the roof shifts, it can open gaps for rain and predators, and it can also block proper ventilation and drainage performance.
When should I add additional shelters, like a second box or an open lean-to?
Only add more structures after you learn which species are actually using the yard. If you see no activity by the end of the first breeding cycle, reposition or adjust the entrance size before building more. Once you have consistent visitation, adding a second box increases capacity, while an open shelter can complement roosting needs in cold periods.
Next Articles

How to Make a Bird Habitat: DIY Backyard Guide
Step-by-step DIY backyard bird habitat plan: nesting, shelter, feeders, placement tips, and simple maintenance.
How to Make a Bird Pond: Simple DIY Guide for Beginners
Step-by-step how to make a bird pond with liner or bowl, bird-safe edges, simple filtration, and easy upkeep for year-ro
How to Make a Bird Sanctuary Model Step by Step
Step by step DIY guide to build a safe scaled bird sanctuary model with shelters, nesting, feeders, water, and maintenan