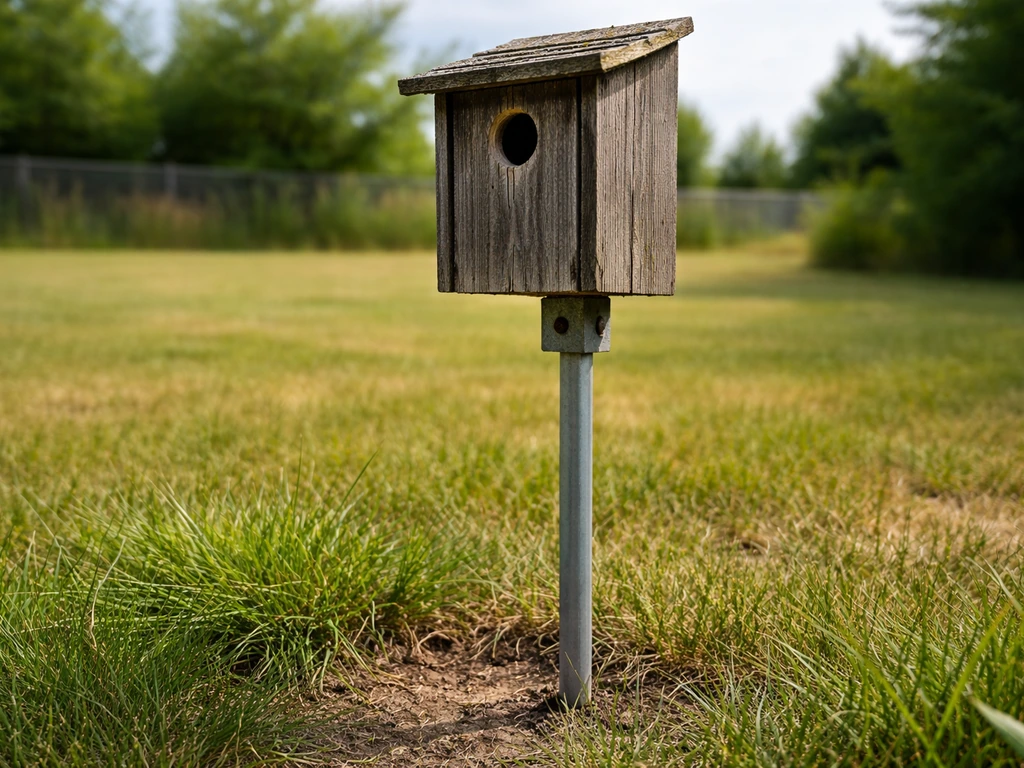
A birdhouse pole needs to do three things well: hold the box at the right height (at least 5 feet off the ground for most cavity nesters), stay absolutely rigid in wind and rain, and make it hard for predators to climb up. Get those three things right and everything else is just details.
How to Make a Bird House Pole: DIY Mounting Guide

Marcus Thornton
26 Apr 2026
The most common setup is a metal conduit or treated wood post, set 18 to 24 inches into the ground, with a simple mounting bracket or lag bolt at the top to hold the house. If you also need help shaping the overall stand setup, see how to make a bird stand for adjacent build ideas. You can build a solid, serviceable pole in an afternoon with basic tools and materials from any hardware store.
If you also need help shaping the overall stand setup, see how to make a bird stand for the garden as a related build option.
What the pole actually needs to do
Before you start drilling or digging, it helps to think about the job from the bird's perspective. The pole is not just a stick in the ground. It has to keep the birdhouse stable enough that eggs and nestlings are not rattled around in strong wind. It has to place the entrance hole at the right height so birds feel safe from ground-level threats. And it has to make life difficult for every cat, raccoon, and snake that wants a free meal.
Height is the most important variable. Mounting below 5 feet from the ground noticeably increases the chance of a climbing or jumping predator raiding the nest. Most bluebirds, wrens, and chickadees are happy with a box mounted between 5 and 6 feet. Purple martins are the big exception, preferring 10 to 15 feet up. If you are not sure which species you are targeting, plan for 5 to 6 feet and you will cover most common backyard cavity nesters.
Stability matters more than people expect. A box that sways and wobbles in the wind puts nesting birds on edge, and a pole that leans over time can dump the house at the worst moment. The fix is simple: bury enough of the pole, use the right diameter, and anchor it properly. Predator control is built into your material and placement choices, which I will get into shortly.
Picking your materials and tools
The two most popular pole materials are metal electrical conduit and pressure-treated wood. Both work well, but they have real differences worth knowing about.
| Material | Pros | Cons | Best for |
|---|---|---|---|
| Galvanized steel conduit (1–1.5 inch EMT or rigid) | Predator-resistant, won't rot, easy to grease for anti-climb, lightweight | Needs a sleeve or concrete anchor, can rust at cut ends over years | Bluebirds, wrens, anyone serious about predator control |
| Pressure-treated lumber (4x4 post, UC4A/UC4B rated) | Easy to work with, screws in directly, widely available | Heavier, can rot if treatment is wrong grade, trees/fences nearby reduce predator barrier effect | Larger heavier birdhouses, beginner builds |
| Black iron pipe (1–1.5 inch) | Very strong, threaded fittings make mounting clean | Heavier, needs rust-resistant coating or paint | Permanent installs, larger boxes |
| Repurposed closet rod or conduit | Free or cheap, lightweight | Variable diameter, may need reinforcement, check for rust or damage | Budget builds, small lightweight boxes |
If predator control is a priority (and it should be), metal conduit is the smarter pick. You can grease a metal pipe or wax it to make it nearly impossible for a raccoon to climb. A wooden post is much harder to make climb-proof. TPWD specifically recommends mounting cavity-nesting birdhouses on a metal pole rather than a wood post or tree for exactly this reason.
For most DIY builds, 3/4 inch to 1.5 inch galvanized rigid conduit is the sweet spot. It is stiff enough not to flex, light enough to work with alone, and cheap enough to buy two pieces if you mess up the first cut. Pick up a conduit bender, a hacksaw or angle grinder, a hand level, a post-hole digger or digging bar, and a bag of fast-setting concrete. That is genuinely all you need for a ground-set metal pole installation.
- Galvanized rigid conduit or pressure-treated 4x4 post (your pole)
- Post-hole digger or digging bar
- Fast-setting concrete (one 50 lb bag is usually enough)
- Hand level or line level
- Measuring tape
- Drill with a long bit (for wood poles), or conduit bender
- Lag screws, carriage bolts, or mounting bracket hardware
- Metal grease or paste wax (for predator deterrence on metal poles)
- Safety glasses and work gloves
Planning your dimensions and placement
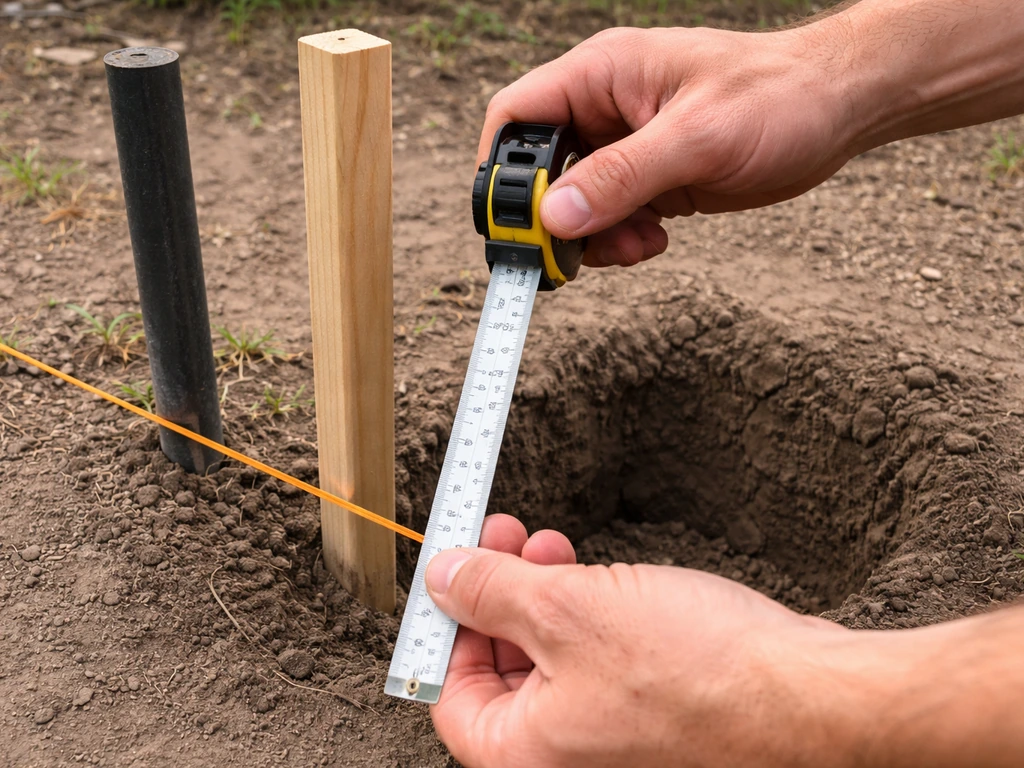
The math here is straightforward. You want the bottom of the birdhouse to sit at least 5 feet above ground. Add your anchor depth (18 to 24 inches for a hammered metal pole, or one-third of the total post length for a wood post set in concrete) and that tells you the minimum total pole length. For a 5-foot mounting height with an 18-inch anchor, you need a pole at least 6.5 feet long. Buy 8 feet and cut to fit. That extra length gives you flexibility and a straighter final result.
For hole diameter when using concrete, the rule of thumb is about three times the post diameter. A 1.5-inch conduit pole needs roughly a 4 to 5 inch diameter hole. A 4x4 wood post (actual 3.5 inch) works well in a 10 to 12 inch diameter hole. Bigger holes mean more concrete contact, which means more stability.
Placement in the yard matters as much as height. Keep the pole away from fences, overhanging branches, and shrubs that predators could use as a launch pad or climbing assist. Mow or clear the grass and weeds in at least a 6 to 8 foot radius around the base. Open ground around the pole makes it easier to spot approaching predators and removes hiding spots. Aim for morning sun on the entrance hole and afternoon shade on the back of the house. Open sky in front of the entrance (at least 10 feet of clear space) makes birds feel safe approaching.
Species-specific height reference
| Bird Species | Recommended Pole Height | Notes |
|---|---|---|
| Eastern/Western Bluebird | 4–6 feet | Open meadow or field edge preferred |
| House Wren / Carolina Wren | 5–10 feet | Tolerates more cover nearby |
| Black-capped / Carolina Chickadee | 5–10 feet | Woodland edge works well |
| Tree Swallow | 5–8 feet | Open fields, near water ideal |
| Purple Martin | 10–15 feet | Requires a telescoping or multi-arm pole |
Two ways to build the pole: ground-set vs bracket-anchored

Option 1: Ground-set post (most common)
This is the method most backyard builders use and it works great. Dig or drive your pole into the ground and anchor it with concrete or compacted gravel. For a metal conduit pole, you can actually skip concrete entirely for lightweight boxes: just drive the pole 18 to 24 inches into soft soil using a driving cap (a piece of scrap wood over the top to protect the pole end) and a heavy mallet.
The friction hold is surprisingly solid for a small birdhouse. For heavier boxes or sandy/loose soil, dig a hole, drop the pole in, and pour fast-setting concrete around it. Hold the pole plumb with a level and brace it with two stakes while the concrete sets. Allow at least 24 hours before loading the pole with a birdhouse.
For wood posts, dig your hole to one-third of the post's total length. A 9-foot post needs a 3-foot hole. Pour 4 to 6 inches of gravel into the bottom for drainage before dropping the post in. This keeps standing water from sitting directly against the base, which is where rot always starts first. Backfill with concrete, check for plumb on two sides, and brace temporarily until cured.
Option 2: Surface-mounted bracket or ground sleeve
If you have an existing concrete pad, patio, or fence post you want to mount to, a surface bracket is the way to go. Post-base brackets bolt to concrete using anchor bolts set into the slab. You drop the pole into the bracket and tighten the nuts. This approach makes the pole removable, which is handy if you want to move the house seasonally or store it in winter. The trade-off is that bracket mounts are slightly less rigid in high winds than a properly ground-set post, so use heavy hardware (minimum 3/8 inch anchor bolts) and check the tightness every spring.
Telescoping pole kits (like those from Tele-Pole) use a buried ground sleeve approach: you set a short sleeve in concrete, let it cure fully (24 hours minimum), then slide the actual pole into the sleeve. This is brilliant for maintenance because you can pull the whole pole and birdhouse down to clean it without tools. If you plan to monitor the nest regularly, this system is worth the slightly higher cost.
Sealing, weatherproofing, and keeping predators out
Wood poles need sealing at the base before they go in the ground. Even if you bought pressure-treated lumber rated for ground contact (look for UC4A or UC4B on the tag), the cut ends expose untreated wood and those ends absorb water fastest. Brush a generous coat of end-grain sealer or exterior wood preservative onto every cut surface before installation. Do not use standard above-ground rated treated wood for a ground-set pole. It will begin to rot faster than you expect.
Metal poles need much less maintenance, but they are not bulletproof. Galvanized conduit resists rust well, but cut ends and bare metal at screw holes can start to corrode over time. Hit those spots with a rust-inhibiting primer and a coat of exterior paint, or use a galvanizing cold spray. For added durability, galvanized rigid conduit with an external coating (sometimes marked to NEMA RN-1 standards) gives you the best corrosion resistance for long-term outdoor use.
For predator deterrence, nothing beats a baffle or a greased pole. NestboxBuilder also recommends using [a metal pole as the system of choice for predator deterrence](https://www. nestboxbuilder. com/nestbox-tutorial-mounting-box.
html), especially compared with mounting options like tree trunks or wooden posts without a baffle. On a smooth metal conduit pole, apply a thick layer of automotive grease or paste wax to the bottom 3 feet of the shaft. A raccoon hits that and slides right off. You will need to reapply once or twice a season.
A proper cone baffle (about 18 inches in diameter, positioned 4 feet up the pole) is even more reliable and lasts for years. Keep the ground around the base clear of weeds and debris so snakes have nowhere to stage an approach.
Attaching the birdhouse and keeping it accessible
How you attach the house to the pole matters both for security and for your ability to get the box down for cleaning. The simplest method for a wood post is two lag screws driven through the back panel of the birdhouse into the post. Pre-drill a pilot hole slightly smaller than your screw diameter to avoid splitting the wood, then drive the screws in until snug but not over-tightened. This holds most houses securely but makes removal easy when you need to clean or inspect the nest.
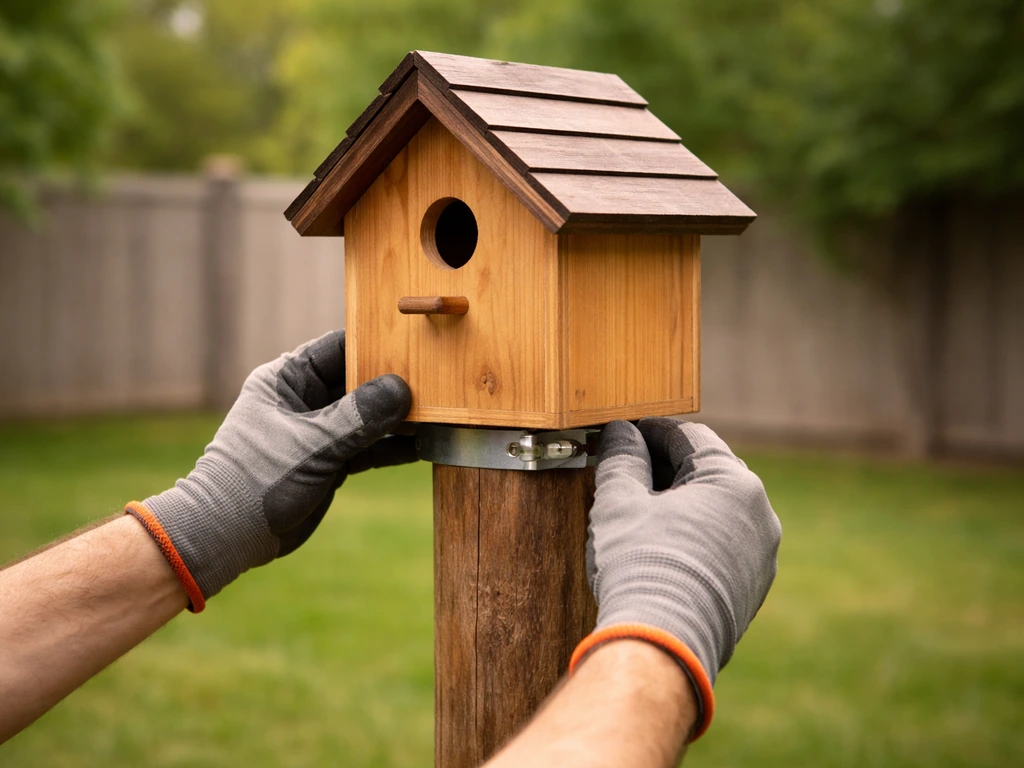
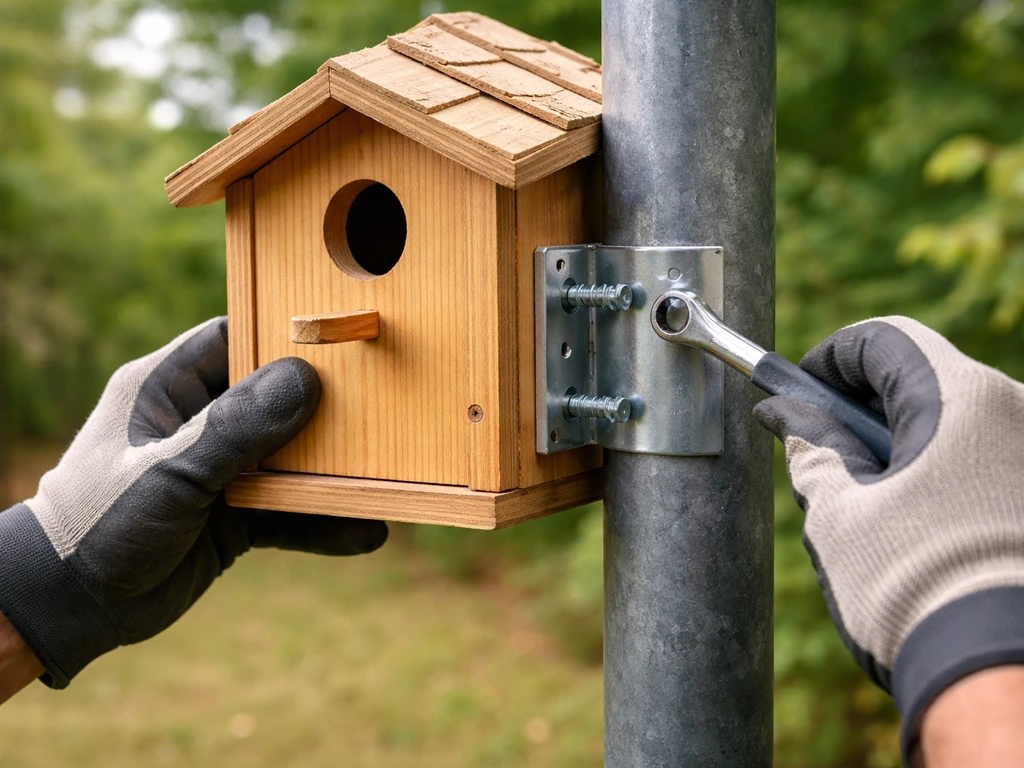
For metal conduit poles, a mounting bracket or flange plate is cleaner. Attach the flange to the top of the conduit using a set screw or compression fitting, then screw the birdhouse to the flange plate. Using carriage bolts through the house back and flange (with wing nuts on the back side) makes the whole setup tool-free to remove. That is a real quality-of-life upgrade when you are checking on a nest box every couple of weeks through nesting season.
Tilt the birdhouse forward very slightly (about 5 degrees toward the front) so rain runs off the roof rather than pooling at the entrance. Make sure the drainage holes in the floor are clear. Once attached, give the house a firm shake. If anything moves, tighten before the birds arrive. Check the mount for looseness at least once a season and re-tighten as needed. A loose birdhouse is one windstorm away from a failed nesting attempt.
Installation checklist and fixing common problems
Run through this before you call the job done.
- Pole is at least 6.5 feet total length (for a 5-foot mounting height with 18-inch burial depth)
- Bottom of birdhouse is at least 5 feet above ground level
- Hole diameter is roughly 3 times the post/conduit diameter if using concrete
- Pole is plumb on two axes (check with a level)
- Concrete has fully cured before the birdhouse was attached (minimum 24 hours)
- Cut ends of wood post are sealed with end-grain preservative
- Metal pole cut ends are primed or treated for rust resistance
- Predator baffle is installed OR pole is greased in the lower 3 feet
- Grass and weeds cleared in a 6 to 8 foot radius around the base
- Birdhouse is tilted 5 degrees forward, drainage holes are clear
- All mounting screws or bolts are tight, hardware is checked for looseness
- Entrance hole faces away from prevailing wind and toward open space
Troubleshooting the most common pole problems
Wobbly pole: The most likely cause is insufficient burial depth or inadequate concrete. Dig down alongside the base, add more fast-set concrete, and brace the pole while it cures. If the soil is very sandy or wet, consider adding a larger concrete footing or switching to a surface-mount bracket on a poured pad.
Rotting wood base: This almost always means the post was not rated for ground contact (UC4A or UC4B) or the cut ends were not sealed. Cut the post above the rot, clean the hole, and either sister a new treated section in or replace the pole entirely. Going forward, use the right treatment grade and seal every cut before it goes in the ground.
Rust on metal conduit: Surface rust on galvanized conduit is mostly cosmetic for the first few years, but deep rust at joints or cut ends can weaken the pole over time. Wire brush the affected area, apply a rust converter, and top coat with exterior metal paint. If a section is badly corroded, replace that segment rather than patching.
Wrong height discovered after installation: If the box is too low and you cannot reset the pole, add a PVC or conduit extension above the existing pole top and secure it with a coupler fitting. This is a much easier fix than pulling and resetting the anchor. If you are frequently adjusting or moving boxes between seasons, a telescoping sleeve system pays for itself quickly.
Hard to reach for cleaning: If your pole height makes it awkward to remove the birdhouse, a pulley-and-cleat system along the pole lets you lower and raise the box without a ladder. Alternatively, design the pole mount with wing nuts from the start so the house comes off in 30 seconds. Monitoring and cleaning nest boxes between broods is genuinely important for bird health, so make easy access a priority in your design, not an afterthought.
Once your pole is solid and your birdhouse is mounted, you have the foundation of a functional backyard nesting site. If you still need help beyond the pole, follow the full steps on how to make bird stand. If you want the full project approach, use these pole-building steps as your bird-stand foundation for how to build a bird stand.
If you want to go further, a garden stand version of this setup or a multi-arm pole for several boxes can dramatically increase the number of species you attract. If you want to go further, a garden stand version of this setup can be a helpful comparison point to how to make bird stand for your exact yard, or for supporting multiple boxes.
If you want more detail, follow the full steps on how to make a bird house stand. The pole itself is the least glamorous part of the project, but get it right and everything else falls into place.
FAQ
Can I use an untreated wood post or a cheaper fence post to make a bird house pole?
You can, but it usually won’t last. Ground contact wood needs the proper rating (UC4A or UC4B) and every cut end must be sealed before burial. If you use an untreated or above-ground grade post, rot typically starts at the cut ends first, so replacement becomes likely within a few seasons.
How do I choose the right height if I do not know the bird species yet?
Plan around 5 to 6 feet for most common cavity nesters, then avoid frequent changes once birds start selecting the box. If later you learn you are targeting purple martins, that often means moving to 10 to 15 feet, but changing height mid-season can disrupt nesting behavior.
What should I do if my pole is already installed and the birdhouse ends up too low?
Before digging everything up, try adding an extension above the top using a coupler, then re-secure the mounting flange. This keeps the original buried anchor intact. If you need a big height jump, consider a telescoping sleeve system for future adjustments instead of repeatedly rebuilding the base.
Is greasing the pole enough for predator control, or should I install a baffle?
Grease or wax helps, especially for smooth metal conduit, but it requires reapplication once or twice per season. A cone baffle positioned about 4 feet up is more maintenance-free and is better in areas with heavy raccoon pressure, since it blocks climbing even when grease is missed.
How far away from fences, shrubs, or trees should I place the pole?
Keep it away from anything that creates a climbing path, because predators can use nearby surfaces like launch pads. Clear a 6 to 8 foot radius around the base, and also maintain open approach space in front of the entrance (about 10 feet) so the birds can come and go safely.
Do I need concrete for a metal conduit pole, or can I just drive it into the ground?
For lightweight boxes in soft soil, driving can work if you bury 18 to 24 inches and use a driving cap to protect the conduit end. For heavier houses, sandy soil, or loose wet areas, use a dug hole and fast-setting concrete, because poor soil contact is a common cause of wobble.
What hole diameter should I dig for concrete around a 1.5 inch conduit pole?
A practical starting point is roughly 3 times the pole diameter, which puts you around a 4 to 5 inch hole for a 1.5 inch conduit. Larger holes increase concrete contact and stiffness, which helps resist wind sway.
How do I prevent a wood pole from rotting at the base?
Use ground-rated lumber and seal every cut end with an end-grain sealer or exterior preservative before installation. Also add drainage gravel at the bottom of the hole, because standing water directly against the base is where rot typically begins.
Can I mount the birdhouse with wing nuts or should I use lag screws only?
Wing nuts are best when you want quick access for cleaning, especially on metal conduit setups with a flange plate. Lag screws through the back panel into wood are also secure, just pre-drill pilot holes to prevent splitting and do not overtighten so the box can be removed when needed.
My birdhouse rocks when I shake it. Does that matter, and how do I fix it quickly?
Yes, movement can rattle eggs or nestlings and indicates the mount is not locked down. Tighten fasteners immediately, then recheck after 24 to 48 hours (wood can compress slightly) and at least once each nesting season.
How soon can I put the birdhouse on the pole after pouring concrete?
Let fast-setting concrete cure for at least 24 hours before installing or loading the birdhouse, and keep the pole braced during that period. Moving it too soon increases the chance of the pole settling out of plumb, which leads to wobble.
What is the best way to make cleaning easier if the pole is tall?
Design for tool-free access early, such as using a flange plate with wing nuts on the back side for quick removal. Another option is a lowering mechanism (pulley and cleat) so you can access the box without a ladder, which helps you stay consistent between broods.
What should I do about rust on galvanized conduit after a few years outdoors?
Light surface rust is often cosmetic early on, but deep rust at joints or cut ends needs attention. Wire brush the area, apply a rust converter, and top coat with exterior metal paint. If corrosion significantly thins a section, replace that segment rather than patching.
Is it okay if the entrance faces the wrong direction for sun and shade?
A good target is morning sun on the entrance and afternoon shade on the back, because excessive afternoon heat can make boxes uncomfortable. If your yard orientation forces a compromise, prioritize predator-safe open approach space in front of the entrance over perfect light exposure.
Next Articles
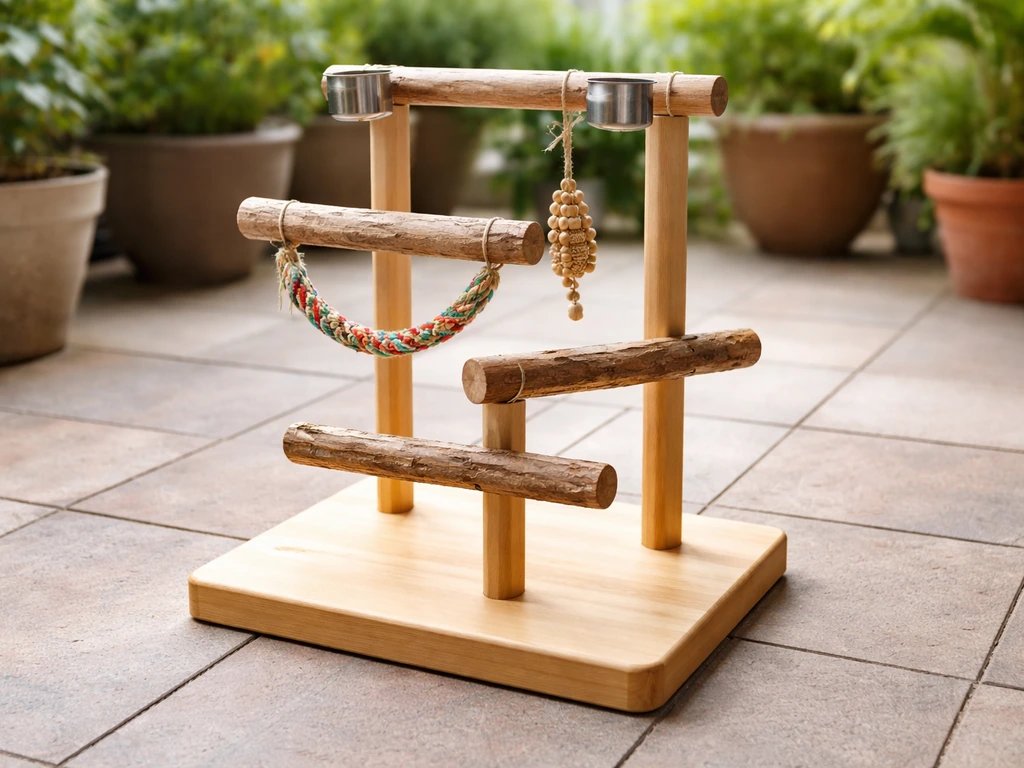
How to Build a Bird Play Stand: DIY Step-by-Step
Step-by-step DIY guide to build a stable bird play stand with safe perches, levels, enrichment, and non-toxic finishes.
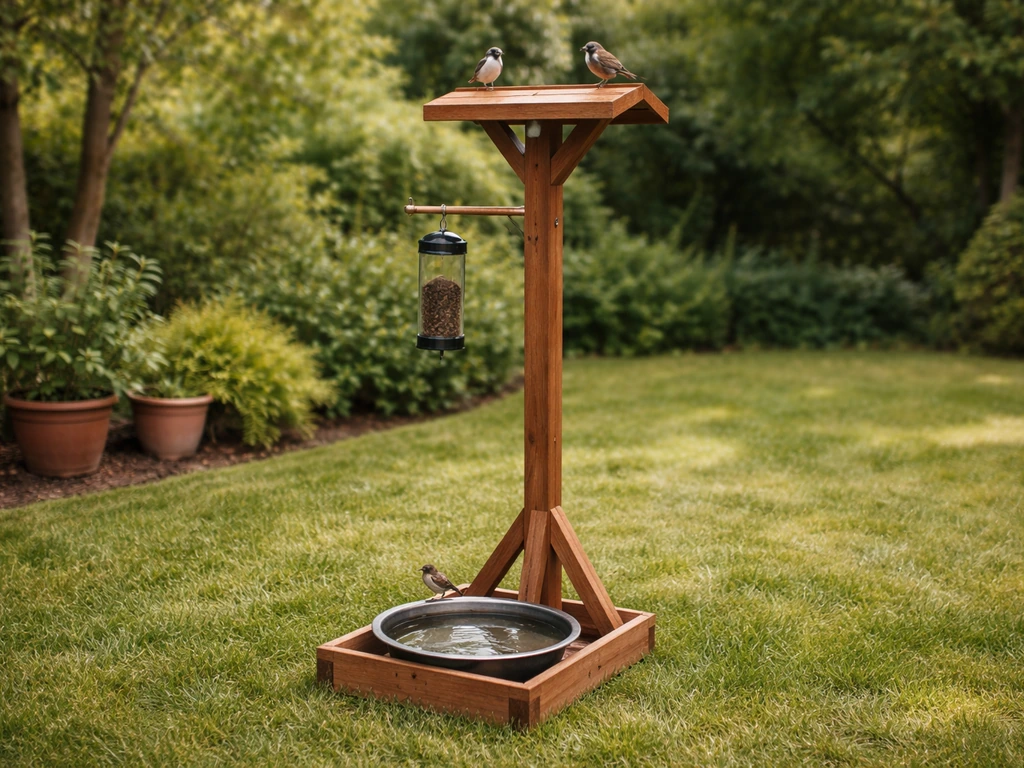
How to Make a Bird Stand for the Garden DIY
Step-by-step DIY guide to build a stable, weatherproof freestanding bird stand for perching, feeding, and watering.
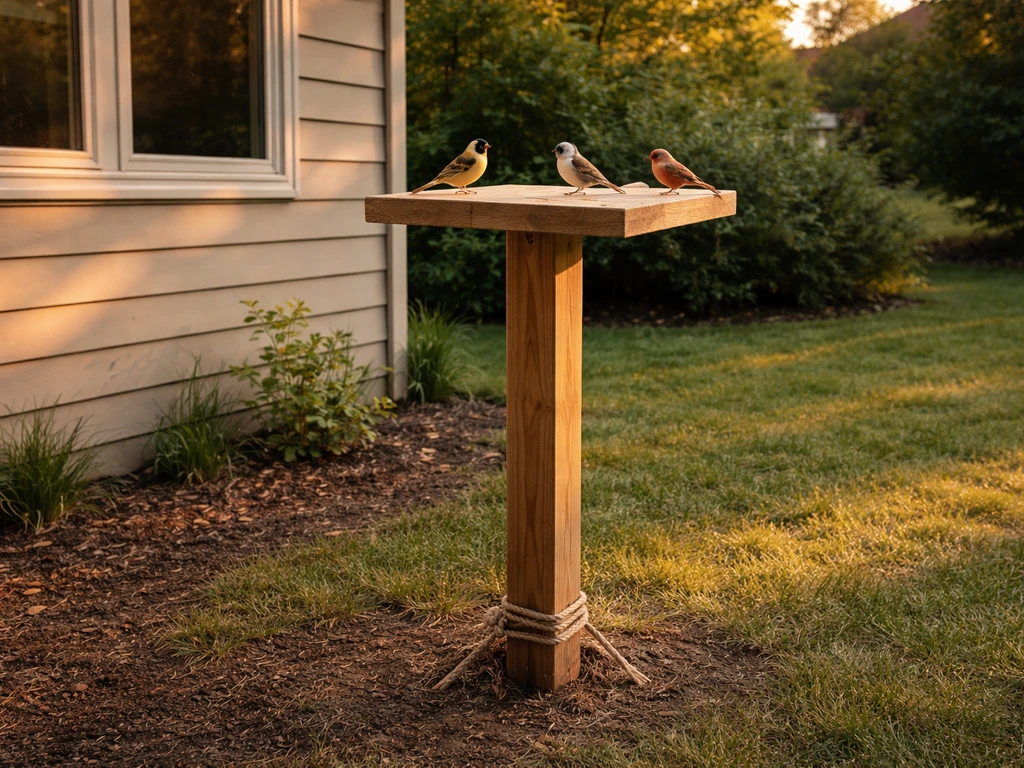
How to Make a Bird Stand at Home: DIY Steps
DIY guide to build a stable bird stand at home with safe materials, steps, dimensions, and placement tips for backyard b