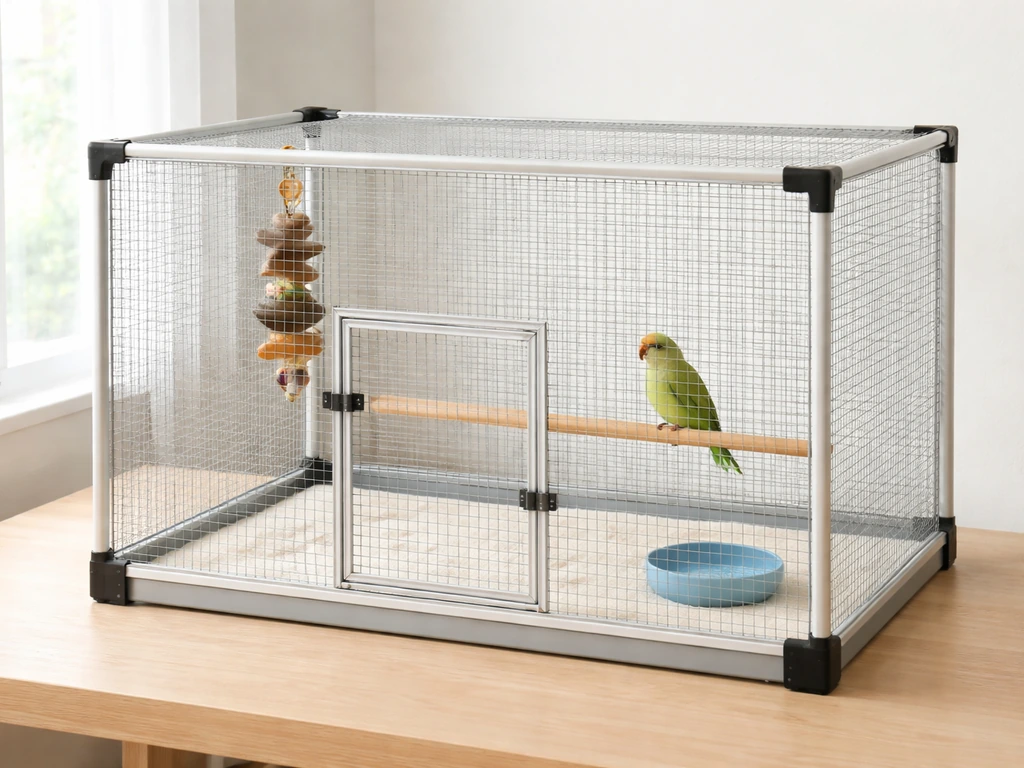
You can build a solid, escape-proof bird playpen in a weekend using basic tools, some wire mesh or PVC pipe, and a handful of hardware store supplies. If you want it to function like a bird bed for rest and sleeping, include a comfortable, safe resting area inside and keep it easy to clean build a solid, escape-proof. The key decisions are size (matched to your bird's species and wing span), wire spacing (tight enough that heads and toes can't get trapped), and materials (stainless steel hardware, no galvanized wire, no toxic finishes). Get those three things right and everything else is just assembly.
How to Make a Bird Playpen: DIY Safe Build Guide

Marcus Thornton
4 May 2026
Pick the right playpen size and location
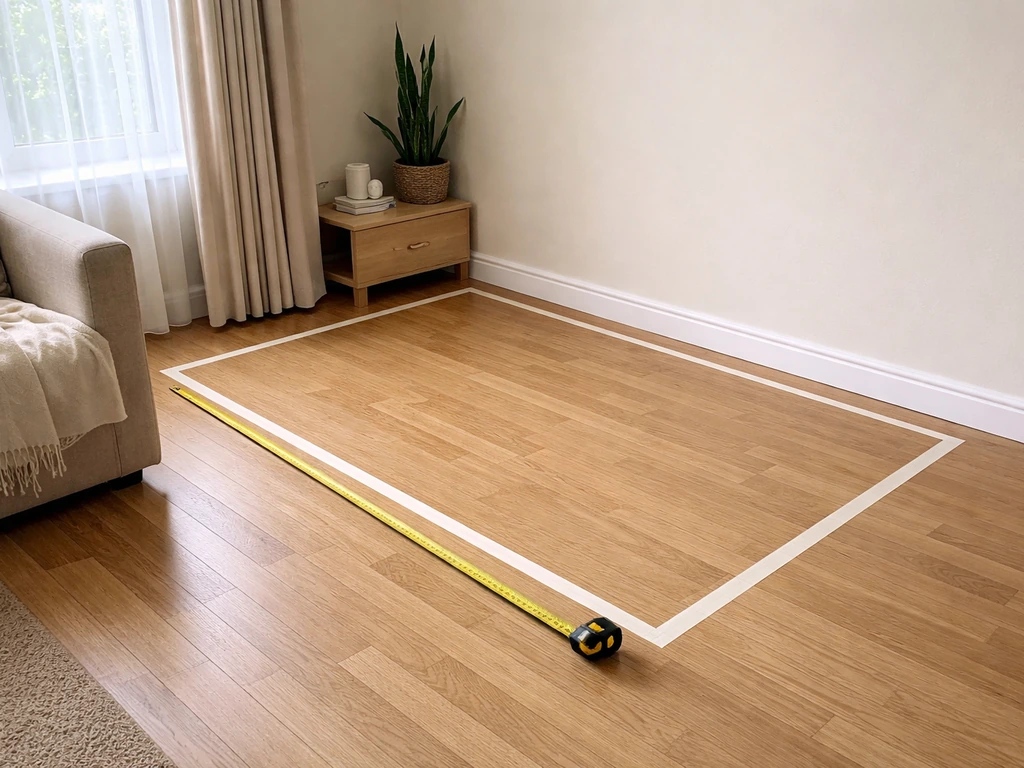
Before you cut a single piece of wood or wire, figure out how big the playpen actually needs to be and where it's going to live. These two decisions drive every other choice you'll make.
Sizing for your bird
A playpen isn't a cage, so don't just replicate minimum cage dimensions, go bigger. That said, minimum cage sizes from veterinary references give you a useful baseline floor area. For single parakeets, Omlet US recommends a minimum cage size of about 18.5 inches (50 × 50 × 50 cm) and notes that bigger is better because parakeets need horizontal flight blank" rel="noopener noreferrer">minimum cage sizes. From there, scale up so your bird can fully extend and flap both wings without hitting a wall. Lafeber’s client-education caging material for companion parrots emphasizes that cage size is the most important factor blank" rel="noopener noreferrer">cage size is the most important factor for companion parrots. Here's what the numbers look like for common species:
| Bird Type | Minimum Baseline (W × D × H) | Bar/Wire Spacing |
|---|---|---|
| Finches / canaries | 30 × 18 × 18 in | 1/4 to 1/2 in |
| Parakeets (budgies) | 18 × 18 × 24 in | 1/2 in |
| Cockatiels / lovebirds / parrotlets | 20 × 20 × 30 in | 1/2 in |
| Conures / caiques / Poicephalus / miniature macaws | 36 × 24 × 48 in | 3/4 in |
| African greys / Amazons / small cockatoos | Scale up significantly | 3/4 to 1 in |
For a playpen, which is about active exercise and enrichment, not just housing, I'd suggest doubling the width and depth over those minimums. A cockatiel playpen that's 40 × 40 inches on the floor and 36 inches tall gives real flight room. A conure or small Amazon benefits from something closer to 48 × 36 × 60 inches if space allows.
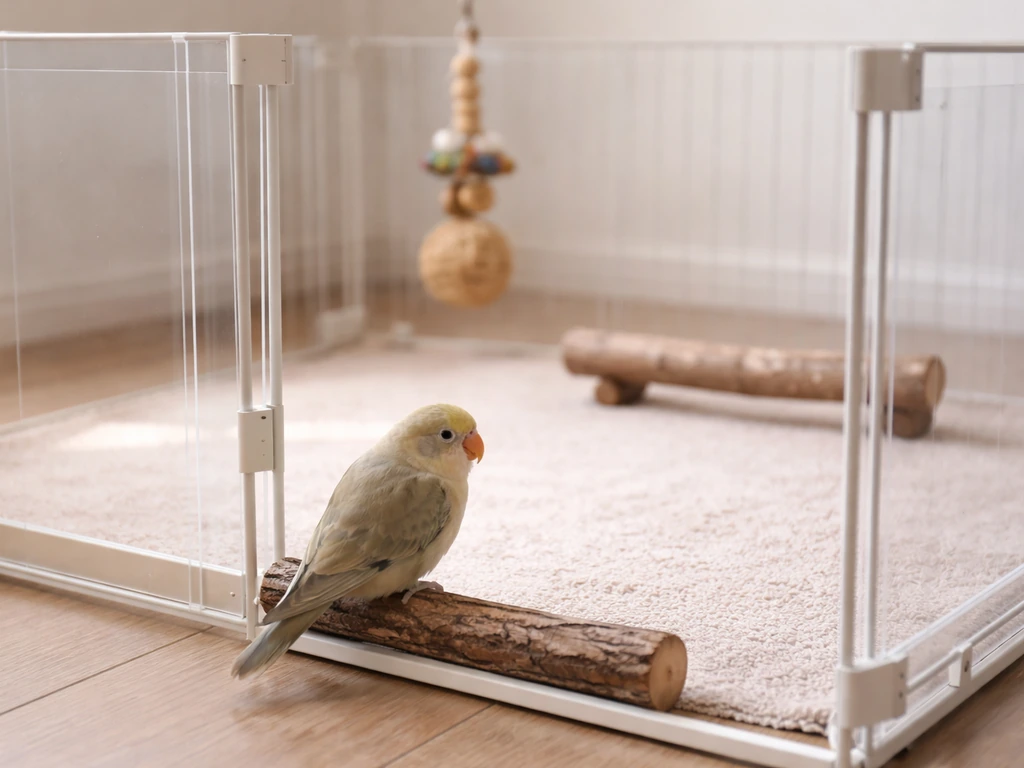
Indoor vs outdoor placement
Indoor playpens are simpler to build and much easier to control. Put yours in a room with natural light but away from kitchen fumes, drafts from windows or air vents, and direct midday sun through glass (which heats up fast). A spot where the bird can see normal household activity tends to reduce anxiety, birds like to watch what's going on. Avoid bathrooms and laundry rooms where cleaning products and humidity fluctuate.
Outdoor playpens are fantastic for enrichment and fresh air, but they need more engineering. US federal animal facility regulations (9 CFR § 3.152) require outdoor bird enclosures to have shade that can comfortably contain all birds, protection from direct sun, wind, and rain, and temperature/humidity conditions that don't cause distress. Even for a backyard DIY setup, that guidance is worth following. Practically, that means: build a solid roof or attach a shade tarp, face the open side away from prevailing wind, and never leave a bird outside when temps go above 90°F or below 50°F without monitoring. You'll also need to think about predators, cats, hawks, raccoons, which means the mesh needs to cover all six sides including the top, and latches have to be something a raccoon's paw can't manipulate.
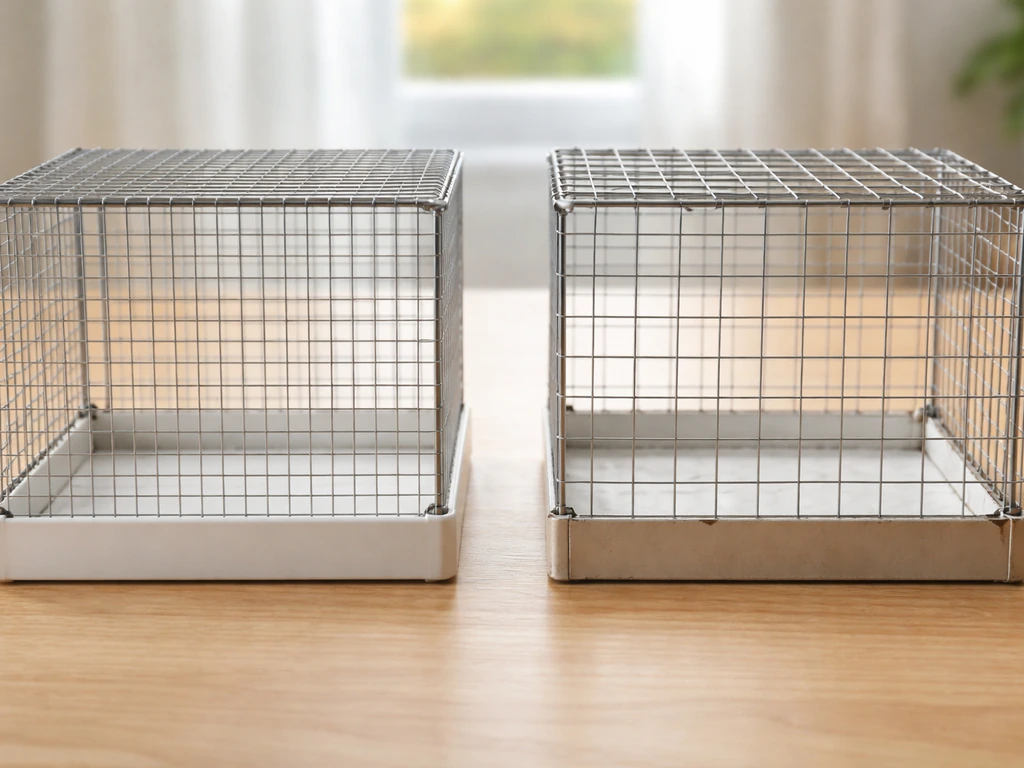
Bird-safe materials, dimensions, and escape-proof design
This is where a lot of DIY playpens go wrong. People grab whatever wire mesh or hardware cloth is available at the hardware store, not realizing that galvanized steel is genuinely dangerous. Hot-dipped galvanized wire is coated in zinc, and birds that chew the wire, which they all do, can develop zinc toxicity. Multiple veterinary sources flag this as a potentially fatal risk. Stick to stainless steel mesh (304 or 316 grade) or powder-coated steel with a bird-safe, non-toxic coating. It costs more, but it's the one place not to cut corners.
For the frame, untreated kiln-dried hardwood (maple, birch, oak) or food-grade PVC pipe are both solid choices. Avoid treated lumber, MDF, or plywood with formaldehyde-based adhesives. If you're using a PVC frame, standard 3/4-inch or 1-inch schedule 40 pipe gives you plenty of rigidity for a freestanding indoor unit. Wood frames are heavier but easier to attach hardware to without special connectors.
For hardware, hinges, latches, screws, and cage clips, use stainless steel throughout. Zinc-plated or nickel-plated hardware is a contamination risk for chewing species. Bird toy safety guidelines specifically call out lead and zinc in metal hardware as hazards, and the same logic applies to the playpen structure.
If you need to paint or finish any wood parts, use a water-based latex paint that's fully cured and labeled non-toxic, or skip the finish entirely on interior-facing surfaces. No oil-based paints, no varnishes with solvents, no spray enamels with VOCs. Let any painted surfaces cure for at least 72 hours and air out before the bird gets anywhere near them.
Escape-proof design comes down to two things: wire spacing and latch security. Match the wire spacing to your species using the table above, going tighter than recommended is fine, going wider is not. Sharp wire ends are another common problem; always file or fold over any cut wire edges before assembly. For latches, use a two-step action (like a carabiner-style clip that requires squeezing and turning) rather than a simple hook-and-eye, especially for smarter species like African greys or cockatoos that will absolutely figure out single-action latches within minutes.
Step-by-step build: frame, walls, door, and base
Here's the build sequence I've landed on after a few iterations. This plan works for a mid-size playpen (roughly 36 × 24 × 48 inches) suitable for conures, cockatiels, or small parrots. If you need a practical guide that walks you through the whole process, use these steps as your starting point for how to make a bird tent. Scale the dimensions up or down as needed.
What you'll need
- 8 lengths of 1-inch schedule 40 PVC pipe (or 2×2 kiln-dried hardwood), cut to your dimensions
- PVC T-connectors and elbow connectors (or wood joinery screws and corner brackets for wood frames)
- Stainless steel wire mesh cut to panel sizes (roll form is easiest to work with)
- Stainless steel J-clips or cage staples and a J-clip plier (or cable ties as a beginner alternative)
- One stainless steel piano hinge (for the door panel)
- Two carabiner-style two-step latches
- A removable plastic tray or galvanized-free metal drip tray for the floor (sized to sit inside the base frame)
- Heavy-duty wire cutters, a file or sandpaper, and safety gloves
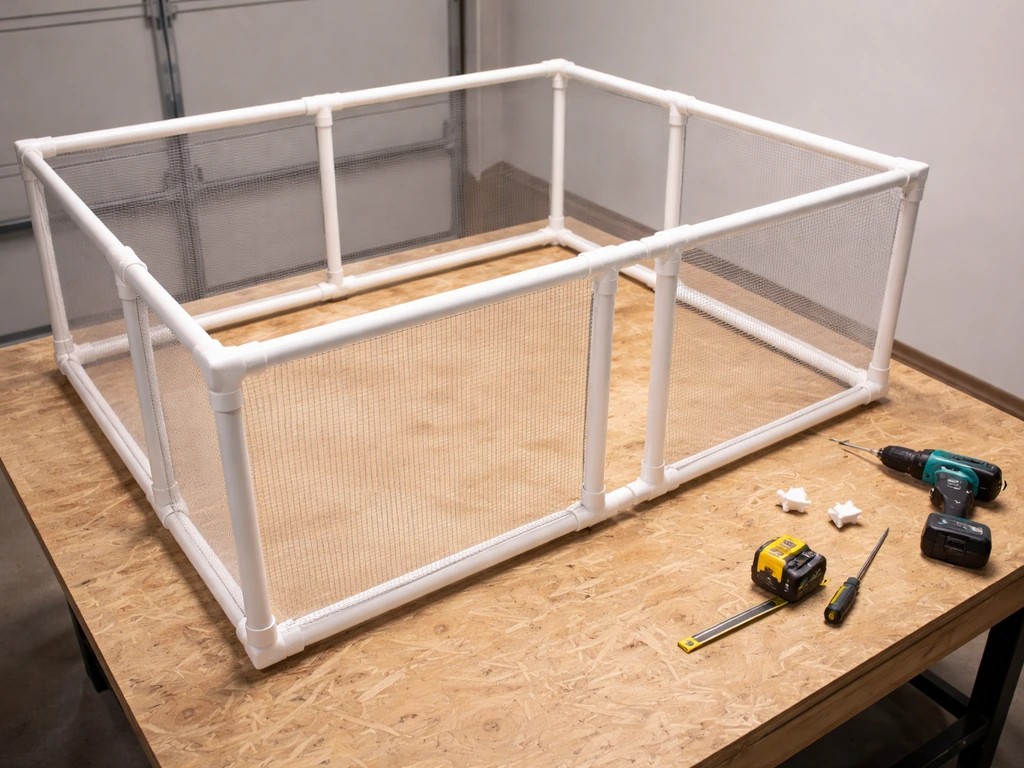
1. Build the frame
Assemble the outer frame first, think of it as a rectangular box skeleton. For PVC, dry-fit all your pipes and connectors before gluing anything so you can make sure all corners are square. For a wood frame, use 2×2 lumber and reinforce each corner with metal L-brackets and wood screws. Make the base frame slightly larger than the floor tray so the tray slides in from the front or bottom. Once you're happy with the fit, glue PVC joints or fasten wood joints permanently.
2. Attach the wall panels
Cut your stainless steel mesh into panels for each face of the frame. Wearing gloves is non-negotiable here, fresh-cut mesh edges are razor sharp. File or fold all cut edges before attaching. Secure each panel to the frame using J-clips spaced every 2 to 3 inches around the perimeter. If you're using cable ties as a beginner option, go with UV-resistant ones and double-tie each connection point. Once attached, run your hand along every edge to feel for any protruding wire ends and file them down.
3. Frame and hang the door
Cut a door opening in one of the front panels, I usually put mine roughly centered and sized so I can reach the full interior comfortably (about 12 × 16 inches for a mid-size playpen). Build a small sub-frame for the door panel from the same pipe or wood, attach mesh to it, then hang it with the piano hinge on one vertical side of the opening. Test the swing before adding latches. Install two carabiner-style latches, one at the top and one at the bottom of the door. Two latches aren't overkill, smarter birds have been known to work a single latch while hanging from the door frame.
4. Install the removable base and floor
A removable floor tray is one of the best design decisions you can make, cleanup becomes a two-minute job instead of a fifteen-minute one. Fit a plastic boot tray, a vinyl-lined baking sheet, or a custom-cut piece of HDPE sheet inside the base frame. Line it with paper towels, unprinted newsprint, or butcher paper for easy daily changes. Some builders add a wire grate above the tray (matching the species' wire spacing) so waste falls through and the bird doesn't walk in it, this works well but adds a cleaning step for the grate itself.
Perches and enrichment setup
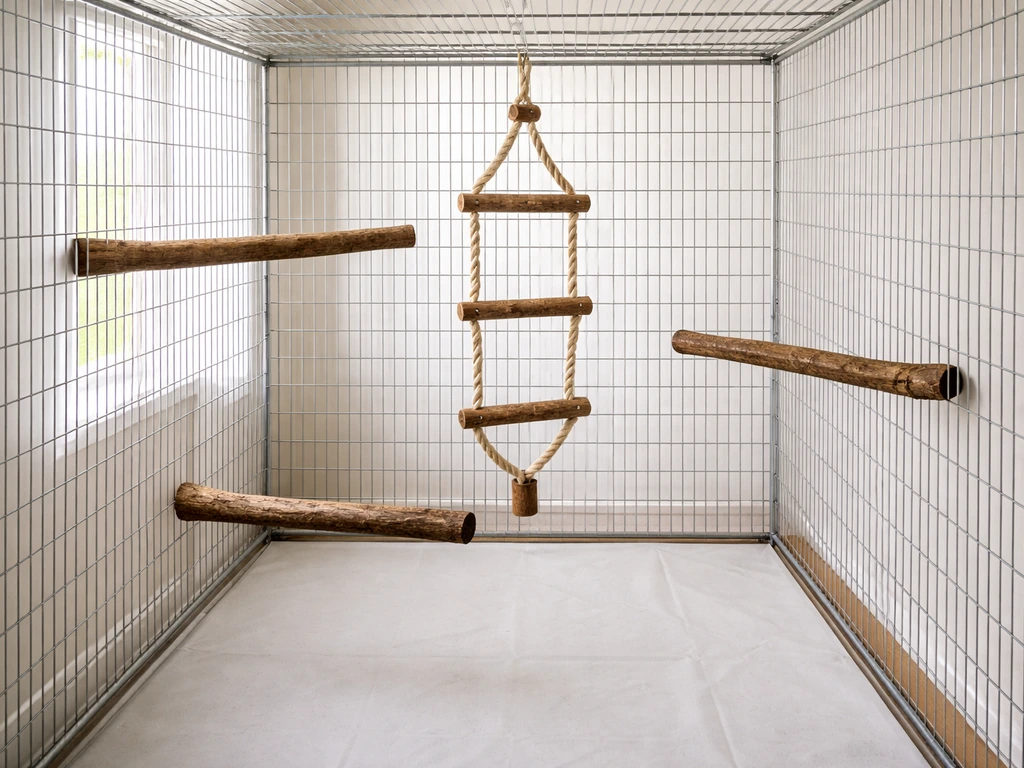
A bare-wire playpen is basically a fancy jail cell. What makes it a playpen is what you put inside, and how you arrange it. The goal is to give the bird multiple elevations to move between, different textures and diameters to exercise their feet, and things that engage their beak and brain.
Perch placement and diameter
Use at least three perches at different heights. Vary the diameter so the bird's toes don't wrap fully around any single perch, a cockatiel does well with perches ranging from 3/8 inch to 3/4 inch in diameter, while a medium parrot needs 3/4 inch to 1.5 inches. Natural wood branches (apple, willow, eucalyptus, or birch, unsprayed) are ideal because the uneven surface exercises the feet and provides chewing material. Avoid dowels as the only perch type; constant identical grip position causes foot problems over time. Mount perches so the bird can't land directly over food or water dishes.
Toys, foraging, and mental engagement
Toys in a playpen get used hard, so treat them as consumables, expect them to be chewed apart and replace destroyed pieces immediately so the bird doesn't swallow fragments that could cause a crop obstruction. Good starter toy categories are: shreddable items (palm leaf, vine balls, paper rolls), foraging puzzles (a small cup or box the bird has to open to get a treat), and foot toys the bird can hold and manipulate while perched. Rotate toys every few days to maintain novelty. If your bird is shy about new objects, place a new toy outside the playpen for a few days before moving it inside, the gradual exposure approach works well for reluctant birds.
For foraging, skewer pieces of vegetable or fruit on a stainless steel skewer attached to the mesh, or stuff a foraging toy with pellets and dried fruit. This keeps a bird busy far longer than just leaving food in a bowl. It also mimics natural feeding behavior, which reduces boredom-driven feather problems. If you're also working on a bird gym or bird swing for outside the playpen, those make great companion pieces, the playpen becomes home base and the gym or swing becomes a supervised adventure space. If you want to expand on that idea, use the diy pvc bird play gyms instructions to plan a simple, safe structure that pairs well with your playpen bird gym. If you want a DIY bird swing, build one using the same bird-safe hardware and materials, then hang it securely inside so it can’t twist or escape.
Bathing options
Most birds love a bath inside the playpen. A simple shallow ceramic dish (about 1 to 2 inches of water) placed on the floor or on a low platform works well. Alternatively, a clip-on hanging bath that attaches to the mesh keeps the floor drier. Offer bathing water 2 to 3 times per week, or daily in hot weather. Remove and clean the bath dish daily, standing water in a warm enclosure goes stale fast and becomes a bacterial risk.
Finishing touches: safety checks, cleaning, and maintenance
Before your bird goes anywhere near the finished playpen, do a full safety walkthrough. Run your hands along every interior surface feeling for sharp edges, loose wire ends, or J-clips that didn't seat fully. Test the door latch repeatedly, open and close it with one hand to simulate what a bird's beak and foot might manage. Check that the floor tray slides in and out smoothly without leaving a gap the bird could wedge a toe or beak into.
Check wire spacing one more time with a ruler. I know it sounds tedious after you've just built the thing, but catching a spacing problem now costs nothing. Catching it after a bird gets its head stuck is a vet visit.
For daily cleaning, pull out the floor tray, swap the paper liner, wipe down any soiled perches with a damp cloth, and remove any old food. Weekly, do a fuller scrub of all surfaces with a diluted white vinegar solution or a bird-safe disinfectant, rinse thoroughly and let everything dry completely before putting the bird back in. Avoid any cleaning products with phenol (found in some common disinfectants like Lysol), essential oils, or strong citrus concentrates, as the fumes are harmful to birds even after surfaces appear dry.
Inspect the mesh attachment points and frame joints monthly. Wire that's been chewed repeatedly will weaken at the connection points first. Replace any damaged mesh panel before it becomes an escape route or a chew-through hazard. If you used PVC, check the glued joints for any signs of cracking or separation, especially on an outdoor unit exposed to temperature swings.
Introducing your bird and troubleshooting common problems
Don't just open the playpen and expect your bird to walk in happily on day one. A new structure in the bird's environment is a potential threat until proven otherwise. Start by placing the playpen near the bird's existing cage or favorite spot for a day or two so it can observe it from a safe distance. Then open the door and let the bird investigate from outside, put a treat just inside the entrance if needed to create a positive association. The first actual session inside the playpen should be short (10 to 15 minutes) with you present, and build from there.
If you have multiple birds and are introducing them to a shared playpen, follow a staged approach: let each bird use the playpen separately at first, then allow supervised side-by-side time with a mesh divider before removing it. This mirrors the quarantine-then-gradual-exposure protocol used in bird welfare programs and dramatically reduces stress and aggression.
My bird keeps escaping
If your bird is getting out, check in this order: door latch first (most likely cause), then wire spacing at any corners or panel seams where two mesh sections meet (gaps can open up during construction), then the connection between the floor tray and the base frame. Upgrade to carabiner-style two-step latches if you haven't already, and use a zip tie as a secondary backup while you investigate the escape route. Watch your bird for a few minutes from a spot where it can't see you, you'll usually spot exactly where it's focused.
My bird is chewing the structure
Some chewing on wood frame parts is normal and even healthy, it's beak exercise. Problematic chewing is when a bird is working on the wire mesh or hardware. If that's happening, first double-check that all your materials are genuinely zinc-free and stainless. Then address the behavior by adding more appropriate chewing alternatives: untreated wood blocks attached to the mesh, shreddable toys, or natural branch perches that are meant to be destroyed. Bored birds chew things they shouldn't. More enrichment usually solves the problem faster than trying to deter the chewing directly.
My bird won't engage with the enrichment
This is usually a comfort and familiarity issue, not a preference issue. Try placing a familiar toy from the bird's regular cage inside the playpen so there's something recognizable in an unfamiliar space. For genuinely fearful birds, place new toys outside the playpen for a few days, then hang them on the outside of the mesh, then move them inside, the slow introduction method works well with anxious personalities. Foraging items with high-value treats (a sliver of almond or a bit of fruit for most parrots) tend to overcome hesitation faster than any other approach because hunger is a powerful motivator.
Once your bird is comfortable in the playpen, the structure basically runs itself with a consistent daily routine: fresh paper liner, clean water, a rotated toy or two, and supervised time inside. The build investment pays off every single day in an engaged, active bird, and once you've done one, you'll find yourself thinking about upgrades pretty quickly. Modular panel additions, a larger outdoor version with a safety porch, or a dedicated bird gym setup alongside the playpen are all natural next steps from here. If you want to take it further, you can follow simple steps to make a bird gym that matches your bird’s size and escape-proof needs dedicated bird gym setup.
FAQ
What wire spacing should I choose if my bird is between sizes or I can’t measure wing span accurately?
If you fall between two sizes, choose the tighter spacing (closer to the smaller species) to prevent head or toe pinches. Then verify with a “gap test” using a ruler and a small safe gauge object you know your bird cannot fit through (like a short foam offcut of known thickness). After that, do a 5 to 10 minute supervised check on corners and the latch area, since gaps and flex usually appear there first.
Can I use hardware cloth instead of stainless mesh for a playpen?
Usually no, unless it is explicitly stainless and you can confirm the grade and coating. Many hardware cloth products are galvanized or unknown metal mixes, and even a small section that is zinc-coated can be hazardous if chewed. If the label does not clearly state stainless steel (for example, 304 or 316), treat it as a no and switch to a known stainless mesh.
How can I prevent the bird from chewing the door frame and hinges?
Add a chew buffer to high-contact areas: cover the hinge-side frame and any exposed latch components with a removable stainless mesh flap or a protected guard made from untreated hardwood blocks secured so they cannot slide out. Also ensure the door seam is tight enough that the bird cannot hook a toenail or beak into a crack while swinging.
Is it safe to build a playpen using only PVC, or do I need wood at all?
PVC is fine for structure and rigidity, but you should still use hardwood or other bird-safe surfaces for perches and chewing. Also, if you are gluing PVC joints, do a full air-out period well beyond the curing window and verify there is no lingering odor before assembly into a bird-ready unit, since many people underestimate how long solvent smells remain.
What should I do if the floor tray gaps slightly when inserted?
Remove the tray and adjust the base frame so the tray seats fully, aim for no more than a thin, consistent gap that cannot catch toes or beaks. A simple fix is adding a low-profile shim along the tray rails, then retesting with a flashlight and running your finger along the seam to confirm there are no snag points.
How often should I replace toys or natural branches inside the playpen?
Rotate toys every few days, but replace them on a safety basis: shred until small fragments are forming, rotate out wooden items once they show deep grooves where toes can catch, and remove branches immediately if you suspect pesticide exposure or the wood is splintering. For natural branches, check daily for looseness and any rough edges your bird could break off and swallow.
What cleaning products are most likely to be unsafe even if they’re “pet friendly”?
Avoid anything with phenols, strong essential oils, or heavy fragrance components, and avoid cleaners that leave a residue film. Even if a product is marketed for pets, fumes can linger and birds are sensitive to airborne compounds. If you’re unsure, do a water-only wipe after the cleaner step and let the area dry fully before the bird returns.
How can I tell if my playpen is truly escape-proof once the bird is inside?
Do a “pressure and reach test” while supervised: watch the bird climb and hang from the door and corners, then look specifically for flex in the frame, any shifting at the tray interface, and any latch movement when the bird tugs or swings. Escapes often happen due to frame flex or latch leverage rather than a visible gap, so pay attention to how the structure behaves under real weight.
Is it okay to leave the playpen near a window with natural light?
Yes for light, but control temperature swings. Position it so there is no direct hot sun patch on the mesh for long periods, and keep it away from drafts from vents. If you can’t comfortably keep your hand on the mesh surface for several seconds, it’s too hot, and you should shade or relocate immediately.
How should I change my approach if my bird shows fear or refuses to enter?
Use a two-stage introduction: first let the bird see and investigate from outside with the door open, then place a high-value treat at the entry point and gradually move it deeper over multiple short sessions. If the bird stays anxious, pause and try again later the same day, consistency matters more than forcing a longer session.
Can I use the playpen outdoors even if I meet temperature limits?
You also need stable shade and protection from wind-driven rain or gusts that can increase the bird enclosure’s temperature swings. Secure the playpen so the base cannot shift, and always watch for predator access along the lower sides and top. If the bird is outside and the environment changes (cloud cover, gusts, or sudden rain), bring it in rather than waiting.
Do multiple birds require a different playpen design or extra features?
They usually benefit from extra perches at different heights and a larger footprint, because birds compete for comfortable spots. If you use a shared playpen, start with separate time and then supervised side-by-side with a divider, then only remove the divider when you see calm body language for several sessions. Also ensure at least two escape routes via door placement or openings for quick separation if aggression starts.
Next Articles
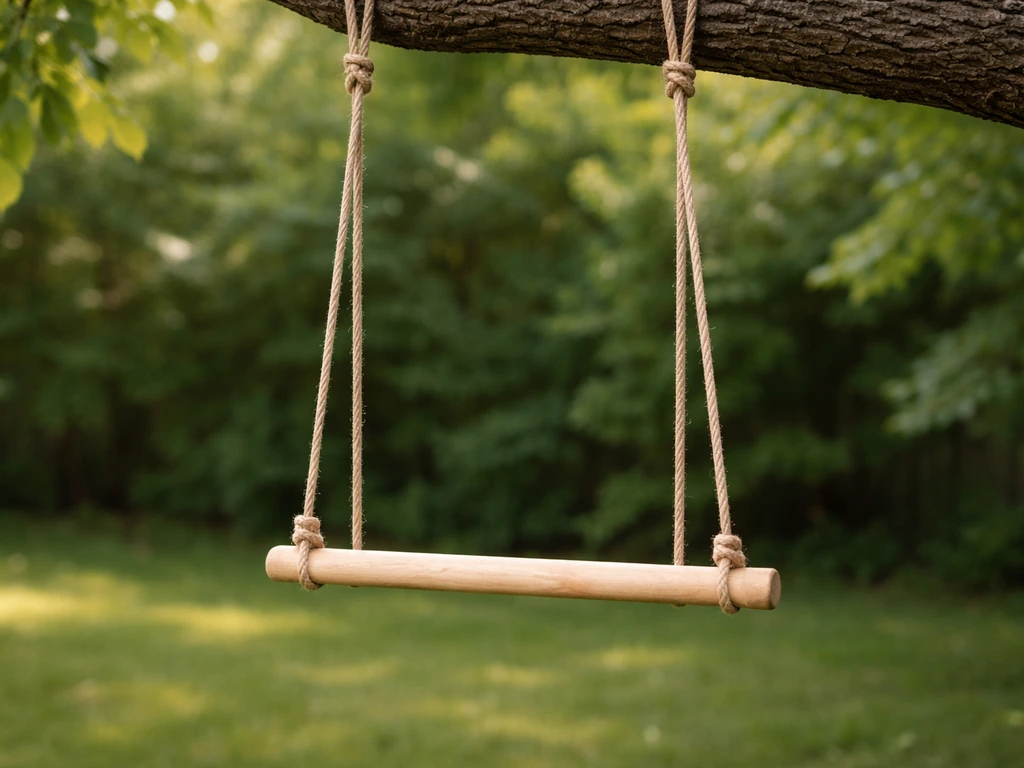
How to Make a Homemade Bird Swing: DIY Guide
Build a safe backyard bird swing with step-by-step DIY plans, sizing for bird types, and mounting and maintenance tips.
How to Make a Bird Tent: DIY Steps, Materials, Sizing
DIY bird tent guide with materials, sizing, step-by-step builds, weatherproofing, safety, and placement for backyard bir
How to Make a Bird Bed: DIY Nest Bed and Resting Platform
DIY bird bed step-by-step: build a nesting nest bed or simple washable resting platform with safe, weatherproof material