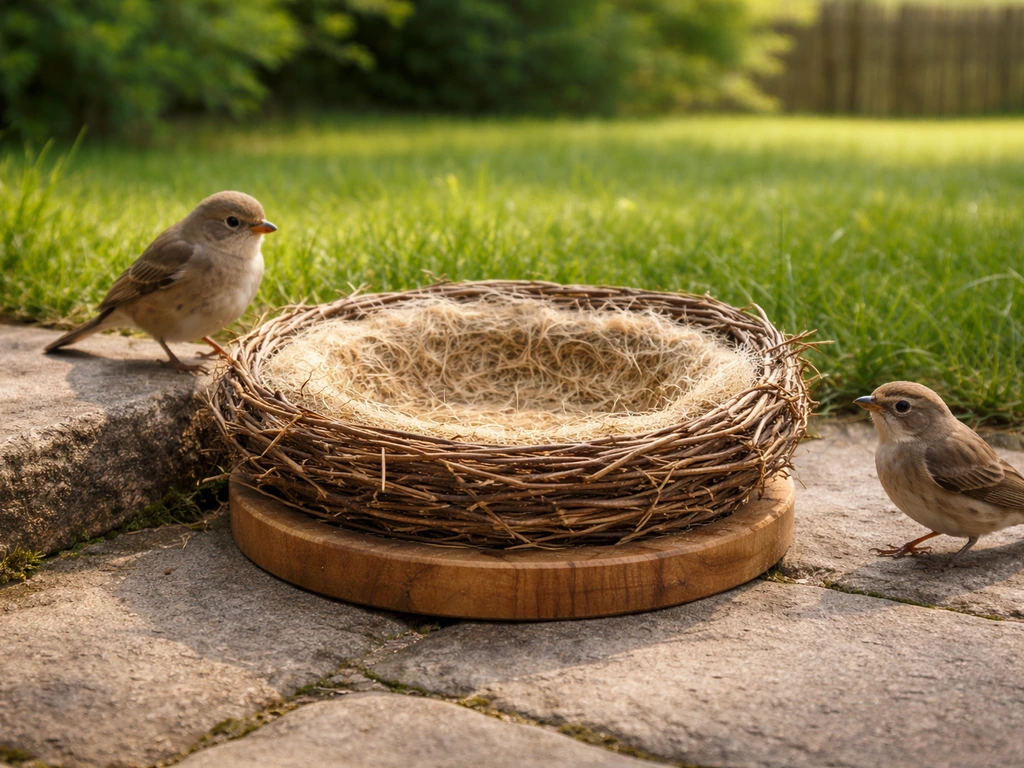
A "bird bed" can mean two different things depending on what you're trying to build, and getting clear on that first saves you a lot of wasted effort. You're either building a nest bed (a cup or platform structure that supports active nesting) or a resting platform (a flat, open perch-style bed where birds can lounge, preen, or shelter). Both are doable as weekend DIY projects with basic tools and repurposed materials. This guide walks you through both, step by step.
How to Make a Bird Bed: DIY Nest Bed and Resting Platform

Marcus Thornton
16 Apr 2026
Nest bed vs. resting bed: what are we actually building?
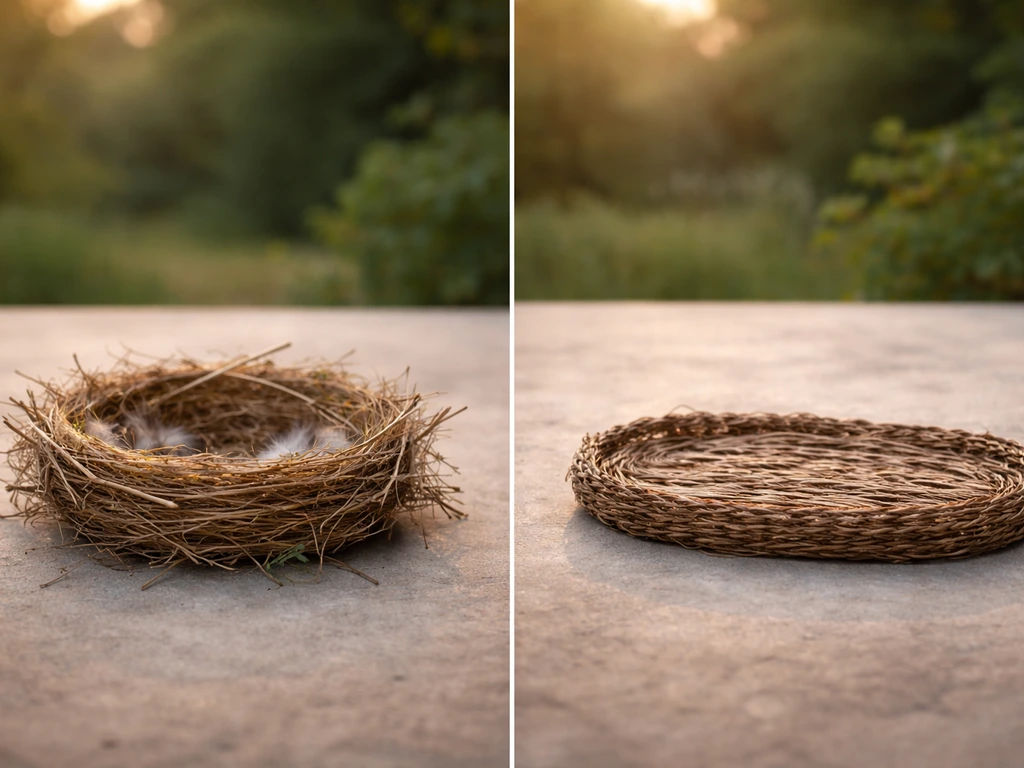
The confusion around "bird bed" is totally understandable. In backyard birding terms, the phrase gets used for at least two distinct things. The first is a nest bed, which is essentially a nesting cup or nesting support structure that mimics the natural home a bird would build in a tree. Think of a woven bowl shape, or a platform with raised edges where a bird can collect nesting material and lay eggs. Cornell Lab's research on nest designs shows that cup-shaped nests provide the best protection for eggs and chicks because the bowl depth keeps everything cradled and insulated. Platform nests, on the other hand, are flatter and wider, used by species like robins and mourning doves that prefer open, supported ledges rather than enclosed cavities.
The second type is a resting or lounge platform, which isn't really a nesting site at all. It's a low, flat, washable surface, often padded with natural fiber, placed at ground level or on a low patio structure where birds can perch, sunbathe, or shelter. This is closer to what people mean when they talk about a "bird bed" for pet or backyard birds that need a cozy spot outside of a formal birdhouse. The design and materials are different from a nesting cup, so it's worth deciding which one you're after before you pick up any tools. If you're thinking about adding enrichment structures for birds that already hang around your yard, you might also enjoy checking out how to make a bird playpen as a companion project.
Pick materials that won't hurt the birds (or fall apart in a season)
Material choice is where a lot of first-timers go wrong, so let's get this out of the way early. For any nesting structure, blank" rel="noopener noreferrer">untreated wood is your best friend. blank" rel="noopener noreferrer">NestWatch specifically recommends against pressure-treated lumber for nest boxes because the chemical preservatives can off-gas into a small enclosed space and harm eggs or chicks. The same logic applies to your nest bed: skip anything pre-treated, painted, or stained. Plain pine, poplar, or plywood from a hardware offcut bin all work well and cost almost nothing.
One thing that surprised me when I first started building: cedar, which a lot of people assume is the gold standard for outdoor wood, is actually not recommended for cavity-nesting or nest-box style builds. Some research suggests cavity-nesting birds avoid the strong scent. Stick to unscented, untreated softwood or hardwood, and you're on safe ground. For the resting platform version, if you want something weather-resistant without chemical treatment, a quick coat of raw linseed oil on the exterior (never the interior) is a reasonable option.
For the soft interior of either build, natural fibers are the only way to go. Dried grass, coconut fiber (coir), and untreated burlap are all great. Avoid synthetic fabrics, dryer lint (it compacts when wet and can chill eggs), and anything with dyes or fragrances. For the resting platform specifically, a thin layer of coir mat cut to size is washable, bird-safe, and holds up through rain.
| Material | Best For | Avoid Because |
|---|---|---|
| Untreated pine/poplar | Both nest bed and resting platform | No concerns, ideal choice |
| Cedar | Resting platform exterior only | Strong scent deters cavity nesters |
| Pressure-treated lumber | Neither | Chemical preservatives harm birds |
| Coconut coir/dried grass | Interior lining for both builds | No concerns, natural and washable |
| Synthetic fabric/dryer lint | Neither | Compacts when wet, traps moisture |
| Raw linseed oil (exterior only) | Weather sealing resting platform | Do not apply to interior surfaces |
Tools, supplies, and setting up your workspace
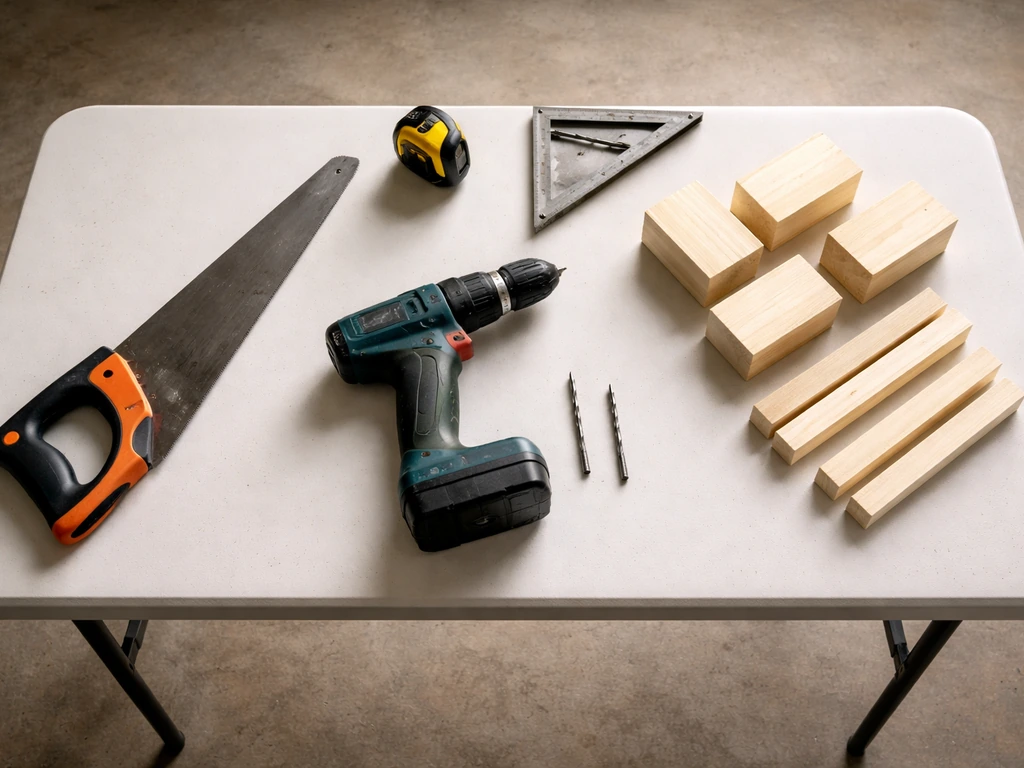
You don't need a workshop to pull this off. I built my first nest cup on a folding table in the garage with a handsaw and a cordless drill. Here's what you'll actually use:
- Cordless drill with a 1/4-inch and 1/8-inch bit (for drainage and ventilation holes)
- Handsaw or jigsaw (a jigsaw makes curves much easier for the cup design)
- Sandpaper, 80-grit and 120-grit (smooth edges prevent splinter injuries to birds)
- Measuring tape and pencil
- Wood screws (1-1/4 inch exterior-grade, not nails which can split thin wood)
- Waterproof wood glue as secondary reinforcement
- Coconut coir mat or natural fiber for lining
- Wire or rope (natural sisal, not plastic) if you're hanging the nest cup version
- Safety glasses and work gloves
Prep your work area before you cut anything. Lay down a drop cloth or old sheet so you can collect sawdust easily. Sand all cut edges before assembly, not after, because getting inside tight corners post-assembly is frustrating. Pre-drill all screw holes to prevent splitting, especially if you're working with thinner boards (3/4 inch or less). Keep a damp rag nearby for glue drips. These small habits make the whole build cleaner and faster.
How to build a DIY bird nest bed (cup/platform style)
This design works as either a cup nest support or an open platform nest. The cup version suits species like robins, finches, and wrens. The flat platform version suits mourning doves and larger yard birds that build wide, shallow nests. Pick your target species before cutting, because dimensions matter.
Dimensions to know before you cut
For a cup nest bed, aim for an interior diameter of 4 to 6 inches and a depth of 2 to 3 inches. That range covers most small-to-medium backyard songbirds. For a platform nest bed, go wider: 8 to 10 inches across and only 1 to 1.5 inches deep on the raised lip. Keep in mind that nest box placement guidance from sources like NestWatch emphasizes that dimensions and site characteristics directly determine which species will use your structure, so matching size to the birds in your area is worth a few minutes of research upfront.
Step-by-step: cup nest bed
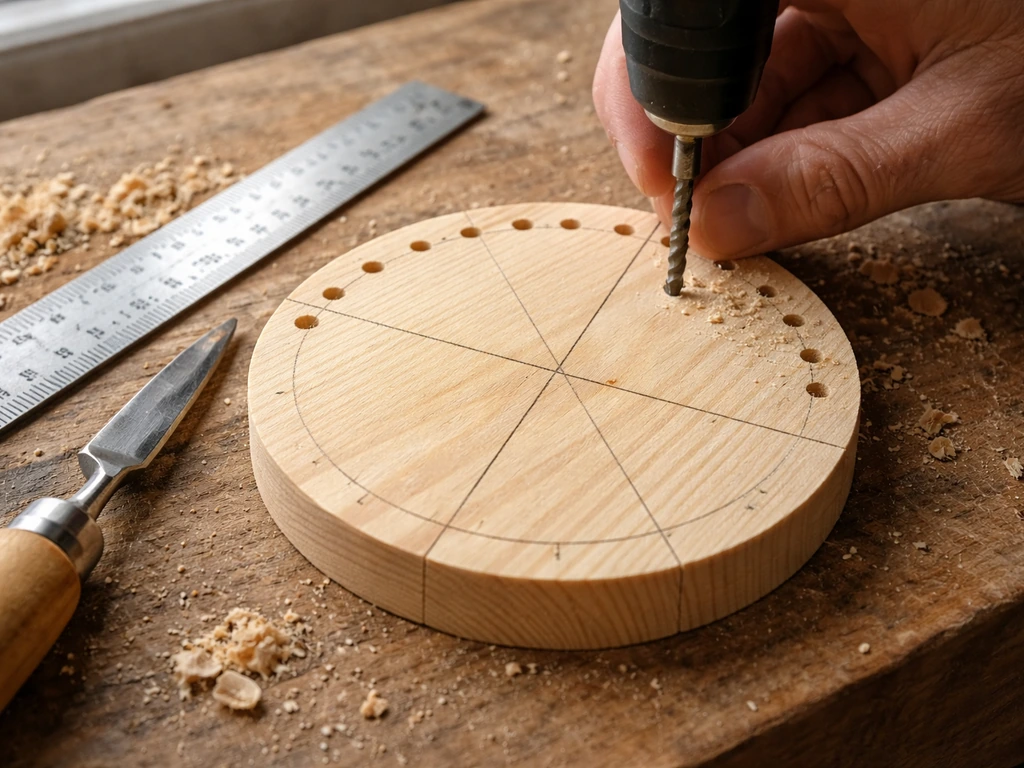
- Cut a circular base from 3/4-inch untreated pine: 5 inches in diameter for small birds, 7 inches for medium birds. A jigsaw makes this easy; a handsaw works if you score a circle with a compass first.
- Cut four side pieces to form the cup walls: each about 2.5 inches tall and shaped to curve inward slightly at the top (a simple taper cut at 10 to 15 degrees). These don't need to be perfect; rough edges are fine and add grip for nesting material.
- Drill two 1/4-inch drainage holes in the base before assembly. Place them near the center, not the edges, so water drains through rather than pooling.
- Drill 1/8-inch ventilation holes around the upper rim of the side walls, two per side, to keep the interior from getting stuffy in warm weather.
- Sand all pieces with 80-grit, then 120-grit. Pay extra attention to the top rim where birds will perch.
- Assemble the sides to the base using pre-drilled pilot holes and 1-1/4-inch screws, reinforced with waterproof wood glue on each joint. Let dry for at least two hours.
- Line the interior with a layer of coconut coir cut to fit. Don't glue the liner down; birds will rearrange it, and you want to be able to replace it for cleaning.
- If mounting to a branch or post, drill two holes through the base for wire or sisal rope attachment. Avoid plastic zip ties, which can cut into wood and weaken over time.
Step-by-step: open platform nest bed
- Cut a rectangular base: 10 inches by 10 inches from 3/4-inch untreated plywood or pine board.
- Cut four border strips: 1.5 inches wide and matching each side length. These form the shallow lip that keeps nesting material from blowing away.
- Drill 1/4-inch drainage holes across the base, spaced roughly 2 inches apart in a grid pattern. Drainage is non-negotiable here because platforms sit exposed to rain.
- Alternatively, cut small "dog-ear" notches at each corner of the base: a 1/4-inch to 1/2-inch square notch that allows water to run off even if debris collects inside. This is a technique recommended for nest box floors and works just as well on open platforms.
- Sand everything, then screw the border strips to the base edges with pre-drilled pilot holes and waterproof glue.
- Mount the platform to a post, bracket, or sheltered ledge using L-brackets screwed into the underside. Keep the platform as level as possible so water drains through the holes rather than pooling in one corner.
- Add a thin layer of coir mat or dried grass as a starter lining. Birds will build on top of this, but having something natural in place helps attract them faster.
How to build a homemade bird resting platform (the lounge-style bed)
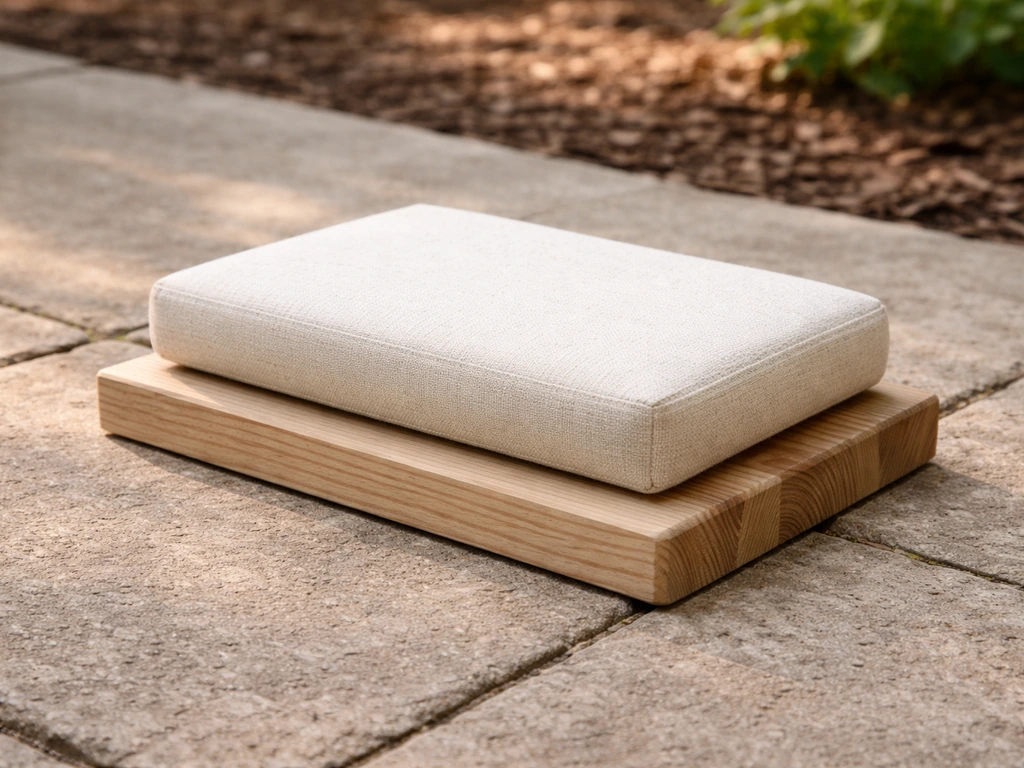
This version is simpler and more flexible. The goal is a flat, padded, stable surface where birds can perch, preen, and rest, not necessarily nest. Think of it as outdoor furniture for birds. This works well on patios, near feeders, or as an addition to a larger outdoor enrichment setup. If you're already building enrichment structures, how to make a bird gym covers more complex activity structures that pair nicely with a resting platform.
- Cut a base board: 12 inches by 8 inches from 3/4-inch untreated pine. This is a generous resting size for most backyard birds.
- Lightly bevel the long edges at a 15-degree angle using a handsaw or sander. This creates a gentle slope so rainwater runs off naturally.
- Drill 1/4-inch drainage holes across the surface in a 3-by-4 grid pattern.
- Cut a piece of coconut coir mat to fit the top surface exactly. Secure it with a staple gun around the underside edges (not the top, where staples could injure feet). This liner is your washable, replaceable "mattress."
- Attach mounting legs or brackets to the underside: two L-brackets on the back edge work for wall or fence mounting; four short wooden dowel legs (3/4-inch diameter, 4 inches long) work for a freestanding ground version.
- If mounting on legs for ground use, keep the platform 4 to 6 inches off the ground. Low enough for ground-feeding birds to hop up, high enough to avoid waterlogging and deter cats.
- Optionally, screw a short piece of natural branch (1 inch diameter, same width as the platform) along the front edge as a perch rail. Birds tend to land on a perch before stepping onto a flat surface.
The resting platform is the more versatile of the two builds if you're just starting out. It's easier to clean, easier to reposition, and works for a wider range of species. Once you've got birds using it regularly, you can upgrade to a full nest bed structure with more confidence about placement.
Where to put it and how to actually get birds to use it
Placement is the part that most guides skim over, and it's genuinely where most DIY bird beds fail. The structure can be beautifully built but ignored entirely if it's in the wrong spot. Here's what I've learned from getting this wrong a few times.
For the nest bed (cup or platform), height and surrounding habitat matter most. Nest site use is highly species-specific: robins prefer platforms at 5 to 15 feet high on a sheltered ledge or under a porch eave. Mourning doves go even lower, sometimes nesting on flat surfaces just a few feet off the ground if they feel sheltered. NestWatch's species-by-species placement guidance is worth bookmarking because spacing and height requirements vary widely. A general rule: face the opening or platform away from prevailing winds and out of direct afternoon sun. Morning sun is fine and actually helps dry out any overnight moisture.
For the resting platform, place it within 10 feet of a bird feeder or water source but not directly underneath one (droppings from the feeder will foul the platform fast). A spot near dense shrubs or a hedge gives birds an escape route, which makes them feel safe enough to linger. Avoid placing it in high-traffic areas of your yard, at least for the first few weeks. Once birds discover it and feel comfortable, you can gradually move it closer to where you like to watch from.
- Nest bed height: 5 to 15 feet for robins and thrushes; 2 to 5 feet for ground-nesting platform users like doves
- Resting platform: 4 to 6 inches off the ground, near shelter, within 10 feet of water or feeders
- Face structures away from prevailing winds and intense afternoon sun
- Keep at least 6 to 10 feet of clear space around nest beds so birds can approach without obstruction
- Add natural camouflage: weave a few dried grass stems or small twigs into the cup or onto the platform edge to make it look less like a hardware project
One easy trick that helps birds discover a new structure: place a small handful of nesting material (dried grass, short twigs, or pet fur if it's unscented and untreated) in the nest cup before hanging it. Birds are drawn to spots that already look like someone started the job. For the resting platform, scattering a few sunflower seeds or mealworms on the surface for the first few days brings birds in to investigate.
Keeping it clean, safe, and used season after season
This is the step that determines whether your bird bed lasts one season or ten. Old nesting material carries mites, bacteria, and parasites that will deter new birds or harm returning ones. Nature's Way Bird Products recommends cleaning nest structures at least once per nesting season, and before each new season as a minimum. I clean mine twice: once in late fall after nesting season ends, and again in early spring before birds start scouting for sites.
For the nest cup and platform, the cleaning process is straightforward. Remove and discard all old nesting material. Scrub the interior with a stiff brush and a solution of one part white vinegar to nine parts water (avoid bleach; residue can harm birds). Rinse thoroughly with clean water and let it dry completely in the sun before replacing the liner or returning it to its mount. For the resting platform, pull out the coir mat, shake it out, and soak it in the same vinegar solution for 20 minutes. If it's falling apart after a season, just replace it. Coir mat is inexpensive and cuts easily. Keeping structures inspectable and easy to access is a design principle worth building in from the start, which is why those screw-assembled sides and removable liners matter.
If birds aren't using it after a few weeks
Don't panic, and don't give up. The most common reasons a bird bed goes unused are location (too exposed, too close to human activity, or wrong height for the local species), scent (fresh-cut wood and wood glue smell strong for the first week or two, so letting the structure air out before mounting helps), and timing (if you put it up mid-nesting season, birds may already have committed to a site and won't switch until next year). Try moving the structure a few feet in either direction, adding more surrounding cover, or reseeding it with fresh nesting material. Also make sure surrounding landscaping isn't suddenly more attractive than your structure: a bird that could nest in a dense shrub five feet away will almost always choose the shrub.
If you want to add more variety to what you're offering, a homemade bird swing mounted nearby can make the area feel like a more complete and inviting bird zone. Birds often explore connected structures before committing to a nesting spot, so giving them a reason to hang around in the general area increases the odds they'll discover and adopt your bed.
For shelter-focused resting platforms specifically, consider whether your yard has enough natural wind protection. A platform positioned behind a short trellis or a potted evergreen gets used much faster than an exposed one. You can also build a simple canopy for the resting platform using two scrap wood uprights and a thin plywood roof, which turns it into something closer to a DIY bird tent with an open front. That extra shelter dramatically increases use in rainy or windy weather.
Once you've nailed down the basics and birds are regularly using your structures, it's natural to want to expand. Building a full activity and enrichment setup is very achievable with the same basic skills. The DIY PVC bird play gym instructions are a solid next step if you want to create a more elaborate outdoor environment that keeps birds active and engaged beyond just resting and nesting.
Your next steps, simplified
Decide which build fits your goal: nest bed if you want to support active nesting, resting platform if you want birds to lounge and preen near your yard. Gather untreated wood scraps, a drill, a saw, and coconut coir mat. Build in an afternoon, let it air for a few days, then mount it in a sheltered spot at the right height for your target species. Clean it before each season and replace the liner whenever it looks worn. That's genuinely all there is to it. Most of the complexity in bird bed projects comes from over-engineering the design. Keep it simple, keep it natural, and the birds will show up.
FAQ
Can I use a bird bed for multiple species at the same time?
Yes, but only if you choose a size and placement that fit the likely visitors. A nest bed can be repurposed for different species by offering multiple structures (different heights or openings), but one single cup size usually favors a particular group. If you see a bird start investigating but not entering, the dimensions or height are often mismatched rather than the material.
What should I do if birds investigate the bird bed but never start nesting?
Give it time and refine the site, not the build. Keep the area quiet, ensure nearby cover is dense enough for your local species, and orient the opening so it is shielded from prevailing winds and harsh afternoon sun. If you recently moved it or changed landscaping nearby, put it back and wait for the next scouting cycle (often the following season).
Do I need to hang a nest bed, or can it sit on the ground?
Both are possible, but species determines which works. Mourning doves sometimes use low or ground-adjacent sites, while many songbirds prefer a ledge or sheltered height. If you place it on the ground, increase safety by setting it near thick shrubs for escape cover, and keep it away from where pets roam.
Is it safe to use glue, screws, or paint to seal parts of the bird bed?
For nest beds, avoid painted, stained, scented, or chemically sealed surfaces inside the cavity. Exterior hardware is fine as long as any adhesives fully cure and the structure airs out before use. If you are unsure about an adhesive’s odor persistence, let the finished piece sit outdoors for several days and ensure ventilation before birds start scouting.
How long should I wait before putting the bird bed out after building it?
Air out the structure until any fresh-wood or glue smell is no longer strong, especially in the first week. A simple rule is to put it in shade outdoors for a few days, then check whether birds are still hesitant. If they start investigating, that’s usually a sign the scent level is acceptable.
Can I add a waterproof liner or tray to make cleaning easier on the nest bed?
You can add a removable liner for easier maintenance, but avoid anything that traps moisture or holds strong odors. Natural fiber liners or coir mat cut to size are safer because they dry reasonably well, and removable liners also let you replace material quickly if you notice dampness or odor.
Should I provide nesting material every day or only during setup?
Only during setup or after you refresh the structure. In the first days, placing a small handful of suitable nesting material helps birds recognize it as a viable site. Once birds start bringing their own material, reduce what you add to prevent a buildup that can get damp, foul, or attract pests.
How do I clean the resting platform if birds are using it regularly?
Do spot maintenance while keeping disruption minimal. If you see droppings or wet mats, remove the coir insert and do a short soak in the vinegar solution, then rinse and dry fully before returning it. For the whole platform, plan deeper cleaning during cooler periods when bird traffic is lower to avoid breaking their routine.
What if my coir mat falls apart quickly after one season?
That usually means it is getting too much abrasive traffic, excessive saturation, or it was cut too tightly for proper drainage. Use a slightly looser fit so water can escape, and consider replacing the mat sooner rather than trying to patch it. Keeping the platform in sheltered wind and rain reduces premature breakdown.
Can I place a resting platform directly under a feeder for better access?
It’s better to avoid that, droppings and spilled food can foul the surface quickly. Instead, position it within about 10 feet of feeder or water, but not directly underneath. If you have no other option, choose a very easy-to-remove liner and inspect it more often than you would for a sheltered location.
Do I need to worry about pests or parasites if I reuse the nest cup liners?
Yes, reuse is only safe if you clean thoroughly and replace liners when worn. Old nesting material can carry mites and pathogens that deter new nests. If you notice heavy residue, unusual odor, or visible grime that does not come out with brushing and vinegar cleaning, discard the liner and rebuild with fresh natural fiber.
How do I choose the right height if I do not know which birds are in my area?
Start with flexibility and observe. For nest beds, offering a structure at a species-appropriate height plus nearby shrub cover usually works better than putting it too high or too exposed. For resting platforms, start low to moderate height, near cover, and within reach of water or feeders, then adjust by a few feet based on which birds actually use it.
Next Articles

How to Build a Chimney Swift Bird House DIY Guide
Step-by-step DIY plans to build a chimney swift bird house, with correct dimensions, placement, and weatherproofing for

How to Build an Oriole Bird House: Step-by-Step DIY
Step-by-step DIY for building an oriole bird house with right dimensions, weatherproofing, predator-safe placement, and

How to Build a Chickadee Bird House Step by Step
Step-by-step DIY chickadee bird house with cut list, chickadee entry sizing, ventilation, drainage, and mounting tips.