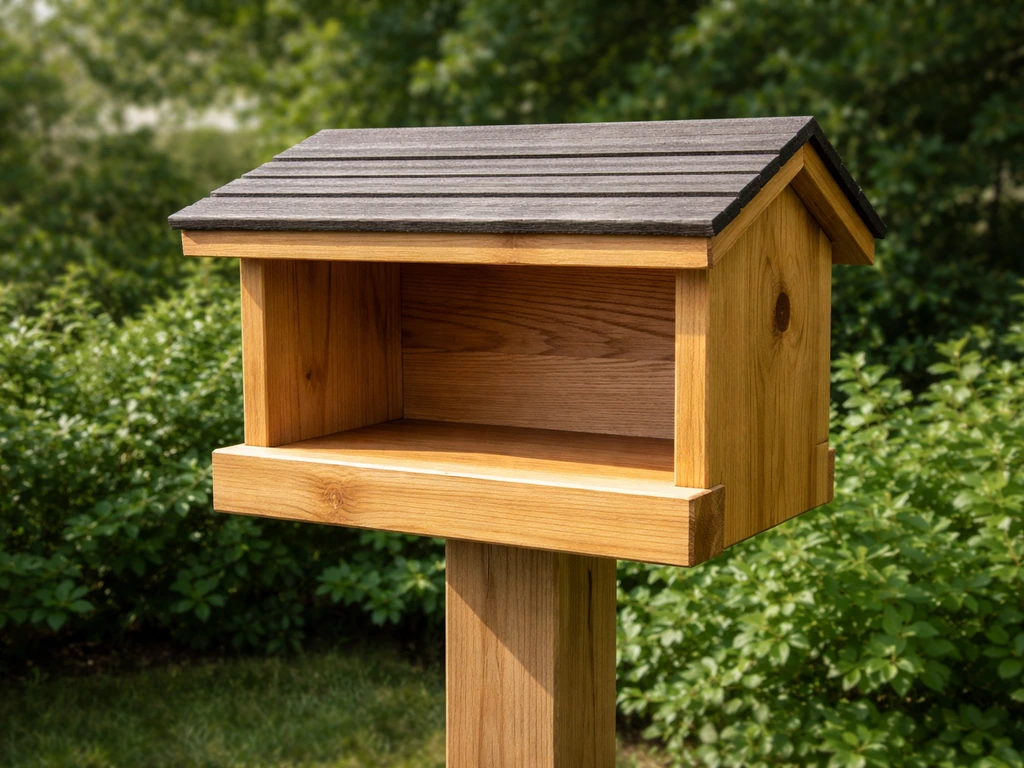
Cardinals generally do not nest inside fully enclosed birdhouses the way bluebirds or wrens do. They strongly prefer open or semi-open nest platforms tucked into dense shrubs, thickets, or evergreen branches. So if you want to attract nesting cardinals to your yard, the project to build is an open-fronted nesting shelf or platform, not a standard box with a round entrance hole. Once you know that, the build becomes simpler, faster, and something you can absolutely knock out in an afternoon with basic tools.
How to Make a Cardinal Bird House Step by Step

Marcus Thornton
20 May 2026
What cardinals actually need from a nesting structure
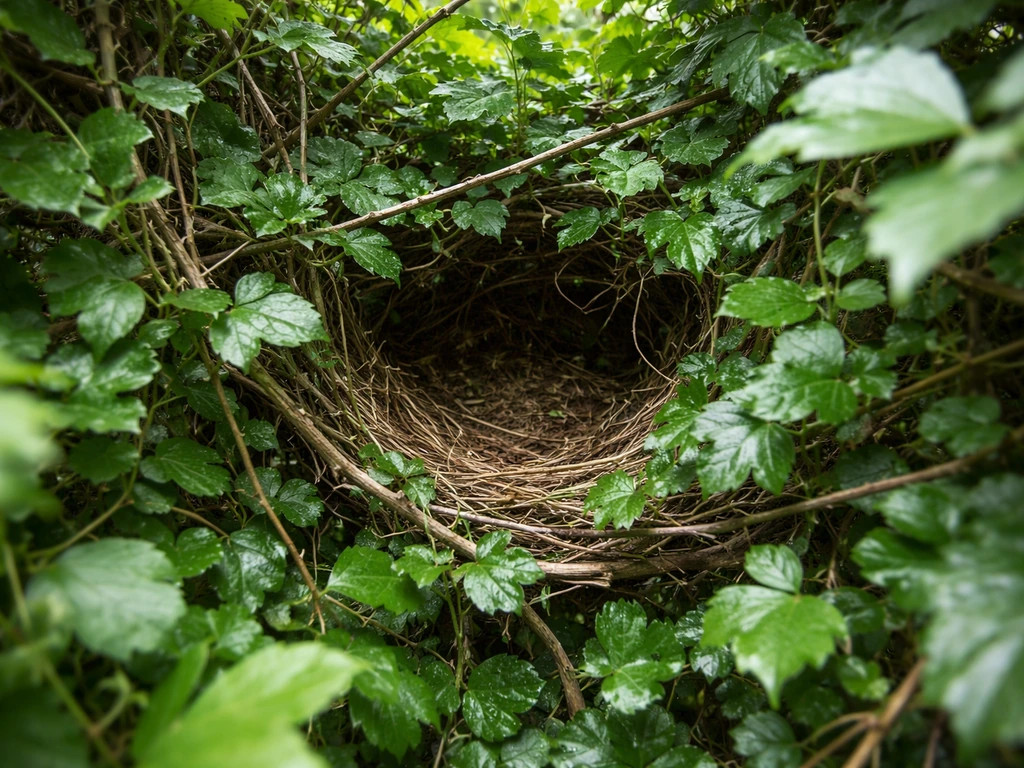
Cardinals are not cavity nesters. In the wild, females build a cup-shaped nest in dense vegetation, vines, or low shrubs, usually between 3 and 10 feet off the ground and well hidden. Because of that, the structure you build needs to mimic those conditions: a sheltered platform with at least three solid sides and a roof, open on one or two sides so the birds can fly in and out freely, and ideally mounted near or within dense cover rather than out in the open.
The target interior floor dimensions for a cardinal nesting shelf are roughly 8 inches by 8 inches, giving a female enough room to build her nest without it being cramped. A roof that slopes toward the front keeps rain from pooling. Sides and a back panel at least 6 to 8 inches tall provide the sheltered, hidden feeling cardinals want. There is no entrance hole to drill here, which removes one of the trickiest parts of enclosed birdhouse builds.
This is worth comparing briefly to other songbird projects. If you are also thinking about building for blue jays, wrens, or species like purple martins, those are all cavity nesters and do use enclosed boxes with specific entrance hole diameters. If you are specifically trying to build a blue jay bird house, you will want to follow blue jay nesting requirements rather than the open-front cardinal design blue jays. Purple martins are cavity nesters too, so their birdhouse design is different from the open shelf style used for cardinals species like purple martins. If you are also planning a purple martin house, keep in mind that martins have different entrance and cavity-style requirements than cardinals purple martins. Cardinals sit outside that group entirely, which is why the open-shelf design is the right approach here.
Materials and tools, including repurposed options
The best wood choices are cedar, redwood, or cypress. All three are naturally rot-resistant and hold up through rain and freeze-thaw cycles without warping badly. Cedar is usually the easiest to find at hardware stores and it smells pleasant without off-gassing chemicals that could harm eggs or chicks. The U.S. Fish and Wildlife Service notes you do not need to paint cypress at all, and that is true of cedar too. If you use pine or untreated plywood, plan to apply a finish on the exterior only.
Repurposed wood works great for this project. Old fence boards, pallet slats (check that they are HT heat-treated, not MB methyl bromide-treated), barn wood, or reclaimed hardwood flooring can all be cut to size. Just make sure the wood is not painted with lead-based paint, chemically treated with preservatives like creosote, or pressure-treated lumber marked as CCA, which contains arsenic. Those materials are not safe near nesting birds.
Wood and hardware shopping list
- One 6-foot length of 1x8 cedar, redwood, or exterior-grade pine (actual width 7.25 inches for nominal 1x8)
- One 1x10 board about 12 inches long for the roof (actual width 9.25 inches)
- Exterior-grade screws: 1.25-inch and 1.5-inch sizes, corrosion-resistant
- Waterproof wood glue (exterior-rated PVA or polyurethane)
- A small metal eye screw and heavy-gauge wire or a mounting bracket for hanging or post-mounting
- Sandpaper, 80-grit and 120-grit
Tools you will need
- Circular saw, miter saw, or hand saw
- Drill and drill bits: 3/8-inch bit for drainage holes, 1/4-inch bit for ventilation holes
- Screwdriver or impact driver
- Tape measure and pencil
- Square for marking right angles
- Clamps (optional but helpful during glue-up)
If you do not own a saw, most big-box hardware stores will make straight cuts for you at the lumber counter for a small fee or even free. Give them your cut list below and you can walk out with all your pieces ready to assemble.
Cut list and step-by-step build plan
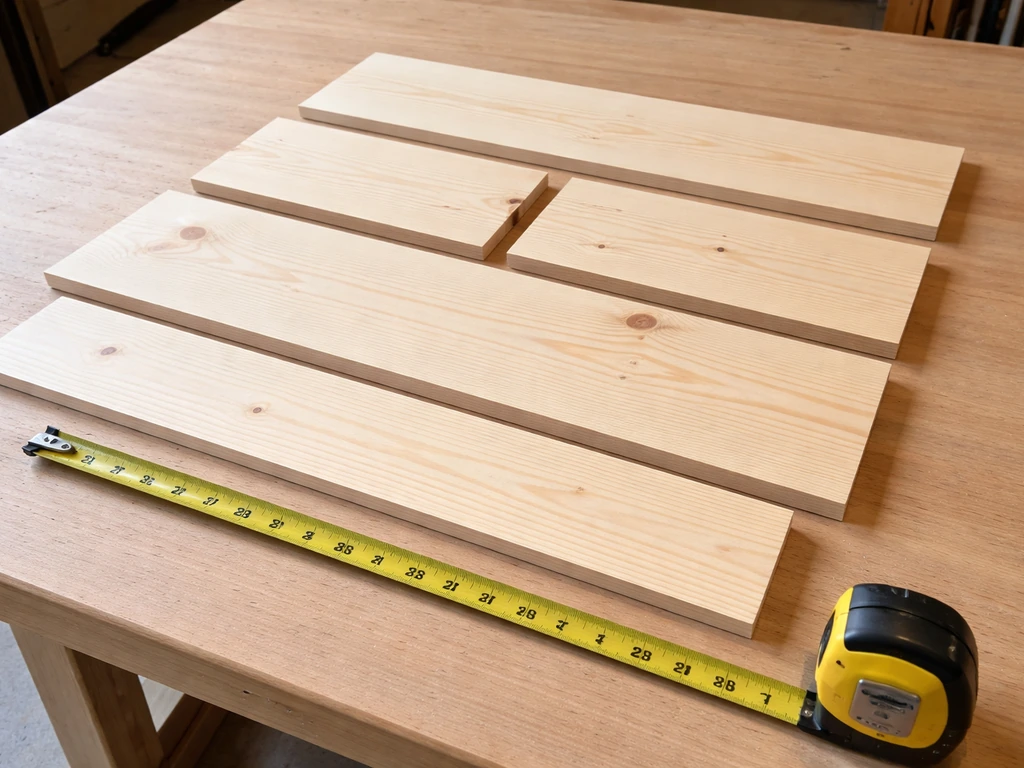
All measurements below assume nominal 1x8 lumber with a true face width of 7.25 inches, which is standard dimensional lumber from any hardware store. The roof uses a 1x10 board (true width 9.25 inches) so it overhangs the sides and front adequately.
Cut list
| Piece | Width | Length | Quantity | Notes |
|---|---|---|---|---|
| Floor | 7.25 in | 8 in | 1 | Trim corners slightly for drainage |
| Back panel | 7.25 in | 12 in | 1 | Taller back supports sloped roof |
| Side panels | 7.25 in | 10 in | 2 | Cut a slight angle at top to match roof slope |
| Front lip/rail (optional) | 7.25 in | 2 in | 1 | Low front rail keeps nesting material in |
| Roof | 9.25 in | 11 in | 1 | Overhangs front and sides for rain cover |
The design is intentionally open on the front face and can be open on one side as well for easier access and a less enclosed feel that cardinals prefer. The back panel is taller than the side panels (12 inches vs 10 inches) so the roof naturally tilts forward, which sheds rain away from the nesting area. If you want to create a slope precisely, cut the top edge of each side panel at about a 10-degree angle before assembly.
Assembly steps

- Drill drainage holes in the floor first, before assembly. Use a 3/8-inch bit and drill at least four holes, one near each corner. Some builders trim the corners of the floor at 45-degree angles instead, which gives excellent drainage and is even simpler.
- Drill ventilation holes in the side panels. Use a 1/4-inch bit and drill at least two holes per side, positioned near the top of each panel. This creates airflow through the shelter without exposing the nest to direct rain.
- Attach the floor to the back panel. Apply a thin bead of waterproof glue along the bottom edge of the back panel, then drive two 1.5-inch screws through the back into the floor. Keep the back panel flush with the rear edge of the floor.
- Attach both side panels. Glue and screw each side panel to the floor and to the back panel. Use 1.25-inch screws going through the side into the back panel edge, and 1.5-inch screws through the side down into the floor.
- Add the optional front lip. If you cut the small 2-inch front rail, glue and screw it flush with the front edge of the floor. This low barrier keeps nesting material from falling out without closing off the open front.
- Attach the roof. Apply glue to the top edges of the back and both side panels, then set the roof board on top. The roof should overhang the open front by at least 1.5 inches and extend a bit past the sides. Drive screws down through the roof into the top of the back and side panels.
- Sand all exterior surfaces lightly with 120-grit sandpaper to remove splinters. Leave the interior surfaces rough so birds have grip.
- Check all screw heads are flush or countersunk so no sharp points are exposed inside the shelter.
Ventilation, drainage, and safety details
Even on an open-front design, good airflow matters. Stagnant heat inside a nesting shelter can be lethal for eggs and chicks on hot summer days. The two quarter-inch holes near the top of each side panel, combined with the open front face, create a cross-breeze that keeps temperatures manageable. If you are building in a region with very hot summers, you can add a second pair of ventilation holes on each side, keeping them clustered near the top so they do not compromise structural integrity or invite rain.
Drainage is equally critical. Rain can blow into an open-front shelter during storms, and without drainage holes, the floor becomes a puddle that soaks the nest and chills eggs. Four holes at 3/8 to 1/2 inch diameter in the floor is the widely recommended standard from organizations like NestWatch and Missouri Extension. Make sure those holes are clear and not blocked by glue squeeze-out after assembly.
One safety detail that trips up a lot of first-time builders: do not add a perch. Perches are popular in decorative birdhouses at garden centers, but both NestWatch and the U.S. Fish and Wildlife Service are clear that perches are unnecessary for birds and actually give predators and nest competitors like house sparrows a foothold to harass nesting birds. Leave the front rail low and smooth, with nothing to grab onto from outside.
Also make sure the side panels extend down far enough that the floor sits recessed, not flush with the bottom edges. This overhang of even half an inch helps prevent water from wicking inward along the floor during sideways rain. The Alaska Department of Fish and Game specifically calls this out as a key weatherproofing detail in their nesting box guidance.
Finishing, curing, and mounting options
If your wood is cedar, redwood, or cypress, you can leave the exterior completely unfinished and it will weather beautifully. If you used pine or a softer wood, apply one or two coats of water-based exterior latex paint to the outside surfaces only. Flat or satin finish in a natural color works best: think bark brown, sage green, or unpainted gray. Bright colors do not help attract cardinals and may actually make the shelter more visible to predators. The U.S. Fish and Wildlife Service recommends water-based exterior latex specifically because it is non-toxic once cured.
Never paint or stain the interior surfaces of the shelter. The inside of the floor, back, and side panels should stay bare wood. Paints and stains off-gas chemicals during curing, and even after curing they can be irritating or harmful in the enclosed space of a nest. This is a firm rule that the Alaska Department of Fish and Game emphasizes, and it applies to all birdhouse and nesting shelf builds.
Let any exterior paint or stain cure for at least one week in a well-ventilated area before mounting the shelter, especially if birds are already active in your yard. A freshly painted surface smells strongly enough to deter birds from investigating.
Mounting hardware and methods
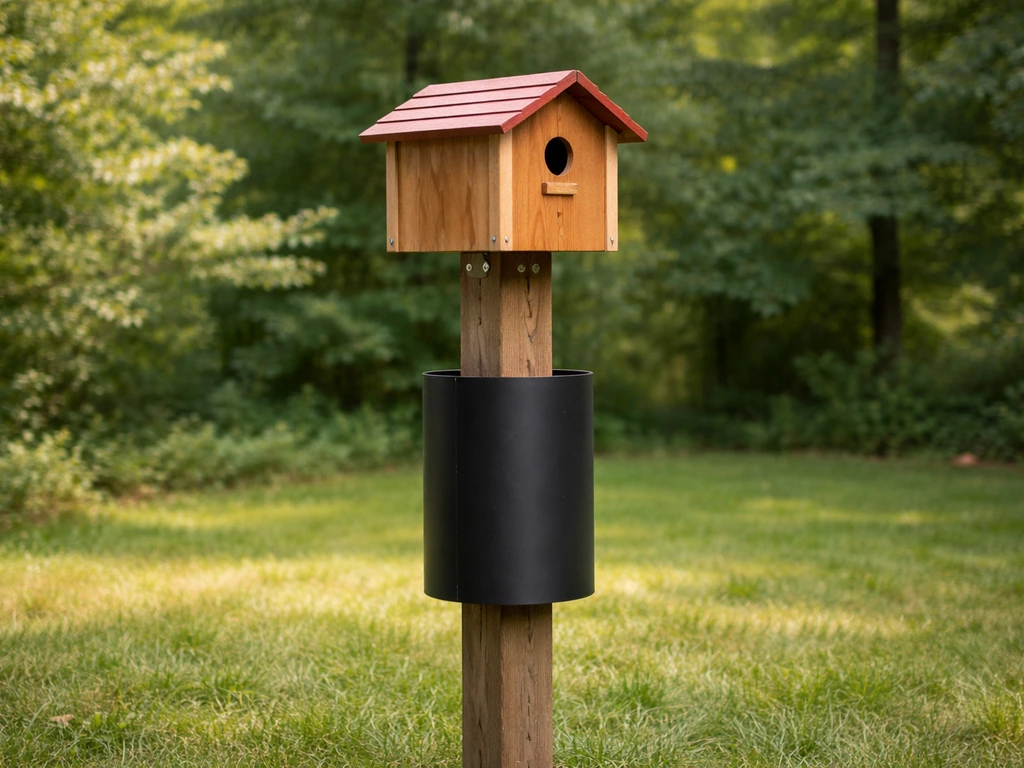
You have a few good options for mounting. Screwing the back panel directly to a fence post, wooden fence board, or tree trunk is the simplest approach. Use two 2.5-inch exterior screws through the back panel. Alternatively, attach a keyhole bracket or a pair of eye screws to the back and hang the shelf from a sturdy hook on a post or fence. For a free-standing post mount, attach the back panel to a 4x4 wooden post using a flat metal bracket, then sink the post 18 inches into the ground with a concrete footing for stability.
Whichever method you choose, add a predator baffle on the post below the shelter. A cone-type metal baffle or a stovepipe baffle slipped over the post makes it much harder for raccoons, cats, and squirrels to reach the nest. NestWatch notes that cone baffles and stovepipe baffles are among the most effective options and are clearly correlated with improved nesting success rates.
Where to place it and how to fix common problems
Placement is the factor most people underestimate. You can build a perfect shelter and have it sit empty for seasons if it is in the wrong spot. Cardinals want dense cover nearby, ideally within 5 to 10 feet of thick shrubs, an evergreen hedge, a vine-covered fence, or a thicket. Mount the shelter between 4 and 8 feet off the ground, which sits right in the height range cardinals naturally choose for nest sites.
Face the open front toward the interior of the yard or garden rather than toward a road, open field, or large expanse of lawn. Cardinals are cautious birds and they want a clear flight path in and out, but they also want to feel hidden, not exposed. Placing the shelter just inside the edge of a shrub border, with branches loosely framing the opening, closely mimics what a cardinal female looks for when scouting nest sites.
Keep the shelter away from active bird feeders. While cardinals visit feeders constantly, they prefer to nest away from high-traffic areas where other birds gather. A distance of 15 to 20 feet from a feeder is a reasonable minimum. Having a water source like a birdbath within 20 to 30 feet of the nesting area is a genuine bonus.
Troubleshooting: why cardinals might ignore your shelter
- Placed in full sun with no shade cover: cardinals avoid overheated nest sites, so add overhead branch cover or relocate to a shadier spot
- Mounted too high or too low: aim for 4 to 8 feet off the ground, not on a 12-foot post
- No surrounding dense vegetation: try planting or relocating the shelter near an existing shrub or hedge
- Shelter smells of fresh paint or stain: wait at least a week after painting before mounting
- Predator pressure is high in the area: add or upgrade your predator baffle and consider relocating to a less accessible spot
- Competing birds have claimed the site: house sparrows can aggressively occupy open shelters, so monitor weekly and remove non-native nests promptly
Plan to clean the shelter 7 to 10 days after each nesting season ends, which aligns with guidance from the Oklahoma Department of Wildlife Conservation. Remove old nesting material, brush out debris, and check that drainage and ventilation holes are clear. A clean, dry shelter going into the next season is far more attractive to returning birds than a rotting leftover nest.
Quick build checklist before you mount it
- Floor has at least four 3/8-inch drainage holes drilled and cleared of glue
- Each side panel has at least two 1/4-inch ventilation holes near the top
- No perch attached anywhere on the exterior
- Interior surfaces are bare unfinished wood
- Exterior paint (if used) has cured for at least one week
- Roof overhangs the open front by at least 1.5 inches
- All screws are flush or countersunk with no sharp points inside
- Mounting hardware is corrosion-resistant and firmly attached
- Predator baffle installed on the post or mount
- Shelter positioned 4 to 8 feet high, within 5 to 10 feet of dense cover
Once you have run through that list, you are ready to mount. Put it up in late winter or very early spring before cardinals begin scouting nest sites, typically February through March depending on your region. Cardinals can raise two or even three broods per season, so the earlier the shelter is in place, the better your chances of it being used that same year. This is a genuinely satisfying project because cardinals are highly visible, colorful birds that spend a lot of time near their nesting sites, so once a pair moves in you will see them constantly.
FAQ
Can I make the cardinal nesting shelf smaller if my wood is limited?
If you only have scraps and end up with a floor that is slightly smaller than about 8 x 8 inches, prioritize keeping the nest-shelter open-front design, a sloped roof, and enough side/back height for cover. A too-tight floor is the main risk for cramped nests, so avoid cutting it dramatically smaller, and keep drainage holes in the floor even on small builds.
What if I want to scale the design up or wider than the standard dimensions?
Yes, but keep it structural. Use the same overall shelf concept, keep the front open, and do not add a round entry or a full front wall. You can increase shelter width by a small amount for more stability and still support nest building, as long as the open-front profile and sheltered sides remain, and you do not reduce ventilation near the top.
I really want a perch for looks, will that still attract cardinals?
Avoid any type of perch, even a short decorative one. Instead, keep the front edge low and smooth so there is nothing for predators or nest competitors to grab. If you already built one, remove the perch before mounting, because it can increase harassment attempts and reduce success.
Do I need to paint or seal the shelter to protect it long term?
You can leave the wood bare outdoors if you used cedar, redwood, or cypress, but you should still protect the screws and fasteners from rust. Use exterior-rated screws, and if you used a different wood, only coat the exterior. Do not seal or coat the interior because many finishes keep off-gassing strong enough to interfere with nesting comfort.
How secure does the shelf need to be so cardinals will actually use it?
If the nest shelf feels “sturdy enough” but is slightly loose at the joints, that can actually deter use because moving structures make birds wary. Use tight joints, exterior screws, and an appropriate mounting method (back panel mounted firmly to a fence post, or a keyed hanging setup only if the hook system is solid). Test by gently shaking it after assembly before installing.
What should I do if I miss the late-winter installation window?
Cardinals can start scouting early, but do not install it in the middle of the season if you can avoid it. If you must put it up later, use the clean, bare interior and make sure it is quiet and stable, then expect less likelihood of immediate use. The best results usually come from late winter or very early spring.
How can I make sure it stays dry during heavy rain and wind?
In wet climates, do not reduce drainage hole size or number, and do not block holes with glue. Make sure the roof overhang is adequate so wind-driven rain is deflected, and consider slightly angling the roof so water runs off the front slope rather than pooling at the top.
Are the ventilation holes enough for hot southern summers?
Ventilation holes near the top help with heat, but do not add a lot of openings that compromise the sheltered sides. If you add extra ventilation in very hot areas, keep the holes clustered near the top, and avoid placing them where they weaken side panels or allow direct rain splash into the nesting floor area.
My shelf gets visits, but no nesting yet. What’s the most common reason?
If you notice birds inspecting but not nesting, the placement is often the issue. Make sure it is near dense cover within roughly 5 to 10 feet, avoid mounting with the opening facing a busy feeder area, and provide a clear flight path that is inside the yard rather than out toward an open field.
When is the right time to clean the shelf if cardinals might raise multiple broods?
After the nesting season, cleaning too early can interrupt active second broods. Wait until you see nesting activity has ended, then clean about 7 to 10 days after, remove old material, and confirm ventilation and drainage holes are clear. If you are unsure, pause and monitor for a while rather than immediately stripping the shelf.
Next Articles
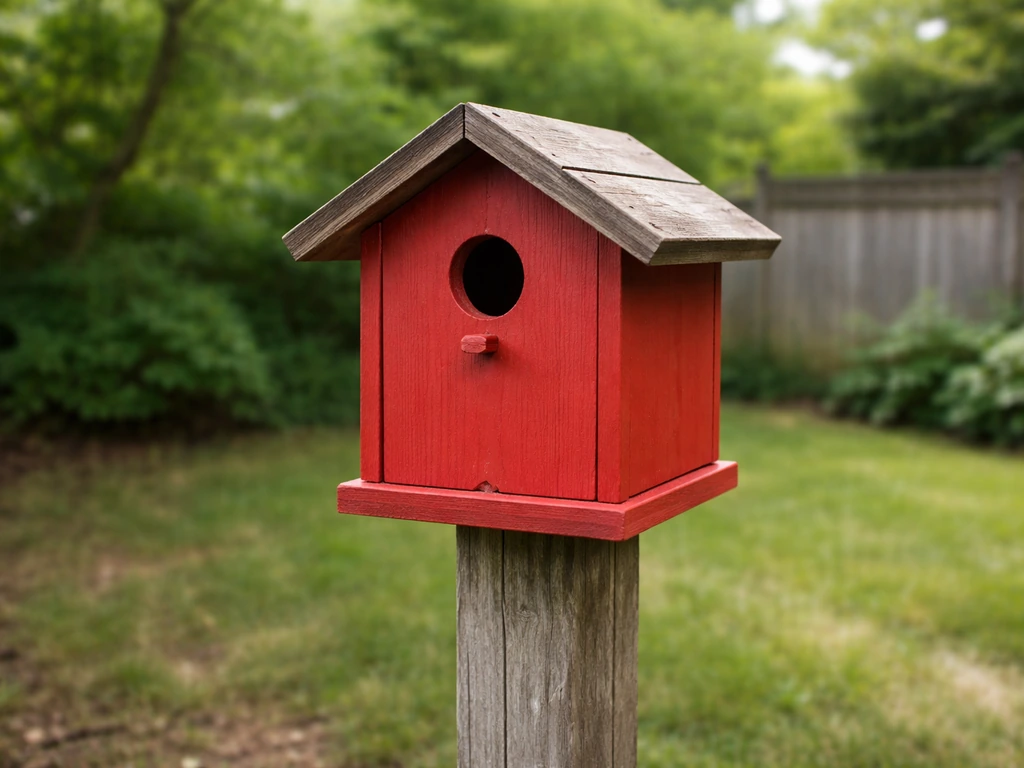
How to Build a Red Bird House: Step-by-Step DIY Guide
Step-by-step DIY guide to build a bird-safe red birdhouse with correct dimensions, ventilation, drainage, paint, and mou
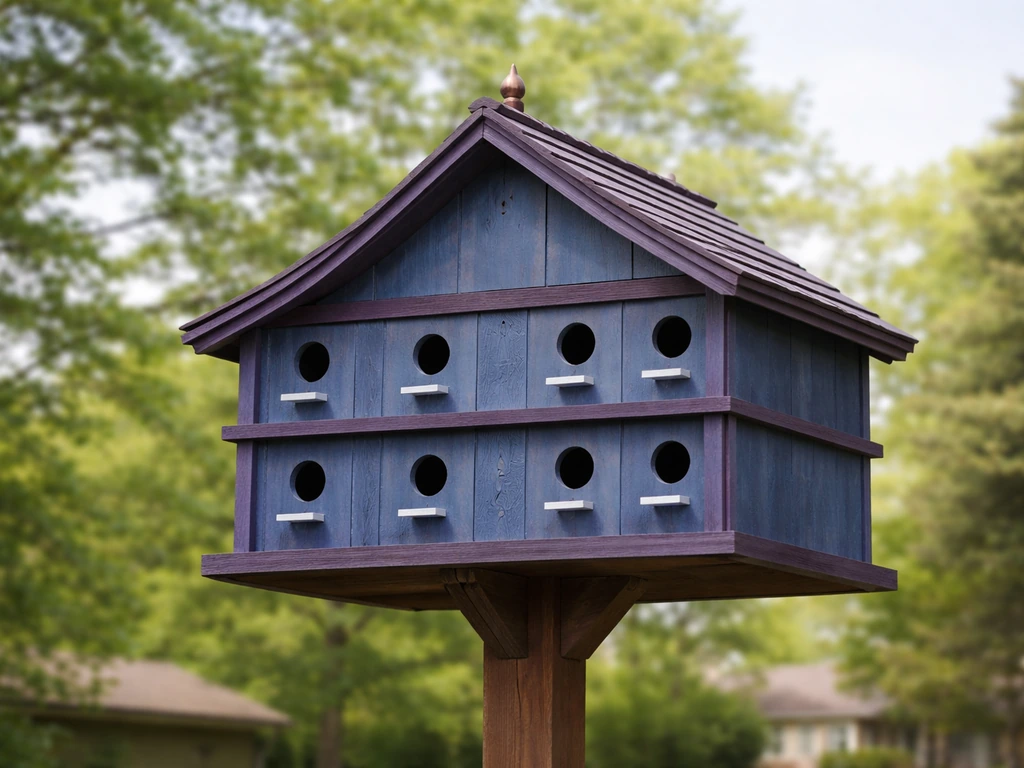
How to Build a Martin Bird House for Blue Martins
Step-by-step guide to build a blue or purple martin house with correct dimensions, entry slots, mounting, and setup for
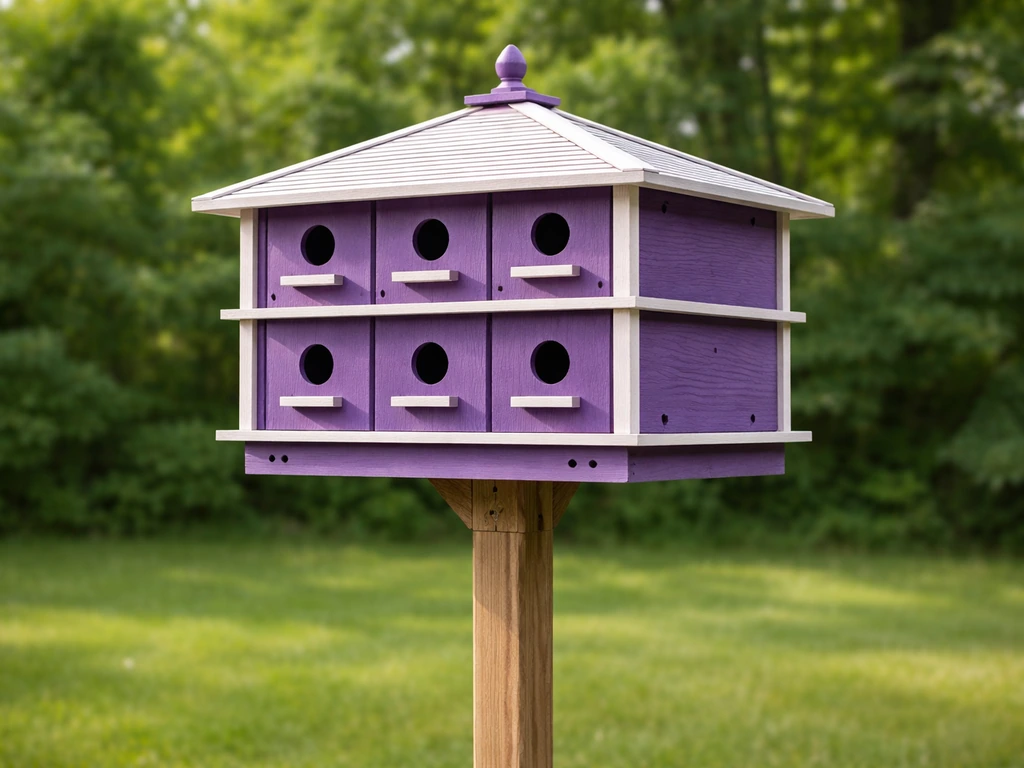
How to Build a Purple Martin Bird House Step by Step
Step-by-step DIY guide to build a purple martin bird house with correct holes, spacing, ventilation, drainage, and place