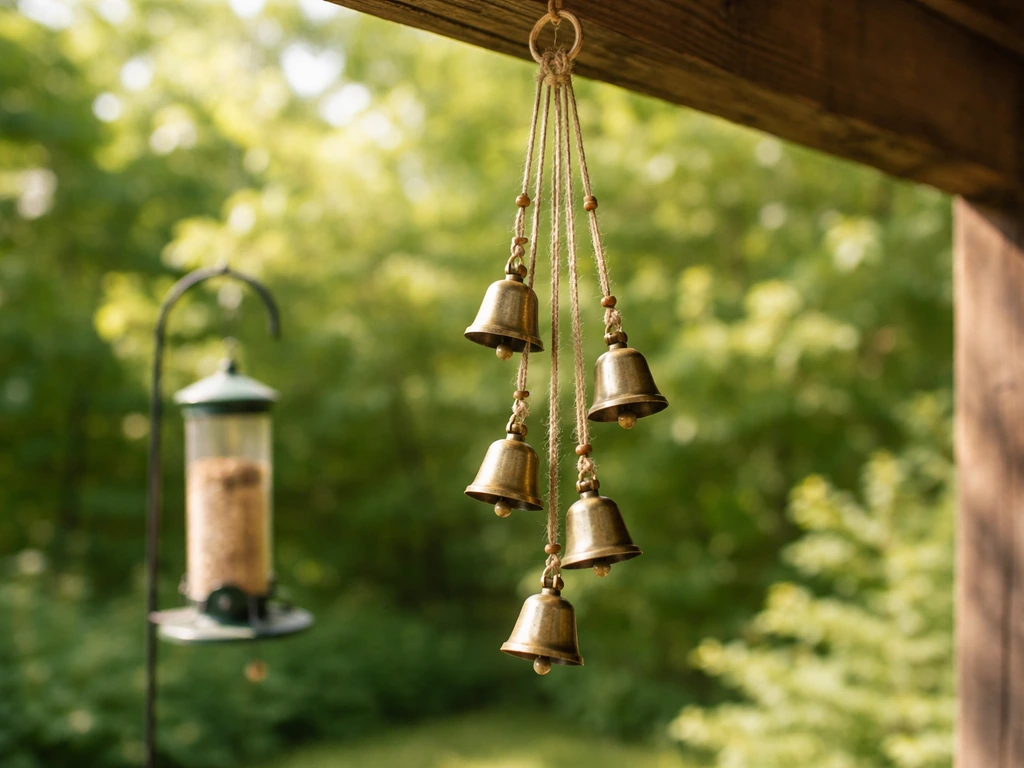
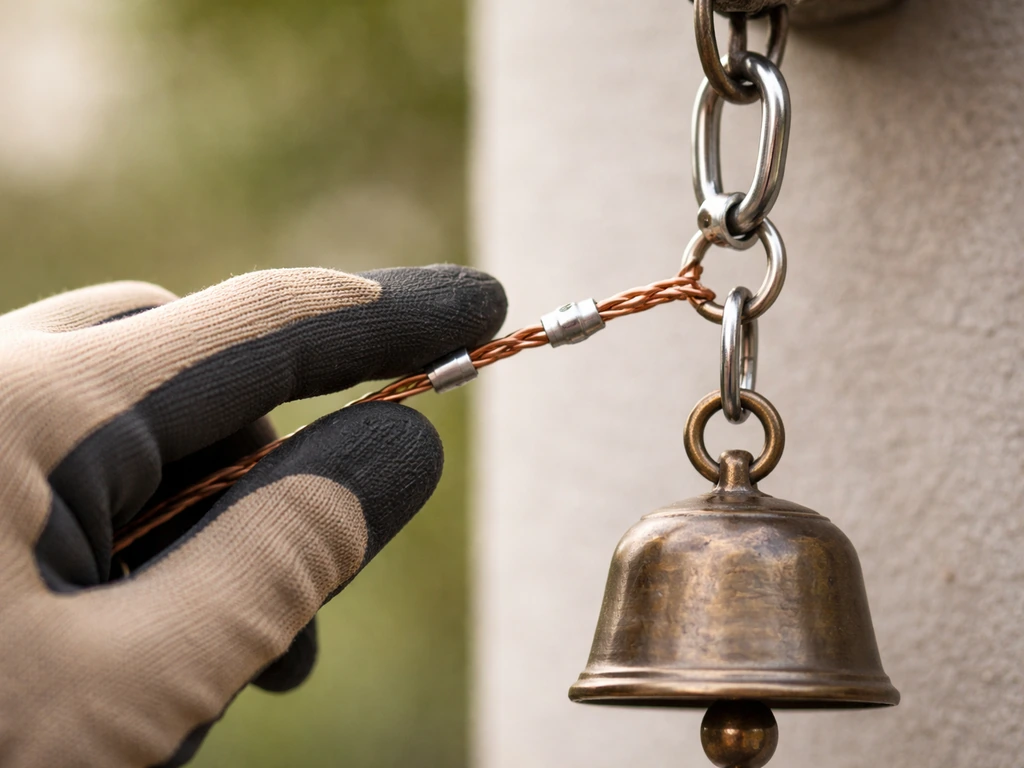
You can make a bird bell in an afternoon using a handful of craft bells, some stainless steel wire, a wooden or natural perch, and a bit of weatherproof hardware. The basic idea is simple: hang one or more small, bird-safe bells from a sturdy frame so they ring gently in the breeze near a feeder or birdhouse, giving birds something novel and sound-producing to interact with. The most important rules are no loose string or twine (entanglement is a real killer), no lead-based paint or rust-prone metal, and placement away from active nesting areas.
How to Make Bird Bells: DIY Safe Backyard Chimes

Marcus Thornton
21 May 2026
What a bird bell is (and why you'd want one in your backyard)
A bird bell, in DIY backyard terms, is a small hanging noisemaker built specifically to be safe for wild birds. It sits somewhere between a wind chime and an enrichment toy: it produces gentle sound when the wind moves it or a bird lands nearby, which can attract curious birds to a feeding station or simply add an element of environmental enrichment to your setup. Parrots and captive birds get bell toys all the time, and the same principle applies to backyard species. Chickadees, nuthatches, and titmice in particular are famously curious and will investigate new objects near feeders. A softly ringing bell gives them something to explore.
Bird bells are not the same as loud wind chimes meant for human enjoyment. The goal here is a gentle, occasional ring, not a constant clanging. Loud or continuous noise near feeders can actually stress birds and drive them away, especially from nesting sites. Think of your bird bell as a quiet conversation starter, not a dinner bell. The sound level should be subtle enough that you barely notice it from across the yard.
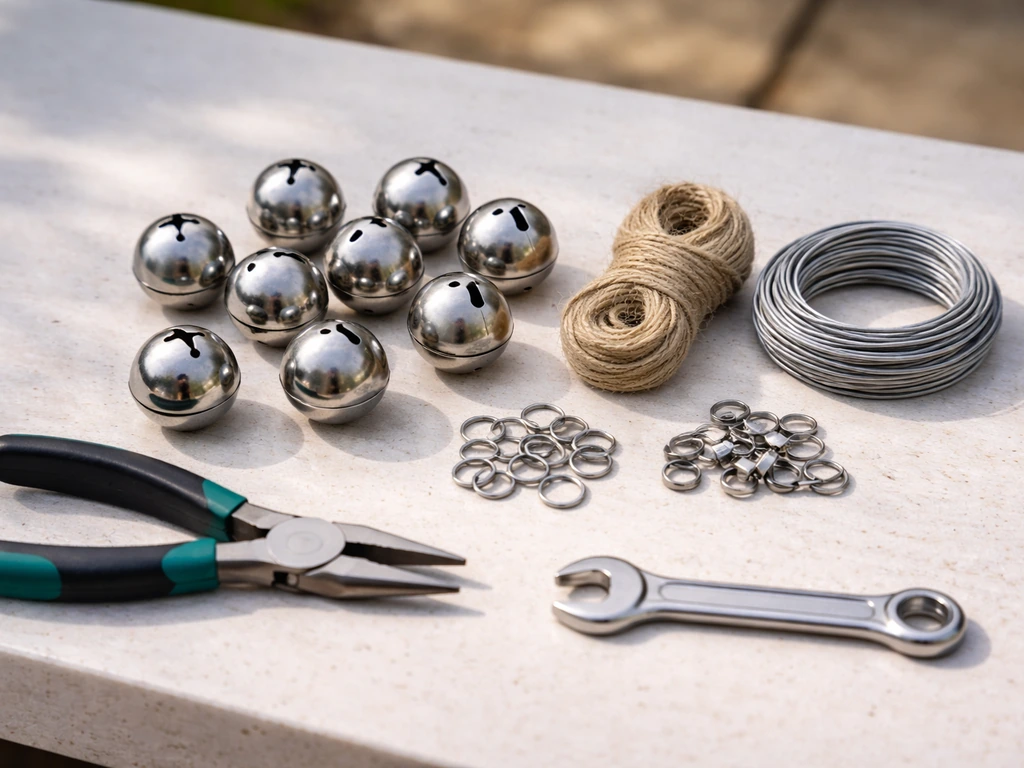
Materials and tools checklist
Choosing the right materials is honestly where most DIY bird projects succeed or fail. I've had early builds rust out in a single winter, and once I used some twine I thought was 'secure enough' only to find it had frayed badly within weeks. Here's what actually works.
Safe, weatherproof, non-toxic materials
- Craft bells or jingle bells: Stainless steel or nickel-plated only. Avoid cheap brass bells with unknown coatings, and skip anything labeled 'antique' or 'vintage' since older finishes may contain lead. Look for bells in the 1/2 inch to 1 inch range for a gentle ring.
- Wire: 20 to 22 gauge stainless steel or galvanized steel wire for hanging and looping bells. This is the backbone of the whole build. Avoid copper wire outdoors as it oxidizes and can leach into surfaces birds contact.
- Frame/perch: A 6 to 8 inch section of natural hardwood branch (dried, bark-on is fine), a bamboo dowel, or a 1/2 inch hardwood dowel from a hardware store. The perch gives birds a place to land near the bells.
- Top hanging hardware: A stainless steel screw eye (size 212 or similar) or a swivel snap hook rated for outdoor use. These resist corrosion and won't seize up over winter.
- Optional weatherproof finish: If you paint or seal the wood frame, use a water-based, non-toxic sealant or exterior-grade beeswax. Avoid any paint that doesn't explicitly state it's lead-free and low-VOC.
- Optional natural accents: Small dried seed heads, pine cones, or untreated wooden beads can be threaded onto wire sections for visual appeal and additional bird interest.
Tools you'll need
- Wire cutters and needle-nose pliers
- A hand drill with a 1/16 inch or 3/32 inch bit (for pilot holes in the perch)
- Sandpaper (120 and 220 grit) to smooth any rough wood edges
- A ruler or measuring tape
- Optional: a small file or rotary tool to deburr wire ends
No expensive tools required. If you don't have a drill, you can use a sturdy pushpin or a nail to make starter holes in softer wood. The needle-nose pliers are genuinely the most important tool here since all your secure loops and wire twists depend on them.
How to build a simple bird bell, step by step
I'll walk you through the basic single-perch design first, then give you the quick variation for a multi-bell version. The single-perch build takes about 30 to 45 minutes including drying time if you add a sealant coat.
Single-perch bird bell build

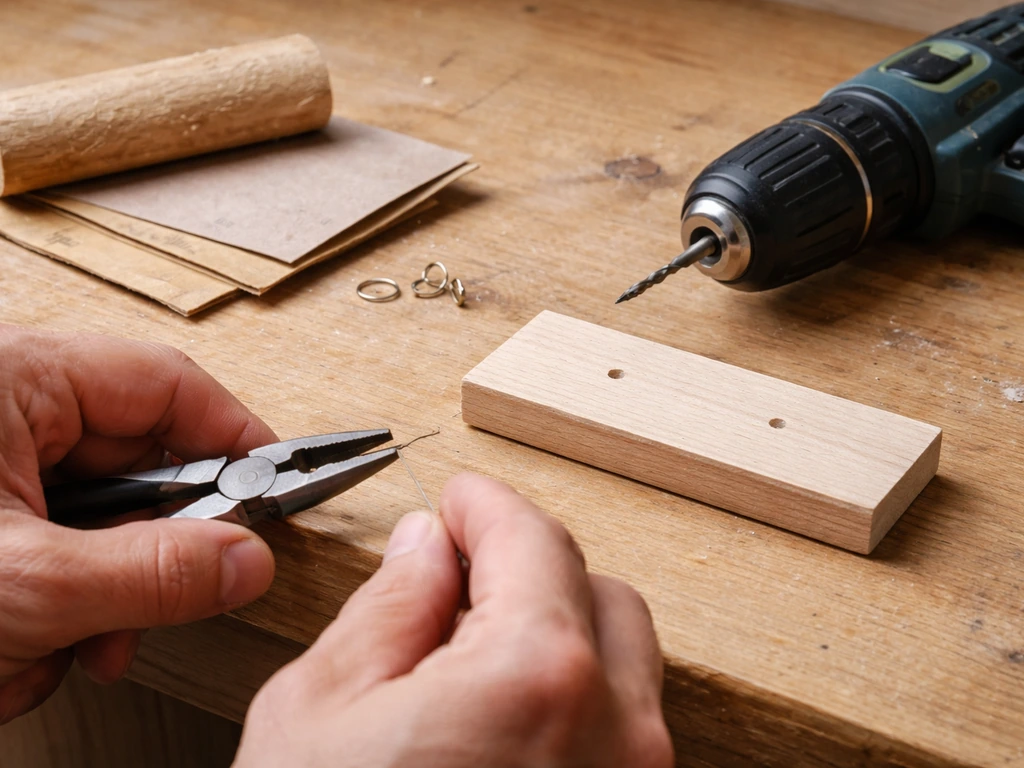
- Prepare your perch. Cut or select a hardwood branch or dowel about 6 to 8 inches long and 1/2 to 3/4 inch in diameter. Sand the ends smooth with 120-grit paper, then finish with 220-grit. Round off any splinters. If you're using a natural branch, let it dry indoors for at least a week before building so it doesn't crack and loosen hardware later.
- Drill your wire holes. At each end of the perch, drill a small pilot hole through the top (not the center) of the wood, about 1/4 inch from the tip. These holes are for threading the hanging wire that suspends the whole assembly. Drill one additional hole centered on the underside of the perch for each bell drop point. For a three-bell version, space three evenly-spaced holes along the bottom at roughly 1.5 inches apart.
- Thread the hanging wire. Cut a 12-inch length of stainless steel wire. Thread each end through the holes at the tips of the perch, then curl and twist each end back on itself at least three full turns using needle-nose pliers to make a secure, closed loop. The wire should form an arch over the top of the perch. Leave no loose tail ends sticking out.
- Attach the hanging hook. Thread your screw eye or swivel hook through the apex of the wire arch and close it fully. This is your attachment point for hanging the whole bell assembly.
- Attach the bells. Cut individual wire drops, each about 3 to 4 inches long, for each bell. Thread one end through the loop at the top of a craft bell, twist it closed with at least four tight turns (no loose ends), then thread the other end up through one of the underside holes in the perch and twist it into a closed loop on top. Tug firmly to test each one. If it moves, add two more twists.
- Trim and deburr every wire end. This is the step I skipped on my first build and regretted immediately. Any wire tail that pokes out can catch a bird's foot or feather. Use wire cutters to trim as close as possible, then run a small file or the flat side of your pliers over each cut end to blunt it.
- Optional sealant coat. If your perch wood is untreated, apply a thin coat of exterior beeswax or water-based non-toxic wood sealant to the wood only, keeping it off the bells and wire. Let it cure fully (usually 24 hours) before hanging outdoors.
Quick variation: multi-bell hanging chime
For a slightly more elaborate version, use a 10 to 12 inch horizontal perch and hang five bells at staggered wire-drop lengths (2 inches, 3 inches, 4 inches, 3 inches, 2 inches from the ends inward). The varied lengths mean the bells strike each other at different points in the wind, producing a more musical, random sound rather than a single repeated clank. The same safety rules apply: all wire loops fully twisted closed, all ends deburred, no string anywhere.
Where and how to hang your bird bell
Placement makes a bigger difference than most people expect. A bird bell hung in the wrong spot can go unnoticed for weeks, or worse, cause stress to nesting birds nearby.
Height and position
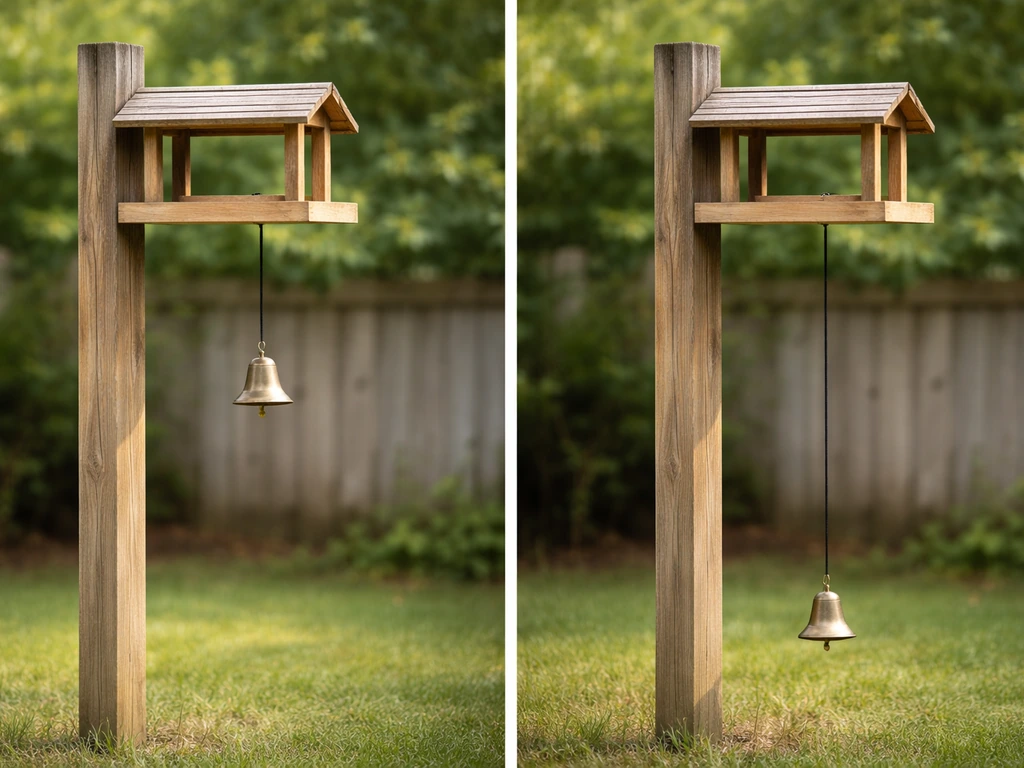
Hang the bell within 3 to 6 feet of an existing feeder or birdhouse, at roughly the same height as the feeder perch or slightly above it. Birds that are already visiting the feeder will notice the bell naturally as they approach. Avoid hanging it so close that it bangs against the feeder in the wind. A gap of at least 18 inches between the bell and the feeder opening is a good rule of thumb.
Wind exposure and stability
The bell needs just enough wind to ring occasionally, but constant clanging in a gusty spot will deter birds rather than attract them. A semi-sheltered location works best: near a fence, under the edge of a tree canopy, or on a post that breaks the direct wind. If your bells are ringing more than a few times per minute in typical conditions, move the assembly to a more sheltered spot or shorten the wire drops so the bells have less swing room.
Keep it away from active nesting sites
This one is important. Hang your bell well away from any active nesting box or nest site, ideally more than 10 feet. Even gentle, intermittent sound near a nest can stress brooding birds. The Environmental Literacy Council's guidance on chimes near wildlife makes this same point: placement away from nesting sites, baths, and feeders is key when it comes to sound-producing objects. The bell works as an attraction tool near feeders, not as a decoration near a nest.
Safety checks and bird-proofing before and after you hang it
Bird safety here comes down to three main hazards: entanglement, sharp edges, and toxic materials. Each one is completely preventable with a quick pre-hang inspection.
The entanglement problem (and why string has no place here)
U.S. Fish and Wildlife Service guidance is blunt about this: string, twine, and yarn can wrap around a bird's leg or neck and cut off circulation, often fatally. Cornell Lab's NestWatch and Chicago Bird Collision Monitors echo the same warning. Even a short piece of twine used 'just to tie the bell temporarily' is a real hazard. Every single hanging element on your bird bell should be wire, twisted into closed loops. Nothing loose. Nothing fray-able. If you're ever tempted to use jute twine or garden wire because you're out of stainless steel wire, wait and get the right material.
Pre-hang safety checklist
- Run your finger along every wire twist and end point. If you feel a snag, file or crimp it flat.
- Tug each bell hard in multiple directions. If anything shifts or loosens, re-twist the wire.
- Check the hanging hardware for any gaps or openings a small toe or talon could slip through and get trapped.
- Confirm your wood has no cracks or splinters that could catch feathers.
- Verify that bells are lead-free and nickel-plated or stainless. If you're unsure about a batch of craft bells, test one by scratching with a coin: genuine metal won't flake into powder the way cheap painted finishes do.
Ongoing inspection after hang
Check the bell every two to three weeks during active bird seasons. Gibsons Wildlife Rehabilitation Centre makes the point clearly: degraded or fraying components near wildlife need to be removed or repaired promptly, not left to deteriorate. Any wire that has started to unravel, any bell that has developed a rough edge from impact, and any wood that is cracking around the wire holes should be addressed immediately. It takes about two minutes to inspect and is genuinely the most important maintenance task.
Tuning the sound and troubleshooting common problems
Most issues with DIY bird bells fall into one of four categories: no sound, too much sound, birds ignoring it, or hardware failing. Wind chime sound is produced when the tube vibrates and radiates sound after being struck by the chime components, which explains why different chime designs can change the way these noises occur blank" rel="noopener noreferrer">Most issues with DIY bird bells fall into one of four categories. All of them are fixable.
| Problem | Likely Cause | Fix |
|---|---|---|
| No sound at all | Too much shelter, wire drops too short, bells too heavy for wind | Move to a slightly more exposed spot; lengthen wire drops by 1 inch; try lighter bells |
| Sound too loud or constant | Too exposed to wind, bells too large, drop wires too long | Move to a more sheltered spot; shorten wire drops; swap to smaller bells (1/2 inch) |
| Birds ignoring the bell | Location unfamiliar, bell too close to a threat zone, or placed before birds are conditioned to the area | Hang near an established feeder first; give birds 2 to 4 weeks to notice; try adding a seed cylinder nearby |
| Bells corroding or staining wood | Non-stainless bells reacting with moisture | Replace with nickel-plated or stainless bells; seal wood contact points with exterior beeswax |
| Wire loops loosening over time | Insufficient twists or wire gauge too thin | Use 20-gauge minimum; add 2 more full twists at each loop; replace with fresh wire annually |
On the question of birds ignoring the bell: give it time. Research on bird hearing shows that birds detect and respond to sounds based on frequency, volume, and novelty. A new sound object in a familiar area will usually be investigated within a few weeks once birds have determined it isn't a threat. Patience is part of the tuning process. If you're still seeing zero interest after a month, try moving the bell to a spot with slightly more foot traffic from your regular feeder visitors.
If you want to verify your bell is in a reasonable sound range without guessing, use a free smartphone decibel meter app on a calm day. Stand at a normal bird approach distance (about 6 feet from the bell) and let it ring a few times. Aim for 40 to 55 dB, which is roughly the level of a quiet room or birdsong itself. Use a calm-day test and measure the sound level near your yard so you can verify it is audible but gentle, rather than guessing verify your bell is in a reasonable sound range without guessing. Much above that and you're likely producing more stress than attraction.
Seasonal maintenance and upgrade ideas
A bird bell doesn't need much upkeep, but a little seasonal attention keeps it safe and effective year-round.
Spring and summer
This is peak nesting season, so your most important task is confirming the bell is well away from any active nest. Inspect all wire connections after winter. Re-apply a coat of exterior beeswax to the wood if the surface looks dry or cracked. This is also a great time to add a visual element like a small wooden bead or dried seed head threaded onto one of the bell drops, which can increase curiosity-based visits from juveniles learning to explore. You can also learn how to make a bird call out of wood using simple carving and a safe method for sound holes add a visual element.
Fall
Migration season brings new species through your yard that may not know your setup yet. A bell near a feeder stocked with high-fat seeds like sunflower or suet can help draw migrating nuthatches, warblers, and kinglets. This is a good time to try the multi-bell version if you only built a single-bell design initially. The more complex sound profile tends to hold the interest of exploratory migrants a bit longer.
Winter
Check that the hanging hardware hasn't seized or corroded after the first freeze. A drop of food-grade mineral oil on a stainless screw eye keeps it moving freely. If the wood perch has cracked from freeze-thaw cycles, replace it rather than leaving a structurally compromised piece in place. You can bring the bell indoors during the coldest months and rehang it in late winter when resident chickadees and nuthatches are starting to range more actively before spring.
Upgrade paths when you're ready for more
Once you've built and tested a basic bird bell, there are a few natural next steps. You can experiment with different bell shapes (dome bells, cup bells, and classic jingle bells all produce noticeably different tones). You can add a small natural perch stub to the underside of your frame so birds can land and physically interact with the bells. If you enjoy the woodworking side, pairing a bird bell with a handmade birdhouse or feeder station creates a cohesive enrichment setup. And if sound-based projects interest you, it's worth exploring wooden bird whistles and bird calls, which operate on a completely different principle but share the same safety-first design philosophy. Those builds are their own rabbit hole, and a satisfying one.
The bottom line is that making a bird bell is a genuinely quick, low-cost project that you can complete with materials from most craft or hardware stores. Get the wire right, skip the string entirely, choose your hanging spot thoughtfully, and then give birds the time they need to discover it. Plastic bottle bird scarers can work too, but they need to be secured carefully and placed away from nesting areas so they do not stress birds bird scarer from a plastic bottle. Once a curious chickadee finds it, you'll want to build a second one. If you want to go further than a bell, you can also learn how to make a bird launcher that delivers a safe, controlled release for your setup.
FAQ
What should I do if my bird bells ring constantly, even in light wind?
Relocate the assembly to a more sheltered spot (near a fence line, under tree canopy, or behind a porch post) and reduce bell swing by shortening the wire drop lengths. Also check that the wire loops are fully closed and not deforming under wind, which can increase contact and clanging.
Can I use twine, yarn, or garden wire if I tie it very tightly?
Avoid it completely. Loose or fray-prone fibers can wrap around a bird’s leg or neck even after they look secure initially. For any part that would hang, twist it all into closed stainless wire loops, then deburr every end so nothing catches or unravels.
How do I know the bell is not too loud for nesting birds?
Use a decibel meter app on a calm day and check around normal approach distance, then aim for a subtle range rather than a level that dominates your yard. If you notice birds changing behavior near a nearby nest, immediately move the bell farther away or increase shelter and reduce swing.
Where exactly should I place the bell if I don’t have a feeder opening I can measure from?
Use the closest consistent “bird stopping point” you have, such as a feeder perch or the area birds land to feed. Keep the bell at least about 18 inches from that active opening or landing zone, and match the bell height to that perch, slightly above works well.
What if birds ignore the bell even after I’ve installed it near the feeder?
Give it several weeks, since birds often evaluate a new sound object for frequency, volume, and perceived threat. If still no interest after about a month, move it closer to your main feeder traffic path or adjust drop lengths so the bells ring less uniformly and create more varied, occasional sounds.
Is it safe to add a perch stub under the frame so birds can land on it?
Yes, if the underside perch is stable and doesn’t create a situation where birds can wedge into gaps. Ensure any added perch is smooth, weatherproof, and that the wire drops and connections remain the only moving parts near the bells.
How often should I inspect for sharp edges or wear?
Do a quick check every two to three weeks during active seasons, then inspect again after freeze-thaw weather. Look for roughness on bell clappers from impacts, cracking around wire holes, and any wire that shows unraveling or separation at twists.
What maintenance helps in winter when metal corrodes or hardware seizes?
After the first freeze, check screw eyes and any swiveling points for stiffness. A small amount of food-grade mineral oil on stainless hardware can keep movement smooth, and any wood that develops cracks around wire holes should be replaced rather than patched.
Can I use different bell types, and will that change how often birds investigate?
Yes, dome, cup, and jingle styles produce different tones and vibration patterns, so bird interest can change. If one style results in too frequent ringing or creates a harsher sound, adjust the drop lengths or swap to a gentler bell style to keep the sound occasional.
Will adding bells in a multi-bell setup make it more bird-friendly, or can it become stressful?
It can go either way. Multi-bell builds can be more musical, but if the drops are too long or the bells are positioned where gusts hit directly, the sound can become constant. If you hear rapid repeated clanging, move the assembly to shelter and shorten the longest drops.
Are bird bells effective year-round, or should I bring them indoors in cold months?
You can keep them up if materials are weatherproof, but bringing them indoors during the coldest period can prevent freeze-thaw damage and reduce corrosion risk. Rehang in late winter so resident species have time to notice the setup before spring nesting activity.
Next Articles
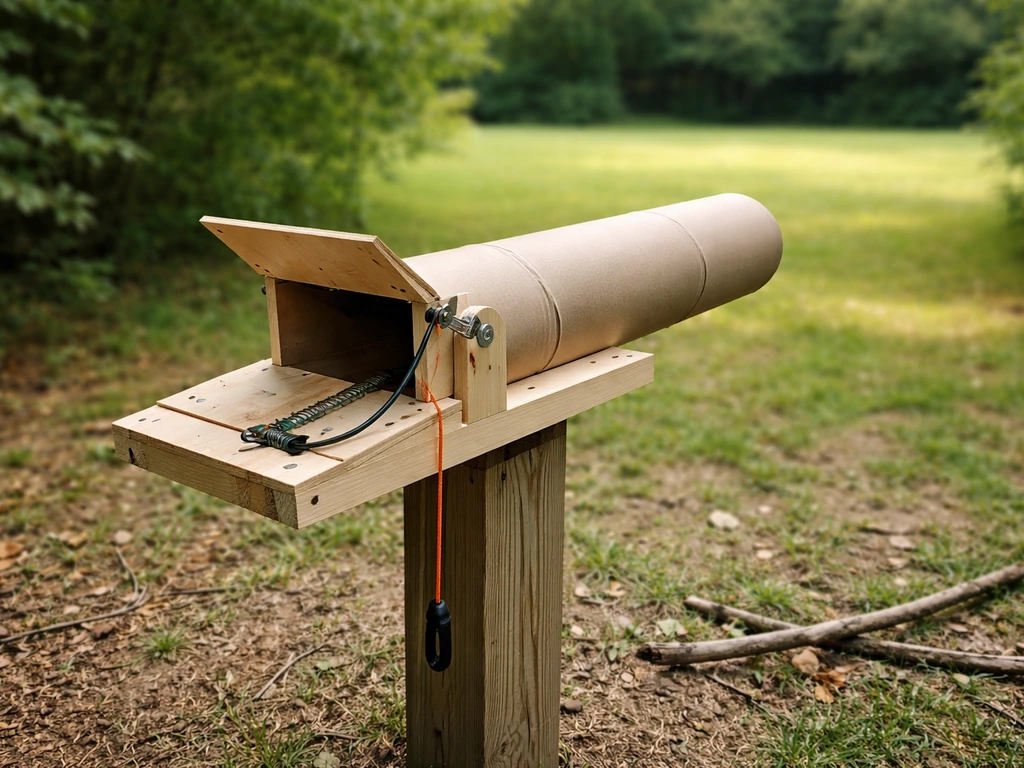
How to Make a Bird Launcher for Safe Backyard Enrichment
Step-by-step DIY guide to build a safe bird launcher, choose materials, set distance, and test for reliable enrichment.
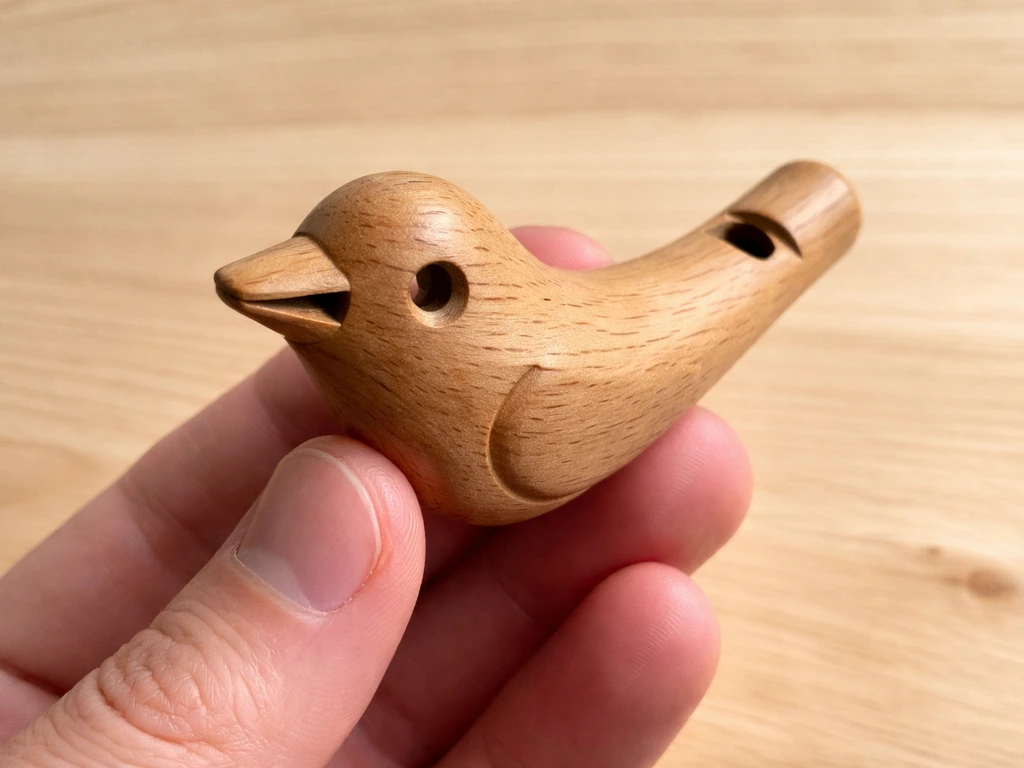
How to Make a Bird Call Out of Wood Step by Step
Step-by-step DIY guide to make a wooden bird call, from choosing wood to tuning airflow for clear birdlike sounds.
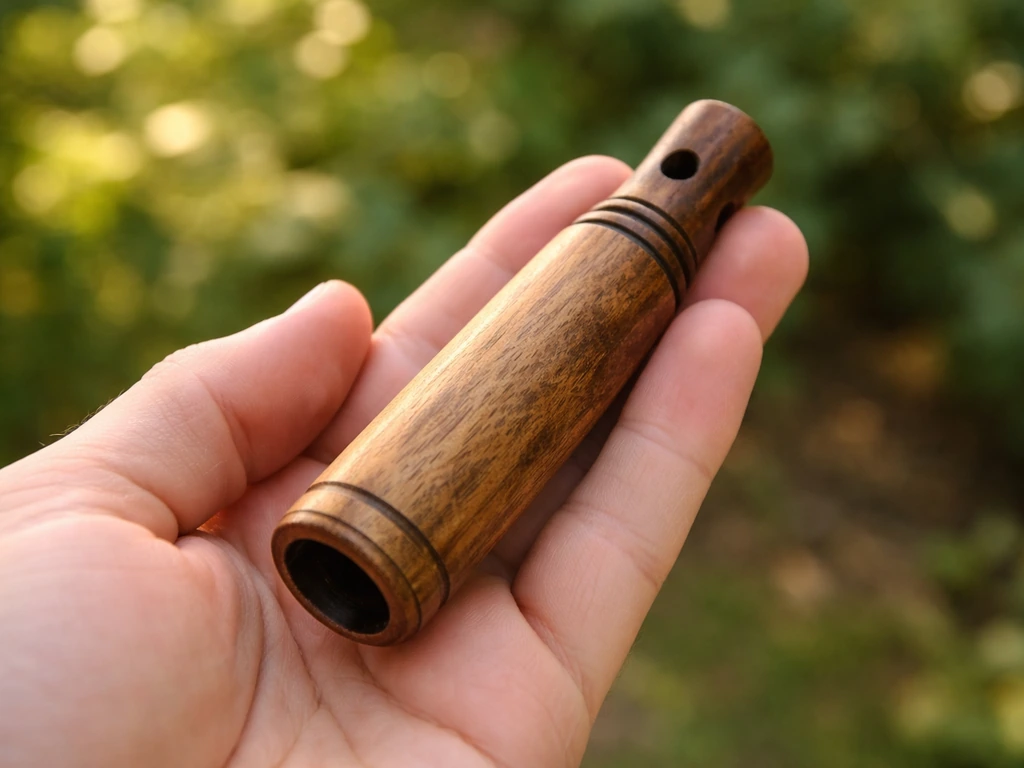
How to Make a Wooden Bird Whistle Step by Step
Step-by-step guide to make a wooden bird whistle: wood choice, cutting windway, tuning, finishing safely, troubleshootin