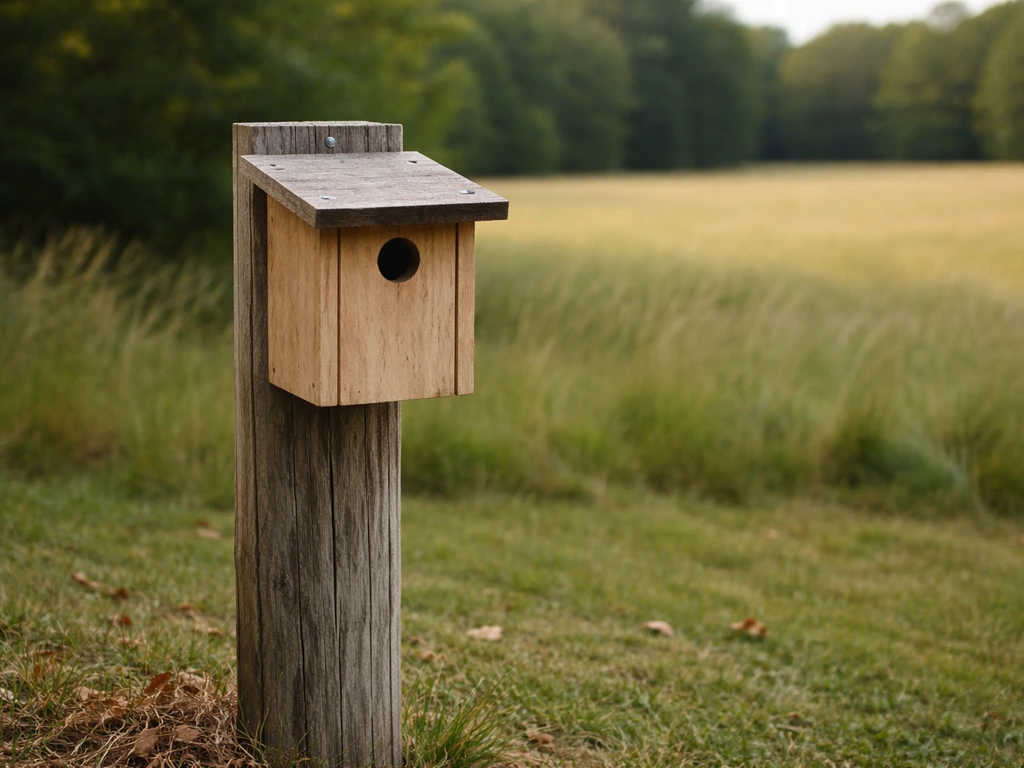
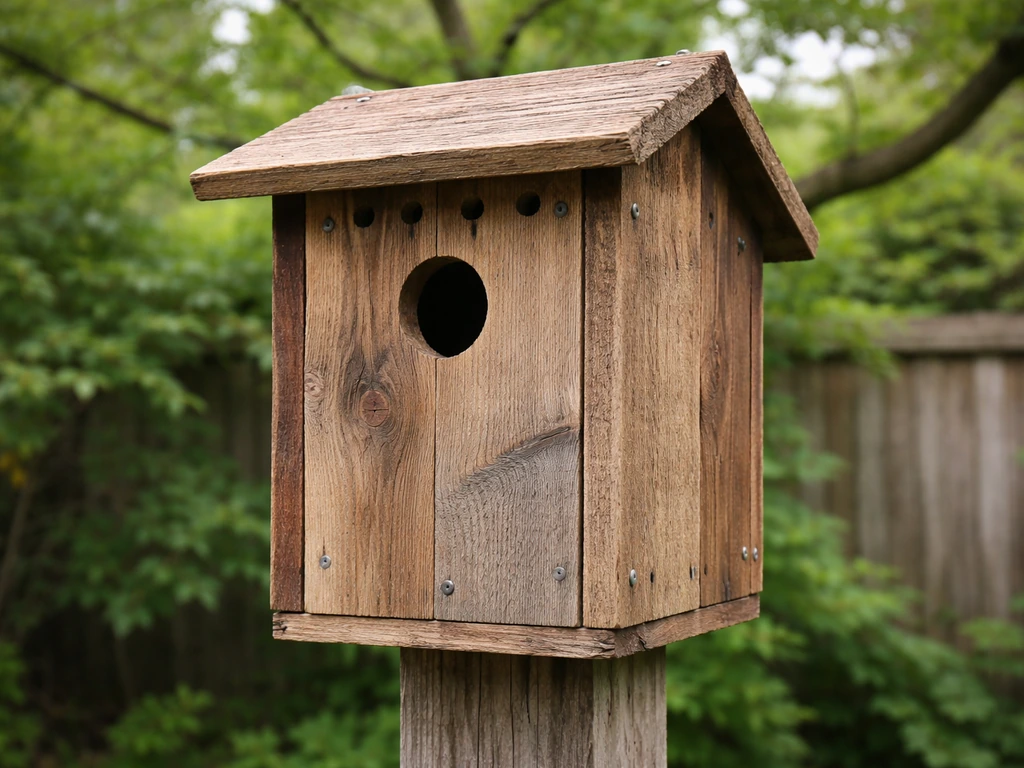
You can build a genuinely eco-friendly birdhouse today using a single board of untreated cedar or pine, a handful of screws, and a drill. The key ingredients are: natural, chemical-free wood, the right entrance-hole size for your target bird, good ventilation and drainage built into the design, and zero toxic finishes on the inside. That's it. Everything else is detail work, and I'll walk you through all of it. If you want to make a bird-themed project from recycled materials too, you can scale the same eco-safe principles into a fun craft make a bird from recycled materials.
How to Make Eco Friendly Bird House: DIY Step by Step

Marcus Thornton
2 May 2026

What actually makes a birdhouse eco-friendly (and bird-safe)

Eco-friendly in this context means two things working together: low impact on the environment during construction, and genuinely safe for the birds living inside. Those goals overlap more than you'd think.
The biggest wins are: using untreated, unpainted natural wood (no pressure-treated lumber, no interior paint), sourcing reclaimed or salvaged boards where possible, using stainless steel or galvanized hardware that won't rust into the soil, and avoiding synthetic glues or fillers inside the box. Paint filling wood pores isn't just an aesthetic issue, it reduces the wood's natural insulating capacity, which matters a lot when cavity-nesting birds are brooding eggs in summer heat. OSU Extension specifically flags that toxic fumes from paints and finishes can harm birds directly.
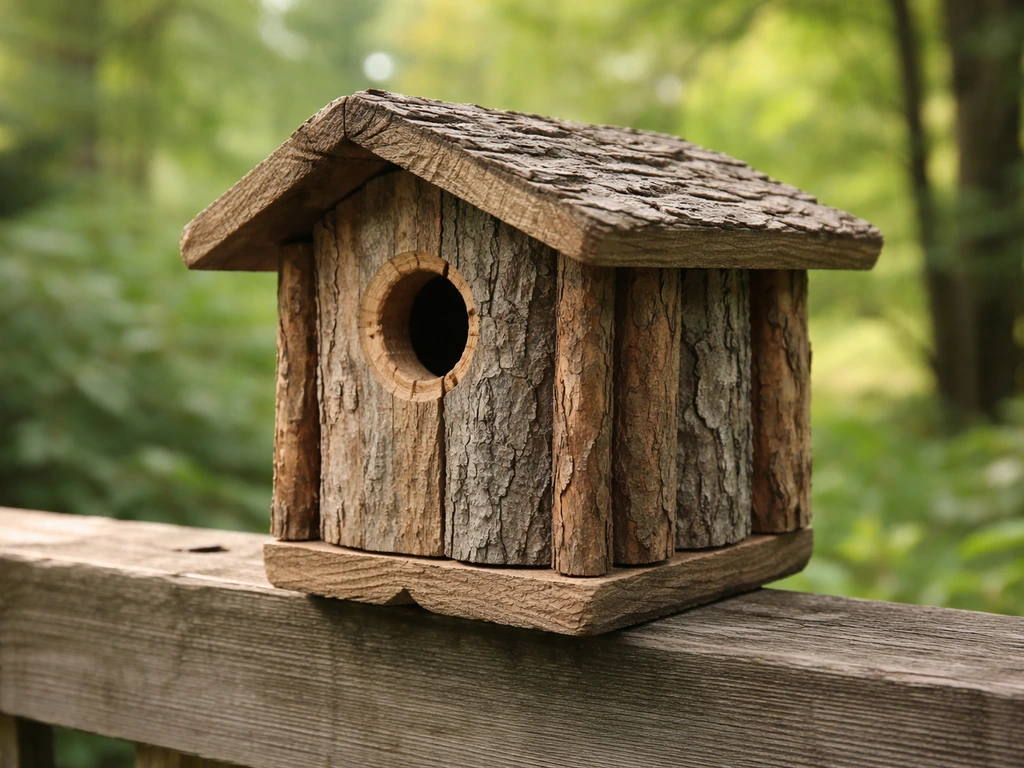
Eco-friendly sourcing is worth a quick mention too. Reclaimed fence boards, pallet wood (heat-treated, not chemically treated, look for the HT stamp), and offcuts from lumber yards are all fair game as long as you verify they haven't been pressure-treated or stained with anything petroleum-based. If you want to reuse materials you already have, focus on reclaimed wood, safe, non-toxic finishes, and the same core design principles so the box is both eco-friendly and bird-safe recycled materials. This overlaps with building a birdhouse from waste material, the rule is simple: if you don't know what's in it, don't use it inside the box.
- Untreated cedar, white pine, yellow pine, or cypress — all naturally rot-resistant
- Reclaimed wood with an HT (heat-treated) stamp — safe and free
- Stainless steel or galvanized screws and hinges — no rust bleed
- Natural beeswax or raw linseed oil for exterior-only finishing (optional)
- No pressure-treated lumber anywhere near the nesting cavity
- No interior paint, varnish, stain, or synthetic sealant
Pick the right design for your local cavity nesters
The most common mistake I see is building a birdhouse with a beautiful design and completely wrong entrance hole. Birds are not flexible about this. A 2-inch hole that should be 1.5 inches will let in starlings that kick out bluebirds. A hole that's too small means the birds you want simply can't get in. Get the entrance diameter right first, and the rest of the design falls into place.
For most backyard builders in North America, the practical starting point is to choose one of these common cavity nesters and build to their exact specs. Here's a quick reference:
| Bird Species | Entrance Hole Diameter | Floor Size | Interior Depth | Mounting Height |
|---|---|---|---|---|
| Eastern Bluebird | 1.5 inches | 5 x 5 inches | 8–10 inches | 4–6 feet |
| Black-capped Chickadee | 1.25 inches | 4 x 4 inches | 8–10 inches | 4–8 feet |
| House Wren | 1.25 inches | 4 x 4 inches | 6–8 inches | 5–10 feet |
| White-breasted Nuthatch | 1.25–1.375 inches | 4 x 4 inches | 8–10 inches | 12–20 feet |
| Downy Woodpecker | 1.25 inches | 4 x 4 inches | 9–12 inches | 5–15 feet |
The guide I'll walk you through below is sized for Eastern bluebirds, a 1.5-inch entrance hole, 5x5-inch floor, and 8-inch interior depth, because they're one of the most rewarding and widespread species to attract, and their box dimensions are well-documented. If you're targeting chickadees or wrens, just adjust the entrance hole and interior dimensions using the table above.
One detail that trips up first-timers: skip the perch. It seems welcoming, but cavity nesters don't need it, and a perch actually gives predators a foothold to reach into the box. NestWatch is clear on this, leave it off entirely.
Materials and finishes: what to use and what to skip
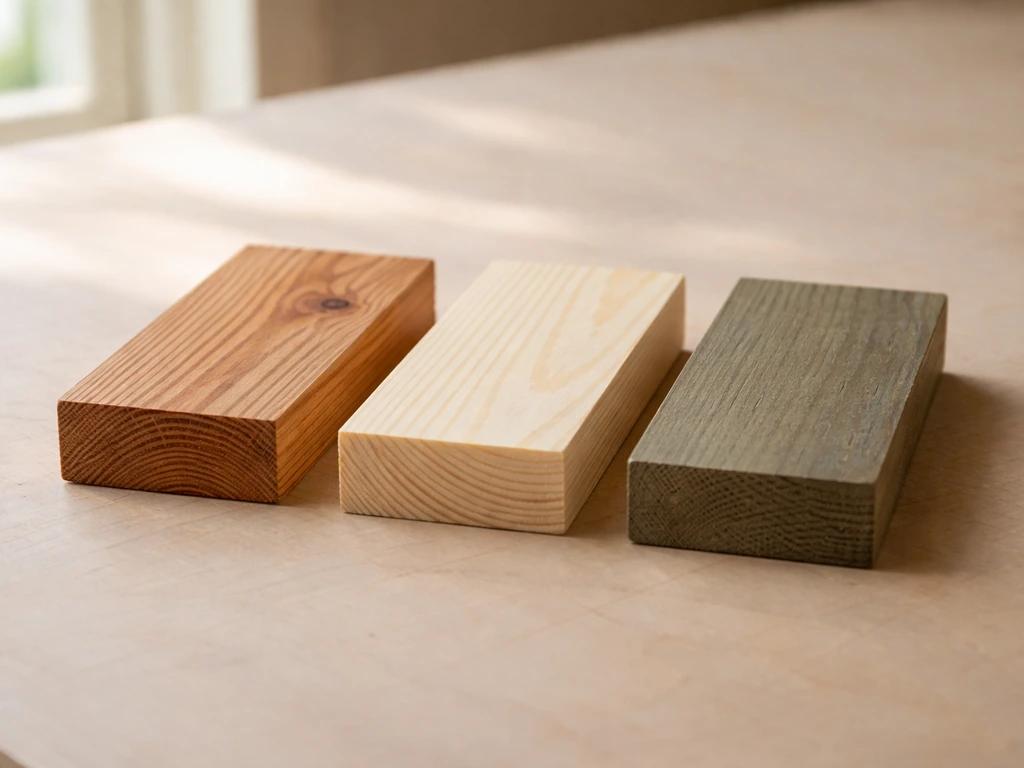
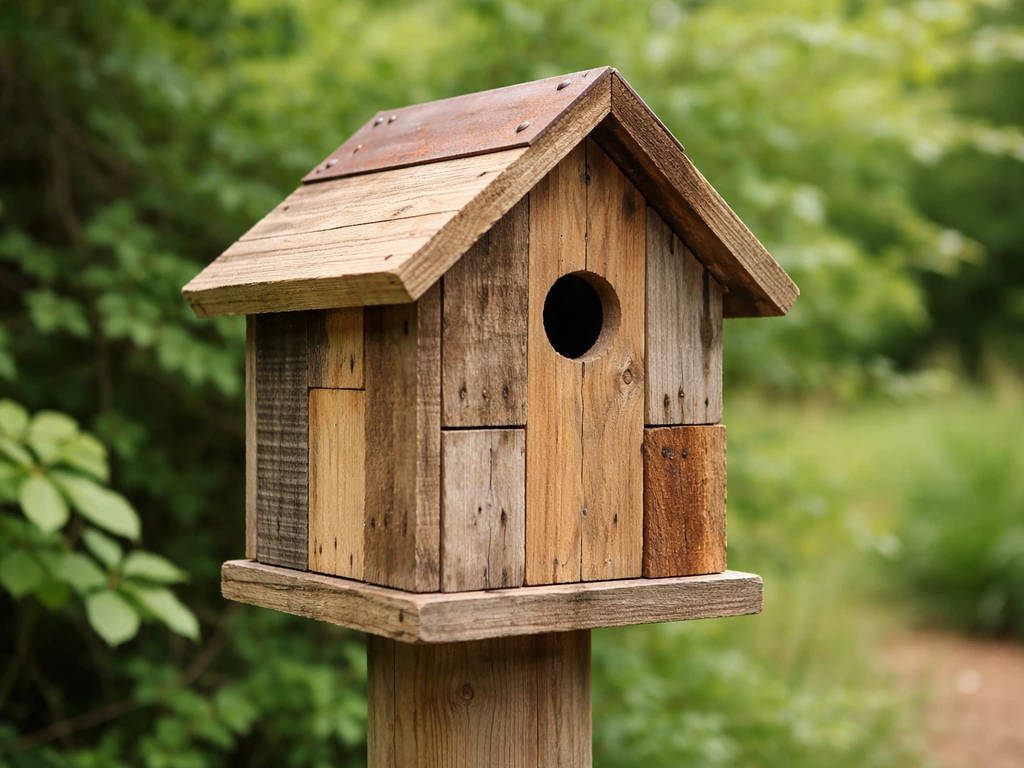
Cedar is my personal first choice because it naturally resists rot and insects without any treatment, smells good, and weathers beautifully. White pine and yellow pine are excellent runners-up and usually cheaper. Cypress is fantastic if you can find it. Avoid plywood for the main box walls unless it's exterior-grade CDX, and even then, keep it for larger boxes like owl boxes where solid boards get expensive.
For the exterior finish, you have a few honest options. Leaving it completely natural is perfectly valid, untreated cedar or pine will weather to a silver-grey and last many years without any coating. If you want some protection and a warmer look, raw linseed oil or pure beeswax applied only to the outside surfaces works well and is non-toxic. Avoid boiled linseed oil (it contains metallic driers that are toxic). If you do want to paint the outside, use a water-based, zero-VOC exterior paint in a light or earth tone, light colors help avoid overheating in hot climates, which is a real concern for eggs and chicks. Never paint or stain the inside of the box.
| Material/Finish | Safe? | Eco-Friendly? | Notes |
|---|---|---|---|
| Untreated cedar | Yes | Yes | Best all-around choice |
| Untreated pine/cypress | Yes | Yes | Widely available, affordable |
| Reclaimed HT pallet wood | Yes (verify HT stamp) | Yes | Free or very cheap |
| Pressure-treated lumber | No | No | Toxic preservatives — avoid completely |
| Raw linseed oil (exterior only) | Yes | Yes | Good natural water resistance |
| Zero-VOC exterior paint (exterior only) | Yes | Yes | Light colors only; never inside |
| Boiled linseed oil | No | No | Contains toxic metallic driers |
| Interior paint/varnish/stain | No | No | Reduces insulation, risks fume toxicity |
| Polyurethane or synthetic sealants | No | No | Off-gasses into the cavity |
Tools, cut list, and how to build it step by step
This build uses a single 1x8 board, 6 feet long, that's all the wood you need for a complete bluebird box. At a hardware store, a 6-foot cedar 1x8 runs about $8–12. If you're using reclaimed wood, you'll need pieces that are at least 3/4-inch thick and roughly 7.25 inches wide (actual width of a 1x8).
Tools you'll need
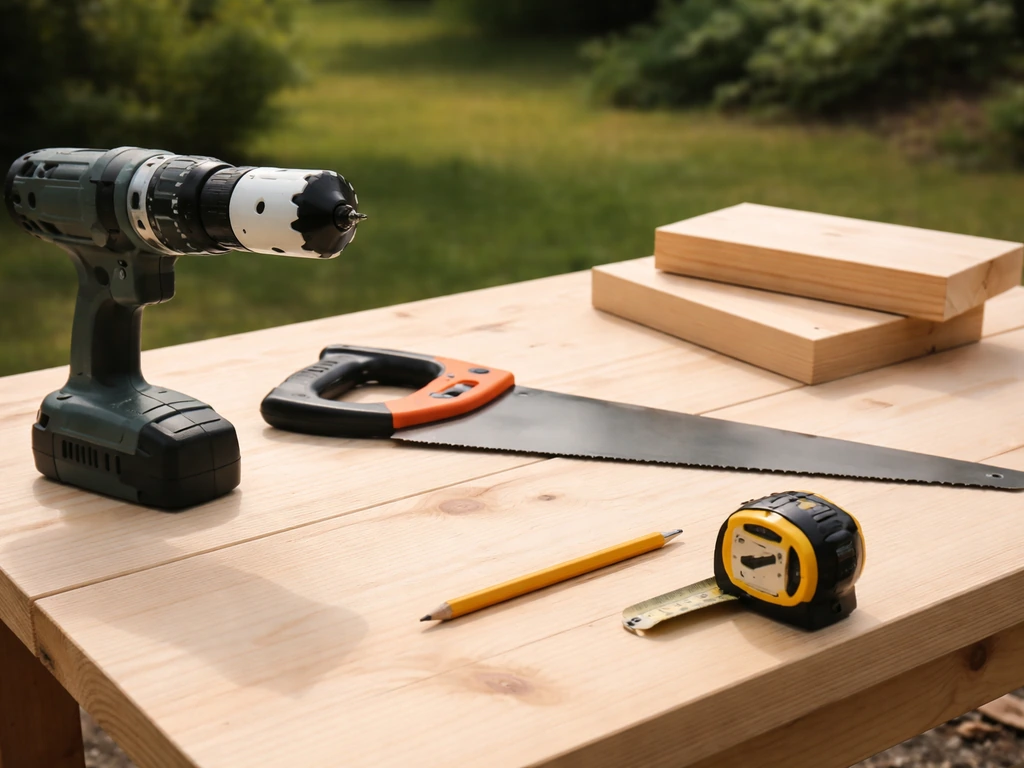
- Drill with 1/4-inch and 1.5-inch bits (a spade bit or hole saw works for the entrance hole)
- Saw (hand saw, jigsaw, or circular saw)
- Tape measure and pencil
- Hammer or screwdriver (a drill with a screw bit is faster)
- Sandpaper (80 or 120 grit)
- 1.5-inch or 2-inch exterior-grade screws (galvanized or stainless)
Cut list for a bluebird nest box (from one 1x8 x 6' board)
| Piece | Dimensions | Quantity | Notes |
|---|---|---|---|
| Front | 7.25 x 10 inches | 1 | Drill 1.5-inch entrance hole, centered, 2 inches from top |
| Back | 7.25 x 12 inches | 1 | Extend extra length for mounting |
| Sides | 5.5 x 10 inches (taper top to 9 inches) | 2 | Angled top helps shed water |
| Floor | 5 x 5 inches | 1 | Cut corners at 45° for drainage |
| Roof | 8 x 9 inches | 1 | Overhang front and sides by ~1 inch |
Step-by-step assembly
- Cut all pieces to size and sand any rough edges lightly — smooth cuts mean tighter joints and fewer entry points for moisture.
- On the floor piece, clip or cut the four corners at 45 degrees (removing about 3/8 inch from each corner). This is your drainage system — simple and effective.
- Drill the 1.5-inch entrance hole in the front panel. Center it horizontally, about 2 inches down from the top edge. Use a sharp spade bit and back the wood with a scrap piece to avoid blowout on the back face.
- Below the entrance hole on the inside of the front panel, score horizontal grooves with a saw or chisel — about 4–5 lines, 1/4 inch apart. These give fledglings a grip when they climb out. Alternatively, staple a 2-inch strip of hardware cloth (wire mesh) to the inside of the front below the hole.
- Drill two 1/4-inch ventilation holes near the top of each side panel, just below where the roof will sit.
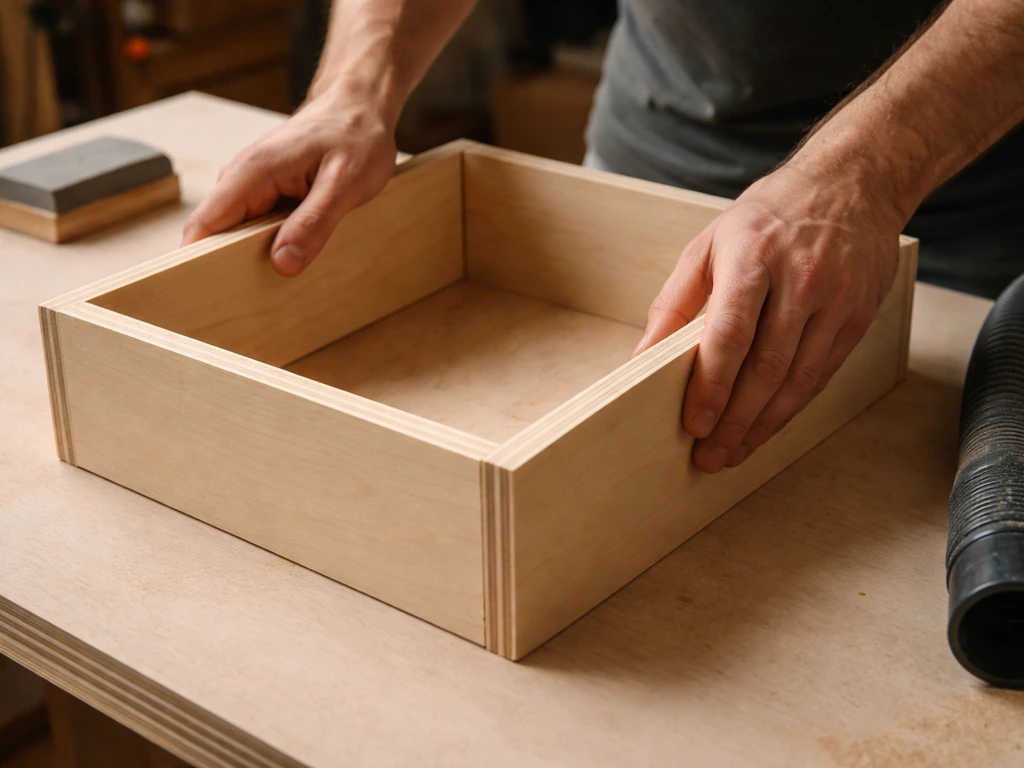
- Assemble the box: attach the two side panels to the floor first, then attach the front to the floor and sides. Pre-drill screw holes to avoid splitting — this matters especially with pine.
- Attach the back panel. Leave the top 2–3 inches of the back extending above the box top — this becomes your mounting tab.
- Make one side panel pivot open for cleaning. Instead of screwing it in at the top, use a single screw on each side at the top corner as a pivot point, and a nail or small hook-and-eye latch at the bottom to keep it closed. This is your cleanout door.
- Attach the roof last. Let it overhang the front by at least 1 inch and the sides by about 3/4 inch to keep rain off the entrance hole. Screw through the roof into the top of the front and back panels.
- Optional: cut a 1-inch-thick wood block with a 1.5-inch hole and screw it over the entrance hole from the outside. This creates a deeper entrance tunnel that makes it harder for predators to reach inside, and adds real durability to the most-used part of the box.
Weatherproofing, ventilation, and predator resistance
Good weatherproofing on an eco-friendly box is about smart construction, not chemical sealants. The roof overhang keeps rain off the entrance. The angled top on the side panels means the roof naturally sheds water away from the joints. The corner cutouts on the floor drain any water that does get inside. These three things handle 90% of weather protection with zero products.
Ventilation is non-negotiable. The 1/4-inch holes near the top of the side panels allow hot air to escape on broiling summer days. The U.S. Fish and Wildlife Service recommends either these side-gap holes or leaving a small gap between the roof and the side walls, either approach works. Without ventilation, a box in direct sun can reach temperatures that kill eggs and chicks.
Predator resistance comes down to three practical things. First, entrance-hole size: a 1.5-inch hole keeps starlings out of a bluebird box, and a 1.25-inch hole keeps sparrows and starlings out of a chickadee box. Second, the entrance block: adding that 1-inch-thick wood block over the front extends the tunnel depth to about 1.75 inches, making it significantly harder for raccoon paws or squirrel teeth to reach the nest. Third, the mounting system: a smooth metal pole with a baffle (a cone or cylinder below the box) is the single most effective predator deterrent you can add. A greased metal conduit pipe works well and is inexpensive. Skip the perch, it only helps predators.
One more thing worth doing: use a latch or nail through the cleanout door to keep it shut. A door that swings open in the wind is a disturbance to nesting birds and an open invitation to predators.
Where to install it and how to attract the right birds
For bluebirds, mount the box 4–6 feet off the ground, facing east if possible, and pointed toward open habitat like a lawn, meadow, or pasture. Bluebirds hunt insects in open ground and want a clear flight path to and from the entrance. If you're putting up multiple bluebird boxes, space them at least 100 yards apart, too close and they'll compete. Audubon suggests no closer than 15–20 feet between boxes meant for different species that share habitat.
For chickadees and wrens, edge habitat works well, the transition zone between trees and open space. Wrens are happy at 5–10 feet up on a fence post or tree; chickadees prefer a quieter spot with some tree cover nearby. Both species are less fussy about direction than bluebirds.
A few installation tips that make a real difference: mount the box slightly tilted forward (a few degrees) so any rain that gets past the roof runs out rather than pooling on the floor. Use a metal conduit pipe rather than a wooden post if predators are a problem in your yard, squirrels and raccoons can't get traction on smooth metal. Attach the box to the mounting pipe with a single bolt through the extended back panel so you can rotate or remove the whole box easily for cleaning.
- Eastern Bluebird: 4–6 ft high, facing east, open lawn or meadow setting
- Chickadee: 4–8 ft high, edge of wooded area, quiet location
- House Wren: 5–10 ft high, near shrubs or brush, tolerates more shade
- White-breasted Nuthatch: 12–20 ft high, mature deciduous trees nearby
- All species: avoid direct west-facing sun in hot climates to prevent overheating
Maintenance, cleaning, and keeping it going for years
An eco-friendly birdhouse is also one that gets used year after year, which means maintenance matters. The BTO recommends cleaning out nest boxes annually, ideally between early September and early October in the Northern Hemisphere. This timing works because breeding is typically finished, but before birds start using boxes as winter roosts. If you're in a region with extended breeding seasons, wait until you're confident the last brood has fledged.
Cleaning is simple: open the cleanout door, remove the old nest material (wearing gloves, old nests can harbor mites and parasites), and scrub the inside with a stiff brush and hot water. No soap or detergent needed; hot water kills most parasites. Let it dry completely before closing it back up. Some people add a tiny amount of dried pyrethrum powder (a natural insecticide derived from chrysanthemums) after cleaning to deter mites, but this is optional.
Every autumn, do a quick structural check: look for cracks that have widened (allowing drafts or water), check that the roof is still seated firmly, and confirm the cleanout latch is working. Cedar and untreated pine can last 10–15 years with basic care. If the entrance hole has started to show significant wear or enlargement from squirrel chewing, replace the front panel or add a new entrance block. That's a 15-minute fix that extends the whole box's life.
If you used reclaimed wood or built a recycled birdhouse from salvaged materials, check those pieces a bit more carefully each year, reclaimed boards can have hidden checks or knots that open up over time. The goal is a box that's genuinely useful to birds for many seasons, which is the most eco-friendly outcome of all.
Troubleshooting common problems
Wrong species moving in is the most common frustration. If house sparrows are taking over a bluebird box, the entrance hole is either too large or the box is too close to human activity (sparrows love busy areas). Try relocating the box to a more open spot at least 100 feet from buildings. If starlings are the problem, verify your entrance hole is truly 1.5 inches, even 1/8-inch extra can make a difference. An entrance restrictor plate is a quick fix.
Leaking is usually a roof overhang problem. Oklahoma Department of Wildlife Conservation advises drilling small holes for drainage and ventilation, and recommends extending the roof 1, 3 inches beyond the front to prevent water dripping into the box extend the roof forward 1–3 inches beyond the front to prevent water dripping into the box. If you're getting water inside, extend the roof forward by another inch and seal the seam between the roof and the front panel with a bead of non-toxic caulk (water-based, paintable). Avoid silicone caulk inside the box, it stays flexible and can trap debris.
Poor ventilation shows up as condensation inside the box early in the morning, or overheated chicks. Add two more 1/4-inch holes near the top of the box if you only drilled one pair, or create a small gap (about 1/4 inch) by adding a thin spacer block between the roof and the back panel.
Premature rot almost always means the wood is trapping moisture somewhere. Check that the floor drainage cutouts are clear and not blocked by packed nest material. Make sure the box isn't sitting in a low spot where water pools around the base of the mounting pole. A box that breathes and drains properly can genuinely last a decade or more without any chemical treatment.
Your ready-to-hang checklist
Before you hang the box, run through this quick checklist. It takes two minutes and means the birds get a genuinely safe, functional home from day one.
- Entrance hole is the correct diameter for your target species (drill it again if in doubt — it's quick)
- Interior has no paint, stain, varnish, or finish of any kind
- Floor has drainage cutouts or 1/4-inch drainage holes at the corners
- At least two 1/4-inch ventilation holes near the top of each side panel
- Inside of the front panel below the entrance has grip grooves or wire mesh for fledgling climbing
- No exterior perch attached
- Cleanout door opens and the latch holds it firmly shut
- Roof overhangs the front by at least 1 inch
- Mounting hardware is galvanized or stainless steel
- Predator baffle is in place on the mounting pole (strongly recommended)
- Box is tilted very slightly forward so any water runs out
That's a complete eco-friendly birdhouse, built with safe materials, sized for real birds, weatherproofed without chemicals, and ready to last. The whole project takes an afternoon, costs under $15 if you're buying new wood and closer to nothing if you're using reclaimed boards. The birds don't care how long it took or what it cost. They care that the hole is the right size, the inside is clean and natural, and the location is right. Nail those three things and you'll have occupants.
FAQ
Can I use outdoor paint on the outside if I want the box to look finished, and is any paint safe for birds?
Yes, but only on the exterior. Use a water-based, zero-VOC exterior paint in a light or earth tone, keep it off the inside surfaces and entrance area, and let fully cure before installation. Dark colors can overheat the box in direct sun, so choose lighter shades if you live in hot climates.
What entrance hole size should I choose if I am not sure which bird will use the box?
If you target a single species, follow that species’ known dimensions. If you are guessing, choose a common cavity nester size and accept that you may get non-target birds. Small differences matter, even 1/8 inch can change who fits through the opening, so measure with a caliper or drill-bit size reference rather than eyeballing.
Is it okay to add a perch if I want the birds to have a landing spot?
For most cavity nesters that use the box as a breeding site, skip the perch. A perch can help predators reach in and increases opportunities for disturbance. If you want visitors to land, focus on good placement (sightlines and nearby cover) rather than adding a foothold on the front.
Can I leave the entrance tunnel unmodified, or do I really need the entrance block?
You can build without the entrance block, but adding it improves predator resistance. The thick front block extends the tunnel depth so raccoons and squirrels have a harder time reaching the nest, it is one of the most practical upgrades when predators are common.
How do I know if ventilation holes are in the right place and size?
Ventilation should be near the top so warm air can escape, and it must not create a draft across the nest. If you notice condensation early in the morning or overheated chicks, adjust by adding additional small upper holes or creating a small roof-to-wall gap using a thin spacer block.
What should I do if the wood I found is reclaimed but I do not know how it was treated?
Do not use it inside the nesting cavity if you cannot verify it is chemical-free. The safe approach is to reserve unknown wood for exterior-only parts, or replace interior-facing pieces with verified untreated board. When in doubt, exclude it from the bird-contact surfaces and entrance tunnel.
Is boiled linseed oil really that bad for a birdhouse exterior?
Avoid boiled linseed oil because the driers contain metallic compounds that are not bird-safe. If you want a natural exterior finish, use raw linseed oil or pure beeswax, applied only to the outside surfaces, then allow it to weather-cure fully before hanging.
How should I mount the box if squirrels or raccoons are present in my yard?
Use a smooth metal pole with a baffle so predators cannot gain traction or reach the box from below. Also, place the cleanout door securely so it cannot swing open, and consider positioning that provides fewer approach paths from nearby branches or fences.
When is the best time to clean the nest box, especially if my area has a long breeding season?
Aim for after breeding is finished but before the boxes start being used as winter roosts. In regions with extended nesting, wait until you are confident the last brood has fledged. Clean between early September and early October in the Northern Hemisphere as a general baseline.
Should I use soap or detergent when scrubbing the inside?
No. Scrub with hot water and a stiff brush, soap or detergent is not necessary. Hot water helps reduce parasites, and you should fully dry the box before closing it so you do not create lingering moisture.
Do I need to use a natural mite treatment after cleaning?
It is optional. If you choose to add dried pyrethrum powder, use only a tiny amount after the box is dry and only on areas where birds will not be directly coated excessively. The most important controls are correct cleaning timing, complete nest removal, and a dry interior.
What signs tell me the birdhouse is failing and needs a repair or replacement?
Watch for enlarged entrance wear from chewing, cracks that have widened, a roof that has loosened, and drafts indicated by gaps or water intrusion. If the front panel or entrance block is worn, replace that piece rather than repainting or sealing over the problem.
Next Articles
How to Make a Recycled Bird House Step by Step
Step-by-step guide to build a bird-safe recycled bird house with proper entrance, ventilation, drainage, and finishing.
How to Make a Bird Box From Recycled Materials
Step-by-step DIY guide to build a bird box from reclaimed wood or logs, with safe dimensions, drainage, and mounting.
How to Make a Bird House With Waste Material
Step-by-step DIY birdhouse from safe waste materials, with size rules, assembly tips, and placement and maintenance chec