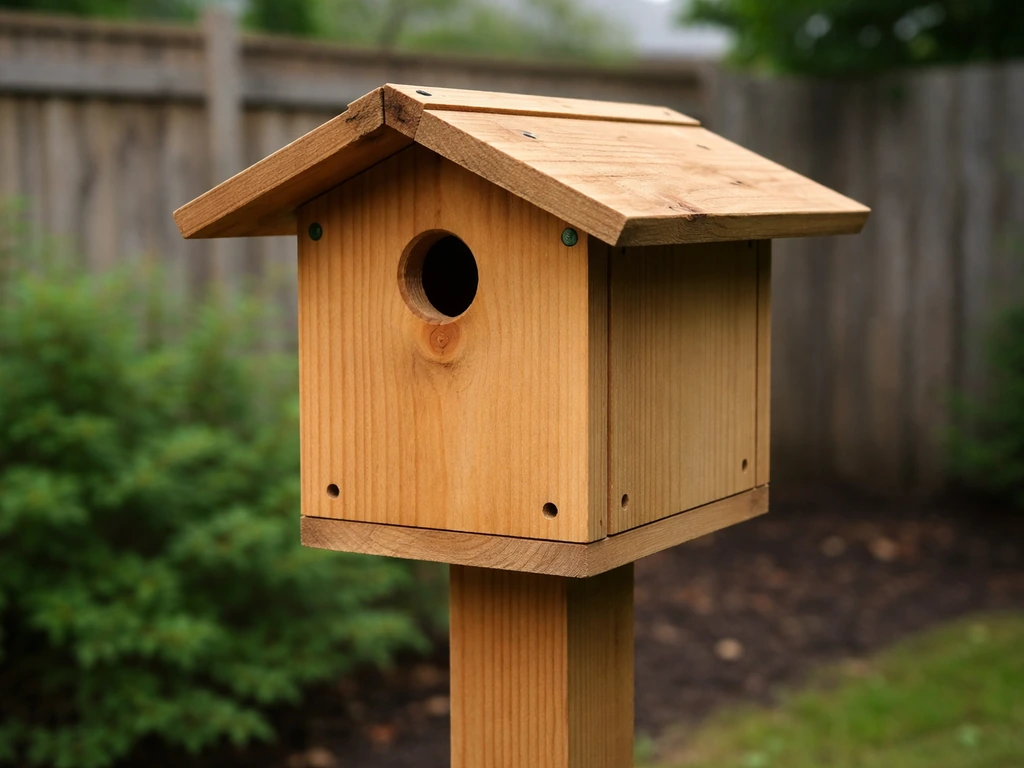
Building a big bird house is totally doable in a weekend with basic tools, and the key is matching the box dimensions to the species you want to attract. For a large cavity nester like an American kestrel, you need roughly a 9"×9" to 10"×10" floor, a 3" entrance hole, and a box 14–16 inches tall. For medium-sized birds like tree swallows, a 6"×6" floor with a 1½" entrance hole and 8–12 inch cavity depth is your target. Get those numbers right, add drainage holes, ventilation gaps, and a generous roof overhang, and you've got a box birds will actually use.
How to Make a Big Bird House: Step-by-Step DIY Plans
Marcus Thornton
29 May 2026
Pick your bird first, everything else follows
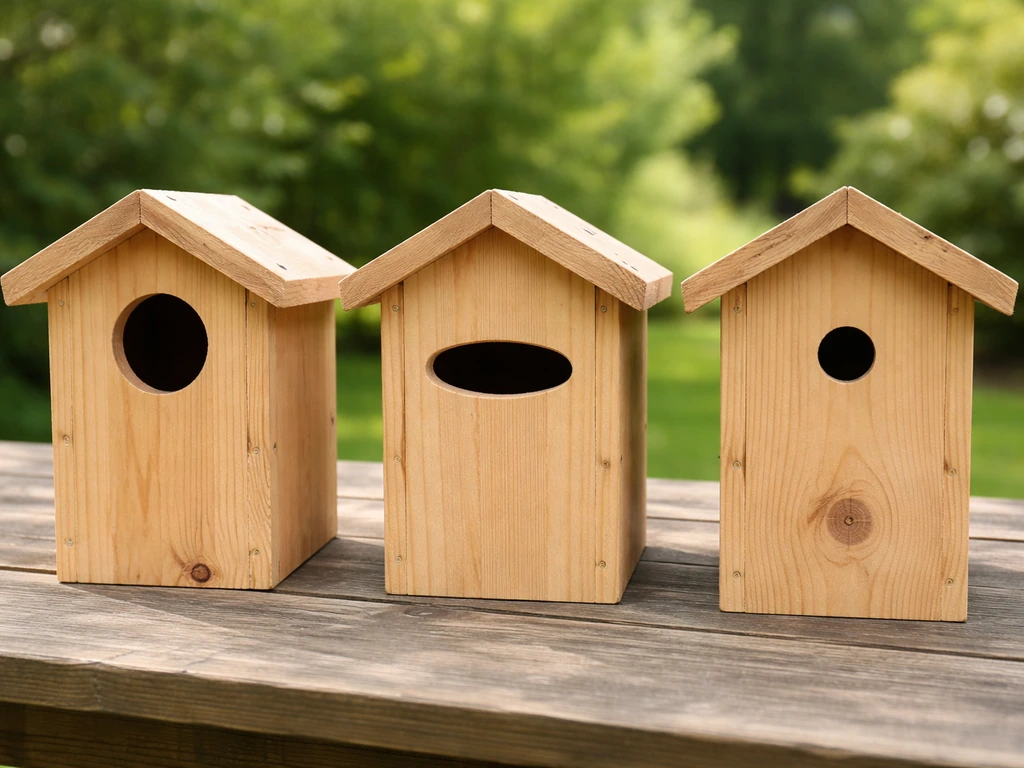
This is the step most people skip, and it's the one that matters most. A "big" bird house means different things depending on what you're building for. The interior floor size, entrance hole diameter, and cavity depth are all species-specific, and if you get them wrong, you'll either end up with an empty box or, worse, attract house sparrows that crowd out the birds you actually want.
Here's a quick breakdown of three common target species for larger boxes, along with their key dimensions:
| Species | Floor Size | Entrance Hole Diameter | Entrance Height Above Floor | Box Height |
|---|---|---|---|---|
| American Kestrel | 9"×9" to 10"×10" | 3" | 11½" from bottom | 14–16 inches |
| Tree Swallow | 6"×6" | 1½" | 6–10 inches | 10–14 inches |
| Eastern Bluebird | 4"×4" to 5½"×5½" | 1½" | 5–6 inches | 8–12 inches |
If you're targeting kestrels specifically, that 3" entrance hole is non-negotiable. Too small and they can't get in; too big and starlings move in instead. For tree swallows and bluebirds, the 1½" entrance is your friend. It's large enough for those birds and small enough to exclude most nuisance species. Once you know your target species, every dimension decision becomes simple.
A quick note on scope: this guide focuses on medium-to-large cavity nesters. If you're building for smaller songbirds like wrens or chickadees, those projects use a smaller floor (around 4"×4") and a tighter 1⅛" entrance hole. The building process is the same, just scaled down.
Plan the design: measurements, entrance size, ventilation, and drainage
Before you touch a saw, sketch out your box on paper. It takes ten minutes and saves you from cutting the wrong piece twice (I've done it more times than I'd like to admit). Here's what you need to plan for every large bird house, regardless of species.
Floor dimensions and cavity depth
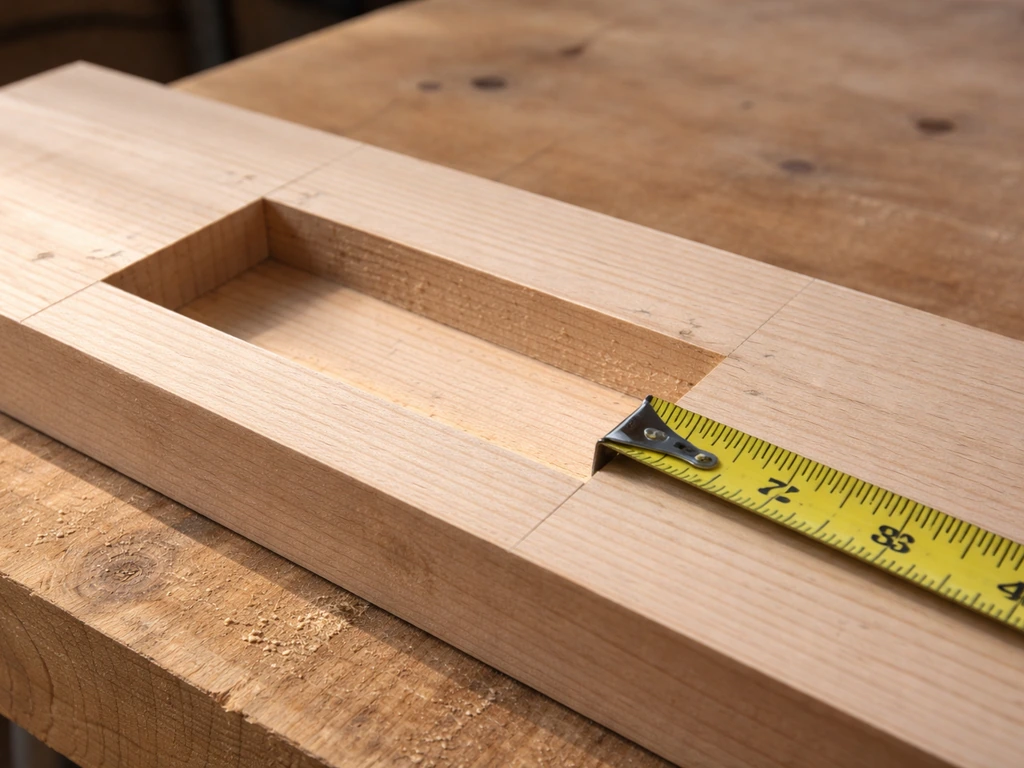
For a kestrel box, plan for at least a 9"×9" interior floor. For tree swallows or a generously sized bluebird box, 6"×6" is your floor target. The cavity depth (the distance from the entrance hole to the floor) should be 6–10 inches for tree swallows and bluebirds, and roughly 11½" for kestrels. That depth matters because birds need enough room to build a nest and keep it below the entrance hole so predators can't reach in and grab eggs.
Entrance hole placement
For kestrels, center the 3" entrance hole so its bottom edge is 11½" from the floor. For tree swallows, place the 1½" hole so its center sits about 7–8 inches above the floor. For bluebirds, the bottom of the 1½" hole should be 5–6 inches from the floor. Always leave at least 1½" between the top of the entrance hole and the underside of the roof, that small gap matters for ventilation and keeps rainwater from pooling around the opening. And do not add a perch below the entrance hole. It looks nice but it gives predators and house sparrows a foothold.
Ventilation
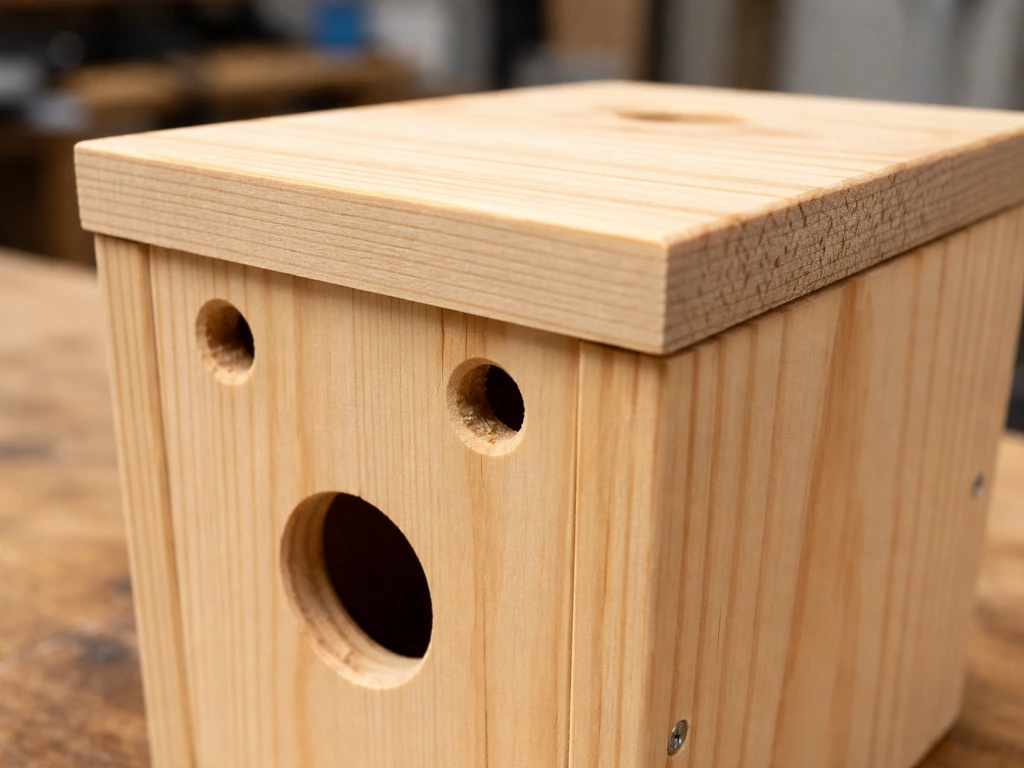
Heat is a real killer for nestlings in midsummer. You have two good options for ventilation: drill 1–2 small holes (about ½" diameter) on each side wall about ¾" down from the top edge, or leave a small gap between the top of the side walls and the underside of the roof when you assemble. Either approach works. I usually do both on kestrel boxes since they're bigger and hold more heat. The goal is cross-ventilation so hot air can escape without letting rain in.
Drainage
Water will get inside. Plan for it. The standard approach is drilling four drainage holes in the floor, each about 3/8" to ½" in diameter, one near each corner. Penn State Extension’s nestbox guidance for American kestrels also recommends adding drainage holes at the floor corners and leaving ventilation space between the side walls and the roof [drainage holes at the floor corners and ventilation space between the side walls and the roof](https://extension.
psu. edu/managing-habitat-for-american-kestrels/). Alternatively, you can cut the floor piece slightly short on each corner (the "dog-ear" method) so water has a path out. I prefer the drilled holes because they're less likely to collect debris.
Either way, don't skip this step, a wet nest box grows mold and chills eggs.
Roof overhang
The roof needs to extend at least 2–3" over the front face to shield the entrance hole from rain. A minimum ½" overhang at the back is recommended, but more is better everywhere. On bluebird-style boxes, a front overhang of about 3¾" works well. On a large kestrel box, I go even bigger, a 4" front overhang makes a real difference during heavy rain. A sloped roof (angled back to front) sheds water naturally and is worth the extra cut.
Materials and tools
You don't need fancy materials. The best bird houses I've built came from cedar fence boards pulled from a demolition pile and a basic drill. What you do need is the right type of wood and the right fasteners.
Best wood choices
- Cedar: the gold standard. Naturally rot-resistant, lightweight, and easy to work. Rough-cut cedar fence boards (typically 5/8" or ¾" thick) are cheap and widely available.
- Redwood: similar properties to cedar, also excellent if you can find it affordably.
- Exterior-grade plywood (½" or ¾"): a solid budget choice, especially for larger panels. Holds screws well and is easy to cut accurately.
- Repurposed lumber: old fence boards, barn wood, or pallet wood can all work great. Just make sure the wood is untreated and hasn't been stained or painted with anything containing lead.
One firm rule: never use pressure-treated wood. It contains pesticides and fungicides that can harm nesting birds and their eggs. This applies to the interior and exterior of the box. If you find a great piece of reclaimed lumber, just make sure it isn't stamped with treatment codes (look for "ACQ," "CCA," or similar markings on the end grain).
For wall thickness, aim for at least ¾" on all pieces. Kestrel boxes especially benefit from thicker walls, the Penn State Extension explicitly recommends ¾" minimum for temperature insulation. Thicker wood buffers the interior against both summer heat and cold spring nights.
Tools you'll need
- Circular saw or jigsaw (or a hand saw if that's what you have — it just takes longer)
- Drill with bits: a hole saw sized to your entrance hole diameter is essential (3" for kestrels, 1½" for swallows/bluebirds), plus standard bits for drainage holes, vent holes, and pilot holes
- Clamps: at least two, ideally four
- Tape measure, pencil, and a square
- Sandpaper (80-grit is fine for smoothing cut edges)
- Exterior screws: 1⅝" length works well for most joints; have about 20–30 on hand
If you don't own a hole saw, they're inexpensive (usually $5–$15 each) and available at any hardware store. A 3" hole saw for kestrels and a 1½" hole saw for smaller species will cover most projects on this site. Always pre-drill pilot holes before driving screws near board edges, splitting a carefully cut piece at the last step is a frustrating lesson I learned the hard way.
Cut list and step-by-step build instructions
The instructions below are written for an American kestrel box, which is one of the most rewarding large bird house projects you can tackle. Kestrels are beautiful, beneficial birds that will reliably use a well-built box mounted in open habitat. The same process scales down directly for tree swallow or bluebird boxes, just swap in the dimensions from the table above.
Kestrel box cut list (from ¾" lumber)
| Piece | Dimensions | Quantity | Notes |
|---|---|---|---|
| Front panel | 9" wide × 16" tall | 1 | Entrance hole centered, 3" diameter, bottom edge of hole 11½" from bottom |
| Back panel | 9" wide × 20" tall | 1 | Taller than front to create sloped roof; also serves as mounting flange |
| Side panels | 9" wide × 16" tall (front edge) tapering to 20" (back edge) | 2 | Angled top cut creates roof slope |
| Floor | 9" × 9" | 1 | Cut dog-ears or drill four ⅜" drainage holes at corners |
| Roof | 11¼" × 13" (or larger) | 1 | Oversized to create 2–3" front overhang and side overhangs |
If a tapered side panel feels like too much to cut, you can simplify by making all four walls the same height (16") and using a wedge-shaped spacer under the back of the roof to create the slope. It's less elegant but totally functional.
Build sequence
- Cut all pieces to size and label them with a pencil. Lay them out and double-check dimensions before drilling anything.
- Drill the entrance hole in the front panel using your 3" hole saw. Work slowly and back the board with scrap wood to prevent blowout on the exit side.
- Drill four ½" ventilation holes in each side panel, placing them about ¾" down from the top edge (two holes per side).
- Drill four drainage holes in the floor piece, one near each corner, using a ⅜" or ½" bit.
- Roughen the interior face of the front panel below the entrance hole with a chisel or coarse sandpaper. This gives nestlings a grip when they're ready to fledge — without it, young kestrels can struggle to climb out.
- Attach the floor to the back panel first, flush with the bottom edge, using two exterior screws per side. Pre-drill all pilot holes.
- Attach the two side panels to the back/floor assembly. The floor sits inside (recessed about ¼" from the outer edges helps drainage and prevents wicking).
- Attach the front panel. If you want a clean-out door for annual maintenance (and you do), leave the front panel screwed with only two screws at the top so it pivots open, or hinge one side panel at the bottom so it swings down.
- Attach the roof last, centered side to side and pushed back slightly so the front overhang is maximized. Use at least four screws through the roof into the top edges of the side panels and back panel.
- Sand all exterior cut edges smooth and inspect for any interior splinters or sharp points.
Assembly tips and weatherproofing
Screws alone will hold most boxes together for years, but if you want the joints to last a decade or more, run a thin bead of exterior wood glue at each joint before driving the screws. For fasteners, Audubon’s bluebird nest box build uses specific exterior screw sizes and quantities (for example, 1 5/8" exterior screws) and also outlines pole-mounting components. The glue does most of the structural work; the screws clamp it while it cures. This combination is more weather-resistant than screws alone without using any toxic sealants.
For the exterior, you have a few good options. Raw cedar or redwood can go completely unfinished and will weather to a natural gray that actually blends into surroundings well. If you want to paint, use exterior latex in a light or earth-tone color, light colors reflect heat and keep the interior cooler in summer. Never paint or stain the interior of the box. The inside should stay bare wood so it doesn't off-gas anything onto eggs or nestlings.
Pay close attention to the roof joint. This is where most boxes fail first. Use at least four screws and consider a thin bead of exterior caulk along the top edge of the side panels before setting the roof, just on the outside. That single step dramatically extends the life of the box by keeping water from wicking into the end grain of the side panels.
One more thing worth doing while you have the drill out: add a predator guard. NestWatch data shows that boxes with predator guards have success rates about 6.7% higher than unprotected boxes. For a kestrel box mounted on a pole, a cone-style or stovepipe baffle below the box is the most effective option. For wall or tree mounting, a wooden or metal plate (a "portal guard") around the entrance hole makes it harder for raccoons and squirrels to enlarge the hole and reach inside.
Where and how to mount it for best results
Placement can make or break a bird house. You can build a perfect box and have it sit empty for years because it's in the wrong spot. Here's what actually works.
Height and orientation
For kestrels, mount the box 12–30 feet up on a pole or tree at the edge of an open field or large lawn. Kestrels are aerial hunters and need open space in front of the entrance to approach and depart. For bluebird and tree swallow boxes, 5 feet off the ground on a smooth metal pole is the standard recommendation, facing east if possible to catch morning sun and avoid the hot afternoon sun beating directly into the entrance hole. Orienting the entrance away from the prevailing wind (usually away from the north) reduces rain blow-in significantly.
Mounting methods
- Smooth metal conduit or EMT pipe (1" diameter) on a driven ground stake: the most predator-resistant option for smaller boxes; add a baffle 18" below the box
- T-post or wooden fence post: easy and cheap, but add a metal cone baffle since squirrels and raccoons can climb wood easily
- Tree mounting: acceptable for kestrel boxes placed high enough; use a portal guard around the entrance hole since tree trunks give squirrels easy access
- Building or barn wall: a great option for kestrels, with the box mounted under a sheltering eave for extra rain protection
Whatever you mount on, make sure the box can be easily accessed for annual clean-out. If you have to haul out a ladder and a wrench every time you want to open the box, you'll skip it, and that's when parasites and old nesting material become a problem. Design the clean-out door before you assemble, not after.
Troubleshooting and maintenance after the box goes up
Give a new box one full nesting season before you decide it isn't working. Birds are cautious and it sometimes takes them a year to discover a box and work it into their territory map. That said, there are a few common problems worth knowing about.
If no birds move in
- Check the habitat: kestrels need open country; bluebirds need short grass with perching spots; tree swallows want to be near water. A beautiful box in the wrong habitat will sit empty indefinitely.
- Check the entrance hole size: if you've been getting house sparrows instead of your target species, the hole may be too large. Consider plugging it and re-drilling to the correct diameter.
- Check sun exposure: a box that bakes in afternoon sun with no shade can reach temperatures that kill eggs. Move it or add shade.
- Check for predator evidence: scratch marks around the entrance hole mean something has been trying to get in. Add or upgrade the predator guard.
Annual maintenance routine
- Clean out the box each fall after nesting season ends (late September to early October in most of the US). Remove old nesting material, which can harbor mites and parasites.
- Inspect the interior for cracks, rot, or insect damage. Cedar holds up well but exterior plywood can delaminate after several years.
- Clear drainage holes of debris — dried mud and plant fibers block them surprisingly quickly.
- Check that all screws are tight and the roof joint is still sealed. Re-caulk the exterior roof edge if needed.
- Reopen the box and leave it accessible through winter. Some species like wrens and chickadees use nest boxes as roosting spots on cold nights.
One thing I've started doing that makes maintenance much easier: after the annual clean-out, I leave a thin layer of wood shavings (not sawdust) in the bottom of kestrel boxes. Kestrels don't build nests themselves, so giving them a base layer of shavings about 2" deep mimics what they'd find in a natural tree cavity and can encourage them to commit to the box earlier in spring.
Building a large bird house is genuinely one of the most satisfying weekend projects you can do for your backyard. If you want a different look and added durability, you can also learn how to make stone bird houses. If you want a smaller version, use the same process, just match the floor size and entrance opening to the smaller species you’re targeting Building a large bird house.
The combination of a well-matched entrance hole, proper drainage and ventilation, a big roof overhang, and smart placement does most of the work for you. Get those fundamentals right and you're set up for years of successful nesting. If this project sparks the bug, the same skills and techniques scale down beautifully for smaller songbird boxes, or in entirely different directions if you want to explore builds in materials like stone, ceramic, or felt.
If you want to try something different, you can also learn how to make felted bird houses using similar planning ideas for size, entry placement, and weather protection.
FAQ
How do I choose the “right” big bird house size if I am not sure which species will move in?
If you are unsure, build to the largest cavity nester you want to support (for example, a kestrel-style footprint) but avoid over-sizing the entrance. A slightly smaller entrance than you might think is safer for preventing house sparrows, and you can still get airflow and drainage correct by following the ventilation gap and drainage hole guidance for that box type.
What should I use for measurements, and should I measure “interior” or “exterior” dimensions?
Use interior measurements for the floor and cavity depth, then subtract wood thickness when you transfer those numbers to cut lists. Because you target a specific entrance placement relative to the floor, centering and hole height are determined by the interior floor surface, not the outer board edge.
Do I need to add a removable front or clean-out door for a big bird house?
Yes, plan for access before you assemble. For larger boxes, a full side-opening or hinged roof section is easier than a small bottom trapdoor because you can remove built-up nesting debris without damaging feathers or dislodging next year’s occupants during cleaning.
How do I keep the box from overheating in summer without changing the size?
Stick to light exterior colors and prioritize cross-ventilation placement near the top of the side walls or roof gap. Also, mount the box so the entrance is shaded during hottest afternoon hours (for example, east-facing when possible) since ventilation helps most when it can actually exchange air, not when the box is baked by direct sun.
Is it okay to add a perch or landing strip to help birds find the entrance?
For the species covered in this guide, avoid a perch below the entrance. Even a small ledge can increase predation and nuisance species access, and many cavity nesters will still approach quickly because they hunt or fly directly into the opening.
What if my drill bit or hole saw leaves rough edges around the entrance hole?
Smooth the entrance edges after cutting. Remove splinters and sharp ridges with light sanding so birds can enter without abrasion, and keep the hole true to the target diameter so the species-specific entry exclusion still works.
Should I use caulk, paint, or sealant anywhere on the inside?
Do not seal or coat the interior surfaces. If you want extra waterproofing, apply caulk on exterior roof joints only, and use exterior latex on the outside only. Interior bare wood helps prevent off-gassing near eggs and nestlings.
How far apart should drainage holes be on a big bird house, and where do they collect debris?
Use the corner-near layout for drilled holes and keep them evenly spaced rather than grouping them in the center. The goal is to create multiple escape paths for water so the bottom does not become a single wet basin that can collect grit and promote mold.
What is the best way to mount a big bird house pole-style so it is safe and stable?
Choose a smooth metal pole and secure the box with multiple screws through the side panels, not just one attachment point. If you add a baffle, position it so it blocks climbing paths under the box without restricting airflow to the entrance.
How can I tell if the box is failing due to placement instead of construction?
Look for a mismatch between bird behavior and the mounting site. If the box is in a shaded or cluttered area with no open approach path, you may get little activity even when dimensions are perfect; relocation to the edge of an open field or lawn is often the fix.
When should I clean a big bird house, and what should I do with old nesting material?
Clean after the nesting season ends and before the next cycle begins, remove old nesting material completely, then inspect for damage or enlarging at the entrance. If you use a base layer of shavings for kestrels, replace it after cleaning rather than adding on top of degraded debris.
Can I make the walls thicker than recommended, and will it hurt anything?
Thicker walls are usually fine, it can improve insulation, but do not let thicker boards silently change the interior cavity depth or entrance placement. Recalculate the interior floor-to-hole distances after you change board thickness so the entrance height and ventilation gap locations still match the target design.
What should I do if birds ignore the new box after one season?
Give it at least one full nesting season before concluding it is a failure, birds can take time to incorporate a new cavity into their territory. If there is no activity after that, adjust only one major factor at a time, commonly entrance exposure (orientation and shade) or mounting height and access for safe approach.
Next Articles
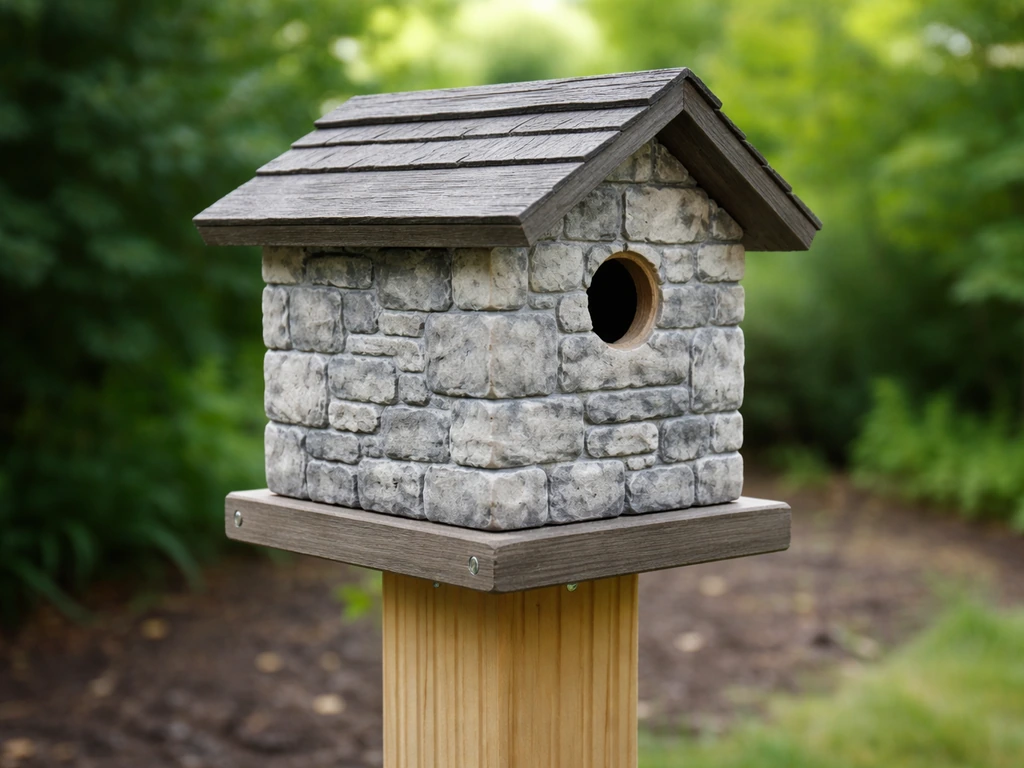
How to Make Stone Bird Houses: DIY Safe Build Guide
Step-by-step DIY guide to build stone-look bird houses safely with the right hole size, airflow, drainage, and mounting.
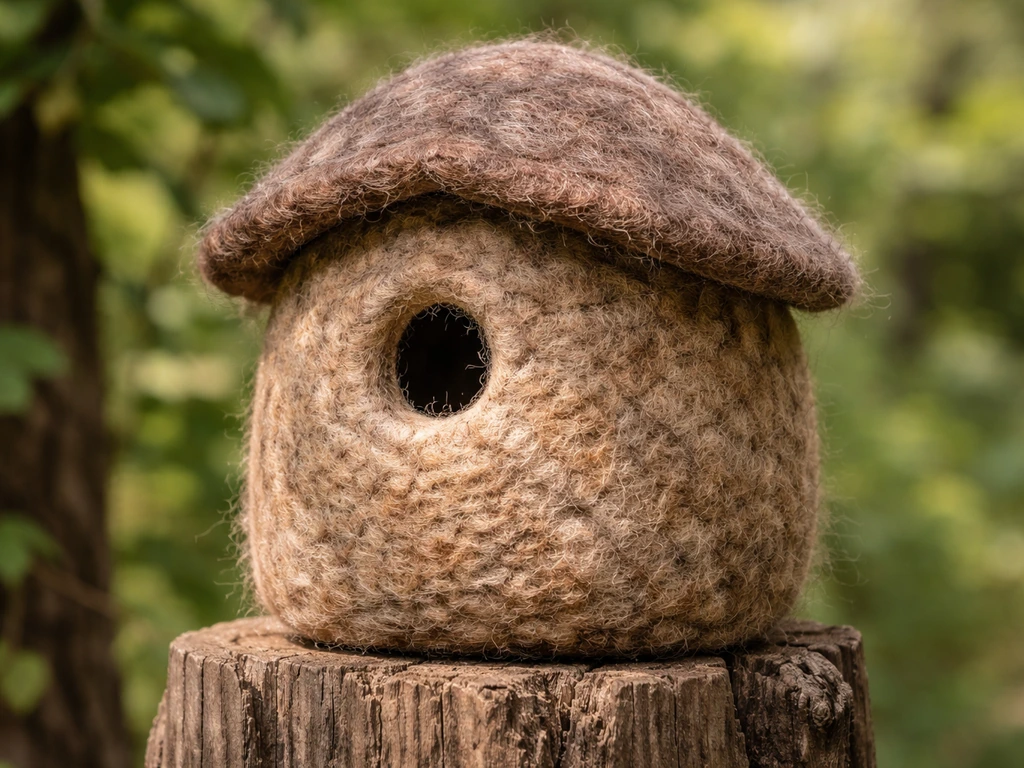
How to Make Felted Bird Houses Step-by-Step Guide
Step-by-step how to make felted wool bird houses, from wool felting shapes to assembling, mounting, and maintaining outd

Ceramic Bird Houses How to Make a Durable DIY Guide
Step-by-step guide to making durable, bird-safe ceramic bird houses with proper design, glazing, curing, weatherproofing