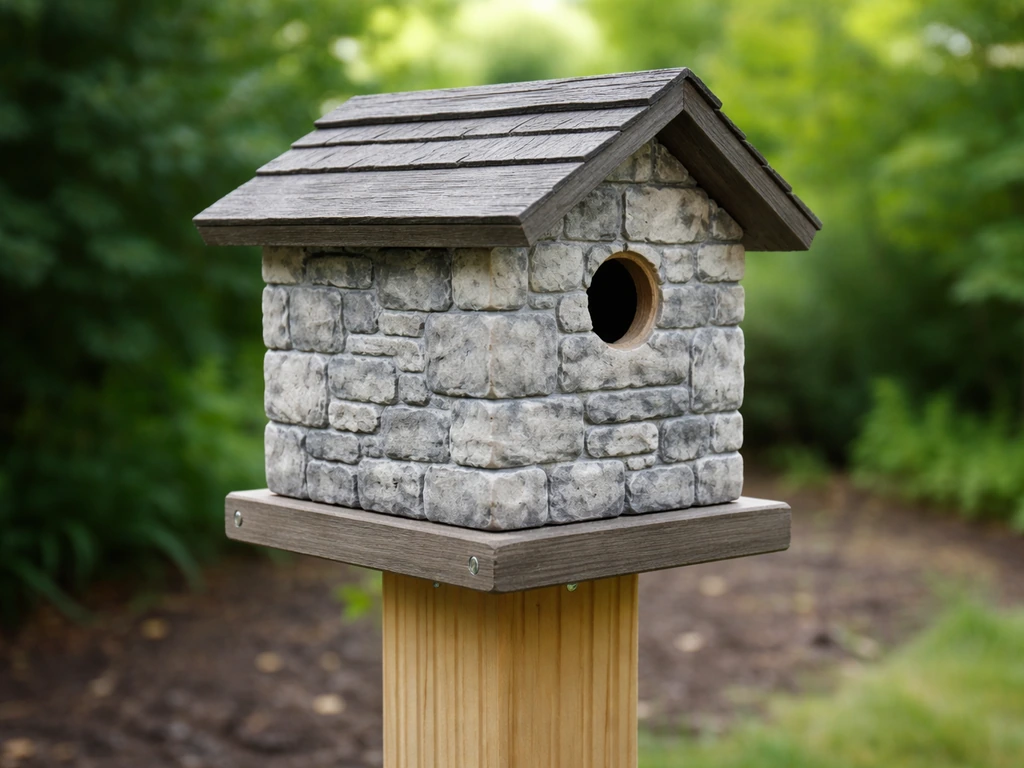
You can absolutely build a stone-looking bird house that works as real nesting shelter. The trick is using a solid wooden base structure with stone-textured cladding or a concrete-style coating on the outside, so the birds get a safe, properly sized interior while you get the rugged, natural aesthetic you're after. Get the entrance hole right for your target species, include drainage and ventilation, seal any exterior surfaces with a bird-safe finish, and mount it at the correct height with a predator baffle, and you'll have something that lasts for years and actually gets used.
How to Make Stone Bird Houses: DIY Safe Build Guide

Marcus Thornton
5 May 2026
Pick your bird species first, then design around it
Before you cut a single board or mix any concrete, decide which bird you're building for. The entrance hole diameter is the most critical dimension in the whole project, and it's non-negotiable. Too large and predators or competing species move in. Too small and your target bird can't get through. Everything else, the stone texture, the roof shape, the color, is secondary.
Here are the species that work well with a heavier, stone-aesthetic house and their exact entrance hole requirements:
| Bird Species | Entrance Hole Diameter | Floor Size (inside) | Floor-to-Hole Depth | Mounting Height |
|---|---|---|---|---|
| Eastern Bluebird | 1½ in round (or 2¼ × 1⅜ in oval) | 4×4 in to 5×5 in | 5–7 in | 4–6 ft |
| Western/Mountain Bluebird | 1⅝ in round | 5×5 in to 5.5×5.5 in | 5–7 in | 4–6 ft |
| Black-capped Chickadee | 1⅛ in round | 4×4 in | 8–10 in | 5–15 ft |
| Tree Swallow | 1¼ in round | 5×5 in to 5.5×5.5 in | 9 in | 5–6 ft |
A stone-style house suits open-field and backyard species like bluebirds and tree swallows especially well because the heavier, earth-toned look blends naturally into fence posts and open meadow settings. NestWatch provides species-specific guidance for Tree Swallows, including an entrance opening visual specification and a depth visualization of 9 inches. Chickadees are more comfortable in wooded edges, so if that's your yard, a stone-look box on a tree or post at the higher end of that 5–15 ft range works great. The key is matching the design to where you'll actually place it.
A quick note on design style: you have three main routes to achieve the stone look. First, you can build a wooden box and clad the outside with thin pieces of real flat stone (flagstone offcuts work perfectly). Second, you can coat the exterior with a textured mortar or concrete mix that dries to a stone-like finish. Third, you can cast the outer shell using a hypertufa-style mix (Portland cement, perlite, and peat moss) around a wooden or foam interior form. All three work. I've tried all of them. The cladding method is the most beginner-friendly; the cast method gives the most convincing look but takes more patience while it cures.
What you'll need: materials and tools

The interior box should always be untreated, natural wood. Cedar, pine, and Douglas fir all work. Cedar is the best choice if you can get it because it naturally resists moisture and rot without any treatment. Avoid pressure-treated lumber entirely inside the box. Rough-sawn wood is ideal for the interior walls because nestlings can grip it to climb up toward the entrance hole.
For the wood base structure
- 1×6 or 1×8 untreated cedar or pine boards (enough for floor, four walls, and a roof panel)
- Exterior wood screws, 1⅝ in or 2 in (galvanized or stainless steel)
- Drill with drill bits, including a hole saw or Forstner bit in the exact diameter for your target species
- Jigsaw or circular saw for cutting boards to length
- Speed square and tape measure
- Sandpaper (80-grit for any rough interior edges near the entrance hole)
For the stone look
- Thin flat stone pieces (flagstone offcuts, fieldstone shards, or slate chips) if doing real-stone cladding
- Mortar mix or Portland cement for bedding and grouting stone pieces
- OR: textured masonry paint or stone-texture spray (for a simpler painted finish)
- OR: hypertufa mix components: Portland cement (Type I), coarse perlite, and peat moss in a 1:1.5:1.5 ratio by volume
- Stiff bristle brush and trowel for applying texture coats
- Rubber gloves and eye protection for any cement or mortar work
For finishes and sealing
- Water-based exterior sealant (only for exterior surfaces, never inside the box)
- Linseed oil (raw, not boiled) as an alternative natural sealer for exterior wood
- Bird-safe exterior latex paint if adding color to any exterior wood areas (earth tones: gray, tan, brown)
- NO creosote, NO oil-based preservatives, NO lead paint, NO polyurethane inside the box
If you go the hypertufa or mortar-coating route, the most important safety step is curing time. Fresh Portland cement is caustic and can off-gas compounds that are harmful in an enclosed space. Any cement-based exterior application needs at least 4 weeks of full cure before a bird moves in. Rinse the exterior with water a few times during curing to help neutralize surface alkalinity. I learned this the hard way on my first cast project, rushing it into the yard too soon. Wait the full month.
Building it step by step
Work through this in order. Don't skip the drainage and ventilation steps just because they're not glamorous. Those details are the difference between a bird house that gets used and one that floods or cooks the nestlings in summer.
Step 1: Cut and assemble the wood box
- Cut your floor panel to size based on your target species (see the table above). For a bluebird box, 5×5 in is a solid choice that works for both Eastern and Western species.
- Cut front and back panels to your target interior depth (for a tree swallow or bluebird, that's a 9–10 in interior depth from floor to the bottom of the entrance hole, plus the floor thickness).
- Cut two side panels. Leave a small gap of about ¼ in at the top of each side panel, between the side and the roof, to allow air circulation. Alternatively, drill two or three ¼-in ventilation holes just below the roofline on each side panel.
- Drill four ¼-in drainage holes in the corners of the floor panel before assembling. These let any rain that blows in drain out fast.
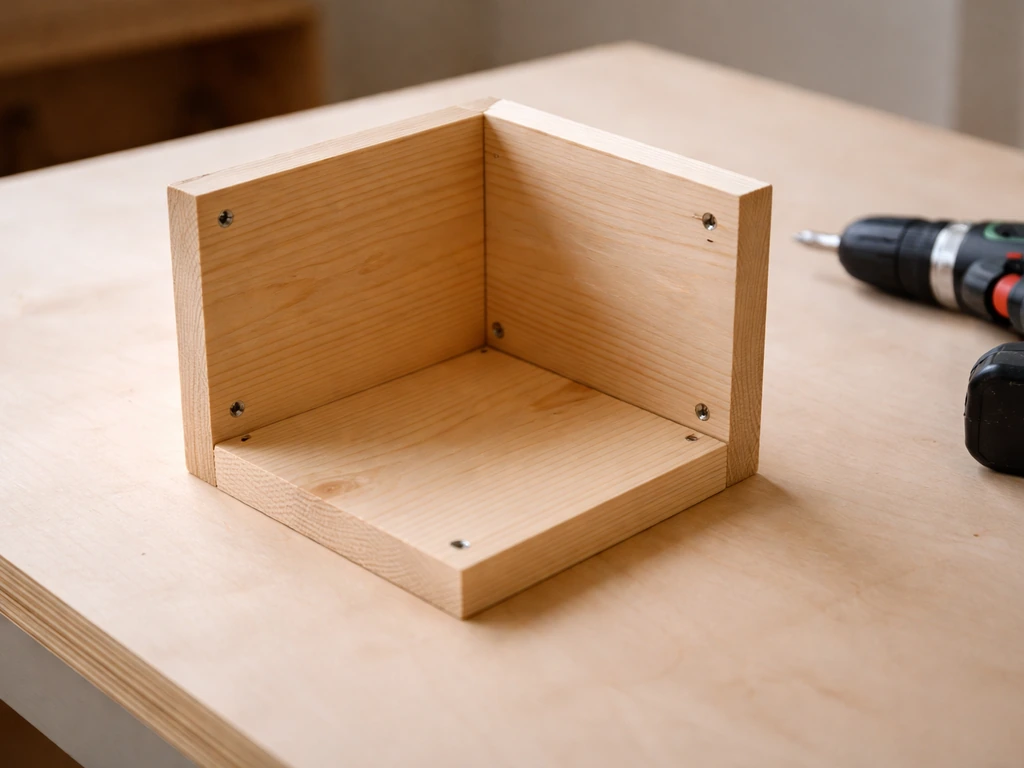
- Assemble the box using screws, not nails. Nails work loose over time with seasonal wood movement. Pre-drill pilot holes to avoid splitting.
- Make one side panel or the entire front panel hinged or removable for clean-out access. A single exterior screw at the bottom of a side panel that pivots open is the simplest clean-out system. You will need to open this box every season.
Step 2: Drill the entrance hole
Use a Forstner bit or hole saw for a clean, splinter-free hole. Drill from the outside face in so any tearout is on the inside where birds won't snag. Sand the edge smooth with 80-grit paper, especially on the interior side. The hole should sit 5–7 inches above the floor for bluebirds and swallows, or 8–10 inches for chickadees. If you want a bigger stone-look bird house, use the same species-specific dimensions approach so the entrance hole and mounting height match what your birds need bluebirds and swallows. Measure from the top of the floor panel to the bottom edge of the hole. Double-check the diameter against the species table before drilling. This is the one cut you cannot fix easily after the fact.
Do not add a perch below the entrance hole. Perches look cute but give predatory birds a place to sit and harass or grab nestlings. Every organization that studies nest boxes, from NABS to NestWatch, recommends leaving them off.
Step 3: Apply the stone finish to the exterior
This is where the fun part starts. Keep all stone-look materials strictly on the exterior surfaces. Nothing goes inside the box except bare, uncoated wood.
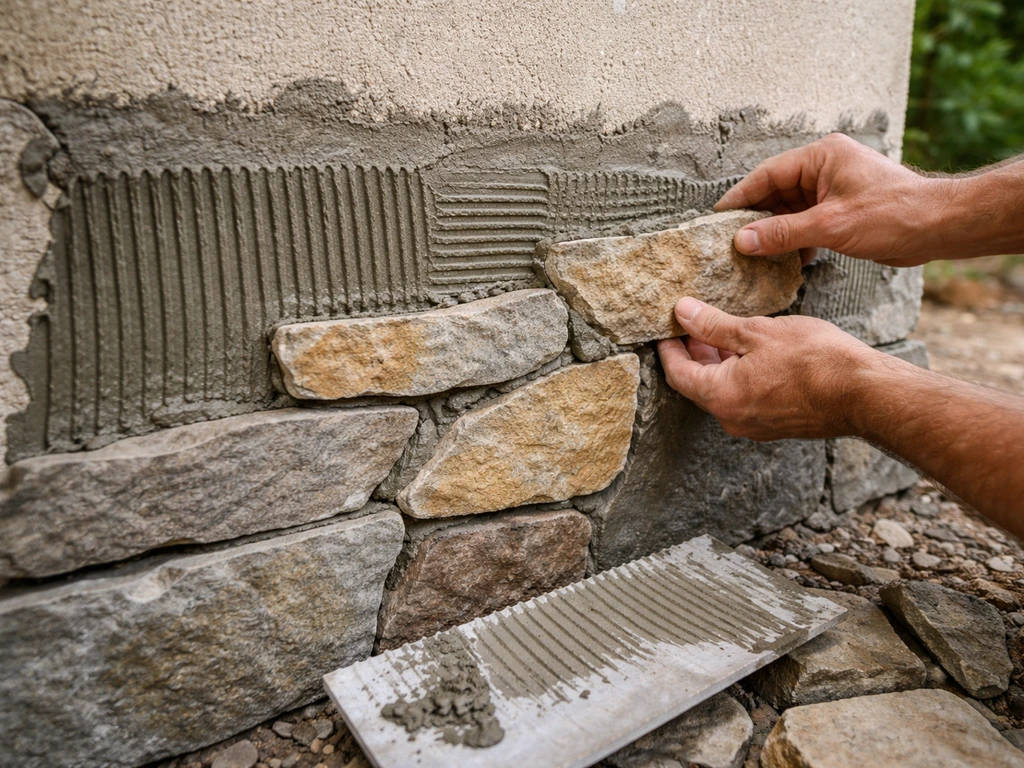
For real-stone cladding: mix a small batch of mortar to peanut butter consistency, butter the back of each thin stone piece, and press it onto the exterior walls. Work from the bottom up. Leave the entrance hole area clean. Let it cure for at least 48 hours before grouting the joints. This method adds significant weight, so plan your mounting accordingly.
For a textured mortar coat: apply a base coat of mortar or exterior masonry adhesive to the wood exterior using a trowel. While it's still tacky, stipple the surface with a stiff brush or a crumpled piece of burlap to create irregular texture. Let it dry, then apply a second coat to fill low spots. Once fully dry (48 hours minimum), a wash of diluted gray and brown exterior latex paint brings out the texture beautifully. This is the fastest method and works great on any skill level.
For hypertufa casting: build a simple outer mold (foam board or cardboard works fine) around your assembled wooden box, leaving a 1–1.5 in gap all around. Mix the hypertufa, pack it into the gap, and smooth the surface. Let it cure under plastic sheeting for one week, then remove the mold and allow it to cure in open air for a minimum of three more weeks before use. The result is genuinely convincing stone, lightweight compared to real stone cladding, and very durable. After the hypertufa cures, you can treat it like a stone finish and move on to sealing and mounting your felted bird house housing felted bird houses.
Step 4: Build and attach the roof
The roof needs a generous overhang of at least 2 inches on all sides to shed rain away from the entrance hole and walls. A sloped roof (pitched front-to-back) works better than flat because water runs off instead of pooling. Apply your stone finish to the roof exterior too, or use a piece of slate or flat fieldstone as the actual roof panel if your mounting can handle the weight. If you use real stone for the roof, make sure it's securely mortared or screwed down. A roof that falls off during a storm is a serious problem for nesting birds.
Where and how to mount it
Placement has a huge effect on whether birds actually use the house. A beautifully built box in the wrong spot might sit empty for years, while a basic box in the right location fills up every season.
Height and orientation
- Bluebirds: 4–6 ft above ground on a smooth metal post in an open area with short grass and some perching trees nearby
- Tree Swallows: 5–6 ft above ground, also on a smooth post, in open areas near water; face the entrance south or east; space multiple boxes at least 35 ft apart
- Chickadees: 5–15 ft up on a tree or post at a woodland edge; face the entrance away from prevailing wind (typically north or east in most of the US)
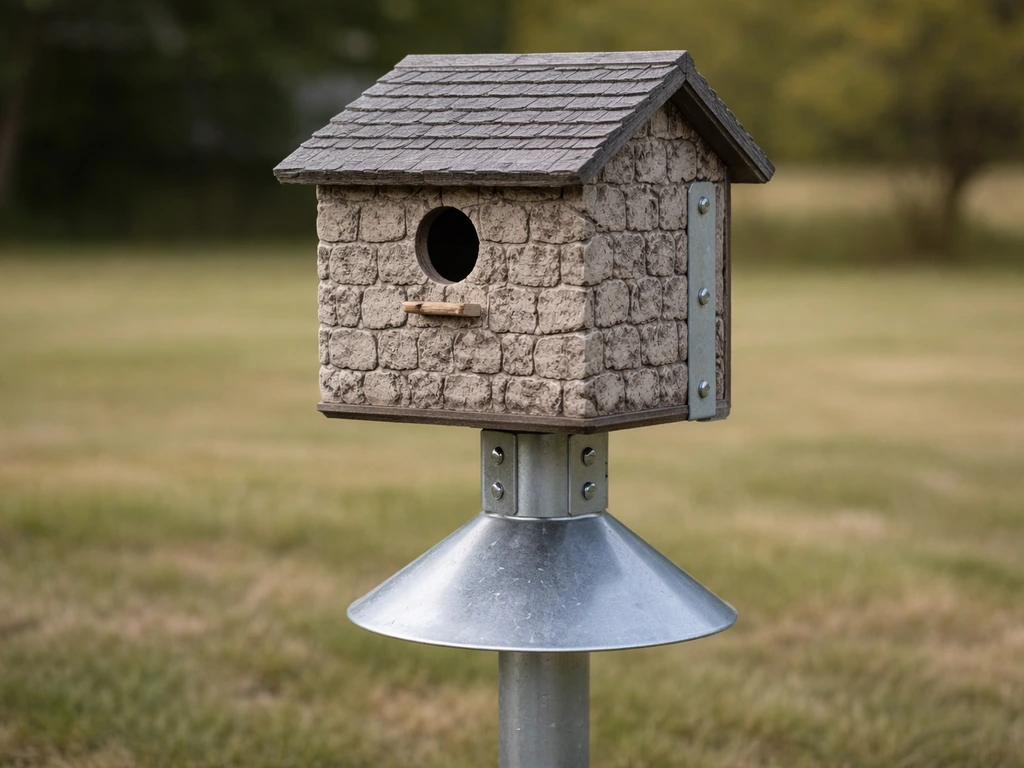
A stone-clad box is heavier than a plain wooden one, so the mounting needs to be solid. A 1-inch diameter galvanized steel pipe set 18 inches into the ground in concrete is the most stable option. Use a U-bolt or pipe flange to attach the box to the pole. For a wall-mounted stone box, use lag screws into a stud, not just drywall anchors, and check that the wall can handle the added weight.
Weather protection tips
The good news is that stone and mortar finishes are naturally weather-resistant. But check the roof seal every spring. Any crack where the roof meets the walls is an entry point for water. A bead of exterior caulk (paintable, not silicone, because silicone doesn't bond well to rough masonry) along that joint each spring takes two minutes and prevents a lot of rot. If you used a mortar coat on a wood base, inspect for any cracking after the first winter. Small cracks can be filled with exterior patching compound. Large cracks might mean the wood substrate shifted, and you'll need to re-examine how the mortar layer is bonded.
Safety checks before and after nesting season
Predator protection
A smooth metal pole is the single most effective predator deterrent. Cats, raccoons, and snakes cannot grip a smooth metal surface. Add a commercially made baffle (a conical or cylindrical guard) on the pole below the box for extra protection against climbing predators. The baffle should sit at least 4 ft off the ground. A heavy stone box on a wooden post or tree is actually more vulnerable to predators than the same box on a smooth metal pole, because the texture gives climbing animals grip.
If starlings or house sparrows are a problem in your area, the correct entrance hole diameter is your first line of defense. A 1½ in hole will exclude starlings completely. House sparrows are more persistent and require active monitoring and removal of their nesting material if they move in before your target species does.
Clean-out access and annual inspection
Every stone bird house needs a clean-out panel you can actually open. Old nests harbor parasites like mites and blowfly larvae that harm the next clutch. After each nesting season ends (typically by late summer or early fall), open the box, remove the old nest completely, and brush out any debris. You don't need to scrub with chemicals; a dry brush is fine. Leave the box open for a day to air out, then close it back up. Some people add a handful of fresh wood shavings, which gives the next tenants a head start on building.
Before nesting season starts in late winter or very early spring, do a full inspection. Check that the entrance hole hasn't been damaged or enlarged by woodpeckers (a hardware cloth collar around the hole can prevent this). Check that the stone or mortar exterior hasn't cracked in a way that lets water into the interior. Check that all screws are tight and the mounting is solid. A five-minute check in February prevents a failed nest in May.
Long-term durability
A properly built stone-look bird house on a cedar base with a mortar or real-stone exterior should last 10 to 15 years with basic annual maintenance. The wood interior is typically the first thing to go, especially the floor where moisture accumulates despite the drainage holes. If the floor starts to soften, replace it rather than the whole box. Because the stone exterior is separate from the wood frame, you can rebuild the interior while keeping the exterior shell intact. That's one of the real advantages of this construction approach over a purely wooden house.
If you find yourself drawn to other styles alongside stone, the approach here shares a lot with ceramic bird house construction, where you're also working with a rigid, weather-resistant outer material around a functional interior. On the other end of the spectrum, a simple small wooden bird house uses the same entrance hole measurements and placement rules but skips the exterior texture work entirely. Stone is the most labor-intensive of the styles, but it's also the most durable and, honestly, the most satisfying to pull off.
FAQ
Can I use the stone-looking exterior inside the nesting box to give more insulation or grip?
No. Keep stone-look materials strictly on the exterior surfaces. The interior should stay untreated natural wood, because cement or textured coatings can be harsh, hold moisture, and do not provide the same safe, natural climbing surface for nestlings.
What if my entrance hole size is slightly off, like 1/8 inch larger or smaller?
Even small changes can affect suitability. If it becomes larger than the species requirement, you may invite competitors or predators. If smaller, some target birds simply will not enter. If you already drilled and it is off, the practical fix is replacing the entrance-front panel or using a new unbroken hole, since enlarging or patching often creates snaggy edges.
How do I keep the interior dry if my drainage holes clog or the box gets dirty?
Use drainage holes and also design them so debris cannot pack over the openings. After each season, remove the old nest and brush out debris, then check that water can pass through freely. If you notice standing water in tests after rainfall, adjust the interior floor slope and clear any blockage before birds move in.
Do I need a roof vent or additional airflow beyond ventilation slots?
Not necessarily, but you should confirm cross ventilation exists. In practice, make sure you have both intake and exhaust pathways (for example, a vent opening near the top plus drainage/air exchange lower down) and avoid sealing the interior air spaces when applying exterior coatings.
Is it safe to paint the stone exterior with interior or unknown sealers?
Only use bird-safe, exterior-rated finishes, and apply them to the outer stone-textured layer, not to the interior wood. Many sealers and paints contain solvents or additives that can off-gas. If the product label does not explicitly say it is safe for wildlife and exterior use after cure, skip it.
How can I tell if a cement or hypertufa shell is fully cured before mounting?
Do not rely on “dry to the touch.” For cement-based exteriors, allow at least the full cure period before birds can access the box, and rinse the exterior during curing as you build up to final installation. For hypertufa, wait the listed minimum open-air cure, then check for a firm, non-dusty surface that no longer sheds residue under light handling.
What is the best way to prevent wood rot at the floor, especially around the entrance hole area?
Plan for replacing the interior floor panel. The floor usually fails first due to moisture accumulation even with drainage. If the floor softens, remove just that component rather than rebuilding the entire box, and keep the wood interior bare while ensuring the exterior roof overhang directs rain away from the entrance.
If I use real stone for the roof, can I skip extra mechanical fastening and rely only on mortar?
No. Mortar alone can fail as materials expand and contract. Use secure mechanical fastening consistent with the roof panel design, and ensure all stone is well fixed so it cannot loosen during storms. A detached roof can injure birds and destroy nests.
How do I stop woodpeckers from enlarging the entrance after installation?
Proactively add a hardware cloth collar around the entrance hole before the season begins. If woodpeckers already started, inspect for hole enlargement in late winter, then repair with a proper insert or replace the entrance-front panel to return the hole to the correct diameter.
What should I do if starlings or sparrows move in before my target birds arrive?
Monitor promptly and remove competing nests if local guidance allows it and the birds are not protected in your area. The article’s guidance is to use the correct entrance diameter first, but if competitors establish early, you may need active removal of their nesting material so your target species has a realistic window to claim the box.
Can I install a stone bird house on a tree branch instead of a pole?
You can, but it is generally riskier. Trees and textured surfaces provide climbing access for predators. If you mount on a tree, use a predator baffle where applicable, choose a stable location with minimal climbing routes, and expect the mounting must handle extra weight compared to a wooden-only box.
Next Articles
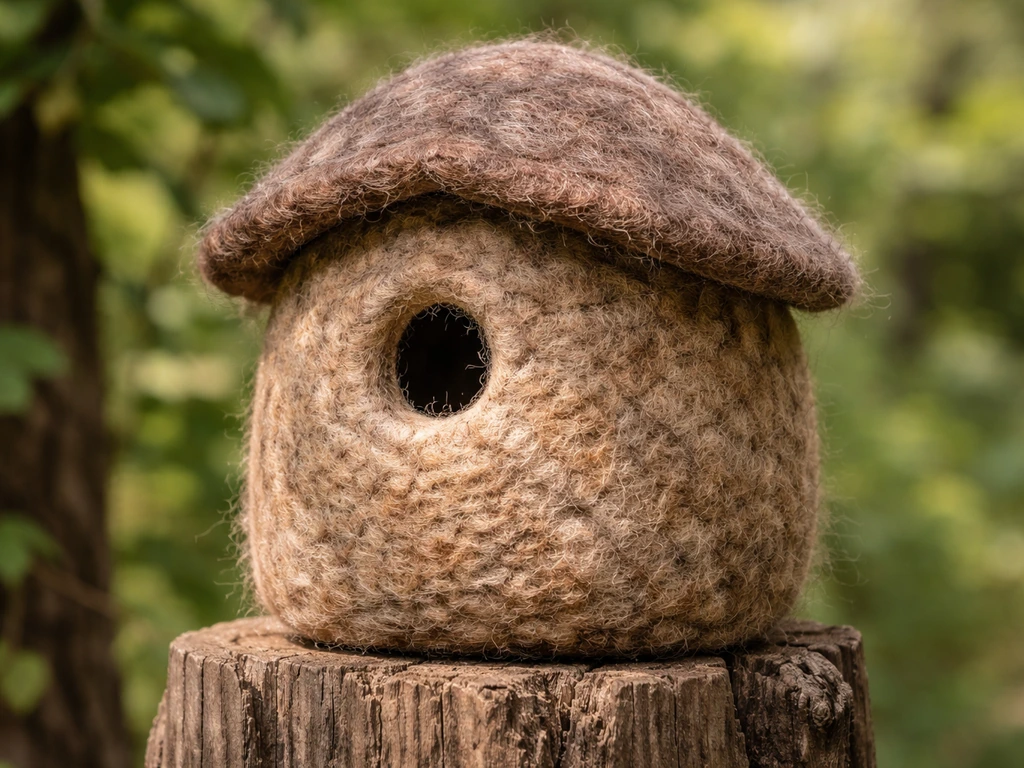
How to Make Felted Bird Houses Step-by-Step Guide
Step-by-step how to make felted wool bird houses, from wool felting shapes to assembling, mounting, and maintaining outd
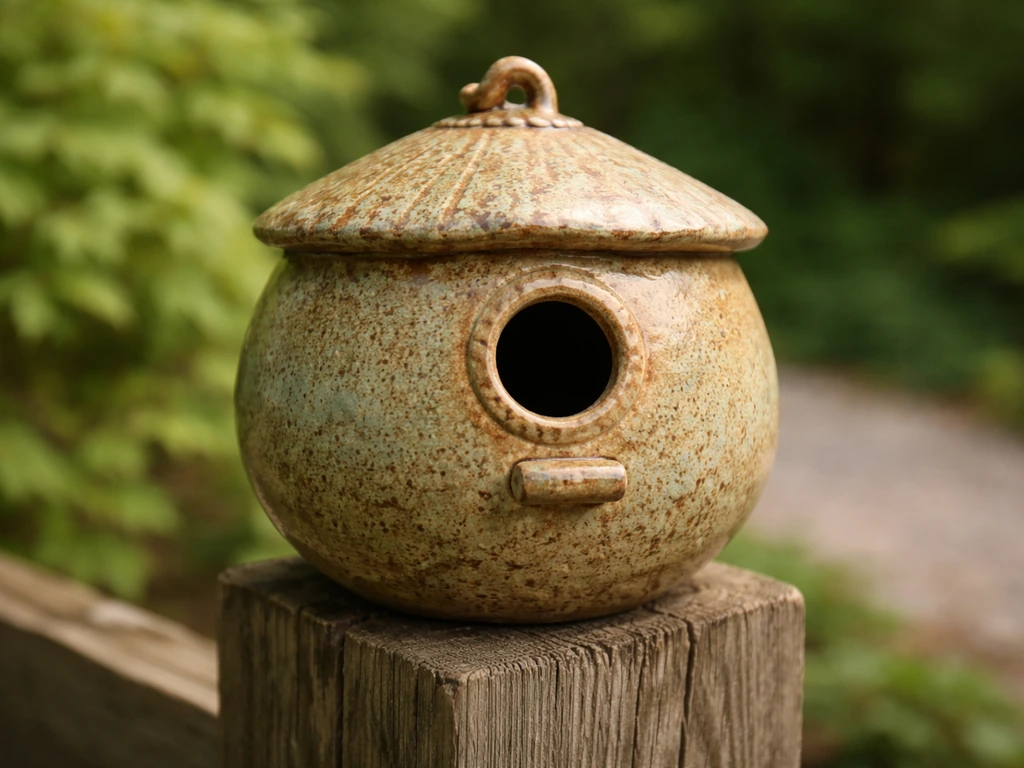
Ceramic Bird Houses How to Make a Durable DIY Guide
Step-by-step guide to making durable, bird-safe ceramic bird houses with proper design, glazing, curing, weatherproofing
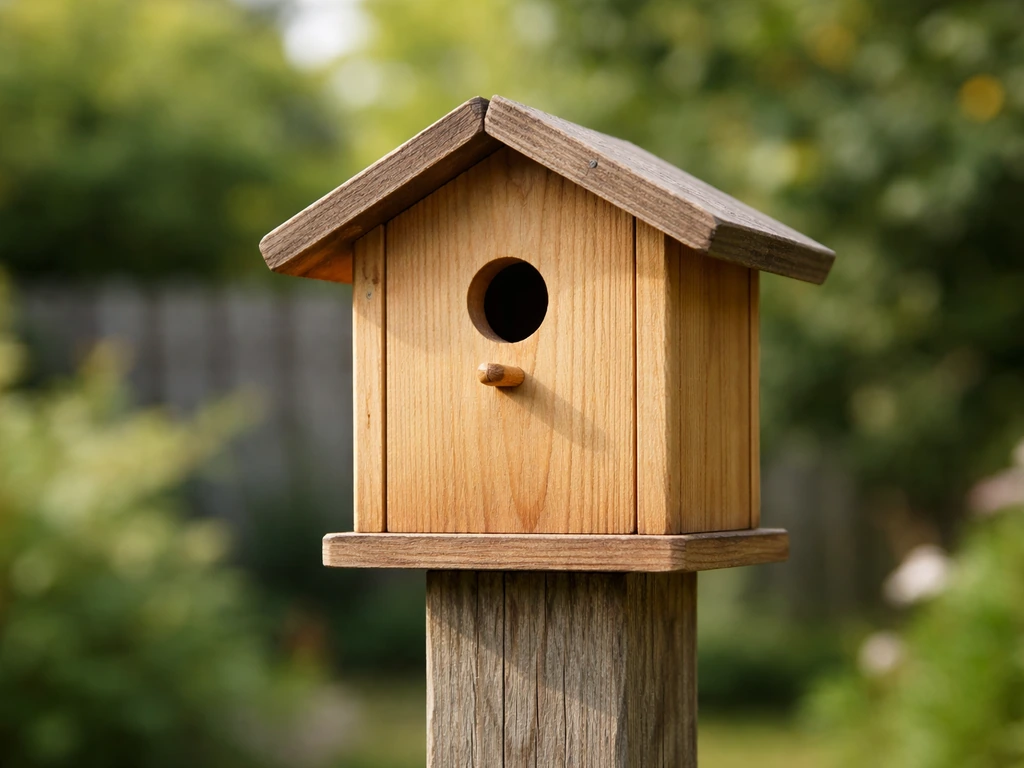
How to Make a Small Bird House: Step-by-Step DIY Guide
Step-by-step plan to build a small birdhouse, choose safe dimensions, cut and assemble, drill entry, ventilate, mount an