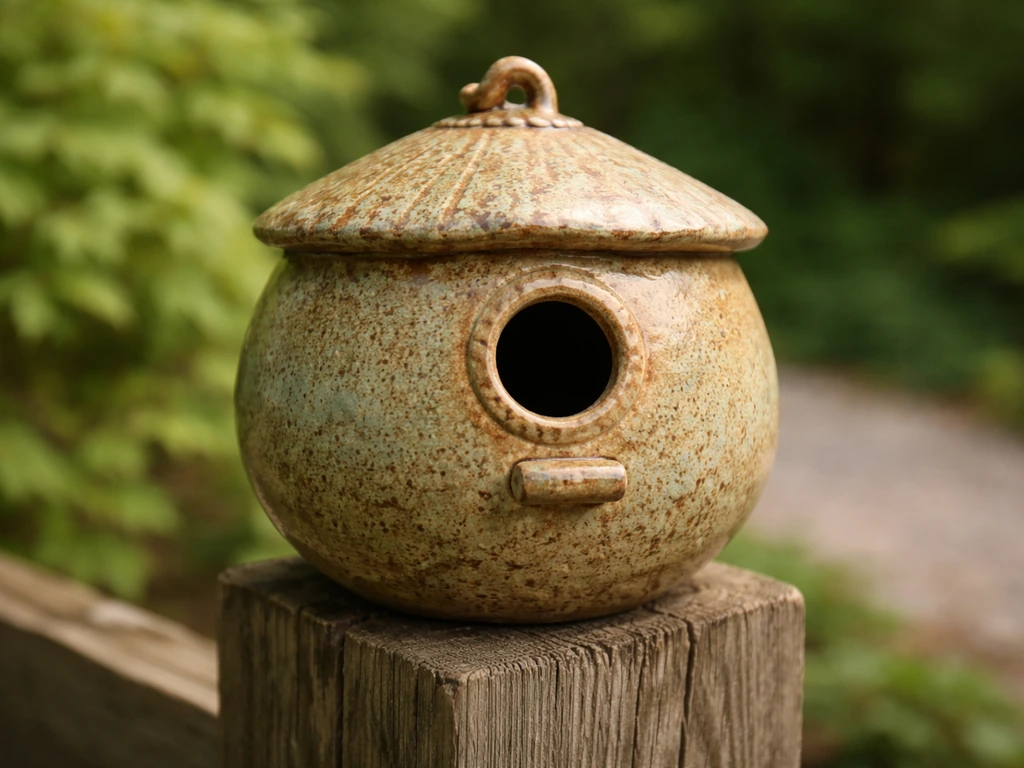
Yes, you can absolutely make a ceramic bird house from scratch, and it's more achievable than most people think. The process combines basic hand-building or wheel-throwing techniques with a few bird-specific design rules (entrance hole size, drainage, ventilation), the right clay and glazes, and some thoughtful placement once it's done. Whether you've touched clay before or not, this guide walks you through the whole thing: design, materials, building, firing, finishing, and mounting. Let's get into it.
Ceramic Bird Houses How to Make a Durable DIY Guide

Marcus Thornton
17 Apr 2026
Choosing the right ceramic bird house design
Before you touch clay, you need a plan that actually works for birds. The biggest mistake I see beginners make is designing a bird house that looks great but ignores the functional details that make birds actually want to use it. The most important of those is entrance hole size. This single measurement determines which species can enter and which predators get blocked.
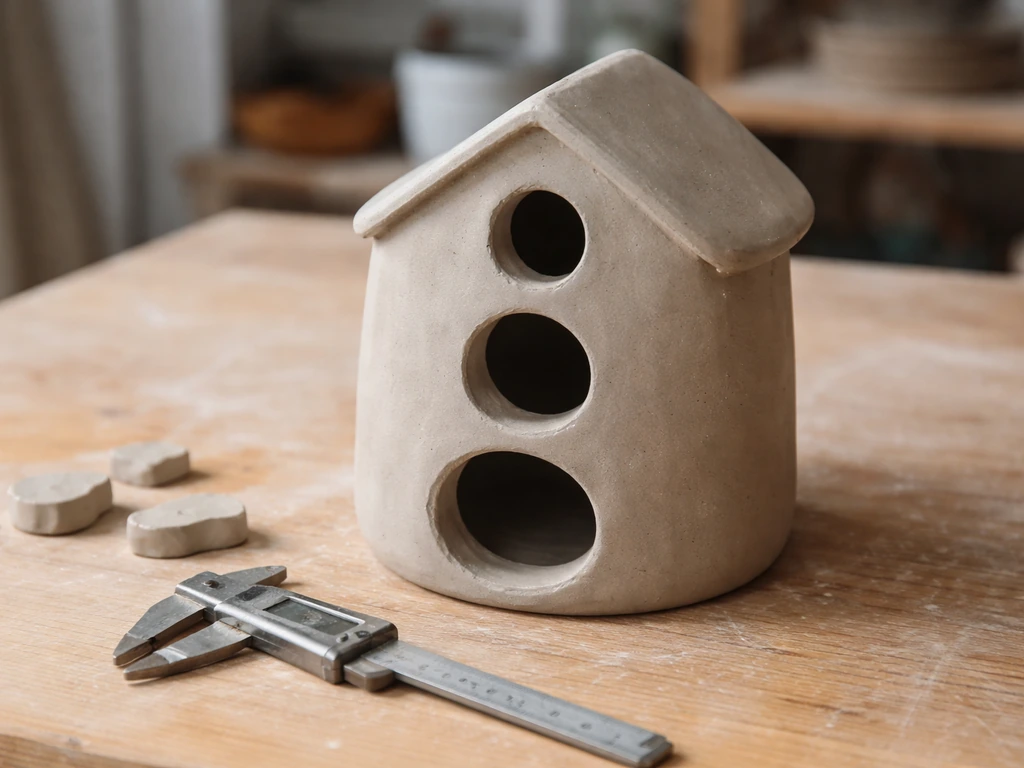
Here are the entrance hole diameters that matter for common backyard species: Eastern Bluebirds need a 1 1/2-inch round hole, Black-capped Chickadees need a 1 1/8-inch round hole, and Carolina Wrens can use either a 1 1/2-inch round hole or a 2 1/2-inch by 5-inch slot entrance. Getting this measurement even a quarter-inch off can either exclude your target species or invite unwanted larger birds and predators. I use a printed paper template when I'm shaping the hole in green (unfired) clay, because clay shrinks during drying and firing, typically 10 to 15 percent depending on your clay body. Always account for shrinkage and check the hole size after bisque firing.
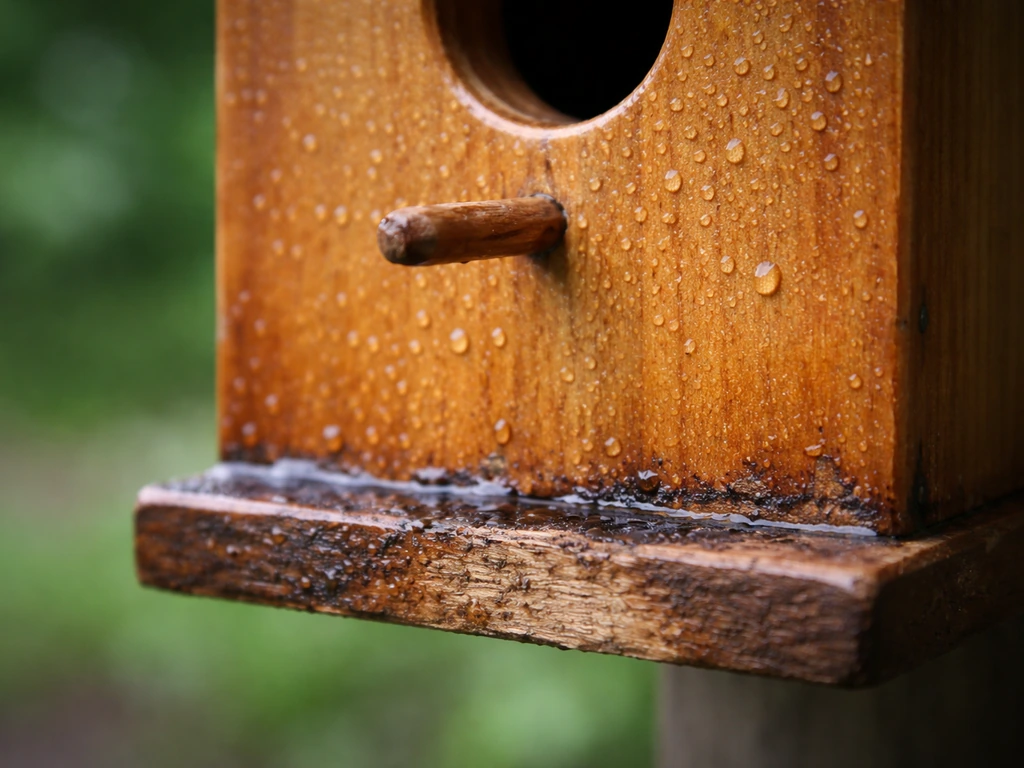
Beyond the entrance hole, your design needs four functional elements built in from the start: drainage holes in the floor (at least four 1/4-inch holes to let rainwater out), ventilation near the top of the side walls (small gaps or holes that allow air circulation without inviting drafts directly onto the nest), a roof with at least a 2-inch overhang to keep rain off the entrance, and a clean-out access panel. That last one is easy to skip in a ceramic design, but it matters enormously for maintenance. I build a small hinged or removable floor slab into my designs so I can clear out old nests between seasons. If a clean-out door feels too complex for a first project, a removable bottom slab held with a friction-fit or a small clay latch works well.
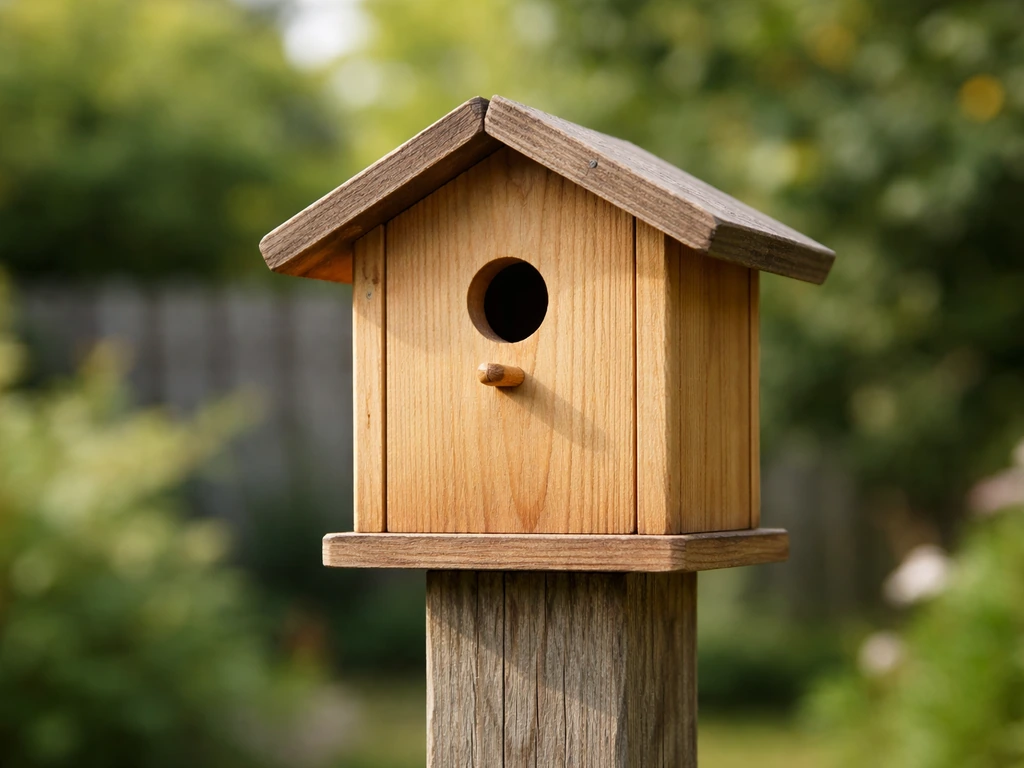
For a first ceramic project, I'd recommend a simple cylindrical or box-shaped design with a separate roof piece. Avoid overly decorative shapes with thin projections or complex undercuts. Those look beautiful in pottery studios, but they crack during firing and they collect moisture in outdoor conditions. Keep the walls at least 1/2 inch thick for insulation and structural strength. If you want to explore how scale affects design choices, making a big bird house covers how to approach larger structures where weight and wall thickness become even more critical.
Materials and tools you'll need
Here's what you actually need to get started. I'll separate the essentials from the nice-to-haves so you can decide what to buy versus borrow.
- Stoneware clay body rated for cone 6 or higher (midfire or highfire): more durable and frost-resistant than earthenware, which matters enormously for an outdoor piece
- A rolling pin or slab roller (a smooth wine bottle works in a pinch)
- A sharp knife or craft knife for cutting clay pieces
- Wooden skewers or a round dowel for forming entrance holes and drainage holes
- A ruler or calipers for measuring hole sizes accurately
- Slip (liquid clay made by mixing scrap clay with water) for joining pieces
- A scoring tool or fork for roughening join surfaces
- Plastic bags or plastic wrap for slow, even drying
- An underglaze or food-safe exterior glaze labeled AP Non-Toxic per ASTM D-4236 (more on this below)
- Access to a kiln: either your own, a community studio, or a local pottery class
On clay bodies: stoneware is your best bet for outdoor durability. It vitrifies (becomes dense and glass-like) at higher temperatures, which makes it much less porous and far more resistant to freeze-thaw cycles than earthenware. Terracotta looks rustic and is cheap, but it absorbs water readily, which leads to cracking after a few winters. If you want the hand-built, earthy aesthetic, use a terracotta-colored stoneware rather than true earthenware.
On glazes: this is where bird safety becomes non-negotiable. Never use glazes that contain lead or cadmium on a bird house. Look for glazes marked as "AP Non-Toxic" conforming to ASTM D-4236, which is the standard used under the Federal Labeling of Hazardous Art Materials Act. Spectrum Glazes and several other manufacturers publish color charts that clearly identify which products are dinnerware-safe and AP Non-Toxic. Stick to those. The FDA has been explicit that lead in inadequately fired ceramics can leach out, and while your birds aren't eating off your pottery, they are sitting on it, breathing near it, and raising chicks in it. There's no good reason to take the risk when safe alternatives are widely available.
Step-by-step process: making a ceramic bird house
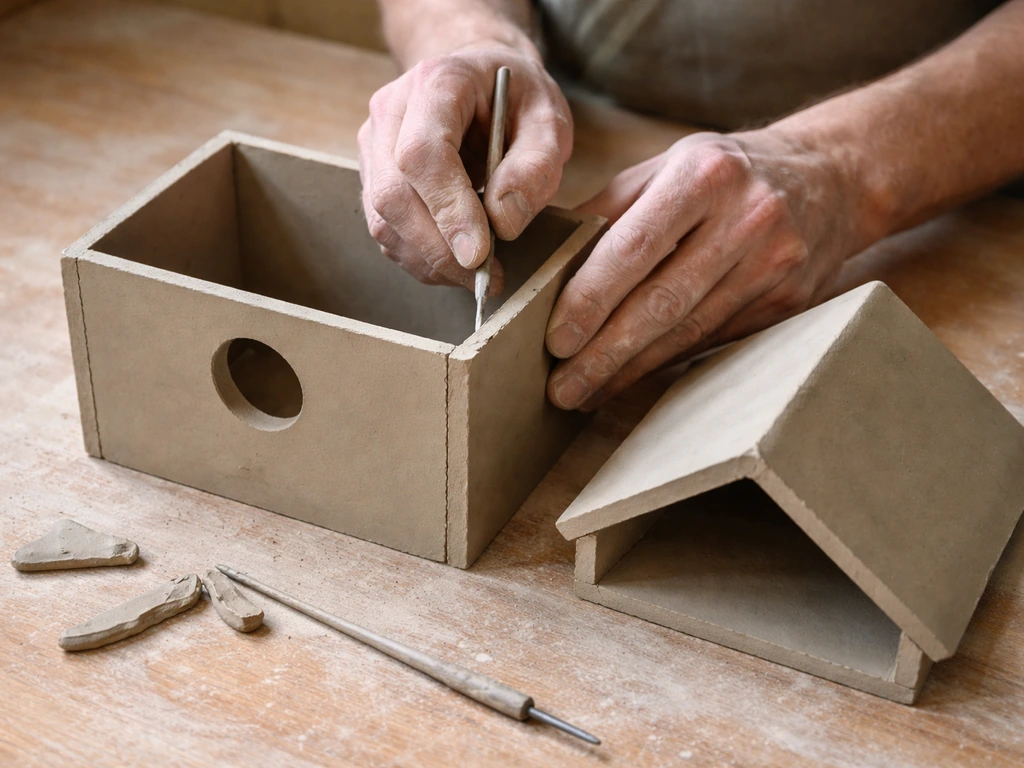
This process is written for a slab-built box-style house, which is the most beginner-friendly approach. You build the walls from flat slabs of clay, join them together, then add a separate roof. Here's the sequence from start to finished greenware, ready to dry.
- Prepare your clay: Wedge your stoneware thoroughly to remove air pockets, which cause explosions in the kiln. Aim for a smooth, consistent texture throughout.
- Roll your slabs: Roll out four wall pieces and one floor piece to a consistent 1/2-inch thickness. Use guide sticks on either side of your rolling pin to maintain even thickness. Cut them to your planned dimensions, remembering that clay will shrink 10 to 15 percent when fired.
- Cut and form the entrance hole: Use your paper template to mark the entrance hole on the front wall before assembly. Cut it out with a knife and smooth the edges. Cut drainage holes in the floor piece now too, while it's flat and easy to work with. Use a 1/4-inch dowel or skewer for drainage holes.
- Add ventilation: Score small rectangular slots or drill small holes near the top edges of the side walls, just below where the roof will sit. These don't need to be large, but they need to exist.
- Score and slip all joining surfaces: Scratch up every surface that will be joined using your scoring tool, then apply slip generously to both sides before pressing together. Unskipped scoring is the most common reason beginner pieces fall apart.
- Assemble the walls and floor: Start with the back wall and floor, then add the side walls, then the front. Press joins firmly and use a small coil of clay smoothed into inside corners to reinforce every joint.
- Build a clean-out access: The simplest approach is to leave the floor as a separate piece that fits snugly inside the bottom of the box and can be removed after firing. Alternatively, build one wall panel as a removable or hinged slab from the start.
- Build the roof: Roll a slab for the roof with at least a 2-inch overhang on all sides. A slight ridge or pitch helps water run off. The roof can be attached permanently or left as a separate fitted piece that sits on top. A separate roof is easier to fire and makes cleaning access simpler.
- Smooth and refine: Go over all exterior surfaces with a damp sponge, smooth any rough edges, and make sure all joins look solid. Check your entrance hole size one more time with a ruler.
- Wrap and dry slowly: This is the step most beginners skip, and it's where most cracks originate. Wrap thinner or projecting parts of your piece loosely in plastic to slow their drying rate so the whole structure dries at an even pace. Let the piece dry completely, which can take several days to a week depending on humidity.
If you want to scale this up or down, the proportions stay essentially the same. For a smaller house aimed at chickadees or wrens, how to make a small bird house has additional guidance on adapting these steps to compact dimensions where wall thickness becomes tricky to manage.
Safety, durability, and making it bird-friendly
A ceramic bird house has to be safe for birds, not just structurally sound. The interior is the most important surface to get right. Leave the inside of the box unglazed or use only a very thin, matte, non-toxic underglaze wash. Glossy interior glazes make it harder for young birds to grip the walls as they work their way up toward the exit hole. The interior walls should have some texture, either from the clay itself or from light scoring marks that give hatchlings something to grab onto.
Avoid painting or glazing the entrance hole rim with thick glaze, which can change the hole's effective diameter after firing and glazing. I've made this mistake on early prototypes: you cut the hole to exactly 1 1/2 inches, apply a thick glaze, and end up with a 1 3/8-inch opening after firing. Measure again after bisque firing and before applying glaze, and keep glaze away from the final 1/4 inch around the hole edge.
Heat is a real concern with ceramic. On hot summer days, dark-glazed ceramic walls can absorb a lot of heat, raising interior temperatures to dangerous levels for chicks. Stick to light-colored or white exterior glazes, or leave the exterior unglazed and sealed with a non-toxic exterior sealant instead. If you do want color, pale earth tones are a good compromise between aesthetics and thermal safety.
If ceramic feels like one approach and you're curious how other unconventional materials compare, how to make stone bird houses explores a similarly durable but fundamentally different construction method, with its own trade-offs around weight and moisture.
Curing, finishing, and weatherproofing
Bisque firing
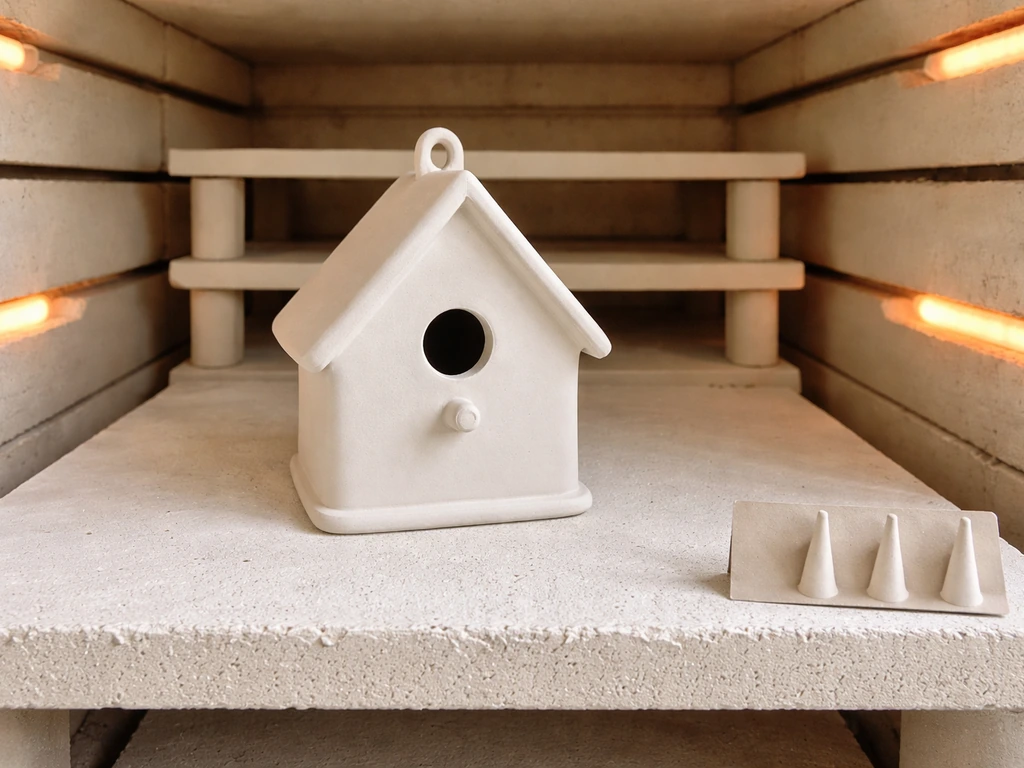
Once your piece is bone dry, it goes into the kiln for bisque firing. Bisque firing typically runs from cone 08 to cone 04, which corresponds to roughly 950 to 1060 degrees Celsius (1740 to 1940 degrees Fahrenheit). At this stage, the clay is hardened but still slightly porous, which is exactly what you want before applying glaze. Fire slowly on the way up, especially through the quartz inversion point around 573 degrees Celsius, to avoid thermal shock cracks.
Glaze firing
After bisque, apply your AP Non-Toxic exterior glaze to the outside surfaces only, keeping the interior matte and unglazed. A common practical range for glaze firing is cone 06 to cone 04, roughly 900 to 1000 degrees Celsius (1652 to 1832 degrees Fahrenheit), though this depends on your specific clay and glaze combination.
Orton explains that pyrometric cones are used to determine when a firing is complete, and that the equivalent temperature depends on the heating rate and cone geometry or behavior (as shown on Orton’s cone chart) Orton’s pyrometric cones are used to determine when a firing is complete.
Follow the manufacturer's recommendations for your glaze product, and don't rush the soak time at peak temperature, since inadequate soak time is a leading cause of pinholes and glaze defects that leave porous patches where moisture can enter. If your studio uses a cone 6 stoneware, fire the glaze accordingly: a general rule of thumb is that glaze firings run roughly two cones cooler than the clay body's maximum maturation temperature.
Weatherproofing without the kiln
If you used a stoneware clay and fired it to full maturation, the piece will be naturally weather-resistant and you may not need additional sealant. If you used a lower-fire clay or want extra protection, apply a non-toxic, water-based exterior sealer to any unglazed surfaces after the final firing. Avoid solvent-based sealers or anything with a strong chemical smell, and let it cure fully (usually 48 to 72 hours) before putting the house up. The roof joint is the most critical area to seal: even a tiny gap there will channel water directly into the nesting cavity.
Mounting and placement for different bird species
Getting the height and orientation right is just as important as the build itself. A beautiful bird house hung in the wrong spot won't attract anything. Here's a quick reference for common species:
| Species | Entrance Hole | Mounting Height | Orientation Notes |
|---|---|---|---|
| Eastern Bluebird | 1 1/2" round | 4–6 feet | Face toward open habitat, away from prevailing wind |
| Black-capped Chickadee | 1 1/8" round | 5–15 feet | Partial shade, near woodland edge |
| Carolina Wren | 1 1/2" round or 2 1/2" x 5" slot | 3–6 feet | Dense shrubs or low cover nearby |
| House Wren | 1 1/8" round | 5–10 feet | Near brushy areas or garden edges |
Mounting height affects predator risk significantly. Mounting boxes lower than 5 feet from the ground makes them much more accessible to climbing and jumping predators like raccoons and cats. Use a smooth metal pole rather than a wooden post where possible, and install a baffle (predator guard) on the pole before you put the box up. That sequencing matters: the guard needs to be on the pole before the box is attached, not added as an afterthought. A baffle won't make the house 100 percent predator-proof, but it dramatically reduces risk.
Ceramic houses are heavier than wooden ones, so mounting hardware needs to account for that weight. Use a stainless steel mounting bracket or a threaded rod through the base of the house secured with a nut on the inside. Drill your mounting hole into the back wall of the house before firing, since you can't drill fired stoneware easily without a diamond-tipped bit.
Orient the entrance hole away from prevailing winds and direct afternoon sun for most species. In the northern hemisphere, a north or east-facing entrance is usually the safest default. For bluebirds specifically, the entrance should face toward open habitat such as a lawn or meadow, giving fledglings a clear flight path on their first exit.
Troubleshooting common DIY ceramic bird house problems
Cracks appearing during drying or firing
This is the most common issue, and the fix is almost always slower drying. Thin sections and thick sections dry at different rates, and that differential tension is what causes cracks. Wrap any thinner parts (like the roof overhang or the walls near the entrance hole) with plastic to slow them down and let the whole piece equalize. If cracks appear at joins, the most likely culprit is insufficient scoring and slipping before assembly. Cracks in bisque that aren't structural can sometimes be repaired with slip before glaze firing, but cracks that go through the wall are best addressed by rebuilding that section in the greenware stage.
Entrance hole ends up the wrong size
Remember shrinkage. If your target is 1 1/2 inches and your clay shrinks 12 percent, cut the hole at about 1 11/16 inches in the greenware stage. After bisque, measure the actual hole and adjust your glaze application to avoid further reduction. If the hole fires too small for your target species, you can carefully enlarge it with a diamond-tipped rotary bit, though this is tedious on hard stoneware. If it fires too large, you can build up the rim slightly with a thin coil of clay and low-fire it in a second bisque pass, though this is an imperfect fix.
Water pooling inside the house
If water is getting in and sitting, check three things: your drainage holes (are they actually open after firing, or did glaze seal them?), your roof overhang (is it wide enough to shed rain away from the entrance?), and your mounting angle (a very slight forward tilt of the whole box helps water drain out through the floor holes). Drainage holes sealed by glaze can be cleared with a diamond drill bit. A 1/4-inch drill makes quick work of it.
Glaze pinholes or rough patches on the exterior
Pinholes in glaze are usually caused by firing too fast through the mid-range or not holding temperature long enough at peak. They leave tiny craters that trap moisture and eventually cause cracking over winter. A second thin coat of glaze and a second glaze firing can often fix this. Make sure your bisque surface is completely clean and dust-free before applying glaze, since contamination is another common pinhole cause.
Birds not using the house
If you've had the house up for a full season with no takers, work through this checklist: Is the entrance hole the right size for local species? Is it mounted at the correct height? Is there suitable habitat nearby? Are there competing nest boxes or natural cavities close by?
Is the interior too smooth for birds to grip? Sometimes it's simply timing: cavity-nesting birds scout for sites in late winter and early spring, so a house put up in summer might sit empty until the following season. Clean it out before nesting season each year, which is both a hygiene requirement and a signal to scouts that the space is available.
For a different approach to bird house construction that also covers placement principles, how to make felted bird houses walks through another material with its own distinct installation considerations worth comparing.
Making a ceramic bird house takes more steps than a simple wooden box, but the durability and aesthetic payoff is real. A well-fired stoneware house can last decades outdoors. Get the entrance hole right for your target species, use non-toxic glazes, fire it properly, mount it at the correct height with a predator guard, and clean it out each season. Do those five things and you've built something birds will genuinely use.
FAQ
Can I make a ceramic bird house with only a kilnless “air-dry clay” approach?
No. Air-dry clay does not vitrify like fired stoneware, so it stays porous and can crumble or crack outdoors. For durability and safe glazing, use clay that will be fired (bisque and glaze firings) in a kiln.
How do I choose the right entrance size if I am not sure which bird species will nest nearby?
If you want a broader “backyard” target, avoid slot openings and oversized round holes. Instead, pick one bird you actively want and match that species’ diameter closely, then place the house in suitable habitat. When uncertain, prioritize correct entrance sizing over fancy features, since a slightly wrong hole can invite unwanted competitors.
Should the whole inside be matte, or is an unglazed clay interior enough?
An unglazed interior is usually best because it provides natural grip for fledglings. If you glaze at all inside, keep it extremely thin and matte, and test it on a small scrap first to confirm it does not become slippery after firing.
Is it safe to use exterior glaze on the roof only, leaving the rest unglazed?
Often yes for weather protection, but make sure any unglazed areas are sealed with a non-toxic water-based exterior sealer if your clay is lower-fire or not fully matured. The roof joint is still the critical failure point, so seal gaps carefully regardless of which surfaces are glazed.
What’s the best way to prevent glaze from accidentally sealing the drainage holes?
Before glazing, confirm the drainage holes are fully open after bisque, then use careful masking or controlled application so glaze stays on exterior faces. After glaze firing, re-check each hole, and clear any blocked ones promptly with a diamond-tipped drill.
How can I test whether my interior glaze is too slippery before I build the full house?
Fire a small sample tile or test wall section with the same interior finish you plan to use, then try to simulate grip by lightly pulling with a fabric strip or using a similar texture to what young birds would contact. If it feels slick under hand pressure, switch to unglazed or matte underglaze only.
My house has a lot of decorative ridges, could that still work if I keep the walls thick?
It may fail outdoors. Thin projections, sharp undercuts, and moisture-catching details are more likely to crack during firing or trap water after rain. For ceramic bird houses, prioritize simple geometry with limited external texture, especially around the roof area and entrance vicinity.
How do I drill a mounting hole if I forgot to add it before firing?
It will be difficult without the right tools. Stoneware usually needs a diamond-tipped bit for drilling after firing, and uneven drilling can create micro-cracks. The safer approach is to drill the mounting hole into the back wall in greenware, before firing, exactly as planned.
Do I need a ventilation opening if the roof overhang already blocks rain?
Yes, ventilation is still important. Drainage and rain protection do not replace airflow needs. Add small ventilation gaps near the top of the side walls so air can circulate without blowing directly into the nest area.
What should I do if my fired entrance hole is slightly too small for my target species?
You can sometimes carefully enlarge it using a diamond-tipped rotary bit, then smooth the rim. If it is only slightly under, enlargement is usually better than trying to “fill” with thick glaze, since thick buildup can create an oversized or weak rim that changes grip and diameter.
What’s the correct yearly maintenance routine for a ceramic bird house?
After the nesting season, remove old nesting material and clean the interior so it stays inviting for next-season scouts. Also inspect drainage holes, the roof joint, and the entrance area for cracks or sealed openings, since winter moisture can expose small issues over time.
Where should I mount the house to reduce heat buildup on ceramic in hot climates?
Use light-colored or unglazed exterior surfaces to limit heat absorption, and orient the entrance to avoid strong afternoon sun when possible. If your yard gets intense direct sun, consider positioning so the majority of the exterior does not radiate heat into the entrance line during peak hours.
Next Articles
How to Make a Small Bird House: Step-by-Step DIY Guide
Step-by-step plan to build a small birdhouse, choose safe dimensions, cut and assemble, drill entry, ventilate, mount an

How to Build a Chimney Swift Bird House DIY Guide
Step-by-step DIY plans to build a chimney swift bird house, with correct dimensions, placement, and weatherproofing for

How to Build an Oriole Bird House: Step-by-Step DIY
Step-by-step DIY for building an oriole bird house with right dimensions, weatherproofing, predator-safe placement, and