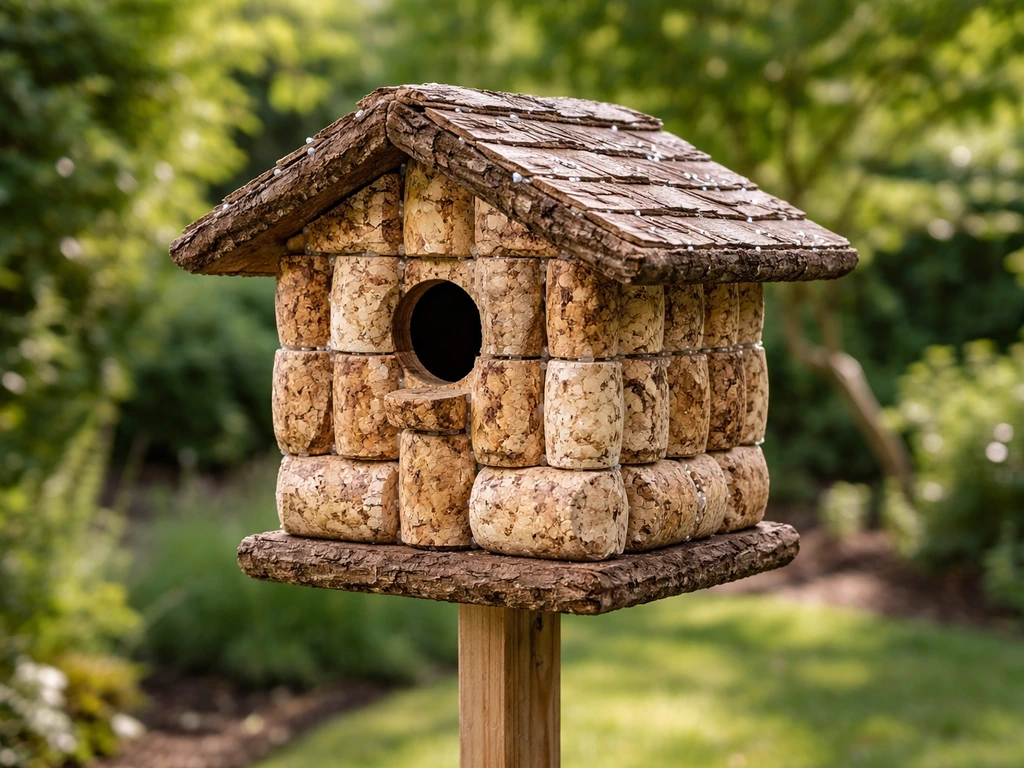
You can absolutely make a functional, bird-safe birdhouse out of wine corks, but the corks are the cladding, not the structure. The key is building a solid wooden frame first, then attaching corks as a mosaic-style exterior shell. Done right, you end up with a genuinely attractive nesting box that's well-insulated, uses materials you'd otherwise toss, and can house small cavity-nesting birds like house wrens, chickadees, and nuthatches. It takes a weekend, a few basic tools, and a collection of around 100 to 150 corks depending on your design. If you want a different look and easier-to-find materials, you can also learn how to make bird houses out of PVC pipe.
How to Make a Bird House Out of Wine Corks: DIY Guide

Marcus Thornton
16 May 2026
What you'll need before you start
One thing I learned the hard way is that gathering your materials before you start saves a ton of frustration mid-build. Here's everything you need for a standard wine cork birdhouse sized for small songbirds.
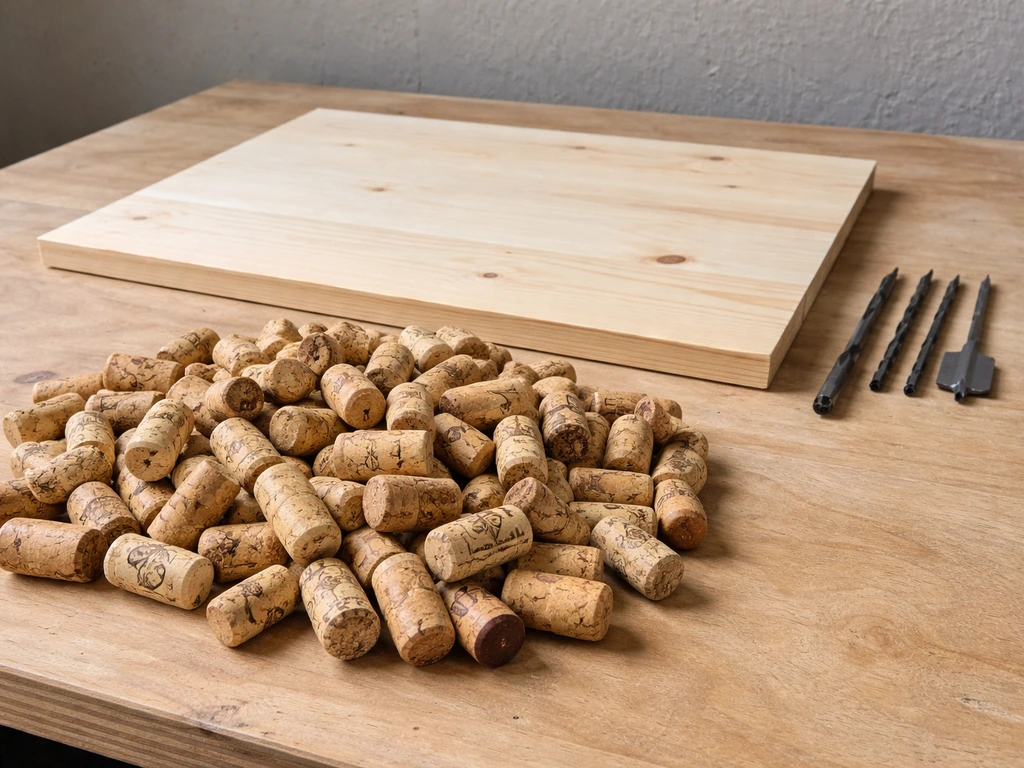
Materials
- 100 to 150 natural wine corks (not plastic or synthetic — more on why below)
- One piece of untreated cedar, pine, or plywood, approximately 12 in x 48 in x 3/4 in thick (enough to cut all panels)
- Waterproof wood glue (Titebond III or equivalent)
- Bird-safe adhesive for attaching corks: 100% silicone caulk (clear, no fungicide added) or heavy-duty construction adhesive rated non-toxic when cured
- Stainless steel or galvanized screws, 1 1/4 in and 1 5/8 in lengths
- Small finishing nails or brad nails (optional, for extra cork grip)
- Copper or galvanized wire (14 or 16 gauge) if hanging rather than mounting to a post
- Sandpaper, 80-grit and 120-grit
Tools
- Drill with bits: 1/8 in for pilot holes, 3/8 in for ventilation/drainage holes, and a spade or Forstner bit sized to your target species (1 1/8 in for chickadees, 1 1/4 in for wrens)
- Jigsaw or circular saw (or ask your hardware store to make cuts)
- Speed square or carpenter's square
- Clamps (even four basic spring clamps help)
- Sharp utility knife or sharp serrated knife for cutting corks
- Cutting board
- Tape measure and pencil
- Optional: small rubber mallet for pressing corks firmly into place
If you don't own a drill, borrow one. That's the one non-negotiable tool here. Everything else has workarounds, but you cannot safely cut or chisel a precise entrance hole without a proper drill bit.
Getting the design right before you cut anything
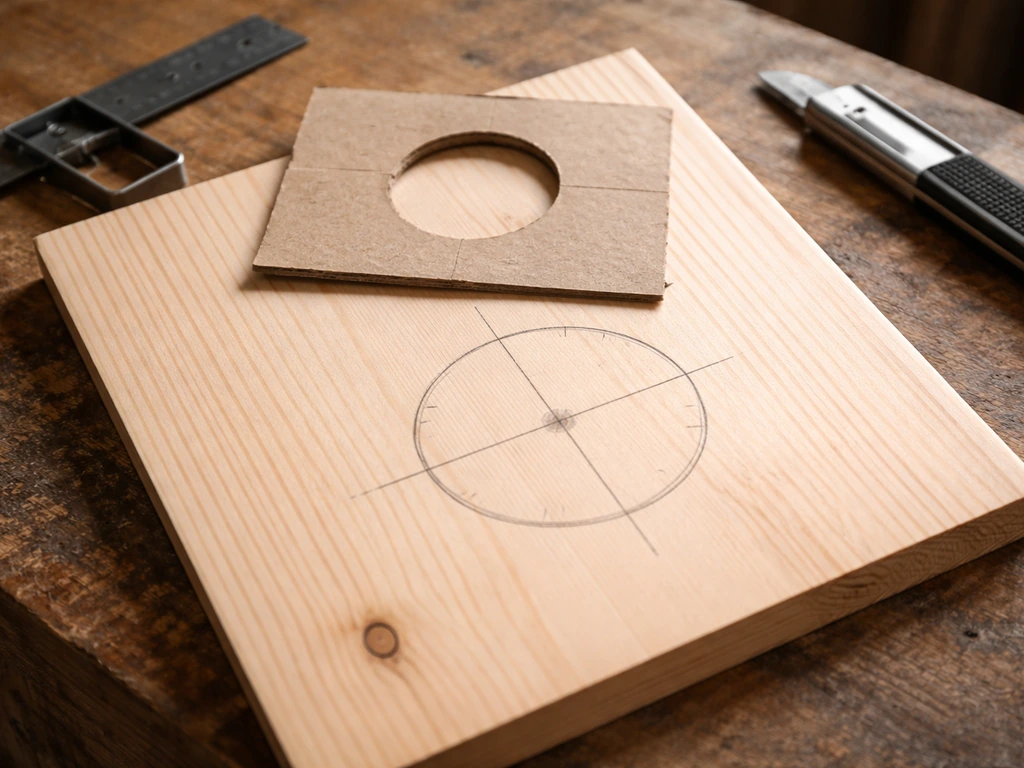
The most common mistake beginners make with any birdhouse, cork-based or otherwise, is skipping the design phase and discovering the entrance hole is the wrong size or in the wrong place after everything is glued up. Spend ten minutes here and it'll save you from rebuilding.
Entrance hole size and placement
Entrance hole diameter is the single most important spec because it determines which species can use the box and which predators can reach inside. For house wrens, drill a 1 1/4 in diameter hole placed about 6 inches above the floor (measured to the top of the hole). [For black-capped or Carolina chickadees, use 1 1/8 in diameter](https://www. reference.
com/pets-animals/nest-box-entrance-diameters-species-based-hole-size-chart), that extra 1/8 inch difference really does matter because it can let larger, competing birds like house sparrows move in. If you want to attract eastern bluebirds, you'd need a 1 1/2 in hole, but a cork-sided box is harder to maintain for bluebirds (they prefer boxes you can easily open for monitoring), so wrens and chickadees are better target species for this build.
Interior floor size and box height
For wrens and chickadees, a floor area of roughly 4 in x 4 in works well. The interior height from floor to the bottom of the entrance hole should be at least 5 to 6 inches so hatchlings can't accidentally tumble out early. Total box height (inside) of about 8 to 10 inches is a good target. Keep these dimensions in mind when cutting your wooden panels.
Roof, drainage, and ventilation
The roof needs a genuine overhang to keep rain away from the entrance hole. A 2-inch overhang on each side is the recommended minimum, and going 3 to 4 inches at the front is even better since that's where water runs directly toward the entrance. Slope the roof at least 15 to 20 degrees so water sheds off rather than pooling. For drainage, drill two to four 3/8 in holes through the floor panel.
For ventilation, drill two 3/8 in holes near the top of each side wall, just under the roofline, so hot air can escape in summer. A bluebird nest box plan example recommends drilling ventilation holes near the top and drainage holes in the floor, plus planning for an overhang to protect against rain drilling ventilation holes near the top and drainage holes in the floor, plus an overhang to protect against rain.
These gaps also prevent the moisture buildup that causes mold, which is a real concern in a cork-covered box if you skip this step.
Preparing your wine corks
Don't skip cork prep. Corks from wine bottles collect tannins, mold spores, and sometimes bits of wax from the bottle lip. Putting uncleaned corks on a birdhouse just invites mold problems down the road.
Cleaning and drying
Soak your corks in a solution of one part white vinegar to four parts warm water for 20 to 30 minutes. Vinegar kills surface mold and bacteria without leaving chemical residue that could harm birds. Give them a rinse, then lay them out on a towel in a well-ventilated spot for at least 24 to 48 hours until they are completely dry. Putting damp corks on a wooden structure is one of the fastest ways to grow mold under the surface where you can't see it.
Sorting and cutting
Sort your corks into groups by diameter and length. Most standard wine corks are about 3/4 in in diameter and 1 3/4 in long, but you'll find variation, especially if you've mixed bottle types. Consistent sizing makes gluing much easier.
For large flat areas like the side walls, you can use corks cut lengthwise in half, this gives you a flat gluing surface on one side and a rounded, textured surface on the other, which looks great and lays much flatter against the wood. Use a sharp serrated knife (a bread knife works perfectly) on a cutting board. Hold the cork firmly, and use a slow sawing motion rather than pressing straight down.
Cut toward a dedicated cutting board, never toward your hand. For the roof, whole uncut corks arranged in rows look striking and add extra insulation.
A note on synthetic corks
Synthetic (plastic) corks don't absorb glue as well as natural cork, they can off-gas in heat, and they don't have the same insulating quality. If you have a mix, save the synthetic ones for decorative projects and use only natural cork on the birdhouse.
Building it: frame first, then corks
Step 1: Cut your wooden panels
From your piece of 3/4 in untreated wood, cut the following panels: a front piece (about 8 in wide x 10 in tall), a back piece (same dimensions), two side pieces (4 in wide x 9 in tall with the top edge angled to match your roof slope), a floor (4 in x 4 in with corners clipped or holes drilled for drainage), and a roof panel (roughly 8 in x 9 in, larger if you want more overhang). Sand all cut edges with 80-grit paper.
Step 2: Drill holes before assembly
Drill your entrance hole in the front panel first, before anything is glued together, it's much harder to control a drill bit on an assembled box. Mark the center of the hole at about 7 to 8 inches up from the bottom of the front panel. Drill your 3/8 in ventilation holes near the tops of both side panels, and drill four 3/8 in drainage holes in the floor. If you plan to hang the box with wire, also pre-drill a hole through the top of the back panel.
Step 3: Assemble the wooden frame
Apply waterproof wood glue to the joints and secure with screws. The assembly order that works best: attach the two side panels to the back panel first, then attach the floor, and finally attach the front panel. Leave the roof unglued or attach it with a single pivot screw on each side so you can open the box for cleaning. Clamp everything while the glue sets (30 to 60 minutes for most waterproof wood glues, though full cure takes longer). Check all corners with a square, a racked box will have gaps that let water in.
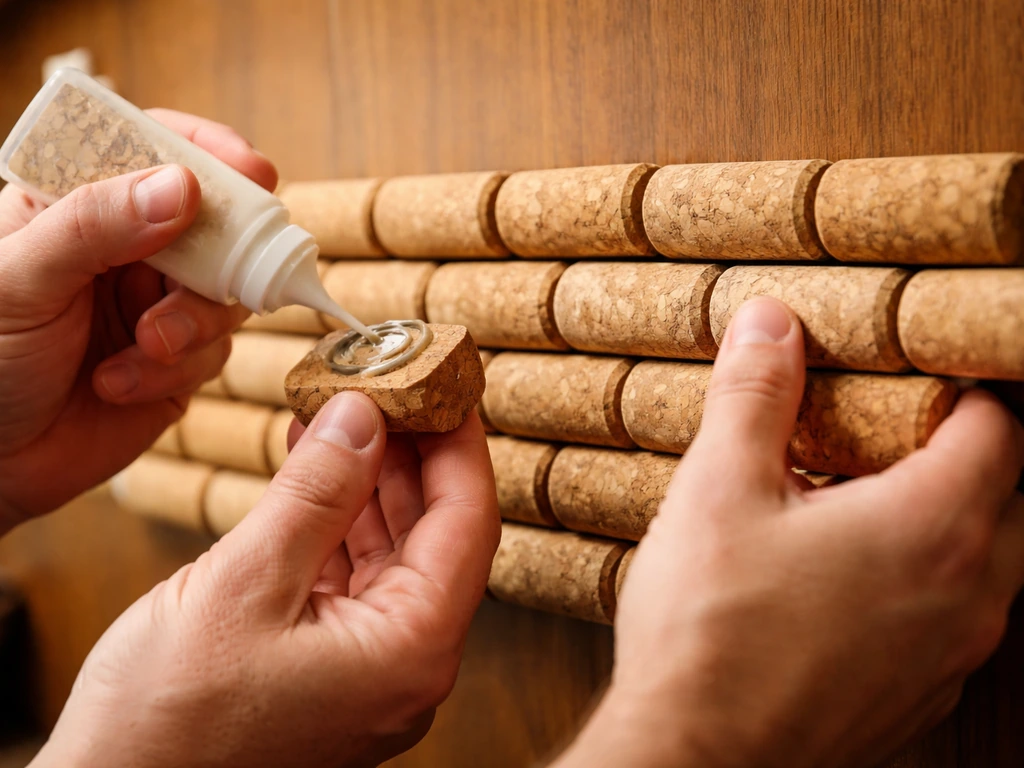
Step 4: Attach the corks
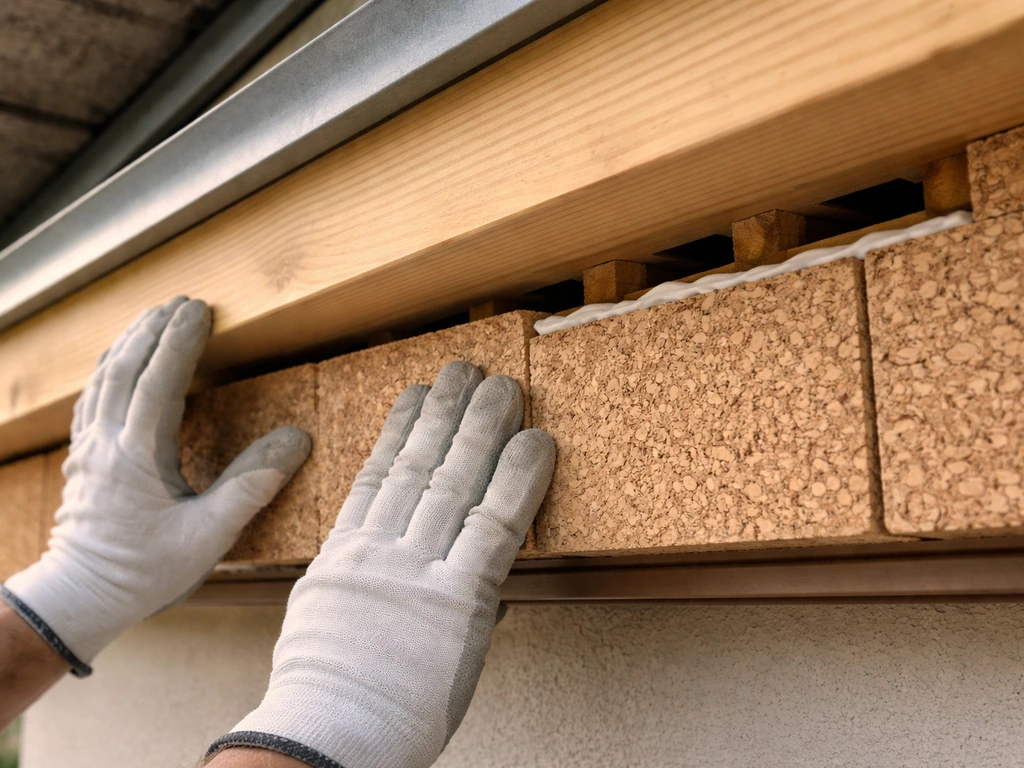
Start from the bottom of each wall panel and work upward in rows, like laying tile. Apply a generous bead of your bird-safe adhesive to the flat cut face of each cork and press it firmly against the wood. On the front panel, work around the entrance hole carefully, you want corks right up to the hole's edge, so measure and trim corks to fit snugly alongside it. A small brad nail through the center of a few key corks (especially at corners and around the entrance hole) adds mechanical reinforcement to the adhesive bond. Let the full assembly cure for 24 hours before handling, and 48 hours before outdoor exposure.
Step 5: Add the roof corks
Whole uncut corks glued to the roof in tight rows look fantastic and genuinely shed light rain. Run the rows perpendicular to the slope so water flows between them and off the edge rather than pooling. Make sure no cork row overhangs the ventilation holes on the sides, you want airflow, not a cork plug blocking it.
Keeping it safe for birds: adhesives, finishes, and mold
This is the section most DIY guides gloss over, and it matters more than almost anything else on the build. Birds are sensitive to fumes and chemical residues in ways that aren't always obvious.
Choosing bird-safe adhesives
100% silicone caulk (the type sold for aquariums is the gold standard, if it's safe for fish tanks, it's safe for birds) works well and stays flexible so it won't crack with seasonal expansion. Construction adhesives like Loctite PL Premium or Gorilla Construction Adhesive are generally considered safe once fully cured, but cure time matters: let the assembled box off-gas in a well-ventilated area for at least 72 hours after assembly, ideally a full week, before placing it near birds. Never use contact cement, spray adhesives, or any glue labeled with warnings about fumes in enclosed spaces.
What to use (and not use) as a finish
The cork exterior provides natural weather resistance, but the exposed wooden frame edges and the back panel benefit from a protective finish. Use linseed oil (raw, not boiled, boiled linseed oil contains metallic driers that are toxic to birds), or a water-based exterior stain on any exposed wood only. Never paint or seal the interior of the box: birds need the natural wood texture to help hatchlings grip the walls when climbing toward the exit. Don't apply any finish over the corks themselves, the porous cork naturally handles moisture without additional sealants, and adding lacquer or varnish traps moisture underneath.
Preventing mold and rot
Mold in a cork birdhouse is almost always a ventilation problem. Make sure your 3/8 in side ventilation holes are open and not blocked by corks. The sloped roof and overhangs prevent most water intrusion. If you live in a very wet climate, consider a thin layer of caulk along the top edge where the roof meets the side walls on the outside, but leave the ventilation holes clear. Using cedar rather than pine for the base box also helps, since cedar has natural rot-resistance.
Mounting, placement, and when to put it up
Even the best-built birdhouse will sit empty if it's in the wrong spot. Placement is where a lot of effort gets wasted.
Height and orientation
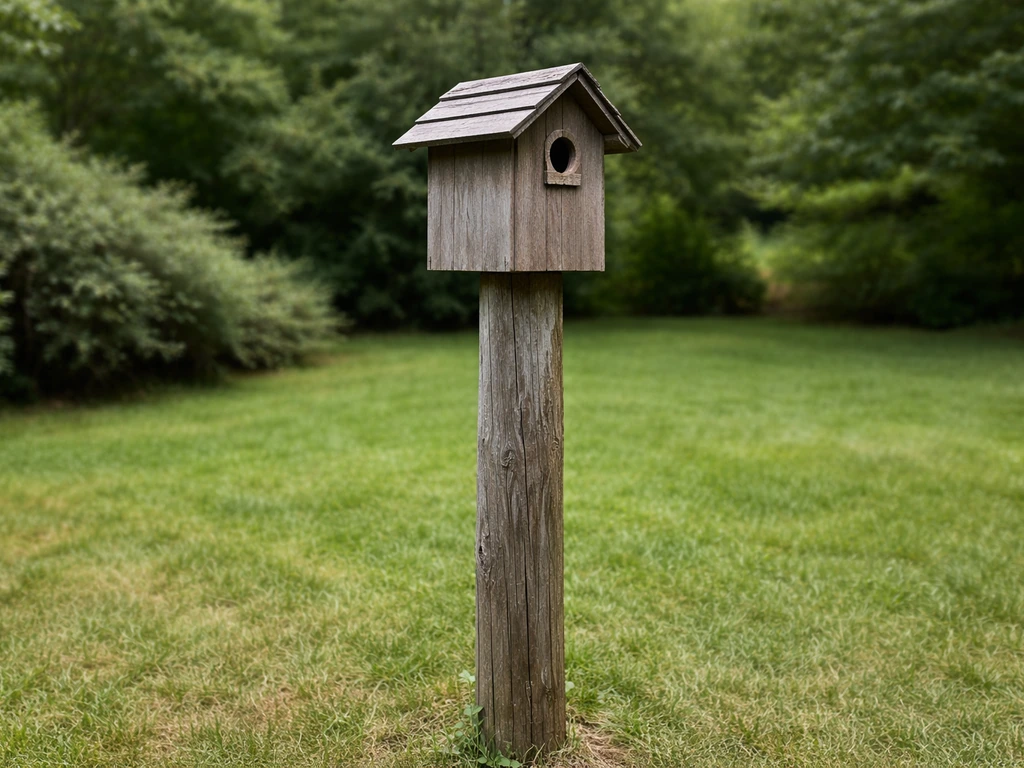
Mount the box 5 to 10 feet above the ground for wrens and chickadees, lower than you might expect, but these birds are comfortable at eye level and below the treeline. Face the entrance hole away from the direction of your prevailing wind and direct afternoon sun. In most of North America that means orienting the entrance hole roughly east or southeast, which gives morning sun (birds like warmth early in the day) without the harsh afternoon heat that can overheat a box.
Where to mount it
A wooden fence post, a dedicated metal pole, or the side of a garden shed all work. Avoid mounting directly to a living tree trunk if you can, bark expands and the mount loosens over time. If you're using wire to hang it, run 14-gauge galvanized wire through the pre-drilled hole in the back panel and twist the ends securely. A hung box will sway in wind, which some birds tolerate but others find unsettling, a pole or screw-mounted box is more stable and generally attracts nesting birds faster.
Predator protection
A predator guard is worth adding if cats, raccoons, or squirrels are present in your yard. A simple metal baffle on the mounting pole is the most effective option. You can also add a wooden "portal" or entrance hole extender, a 3/4 in thick block of wood with the same hole diameter glued to the front of the entrance, which makes it harder for a predator to reach inside with a paw. For a cork house, this block blends in naturally if you wrap it in corks too.
Timing: when to put the box out
Put your box up in late winter or very early spring, ideally February or March in most of North America, before birds start actively scouting nesting sites. If you miss that window, put it up anyway. Wrens in particular will investigate and sometimes use boxes mid-season, and at minimum you'll have it ready for next year. Avoid putting up a freshly glued box immediately: remember that 72-hour to one-week off-gassing period before outdoor placement.
Maintenance, cleaning, and repairing your cork birdhouse
A well-built cork birdhouse should last several seasons with basic care. The corks themselves are durable, but the adhesive joints between corks and wood are the weak point over time.
Annual cleaning
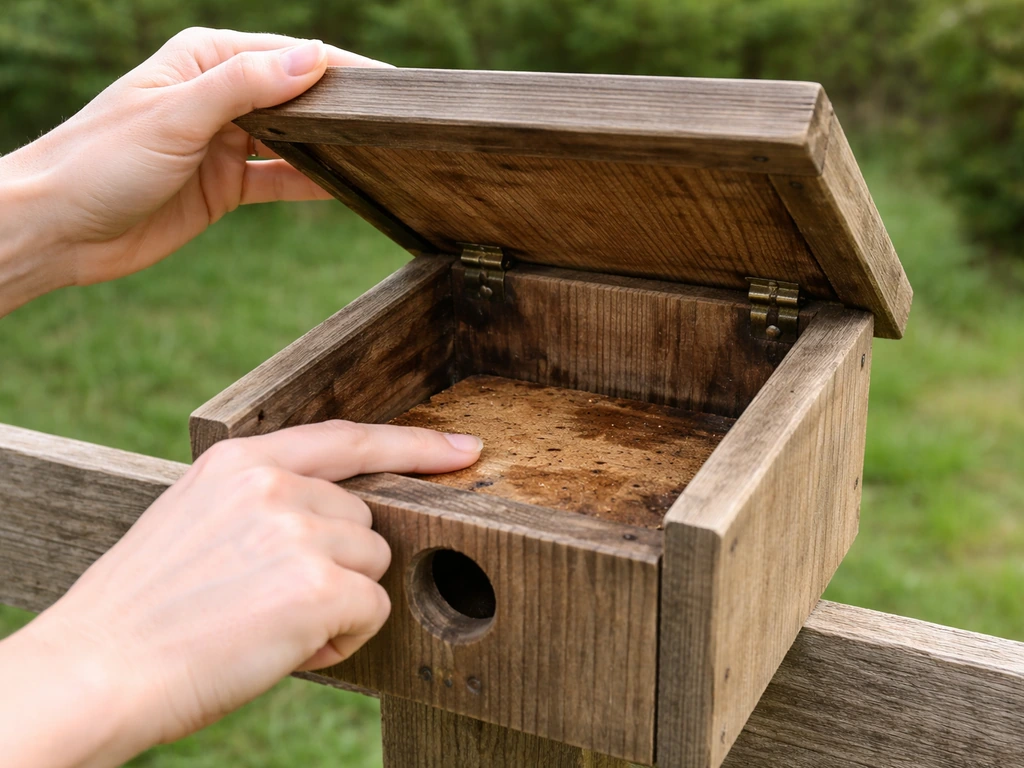
Clean the box out once per year, after the nesting season ends, typically in September or October in most of North America. Open the roof (which is why a hinged or pivot-screw roof is worth building), remove old nest material completely, and scrub the interior with a stiff brush and a diluted white vinegar solution (same 1:4 ratio as your cork cleaning soak). Rinse and let the box dry completely in the sun before closing it up. Never use bleach inside a birdhouse, the residue is harmful to birds.
Inspecting and replacing corks
During your annual cleaning, press on each cork from the outside. Any that flex noticeably or feel soft have lost their adhesive bond. Pry them off with a putty knife, sand the spot down to bare wood, and re-glue a new cork using the same adhesive you used originally. Individual cork replacement is quick and keeps the overall structure sound without a full rebuild. Check the corks around the entrance hole especially, those take the most weather exposure and physical contact from birds landing and entering.
Checking for moisture damage
Probe the floor and lower corners of the interior wood with a screwdriver tip each fall. Soft spots mean moisture has gotten in, usually through a failed caulk joint or a cracked floor. Replace rotted sections of wood before the next nesting season. A box with a compromised floor is unsafe for eggs and nestlings. If you used cedar originally, these repairs will be infrequent, but if you built with regular pine, expect to replace the floor panel every three to five years in wet climates.
Seasonal storage considerations
In very cold climates, you can leave the box up year-round, birds sometimes use nest boxes for winter roosting. If you do bring it inside for winter, store it somewhere dry (not a damp basement) to prevent mold from setting in during the off-season. A garage shelf or covered porch is fine.
Which birds will actually use it, and honest expectations
House wrens and chickadees (black-capped, Carolina, and mountain) are the most realistic target species for a cork birdhouse of this size and construction. Both are comfortable nesting in creative, non-traditional structures, and both are widespread across North America. Nuthatches and downy woodpeckers are also possibilities with the right entrance hole size. Bluebirds are a tougher sell: they strongly prefer open, smooth wood interiors and tend to avoid boxes with unusual exterior textures. If bluebirds are your primary goal, a simple cedar box built to North American Bluebird Society specs (1 1/2 in hole for eastern bluebirds) will outperform a cork-sided design.
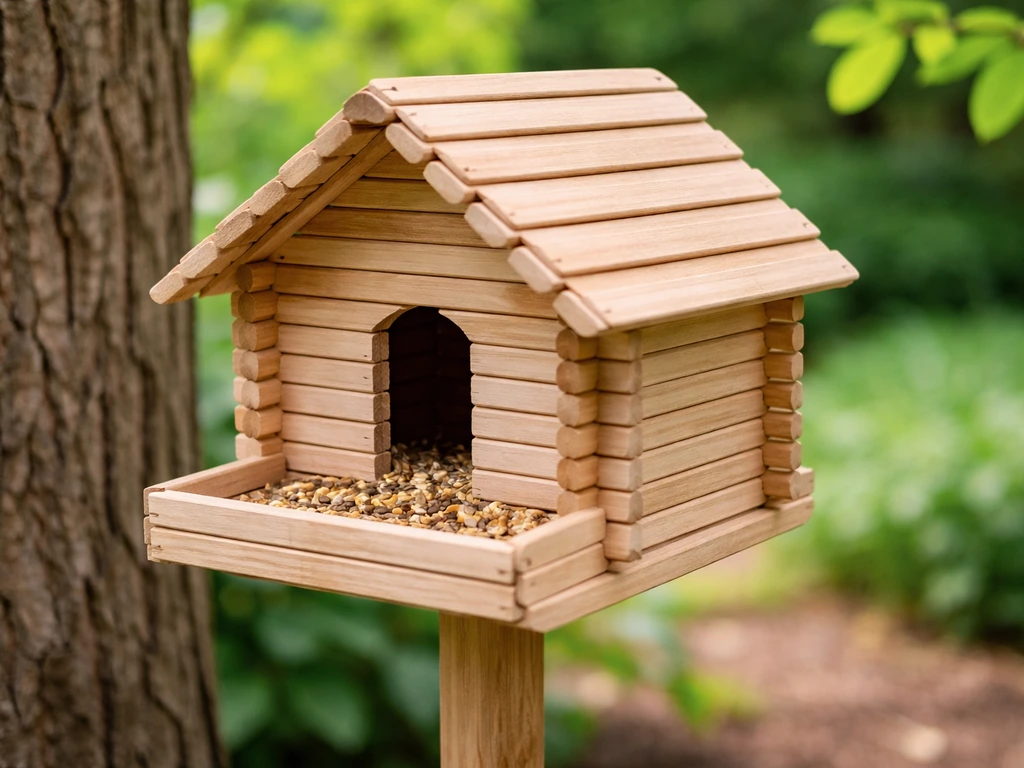
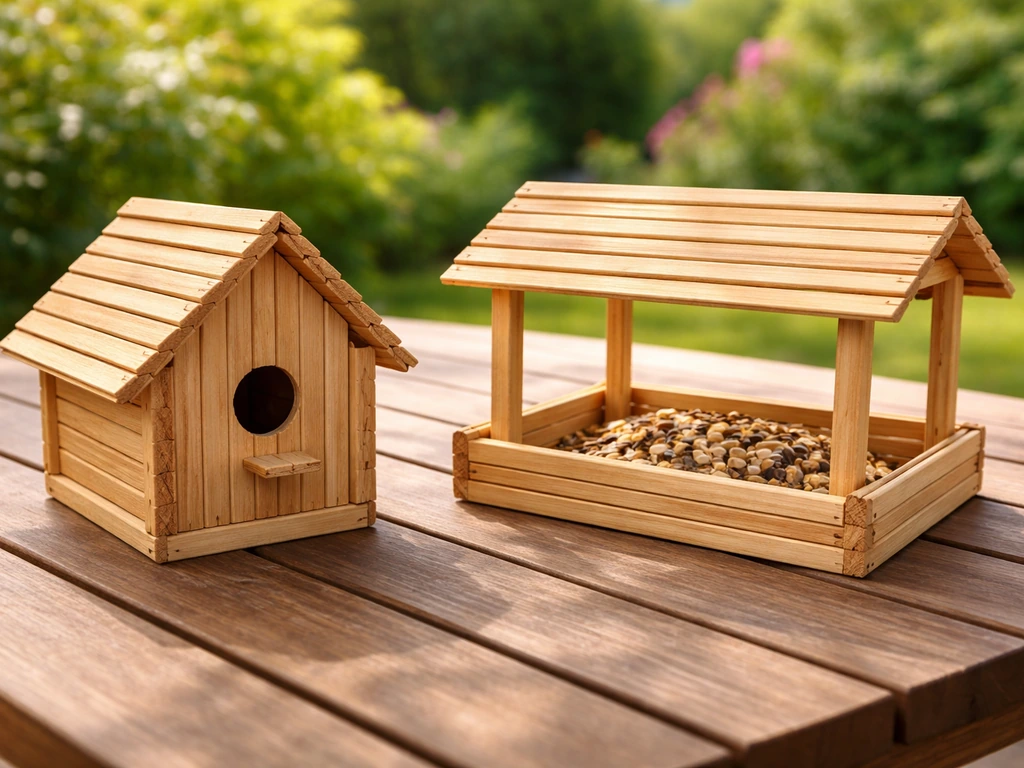
Cork birdhouses also differ from solid wood in one important way: they're harder to modify if something goes wrong. Popsicle stick or pallet wood birdhouses are easier to take apart and adjust. Popsicle stick or ice cream stick birdhouses follow the same basics for entrance hole sizing, ventilation, and safe materials so you can adapt the design to a craft stick build.
If you want a different style, you can also make bird houses from pallets using similar placement and entrance-hole sizing guidelines Popsicle stick or pallet wood birdhouses. If you prefer the simpler popsicle stick version, the same bird-safety basics like proper ventilation and correct entrance size still apply Popsicle stick or pallet wood birdhouses. If you find yourself wanting to experiment with more flexible construction, those builds are worth exploring alongside this one.
The cork version shines as a display piece that doubles as a functional nesting box, it's genuinely attractive, meaningfully insulated, and uses materials most people have in quantity without spending anything.
| Feature | Cork Birdhouse | Solid Cedar Box | Milk Carton / Recycled Container |
|---|---|---|---|
| Best target species | Wrens, chickadees | Bluebirds, wrens, chickadees | Wrens, sparrows (seasonal) |
| Insulation quality | High (cork is naturally insulating) | Moderate | Low |
| Durability (untreated) | 3 to 5+ seasons with maintenance | 5 to 10+ seasons | 1 season |
| Weatherproofing difficulty | Moderate (cork helps but joints need sealing) | Low (wood handles rain well) | High (requires full waterproofing) |
| Entrance hole precision | Easy (drilled before cork application) | Easy | Difficult (material deforms) |
| Aesthetic | Distinctive, decorative | Classic, natural | Rustic, informal |
| Beginner friendliness | Moderate (two-stage build) | High | High |
The bottom line: if you've collected a stash of wine corks and you want to make something that's both genuinely useful for birds and worth hanging in a visible spot in your yard, this build delivers. Just remember that the wood frame is doing the structural work, the corks are doing the insulating and aesthetic work, and bird-safe adhesive choices and proper ventilation are doing the safety work.
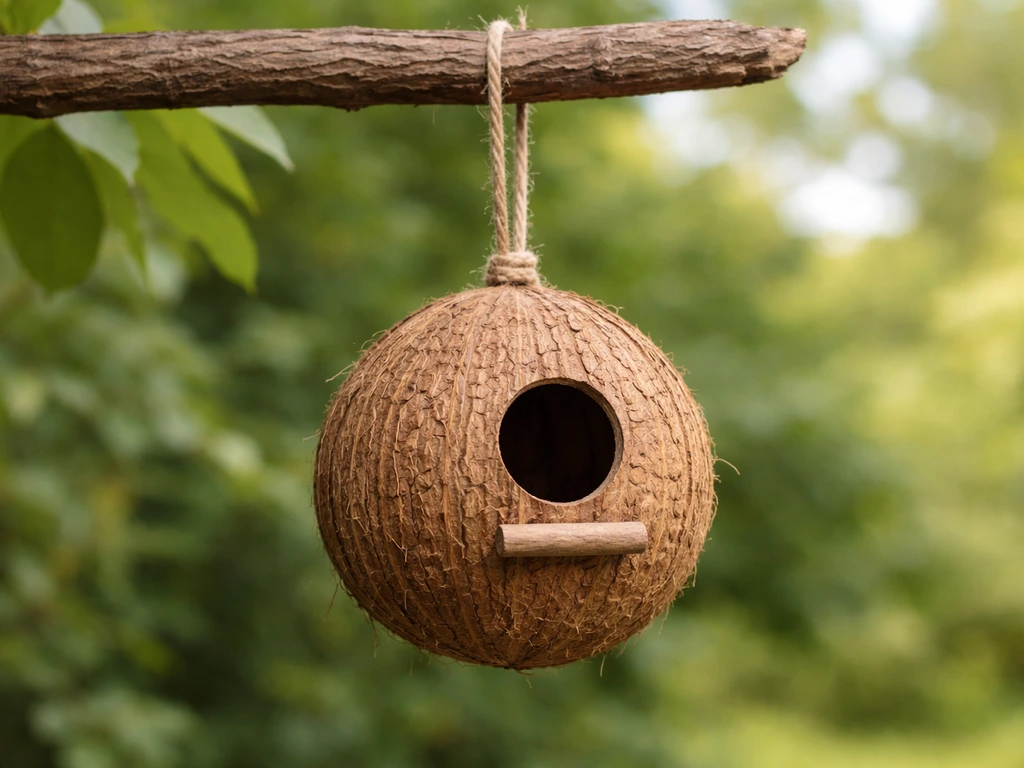
If you want to try a different material, you can also make a birdhouse using a coconut shell as the natural outer shell, paired with a bird-safe backing and entrance opening. If you want an option that uses cartons, check out our guide on how to make bird houses from milk cartons for the right materials and safe assembly steps.
Get those three things right and you'll have a birdhouse that's ready for wrens or chickadees by next spring.
FAQ
Can I make a cork birdhouse with only a glue gun, instead of drilling?
No. You need a proper drill bit to create a clean entrance hole and accurate ventilation and drainage holes. A glue gun cannot safely form those openings, and hand-chiseling usually produces misshapen holes that can exclude target birds or create gaps for predators.
What’s the safest way to verify my entrance hole size before I glue corks everywhere?
Dry-fit a cardboard or paper template of the hole on the front panel, then measure from the template center to the finished interior floor. After drilling, place the template back against the drilled opening to confirm the hole aligns with your planned interior dimensions, especially the floor height relative to the hole.
How do I prevent corks from blocking ventilation gaps while I’m tiling them onto the frame?
Plan your cork rows so they stop short of the ventilation hole edges, then cut individual cork pieces to create a clear “frame” around each hole. Do a final check by holding a flashlight from inside the box and confirming light can pass through both side ventilation openings.
Do I need to remove all tannin residue, or is vinegar soaking enough?
Vinegar soaking plus a full dry time is usually enough to reduce mold and surface contaminants. Make sure the corks are completely dry before assembly, because moisture trapped between cork and wood is what commonly leads to hidden mold, even if the corks look clean.
Can I use epoxy, wood filler, or exterior putty to fill gaps between corks?
Avoid using unknown or strong-smelling fillers that are not clearly bird-safe after curing. If you must fill small gaps, use a finish-safe approach: rely on tight cork fits and bird-safe adhesive. If you already filled gaps, wait longer than normal off-gassing (several extra days) and test for odor before placing outdoors.
How long should I wait after assembly before putting the birdhouse outside if I used silicone caulk?
Do not rely on the “touch dry” time. Let it off-gas in a well-ventilated area for at least the same period you would for glue, 72 hours minimum, and ideally longer (up to a week) if you detect any lingering odor or fumes.
What if I accidentally painted the inside, sealed the interior, or varnished part of it?
Birds need natural wood texture for grip, and sealing can also trap moisture. If only a small section is affected, remove the finish mechanically where possible and sand back to wood. If you cannot reliably remove it, it’s safer to rebuild because the interior may become too slick or moisture-prone.
Should I drill drainage holes in the cork floor too, or only in the wooden base?
Only the wooden floor needs drainage holes. Keep the drainage holes through the floor panel unobstructed, then build your cork tiling so no cork covers them from below or from the inside. If a cork bridges a hole, water will stay and encourage rot and mold.
How can I tell if my cork adhesive has cured enough for birds?
Do a smell test in a warm room. If you can detect a chemical odor, give it more time. Also check at seams: cured joints should feel firm, not gummy. When in doubt, extend curing and off-gassing before outdoor placement.
Is it okay to mount the birdhouse directly on a tree trunk if I use screws?
It’s better to avoid living tree trunks. Trees and bark expand, which loosens mounts and increases sway. If you must use a tree, use an approach that allows stable clamping and still includes a predator-resistant mounting method, like a dedicated pole and baffle.
What predator guard works best for a cork birdhouse?
A metal baffle on the mounting pole is typically the most effective. A wooden entrance extender can also help, but only if it does not reduce ventilation or interfere with the entrance dimensions birds need. Make sure the extender is fully secure and doesn’t crack the cork tile around the entrance.
How often should I clean a cork birdhouse, and what should I do if I see mold?
Clean once per year after the nesting season, then remove all old material. If you see mold, scrub thoroughly with a diluted vinegar solution and dry the box completely in sunlight. If mold returns quickly, revisit ventilation hole clearance and check for any corks that may be trapping moisture against the interior.
Can I replace only a few cork pieces without rebuilding the whole birdhouse?
Yes. During annual cleaning, press-check corks, and if ones flex or feel soft, pry them out, sand to bare wood, and re-glue new corks using the same adhesive. Focus repairs on the entrance area and lower corners, where weather exposure and landing impact are highest.
Is a cork birdhouse suitable for winter use in cold climates?
Sometimes. Birds may use boxes as shelter, but keep it in a dry, well-ventilated condition. If you bring it inside, store it somewhere dry (not a damp basement) to prevent off-season mold growth.
Why might my birdhouse attract no nesters even though it’s built correctly?
Common causes are placement (wrong height or wrong wind/sun orientation), an entrance hole that fits a competitor poorly, or a box that sways too much. Ensure the box is 5 to 10 feet up for wrens and chickadees, face the entrance away from prevailing winds, and use a rigid mount with a predator guard if needed.
Next Articles
How to Make a Bird House With a Coconut Shell
Step-by-step guide to make a coconut-shell bird house, with cleaning, entry size, drainage, mounting, and safety tips.
How to Make a Bird House With Ice Cream Sticks
Step-by-step guide to build a bird house or feeder from ice cream sticks, with safe weatherproofing and mounting tips.
How to Make a Bird House or Bird Feeder From Popsicle Sticks
Step-by-step guide to build a popsicle stick bird house and feeder, with materials, tools, assembly, and weatherproof fi