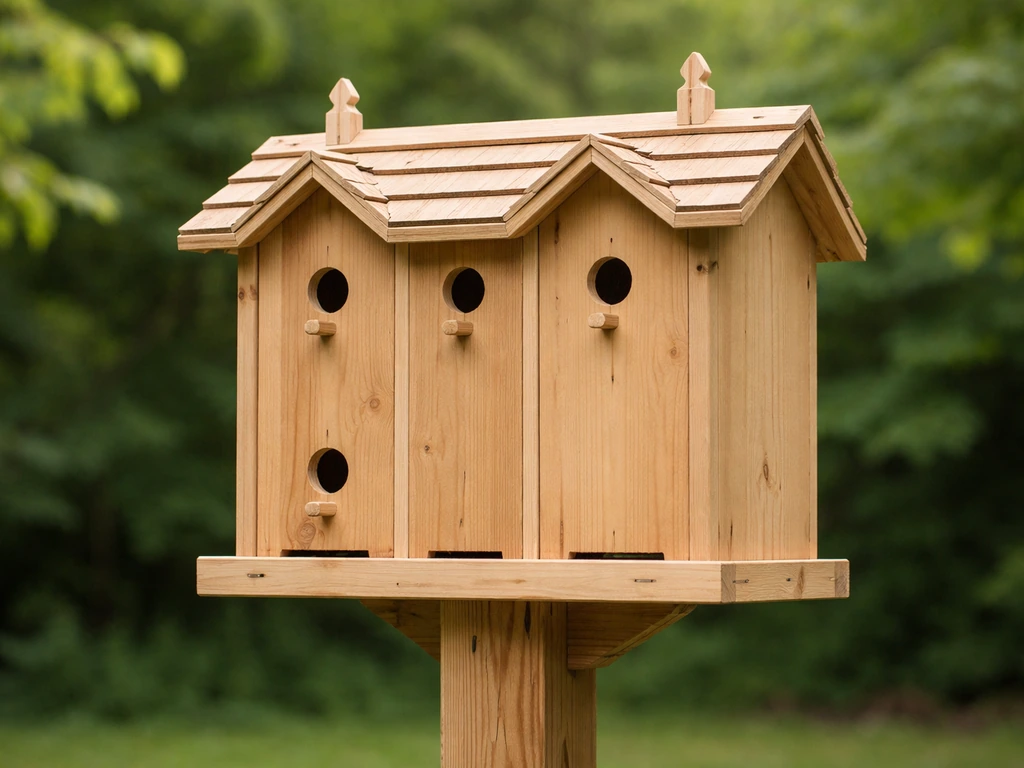
A bird hotel is a multi-compartment nesting structure with several enclosed chambers, perches, and entry holes built into one frame, basically a small apartment block for cavity-nesting birds. You can build a solid one in a weekend using basic tools, untreated timber, and even repurposed wood, and when it's designed correctly (right entrance hole sizes, drainage, ventilation, and a predator guard on the mounting pole), birds will actually move in and use it year after year.
How to Build a Bird Hotel: DIY Step-by-Step Guide

Marcus Thornton
6 May 2026
What exactly is a bird hotel?
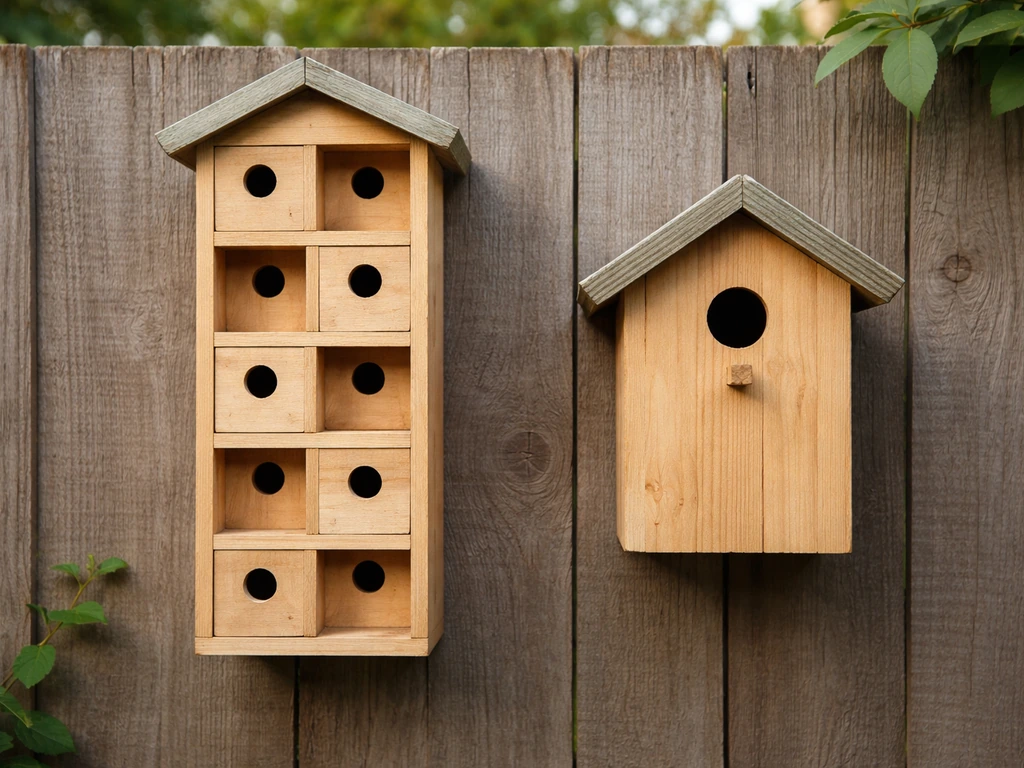
A bird hotel is different from a single birdhouse. Instead of one box for one pair, it's a modular structure with multiple independent compartments stacked or arranged side by side, each sized for a specific type of bird. Think of it like a row of terraced houses rather than a detached cottage. Each compartment functions as an enclosed nest box, a cavity that mimics the hollow branches and tree holes that birds would naturally seek out. The whole structure can sit on a single post or mount on a fence or wall. If you've looked into building a bird condo, this is the same concept: multiple nesting spaces in one structure. The difference between a bird hotel and a full bird aviary is scale and purpose, an aviary encloses birds in a large walkable space, while a hotel is a passive outdoor nesting aid that wild birds come and go from freely. If you want to go beyond a passive nesting aid, learn how to build a bird aviary with an enclosed, walkable space and safe setup for your flock full bird aviary.
Choosing the right bird hotel type and target species
Before you cut a single piece of wood, decide which birds you're building for. This matters more than almost anything else, because the entrance hole diameter is the single biggest factor controlling which species can enter a compartment. Too large and predators or aggressive species like house sparrows can get in. Too small and the birds you want can't use it at all.
Cavity-nesting birds are the ones that will actually use an enclosed box. Common backyard candidates include eastern bluebirds, tree swallows, chickadees, nuthatches, wrens, and house sparrows (if you're in areas where they're native). Each has a preferred entrance hole size and interior floor dimension. Here's a quick reference for the most common species:
| Species | Entrance Hole Diameter | Floor Size | Interior Depth |
|---|---|---|---|
| Eastern Bluebird | 1.5" | 4" x 4" to 5" x 5" | ~10–12" |
| Tree Swallow | 1.5" | 4" x 4" | ~10" |
| Carolina Wren | 1.25" | 4" x 4" | ~8" |
| Black-capped Chickadee | 1.125" | 4" x 4" | ~8–10" |
| White-breasted Nuthatch | 1.25" | 4" x 4" | ~8–10" |
| House Sparrow (native range) | 1.75" | 4" x 4" | ~9" |
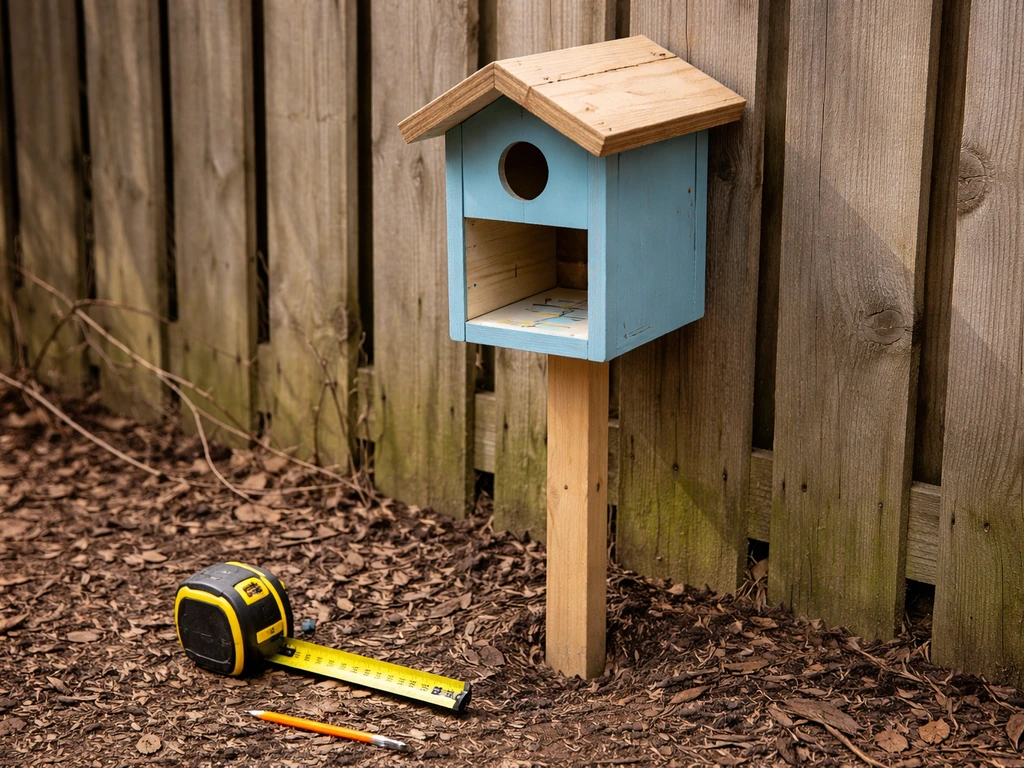
For a bird hotel, pick two or three species that actually live in your region and build compartments sized for each. A three-species hotel might have two bluebird-sized chambers, two wren-sized chambers, and two swallow-sized chambers, six compartments total, one structure. You can also include one or two open-fronted compartments (large rectangular slot openings instead of round holes) for robins or phoebes, which prefer partially open nesting spaces. The entrance shape is a deliberate design choice, not just an aesthetic one.
Planning size, placement, and safe design features
Overall structure size
A practical starter bird hotel holds four to six compartments. Each compartment for bluebird-sized birds needs an interior floor of at least 4" x 4" (5" x 5" is better), a depth from floor to entrance hole bottom of around 5 to 6", and a roof clearance of about 1. NABS’s nestbox recommendations indicate typical ideal bluebird compartment floor sizes range from 4×4 inches (16 sq in) and 5×5 inches (25 sq in) up to about 5.5×5.5 inches (30 sq in), and they recommend floor drainage using drilled holes or corner “dog-ears.” blank" rel="noopener noreferrer">typical ideal bluebird nest box floor sizes range from 4×4 inches and 5×5 inches up to about 5.5×5.5 inches. Guidelines for the distance from the bottom of the entrance hole to the floor for Eastern bluebird nest boxes commonly fall around 5, 6 inches blank" rel="noopener noreferrer">a depth from floor to entrance hole bottom of around 5 to 6 inches. 5" above the hole. Scale those dimensions up or down by species. For the outer frame, a six-compartment hotel typically ends up around 24" wide, 18–24" tall, and 8–10" deep. Leave a 1" gap or overhang on the roof to shade the entrance holes and shed rain.
Drainage and ventilation
Drainage and ventilation are non-negotiable. Drill at least four drainage holes (3/8" to 1/2" diameter) in the floor of each compartment so rainwater that sneaks in can escape immediately. For ventilation, drill two or three 1/4" holes on the side walls just below the roofline, or leave a 3/4" to 1" gap between the roof panel and the top of the side walls. Ventilation prevents overheating, which can actually be lethal to chicks in summer, this isn't just about comfort.
Predator protection by design
Predator protection starts with the structure itself and extends to how you mount it. Keep the roof extended at least 2–3" in front of the entrance holes so a raccoon or cat can't sit on top and reach down. Avoid perches below entrance holes, they give predators and nuisance species a grip. When you mount the hotel, use a smooth metal pole rather than a fence post or tree, and fit a stovepipe or cone-style baffle on the pole below the hotel. Install the baffle before you mount the hotel on the pole, since you often can't thread it on afterward. Never place your bird hotel in a spot where you can't attach a predator guard, if it's on a building wall, use a metal standoff bracket and add a hardware-cloth guard around the entrance hole face.
Placement in the yard
Mount the hotel at 5 to 8 feet off the ground for most small cavity nesters. Face the entrance holes away from prevailing wind and rain, south or southeast facing is a good default in North America. Keep the hotel out of deep shade but avoid full afternoon sun in hot climates, since that bakes the interior. Give it at least 10–15 feet of open space in front of the entrance holes so birds can approach freely without weaving through shrubs. Don't mount it near feeders; the activity and noise around a feeder stresses nesting birds.
Materials and tools
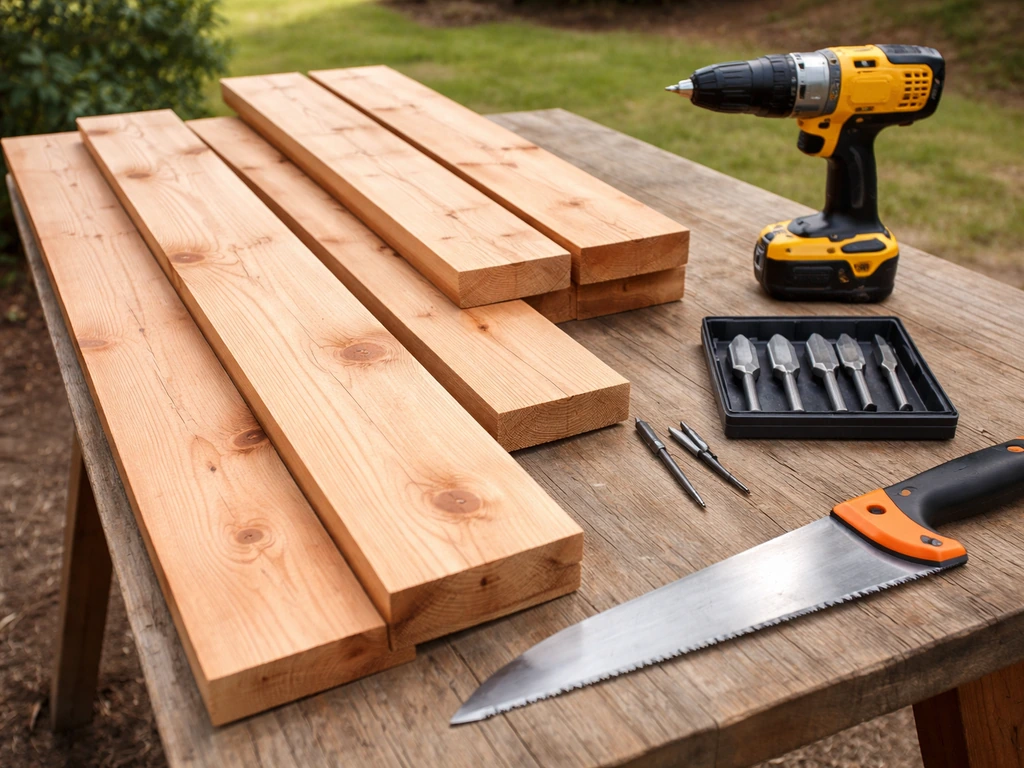
Best wood choices
Use untreated, unpainted natural wood. Treated lumber contains preservatives that are toxic to birds. Cedar and redwood are ideal because they're naturally rot-resistant and hold up outdoors for years. Pine works well too, just seal the exterior with a water-based exterior stain or raw linseed oil (never interior paint or stain on the inside of compartments). Avoid plywood with formaldehyde-based glues for interior surfaces. Aim for 3/4" thickness minimum, thicker walls insulate better and last longer.
Repurposed wood is a great option here. Old cedar fence boards, pallet boards (make sure they're HT-stamped, meaning heat-treated rather than chemically treated), reclaimed barn boards, and salvaged floorboards all work well. This is one of those projects where using old wood isn't just budget-friendly, it's genuinely good practice, because weathered wood blends into the environment better than fresh-cut lumber.
Tools list
- Drill with a 3/8" and 1/4" bit for drainage and ventilation holes
- Hole saw or spade bit set (1.125", 1.25", 1.5", and 1.75" sizes to cover common species)
- Saw (circular saw or hand saw — a hand saw is enough for this project)
- Tape measure and pencil
- Speed square
- Sandpaper (80-grit and 120-grit)
- Hammer or screwdriver plus 1.5" and 2" exterior-grade screws
- Clamps (optional but helpful)
- Exterior wood glue (optional, for extra joint strength)
- Paintbrush for exterior stain or raw linseed oil
If you don't have a hole saw, a hardware store will often cut holes to your spec for a small fee. You can also find adjustable circle-cutting jigs for standard drills under $15. Don't let the hole-cutting step intimidate you, it's actually one of the more satisfying parts of the build.
Step-by-step construction
I'll walk through building a six-compartment hotel with two rows of three compartments each. Adjust the number of compartments up or down as needed, the method is identical. If you want to move beyond a single bird hotel, you can apply the same species-specific planning to a full minecraft bird aviary build.
- Cut your back panel first: 24" wide x 24" tall (or whatever height your compartment stack requires). This is your anchor piece and it's easier to drill everything from reference points on this panel.
- Cut your divider panels: you need two horizontal shelves and two vertical dividers to create six equal compartments. For 4" x 4" interior floors with 3/4" walls, each compartment's interior is 4" wide and 4" deep; the exterior compartment box is about 5.5" wide. Adjust to your chosen species dimensions.
- Cut your front panels (one per compartment): these are the pieces that hold the entrance holes. Cut them to the same width and height as each compartment's opening. Sand all interior surfaces to 120-grit — rough interiors can snag bird legs.
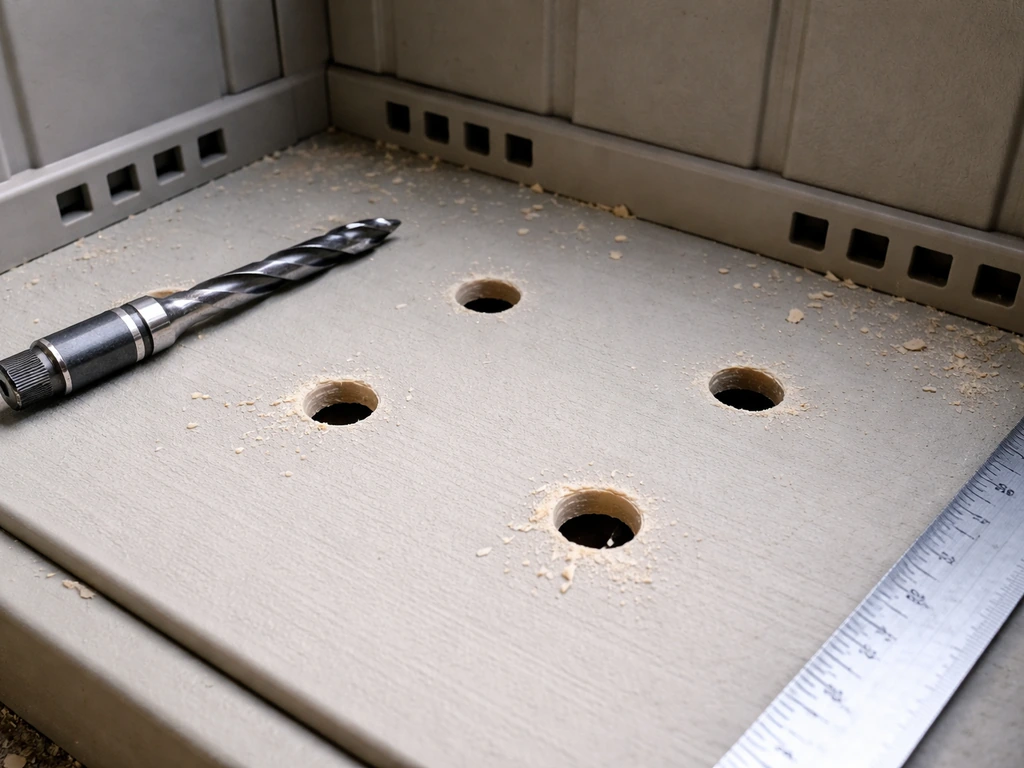
- Drill entrance holes in each front panel before assembly. Use the species table above to choose your drill bit size. Center the hole horizontally and position it so the bottom of the hole sits 5–6" above where the floor will be. Slightly roughen the inside of the hole edge with sandpaper so birds can grip it when entering.
- Drill drainage holes in each floor section: four holes, 3/8" diameter, one near each corner of the floor piece.
- Drill ventilation holes in each side wall section: two to three holes, 1/4" diameter, within the top 1" of the side wall. If you prefer a ventilation gap, cut your side panels 3/4" shorter than the roof height instead.
- Assemble the compartment shells using exterior screws and glue. Build each compartment box like a crate — floor, two sides, back wall (shared with the main back panel), and top (which doubles as the floor for the compartment above it). Leave the front panel off for now.
- Attach a hinged front panel (or a hinged side panel if you prefer side access) on each compartment. Use small brass hinges and a simple turn-button latch. This is your cleaning access — don't skip it. One of my early builds had permanently fixed front panels and I regretted it immediately when I needed to clean them.
- Attach the roof: cut it 2–3" wider and 3–4" deeper than the structure so it overhangs generously on all sides. Angle the roof slightly forward (a 10–15 degree slope is fine) to shed rain. Fix it with screws from above.
- Apply exterior finish to all outer surfaces: a water-based exterior stain, raw linseed oil, or exterior-grade wood preservative. Leave all interior compartment surfaces unfinished and unpainted. Let the finish dry fully before mounting.
- Mount the hotel on a smooth metal pole (galvanized conduit or electrical pipe works perfectly) at your chosen height, with the predator baffle installed on the pole first. Use a U-bolt or pipe flange on the back panel to secure it. Check that the structure is level before you finalize the fastening.
Common mistakes to avoid
- Using treated or painted wood inside the compartments — this is the most common beginner mistake and it genuinely harms birds
- Skipping drainage holes — standing water kills eggs and chicks and destroys the floor over one season
- Adding a perch below the entrance hole — it looks friendly but it invites predators and aggressive nest competitors
- Mounting in heavy shade or dense shrubs — birds won't approach if they can't see an open flight path to the entrance
- Making all entrance holes the same size — vary them for different species or you'll end up with six house sparrow nests
- Forgetting to weatherproof the exterior joints — water wicking into the joints rots the structure from the inside out within two seasons
Cleaning, maintenance, and pest prevention
A bird hotel you never clean will become a parasite hotel. Old nesting material is a breeding ground for mites, blowfly larvae, and bacteria, all of which harm the next brood that tries to use the compartment. The good news is that annual cleaning takes about 20 minutes once you have that hinged access panel built in.
When and how to clean
Clean each compartment after the breeding season ends and before winter, typically late September through February in North America. Open each hinged panel, remove all old nesting material, and dispose of it in a sealed bag (don't compost it, parasites survive in compost). Scrub the interior surfaces with a 1:10 bleach-to-water solution, rinse thoroughly, and let the compartment dry completely with the panel left open before latching it shut. In the UK, the recommended method is scalding the interior with boiling water, which kills parasites without chemical residue. Either method works, just be thorough.
During breeding season, resist the urge to open the panels constantly. You can check on progress every week or two by gently cracking a panel open, but avoid it when you know eggs have been laid or when chicks are very young. If you notice a nest that's heavily soiled with fecal matter after fledglings have left, go ahead and remove it and clean the compartment immediately, the parents may want to raise a second brood and a clean space gives them a better chance.
Ongoing maintenance checks
- Check the predator baffle each spring before nesting season — replace or tighten it if it's slipped or corroded
- Re-apply exterior stain or linseed oil every two to three years, or whenever the finish looks dry and cracked
- Inspect all screw joints for looseness each spring — a wobbly hotel is a danger to nesting birds
- Check drainage holes at the start of each season and clear them with a thin wire if they're clogged with debris
- Look for wasp or bee nests inside compartments in early spring before birds arrive — remove them gently and plug the entrance temporarily until birds claim the space
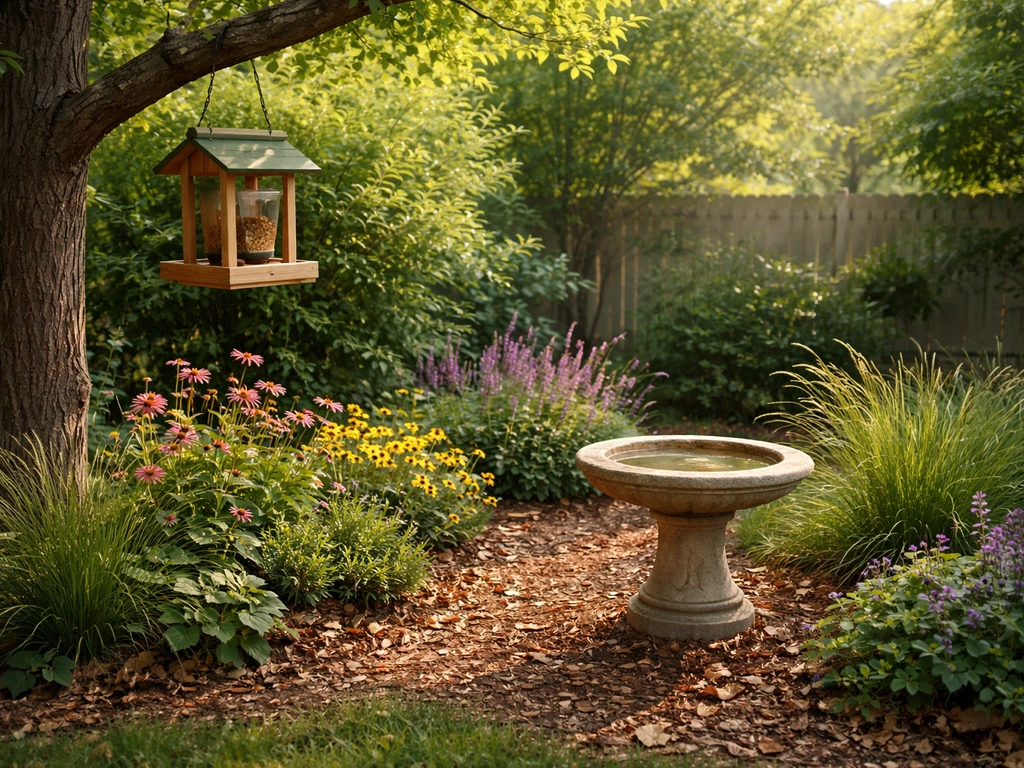
Site upgrades: adding food, water, and nesting support
The bird hotel itself is the centerpiece, but a few additions nearby make the site far more attractive to birds and give them everything they need to successfully raise young.
Water is the highest-value addition you can make. A shallow birdbath placed 10–15 feet from the hotel (close enough to be convenient but far enough that splashing doesn't affect the nesting area) draws birds in quickly and keeps them returning. Clean and refill it every two to three days to prevent mosquito larvae and bacterial growth. Moving water, even a simple drip tube, is even more effective at attracting birds than a static bath.
Food sources should be positioned away from the hotel, not directly beneath it. Cavity nesters like bluebirds, wrens, and swallows are primarily insect eaters, so a feeder stocked with mealworms is more useful than seed for attracting the species most likely to use your hotel. Place it 20–30 feet from the structure so feeder activity doesn't stress the nesting birds. If you want to support a wider range of species in your yard, a seed feeder and suet cage a bit further out completes the setup.
Nesting material support is an easy bonus. Stuff a small wire mesh basket or suet cage with natural nesting materials: pet fur (not dyed or chemically treated), dried grass, short strips of cotton string (no synthetics), and small feathers. Hang it near the hotel so birds can grab materials without traveling far. This is especially useful early in the season when natural materials are scarce.
Finally, think about the planting around the site. Native shrubs and small trees within 30–50 feet of the hotel give birds perching spots, shelter from hawks, and natural insect sources. Dense plantings right next to the hotel aren't ideal (birds need clear flight paths), but a looser grouping of native plants nearby rounds out the habitat significantly. If you're thinking bigger, a full bird garden or even a dedicated bird room or aviary project, the same principles around species-specific housing and habitat layering apply, just at a larger scale. If you want to go beyond a single nesting structure, learn how to build a bird garden that supports breeding, feeding, and shelter year-round. Insulating a bird aviary helps buffer against cold nights and hot days so birds remain comfortable during extreme weather aviary project. If you want to go beyond a single hotel, a bird aviary Australia setup can follow the same species-specific approach to housing, placement, and protection aviary project.
Once your hotel is up and your site is set, give it a full season before you judge it. Birds are cautious about new structures, especially in the first year. Leave it undisturbed, keep it clean, and by season two you'll almost certainly have tenants.
FAQ
Will birds use a brand-new bird hotel right away, or do they need to get used to it first?
Not necessarily. If the birds you want are local cavity nesters, a new hotel can be used the same year, but many species take one breeding season to assess safety and fit. The best approach is to install it before the local nesting window, leave it undisturbed, and avoid frequent panel opening in spring so you do not reset the birds’ decision process.
What should I do if I notice mites, heavy staining, or pests before the season ends?
Yes. If you see insects or mold inside after a brood, clean the compartment immediately even during the breeding season. Focus on removing old material, scrubbing, and fully drying, then leave it closed so the cavity stays attractive. Regular annual cleaning is planned, but hygiene problems do not always wait until after breeding ends.
Can I use air fresheners, sprays, or scented cleaners to keep the bird hotel smelling fresh?
No. A lot of “misting,” deodorizing sprays, or scented products can introduce irritants. Use only untreated wood and, if you clean, limit treatments to what is recommended in the article (bleach-water solution or scalding). Also make sure the compartments are completely dry before closing so moisture does not encourage mites.
My entrance hole sizes are correct, but no birds use the hotel. What usually goes wrong?
If the entrance hole has the correct size but the compartment stays empty, the cause is often placement or weather exposure. Try adjusting sun and wind factors, ensure the entrance is not too shaded or baking in late-day heat, and keep at least 10–15 feet of clear approach space. Also avoid mounting near feeders, because that nearby activity can deter nesting even when the box design is perfect.
How do I keep unwanted species, like house sparrows, from taking over the compartments?
It depends on the species. House sparrows can exploit poorly designed entrances and open access routes, but the stronger issue is predation access. Prevent predator perching (no perches below holes), extend the roof overhang, and use a proper cone or stovepipe baffle on the mounting pole before you hang the hotel. If you are in an area where sparrows are present, also avoid enlarging holes “just a bit” for installation convenience.
Can I paint or stain the outside of the hotel to protect it from weather?
You can, but it must be done carefully. The interior should remain unpainted and you should only treat the exterior surfaces so off-gassing and residues do not reach inside compartments. If you want to reduce weathering, use an exterior water-based stain or raw linseed oil on the outside only, and let it cure fully before placing the hotel outdoors.
Is plywood or glued/laminated wood okay for the inside of a bird hotel?
Avoid. Compartment interiors with adhesives, treated plywood, or chemically bonded materials can be risky because of fumes or residues, and they also wear differently than solid boards. Use 3/4 inch minimum natural untreated wood for walls, and keep all interior surfaces untreated, especially near the entrance face where contact is frequent.
Can I scale up the design by adding more compartments, or does scaling change the design requirements?
Yes, but only if the dimensions still match the target species. For different birds, changing hole diameter, compartment depth, and roof clearance affects usability. If you add compartments, keep them modular and maintain the ventilation pattern and drainage holes per compartment, otherwise one “sub-unit” can become too damp or too hot even if the rest are fine.
How often is it safe to check the nests during breeding season?
Check early, but do not constantly monitor. A good rule is to do minimal disturbance, crack a panel only occasionally for a status glance, and avoid checking when eggs are likely laid or when chicks are very young. If you see heavy soiling after fledglings leave, that is a time when you can clean promptly because the parents may still attempt a second brood.
Can I relocate the bird hotel after it’s installed and start getting birds?
Ideally yes, because it is part of long-term protection. If you must move it, do it outside the nesting window, and keep the new mounting method the same so the predator guard still works properly. A baffle installed incorrectly or after the fact can leave gaps that predators use, especially cats and raccoons.
Can the same bird hotel include open-front compartments for birds like robins, along with hole-entry compartments?
You can include multiple entrance types, but you should keep them intentional. Robins and phoebes may use open-fronted areas, while cavity nesters use holes. Mixing designs is fine as long as each compartment has appropriate protection features (roof overhang, drainage, ventilation) and the open-front compartments do not create easy predator access routes.
What mounting height is best, and what if I can’t install a predator guard at my preferred spot?
Use the hotel’s design, not your own guess, to determine the best mounting height for your species. For many small cavity nesters, 5 to 8 feet is a common starting range, but ensure you can still install and maintain a predator guard. If you cannot add a reliable baffle or guard at your chosen height, choose a different location rather than compromising protection.
How far should I place a birdbath, feeders, and the bird hotel from each other?
A feeder too close to the hotel often increases traffic and stress. Keep mealworm or seed feeders 20–30 feet away, and place water 10–15 feet away so birds return without splashing directly into nesting areas. This spacing helps the hotel remain a low-stress breeding site rather than a noisy, crowded feeding station.
Next Articles
How to Build a Bird Garden: Step-by-Step DIY Guide
Step-by-step DIY how to build a bird garden: location, plants, feeders, water, nesting shelters, and maintenance for rea
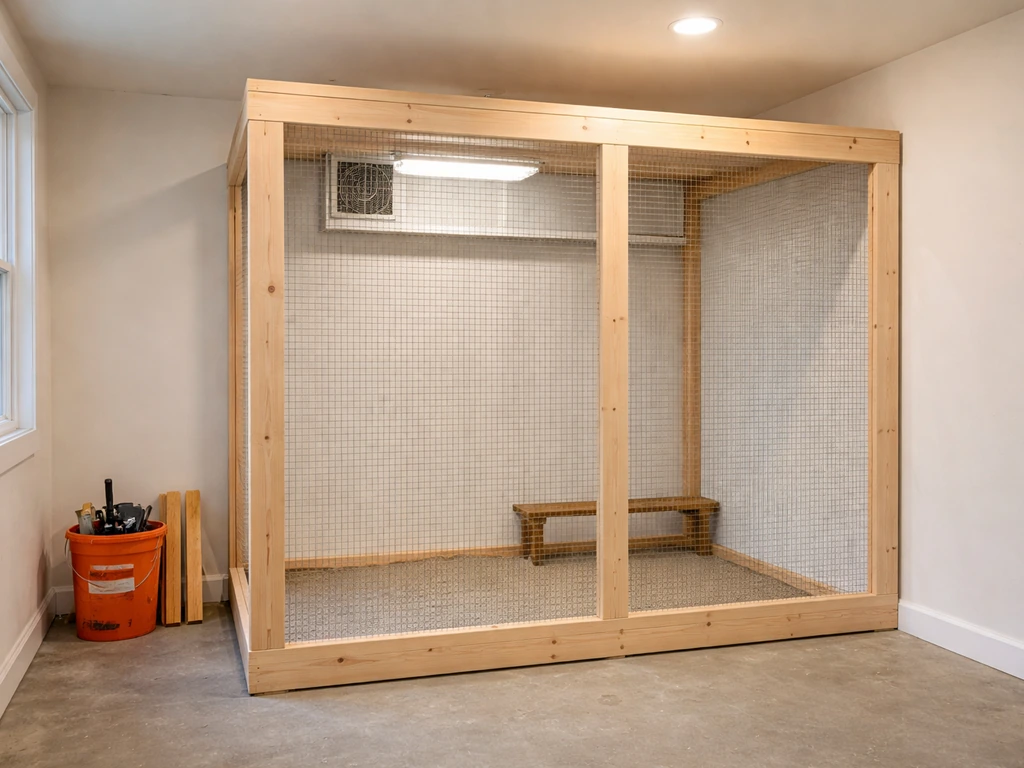
How to Build a Bird Room: DIY Step-by-Step Guide
DIY step-by-step plan to build a safe indoor bird room, from layout and materials to ventilation, cages, and enrichment.
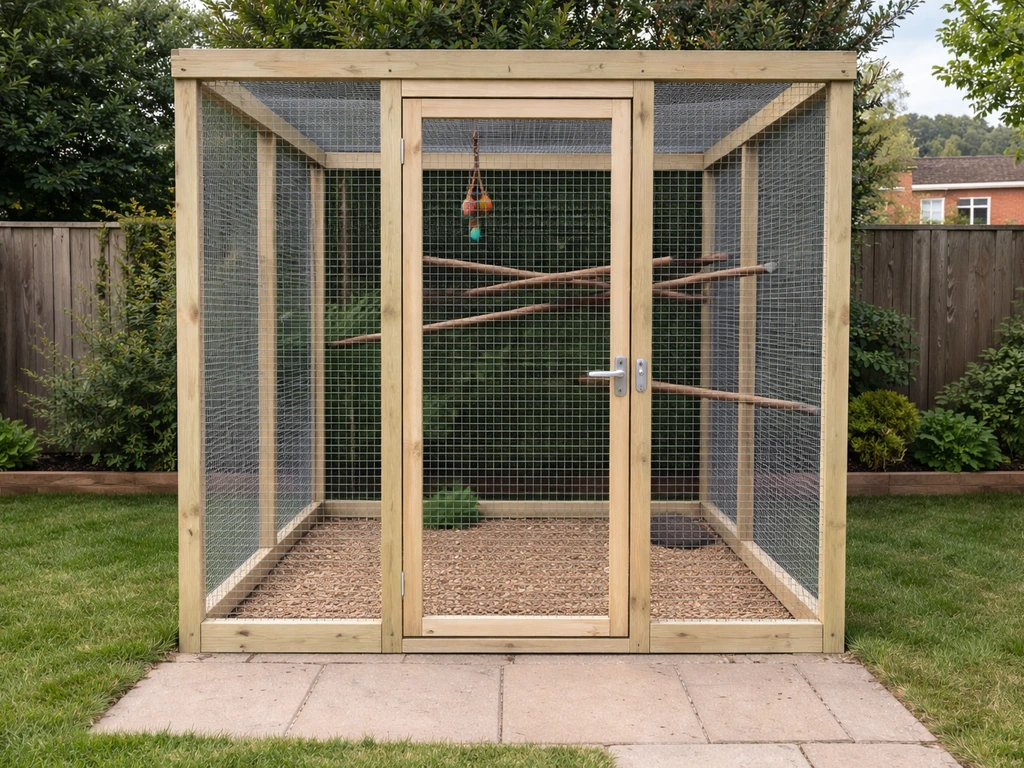
How to Make a Bird Aviary: DIY Setup From Start to Finish
Step-by-step DIY guide to build a safe small bird aviary, from planning and materials to wiring, doors, and maintenance.