Building a winter bird shelter is one of the most genuinely useful things you can do for the birds in your backyard right now. It does not have to be complicated. A well-placed, well-built roost box or wind shelter can mean the difference between a small songbird surviving a hard freeze and not making it through the night. This guide walks you through everything: what the shelter needs to do, how to site it, what to build, how to build it, and how to keep it working all winter long.
How to Build a Winter Bird Shelter DIY Guide

Marcus Thornton
19 Apr 2026
What a winter bird shelter should actually do
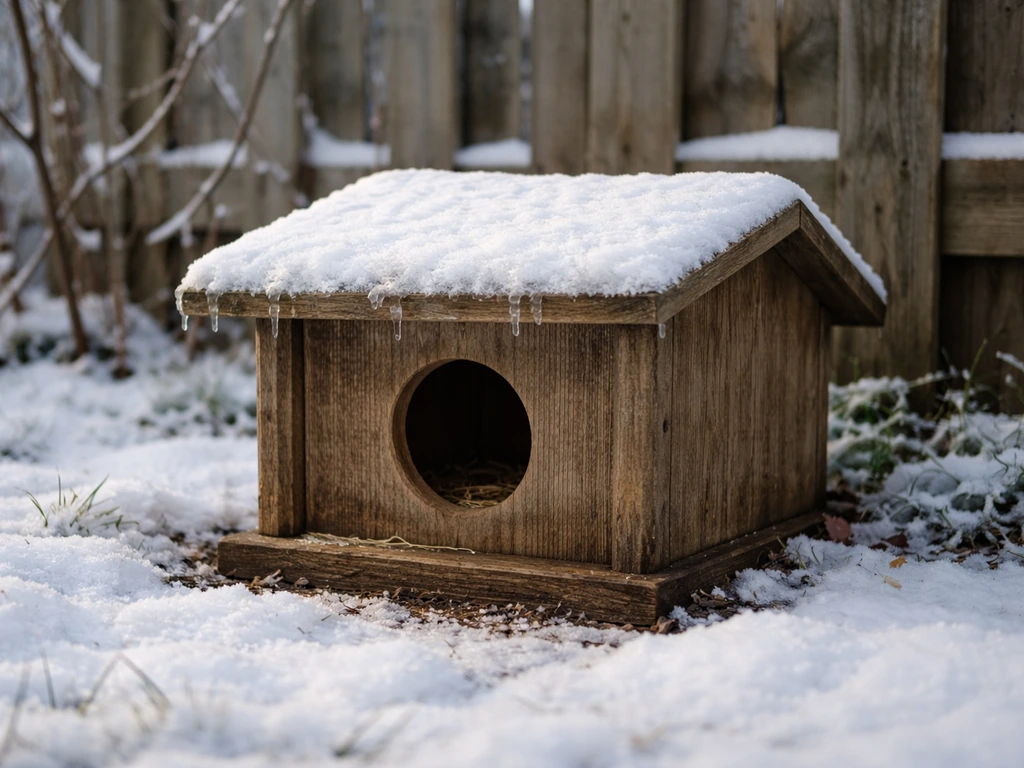
A winter bird shelter has one primary job: cut wind and keep birds dry. Cold alone is rarely what kills small birds in winter. It is the combination of wind chill and wet feathers that drains their energy reserves overnight. A good shelter blocks prevailing wind, keeps rain and snow out, and holds a little shared body heat when multiple birds roost together inside.
Beyond those basics, the shelter should also give birds a safe, dark, enclosed space to rest. Open-sided structures help a little, but a roost box with a small entrance hole holds heat dramatically better than a three-sided lean-to. For winter specifically, you actually want less ventilation than you would in a summer nesting box, because the goal shifts from cooling eggs to retaining warmth.
The birds that benefit most from these shelters are small cavity-roosting songbirds: black-capped chickadees, red-breasted and white-breasted nuthatches, downy woodpeckers, titmice, wrens, and bluebirds. These species naturally shelter in tree cavities during winter nights, and a roost box is a direct substitute for that. Audubon notes that Black-capped Chickadees roost in tree cavities during winter, which is why providing a cavity-style roost box can support them at night. Larger birds and ground-foragers benefit more from dense brush piles or evergreen windbreaks, which are worth adding to your yard alongside any built structure.
Where to put it in your yard
Placement is as important as the build itself. Get this wrong and even a beautifully made shelter will sit empty all winter. The single most important factor is wind orientation. Mount the shelter so its entrance hole faces away from your prevailing winter wind, which in most of North America means facing roughly south or southeast. The Iowa DNR's shelterbelt planning guidance makes exactly this point: reducing direct wind exposure is the core goal of any winter bird windbreak strategy. If you are unsure which direction your winter wind comes from, spend one blustery morning noticing where the gusts hit your house hardest, then orient your shelter to face the opposite direction.
Height matters too. Mount the shelter between 6 and 12 feet off the ground. Too low and ground predators like cats, raccoons, and opossums can reach it easily. Too high and you make maintenance difficult for yourself. The Canadian Wildlife Federation recommends several feet of clearance as a minimum for roosting boxes, and I have found that 8 feet is a sweet spot that deters most casual predators while still being manageable with a standard stepladder.
Pick a spot with at least some overhead protection: under the eave of a garage, on a fence post sheltered by a shed wall, or on a tree trunk facing a dense evergreen hedge. Avoid fully exposed open-yard locations where the shelter will catch rain from above and wind from the side. If you already have a bird feeder or water source nearby, placing the shelter within 20 to 30 feet makes it easier for birds to dash between resources without long exposed flights in bad weather.
One thing I learned the hard way: do not mount a roost box on a thin, flexible pole without a baffle. Squirrels will find it within days and either block the entrance with nesting material or harass the birds trying to use it. A smooth metal pole with a cone-shaped squirrel baffle below the box is the cleanest solution. If you are mounting on a tree or fence post, wrap a metal predator guard around the mount point.
Choose a design that matches your skill level
There is a spectrum of winter shelter designs, and the right one for you depends on your tools, your time, and how many birds you want to support. Here are the main options from simplest to most involved.
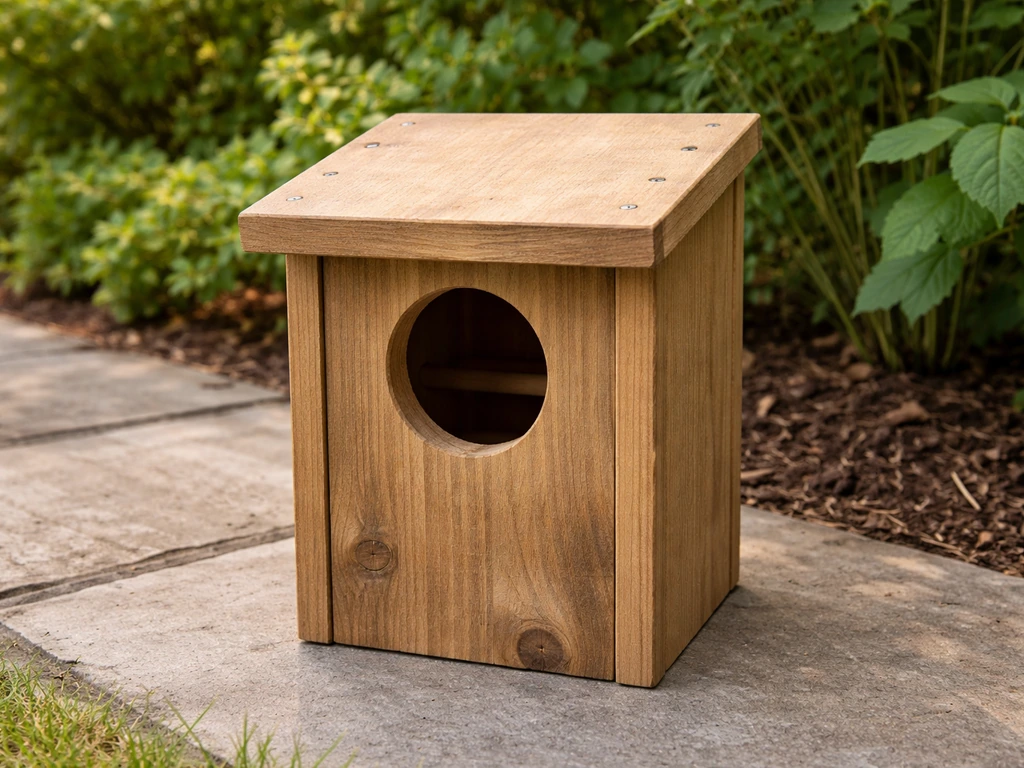
The basic roost box (beginner build)
This is a simple enclosed wooden box with a small entrance hole, a hinged or removable panel for cleaning, and a few interior perch dowels. You can build one in an afternoon with a single board and a jigsaw. It works well for chickadees, nuthatches, and small wrens. The entrance hole diameter is critical: 1.125 inches (just over 1 inch) is the standard for black-capped chickadees and red-breasted nuthatches according to USDA wildlife habitat guidelines, and it is small enough to keep starlings and house sparrows out. If you want to accommodate slightly larger birds like bluebirds or downy woodpeckers, go up to 1.5 inches.
The insulated roost box (intermediate upgrade)
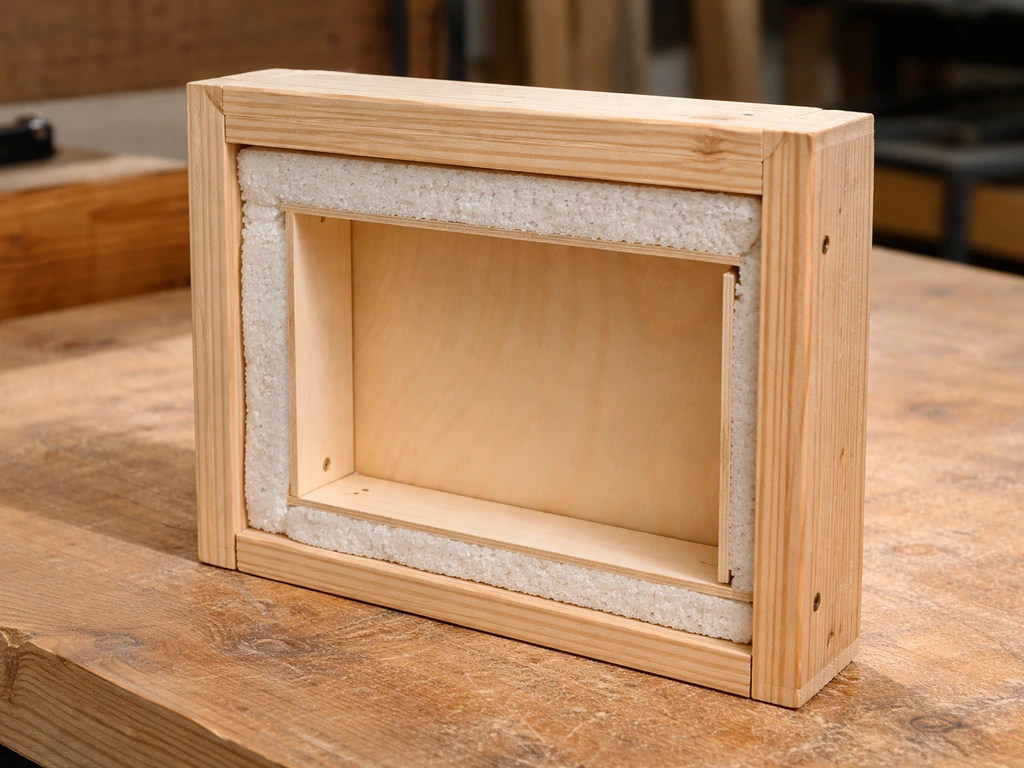
Same basic box design, but with a layer of rigid foam insulation glued inside the walls before assembly, then covered with a thin plywood interior liner so birds cannot peck or ingest the foam. This adds meaningful warmth retention on nights below 20 degrees Fahrenheit. The foam adds about half an inch to each wall, so account for that when cutting your interior dimensions.
The communal roost box (more advanced, high impact)
A taller, wider box with multiple interior perch dowels at staggered heights. Since warm air rises, birds instinctively climb to the highest available perch inside. You can fit 8 to 12 small birds in a communal box on a cold night, and the shared body heat makes a significant difference. The entrance hole on a communal roost box is placed near the bottom of the front panel (not the top as in a nesting box) so rising warm air stays inside rather than escaping out the entrance. This is probably the most impactful thing you can build for winter bird survival.
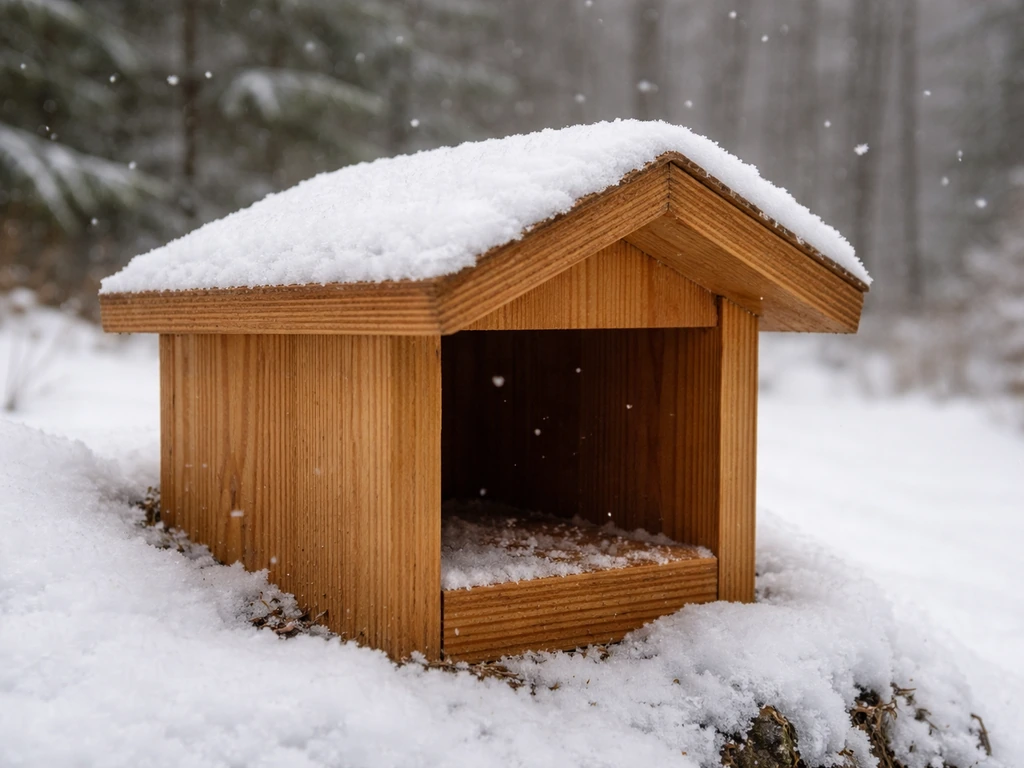
The brush pile shelter and lean-to (no-tool option)
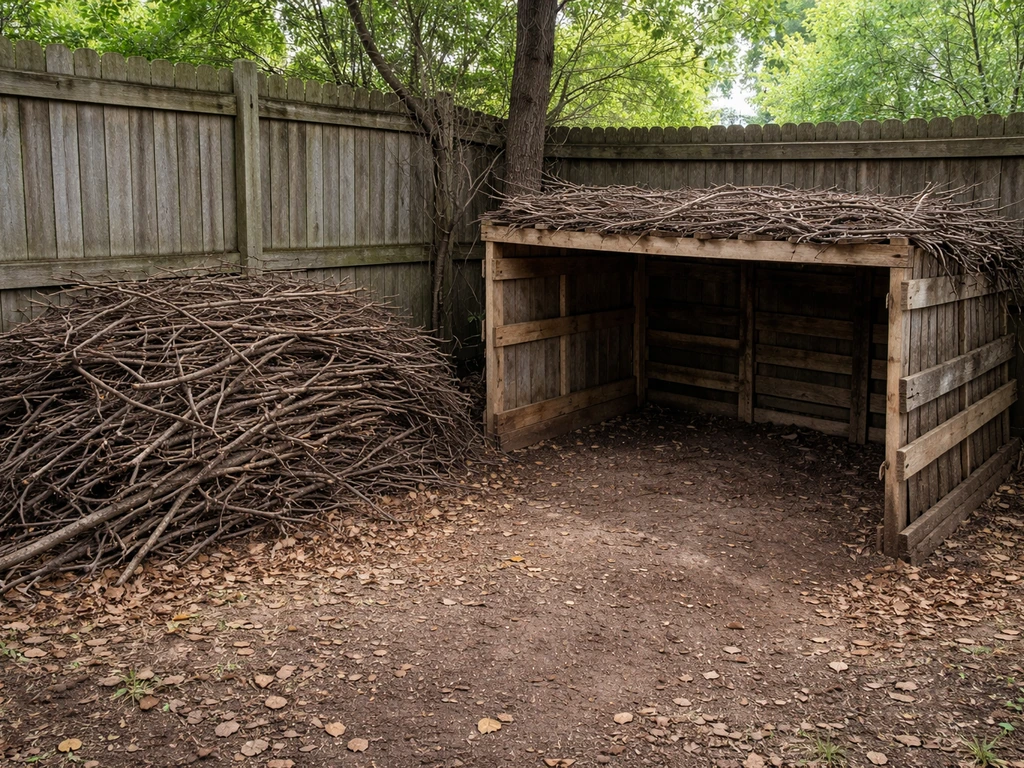
If you are not ready to build a box, a dense brush pile in a corner of your yard, combined with a simple three-sided lean-to made from pallets or scrap lumber, gives ground-foraging birds like juncos and sparrows somewhere to escape the wind. It is not as thermally efficient as a closed box, but it costs almost nothing and takes an hour to set up. Think of it as a complement to a roost box rather than a replacement.
Materials and tools you will need
One of the things I love about this project is how accessible the materials are. You do not need hardwood or specialty lumber. Here is what works well and what to avoid.
Wood choices
Untreated cedar or redwood is the gold standard because it naturally resists rot and does not require any chemical treatment. Pine is a fine budget option and widely available, though it needs a proper exterior-safe finish or a roof overhang to last more than a couple of seasons.
Repurposed wood from old fencing, pallets, or shipping crates is completely usable as long as you confirm it was not treated with preservatives containing arsenic or chromium, which older pressure-treated lumber sometimes contains. Check the cut end: modern treated lumber has a slight green or brown tint and is stamped with treatment codes like ACQ or CA-C. Avoid anything marked CCA (chromated copper arsenate), which was phased out for residential use but still shows up in old salvage wood.
Plywood is fine for larger panels as long as you use exterior-grade (rated for outdoor exposure). Interior-grade plywood delaminates quickly when it gets wet and cycles through freezing temperatures, and I have had box walls literally fall apart mid-winter using the wrong kind.
Roofing and insulation
The roof is where most moisture problems start. A simple sloped roof with a 1-to-2-inch overhang on the front and sides keeps rain off the entrance hole and the joint where the roof meets the walls. You can use the same lumber as the rest of the box, or add a layer of roll roofing or aluminum flashing over the top for extra waterproofing. For insulation, rigid foam board (polyisocyanurate or EPS) works well and cuts easily with a utility knife. Keep it fully enclosed between wood layers so birds never contact it directly.
Hardware and fasteners
Use galvanized or stainless steel screws throughout. Standard wood screws rust quickly outdoors, especially in freeze-thaw cycles, and can cause the wood to split when they expand. For the entrance hole, you can tack a small square of hardware cloth (wire mesh) on the interior face of the front panel just below the hole. This gives birds something to grip when climbing in and out, and it makes it harder for predators to reach inside and hook their claws or paws through the opening. This is a trick referenced in Canadian cavity-nesting box guidelines and it genuinely works.
Full materials list for a basic roost box
- One 6-foot length of 1x8 inch untreated cedar or pine board (yields all panels)
- One 12-inch length of 1x10 inch board for the roof (wider = better overhang)
- Two or three 1/2-inch diameter hardwood dowels, 7 inches long, for interior perches
- Galvanized 1.5-inch exterior wood screws (one small box)
- One 2-inch butt hinge or piano hinge for the cleanout panel
- Small hook-and-eye latch to secure the cleanout panel
- 6-inch square of 1/4-inch hardware cloth (wire mesh) for the interior entrance area
- Staple gun or small nails for attaching mesh
- Exterior wood glue (optional but useful for roof joints)
- Wood preservative or exterior paint in a natural, non-toxic color (optional finish)
Tools
- Jigsaw or handsaw for cutting panels
- Drill with bits including a 1.125-inch or 1.5-inch spade bit for the entrance hole
- Screwdriver or drill driver for assembly
- Tape measure and pencil
- Sandpaper (80-grit and 120-grit)
- Clamps (helpful but not essential)
- Level for mounting
How to build it: step-by-step instructions
These instructions build a basic single-bird roost box sized for chickadees and nuthatches. Interior dimensions are approximately 4 inches wide by 4 inches deep by 12 inches tall, with the entrance hole near the bottom of the front panel. This is intentionally different from a nesting box, where the hole goes near the top.
Cut your panels
- From your 1x8 board, cut: two side panels at 12 inches tall, one back panel at 12 inches tall, one front panel at 12 inches tall, and one floor panel at 4 inches square.
- Cut your roof panel from the 1x10 board at about 9 inches long so it overhangs the front and sides by at least 1 inch all around.
- Sand all cut edges smooth with 80-grit then 120-grit paper. Rough edges splinter and can injure birds.
Drill the entrance hole and vent holes
- On the front panel, mark the center of the entrance hole about 2 inches up from the bottom edge (remember, for a roost box the hole is near the bottom to trap rising warm air).
- Use your spade bit to drill the entrance hole: 1.125 inches for chickadees and nuthatches, 1.5 inches for bluebirds and downy woodpeckers.
- Drill two or three small vent holes (about 1/4 inch diameter) near the top of the back panel or near the top of each side panel. You want minimal ventilation in a roost box, just enough to prevent condensation buildup.
Assemble the box
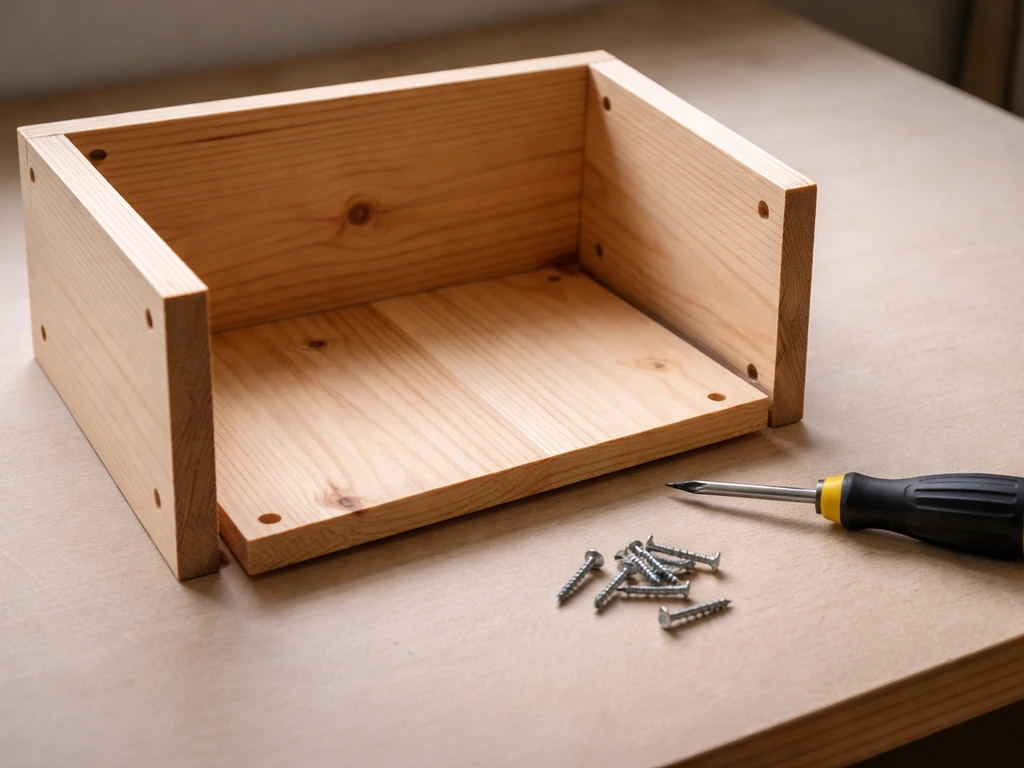
- Attach the two side panels to the back panel using screws, forming a U-shape when viewed from above. Pre-drill screw holes to avoid splitting.
- Drop the floor panel in and screw it up from below into the sides and back. Leave a small gap at each corner or drill two 1/4-inch drainage holes through the floor to let any moisture escape.
- Attach the front panel. If you want a hinged cleanout door, attach it to one side panel with a butt hinge at this stage rather than screwing it permanently.
- Drill holes for your perch dowels through both side panels at staggered heights (for a single-bird box, two dowels work fine: one at 4 inches from the floor and one at 8 inches). Push the dowels through and secure with a small dab of exterior wood glue.
- Staple the hardware cloth square to the interior face of the front panel, centered below the entrance hole. This gives birds grip and discourages predator reach-through.
Attach the roof and weatherproof the seams
- Slope the roof slightly forward (about 10 to 15 degrees) so rain runs off the front rather than pooling. You can achieve this by trimming the top of the front panel about half an inch shorter than the back panel before assembly.
- Screw the roof panel down from above, making sure the overhang extends past the front and both sides.
- Run a thin bead of exterior-grade wood glue or waterproof caulk along the roof-to-wall joints. Do not caulk the interior; just the outside seams.
- If you want extra waterproofing, staple a strip of roll roofing or aluminum flashing over the roof panel.
Apply a finish (optional but recommended)
Unfinished cedar will hold up fine for several seasons. If you are using pine, apply one or two coats of exterior-grade paint or an outdoor wood preservative like linseed oil. Stick to earth tones: gray, brown, tan, or forest green. Avoid bright colors, white, and anything with a strong chemical smell. Let the finish cure for at least 48 hours before hanging the box, and never paint or treat the interior surfaces or the area immediately around the entrance hole where birds perch and cling.
The finishing details that make it work for birds
A lot of shelter builds look great but fail birds on the small stuff. Here are the details that actually matter for winter use.
- Drainage: At least two 1/4-inch holes drilled through the floor, or floor corners left slightly open. Any trapped moisture will freeze overnight and can injure birds or grow mold.
- Ventilation: Small vent holes near the top of the box (not the bottom) let condensation escape without drafts. Too many vents and you lose the heat-trapping benefit; aim for just two or three small holes total.
- Interior texture: Birds need something to grip when climbing in and out. If your wood is very smooth, roughen the interior front face below the entrance hole with coarse sandpaper or tack on the wire mesh square as described above.
- Perch placement: Interior perches at multiple heights let birds choose their spot. The highest perch inside will be the warmest and most sought-after on cold nights.
- No exterior perch: Do not add a perch peg below the entrance hole on the outside. It gives predators a foothold and birds do not need it.
What not to do: common mistakes and unsafe choices
A few things can turn your well-intentioned shelter into a hazard. Avoid these:
- Using pressure-treated lumber rated CCA: it leaches arsenic and is toxic to birds. Modern ACQ-treated lumber is safer but still unnecessary when untreated cedar or pine works fine.
- Sealing the box too tightly: zero ventilation means condensation builds up, feathers get damp, and body heat actually drops overnight. A perfectly sealed box is worse than one with small vent holes.
- Painting the interior: paint fumes and residue in an enclosed space are hard on birds' respiratory systems. Keep all finishes on exterior surfaces only.
- Installing near active bird feeders without predator protection: feeders attract squirrels and raccoons, which will quickly discover and raid a nearby roost box. Put a baffle on the mount.
- Adding bedding or stuffing inside: it feels helpful but can trap moisture and harbor mites. Birds prefer a clean bare interior. The only exception is a handful of dry wood shavings (not sawdust, which compacts and molds) if you want to add minimal insulation at the floor.
Keeping it working all winter long
Once the box is up, your job is not done. Winter maintenance is light but important.
Check it every two to three weeks
Open the cleanout panel and look inside. You are checking for accumulated debris, moisture or ice, old feathers, and signs of mold or mildew. A small amount of old feathers is fine, but any visible mold means your drainage or ventilation is not working and you need to address it immediately. Remove debris with a gloved hand or a long-handled brush.
Check the mount and hardware
Freeze-thaw cycles work screws loose over time. Every few weeks, give the mounting hardware a quick check and tighten anything that has shifted. Make sure the box has not tilted; a box that tips forward will let rain run in through the entrance hole.
Do a deep clean in early spring
Once winter ends and birds stop using the box as a roost, do a thorough cleaning before nesting season begins. Scrub the interior with a stiff brush and a mild bleach solution (one part bleach to nine parts water), rinse well, and let it dry completely in the sun for a full day before closing it back up. This prevents mites, bacteria, and old debris from affecting any birds that might use the box for spring nesting. Some of the same species that roosted in it all winter will come back to nest, which is a genuinely rewarding thing to see.
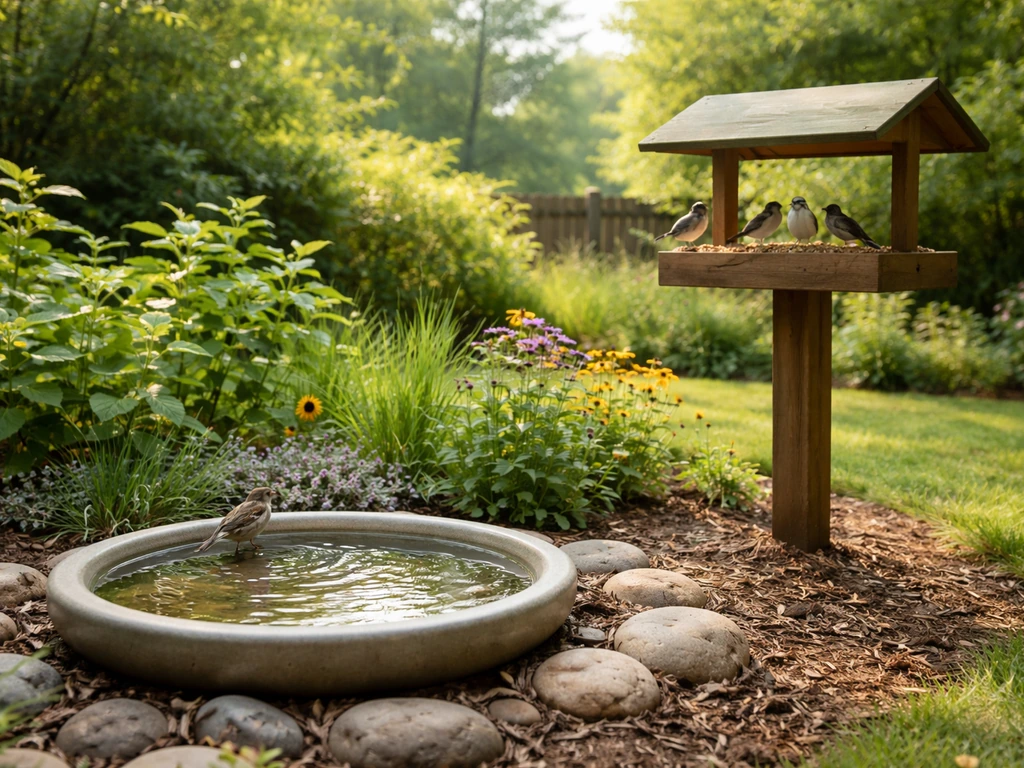
How this fits into your broader backyard bird setup
A winter roost box works best as part of a broader habitat setup rather than a standalone structure. Pairing it with a reliable food source (high-fat options like suet and black-oil sunflower seed are best in winter) and an open water source that stays liquid in freezing temps dramatically increases the number of birds that will find and use the shelter.
If you also need help providing water that stays available in freezing weather, see how to make bird water. Making your garden bird-friendly more broadly, whether through native plant choices, brush piles, or reduced chemical use, builds the kind of habitat where birds want to stay year-round, not just visit. If you want, here is how to make garden bird friendly beyond a single roost box so more species can thrive in your yard.
A backyard set up this way becomes a genuine sanctuary, and the roost box you build today becomes one piece of that larger picture. If your goal is to build a full bird sanctuary in your backyard, combine a shelter like this with food, clean water, and bird-friendly landscaping.
You now have everything you need to build a winter bird shelter that will genuinely help birds in your yard survive cold nights. If you are also looking for step-by-step guidance on how to make one, start with a simple roost box design and then upgrade as needed build a winter bird shelter. Start with the basic roost box if this is your first build, get it up before temperatures drop hard, and adjust the design in future seasons as you learn what the birds in your specific area respond to. The build itself takes a few hours. The benefit lasts all winter.
FAQ
When should I put up a winter bird shelter so birds actually use it?
In most places, aiming for roost boxes to be installed before the first hard freezes is best, ideally when daytime temps are still above freezing so you can mount safely and allow birds time to discover the shelter. If you are late, focus on getting it up and sealed well, and place it near your winter food and water so birds find it quickly even after cold weather hits.
How do I tell if my shelter placement will still get wet inside?
Avoid putting the entrance directly where wind-driven rain can reach it, even if the box is “facing the right way.” A short overhang, attaching it under an eave, or using a slightly deeper roof overhang helps keep snowmelt and rain from bouncing into the hole, which reduces the wet-feather problem your shelter is meant to prevent.
What if I’m not sure which birds are in my yard, can I choose one “universal” entrance hole?
It is usually better to start with a slightly smaller entrance hole rather than a larger one, because larger openings invite starlings or house sparrows. Your safest adjustment is to match hole size to the target birds and keep the hole position near the bottom for a winter roost box, not centered high on the front.
Can I use the same design as a birdhouse made for nesting season?
No, do not use nesting-box rules for winter. Winter roosts need less airflow so warm air is retained, and the entrance should be placed to keep warm air inside. If you built something with lots of ventilation gaps, you may need to add wind-blocking boards or reduce openings rather than adding more vents.
What should I troubleshoot if my winter roost box stays empty?
If the box looks dry but birds still do not use it, check the “soft” factors: entrance height, predator risk near the mount, and whether it is blocking prevailing wind rather than just being sheltered from snow. Also, give it at least several cold days, because many songbirds decide to roost after they experience the first strong overnight wind chill.
Is more insulation always better for winter bird shelters?
Yes, but you should avoid overdoing it. Thick insulation can trap moisture if drainage is poor or if the roof overhang is inadequate, and birds can peck insulation if any is exposed. Keep any insulation fully enclosed, leave the interior surfaces bird-safe, and prioritize a roof that sheds water before you add more insulation depth.
How do I scale up from a single-bird box to a communal winter roost box?
If you want communal roosting, keep the perches positioned so birds can reach higher spots without being forced to crowd the entrance. For multi-bird use, the entrance near the bottom matters because it reduces warm air loss, but the box still needs enough interior space that birds can shift positions during extreme cold.
My box sometimes shows water stains, what does that mean for performance?
A big reason boxes fail is rain running down the front and wicking into joints. Use an overhang on the roof and ensure the roof line directs water away from the entrance, then confirm screws and seams have not opened after freeze-thaw cycles. If you see water stains inside, treat it as a design issue before the next cold snap.
What is the best way to prevent squirrels from blocking the entrance?
Squirrels are the most common mount-point issue, and a baffle only works if it is the correct diameter and installed low enough that squirrels cannot climb around it. If you are on a tree or fence post, a full metal predator guard around the mount point is more reliable than a partial wrap.
How should I clean and store the shelter after winter ends?
Do not close the box or “seasonally secure” it until birds have stopped using it. When you do the spring cleaning, let it dry completely in the sun and scrub off debris with a mild disinfecting solution, then ensure there is no lingering odor or residue near the entrance.
Does the distance to feeders and water affect whether birds roost in the box?
Yes, you can lose some birds if the shelter placement makes them feel exposed when they arrive. If the path from your feeder or water to the shelter is exposed, birds may avoid it during windy storms. Placing the roost box within about 20 to 30 feet of winter food or a reliable water source often improves use.
Next Articles
How to Make a Garden Bird Friendly: DIY Steps and Care
DIY steps to make your garden bird friendly: food, clean water, shelter, nesting options, safe plants, and seasonal care
How to Make a Bird Base: DIY Stand for Birdhouses
Step-by-step DIY guide to build a sturdy birdhouse base stand, choose materials, weatherproof safely, and place it corre
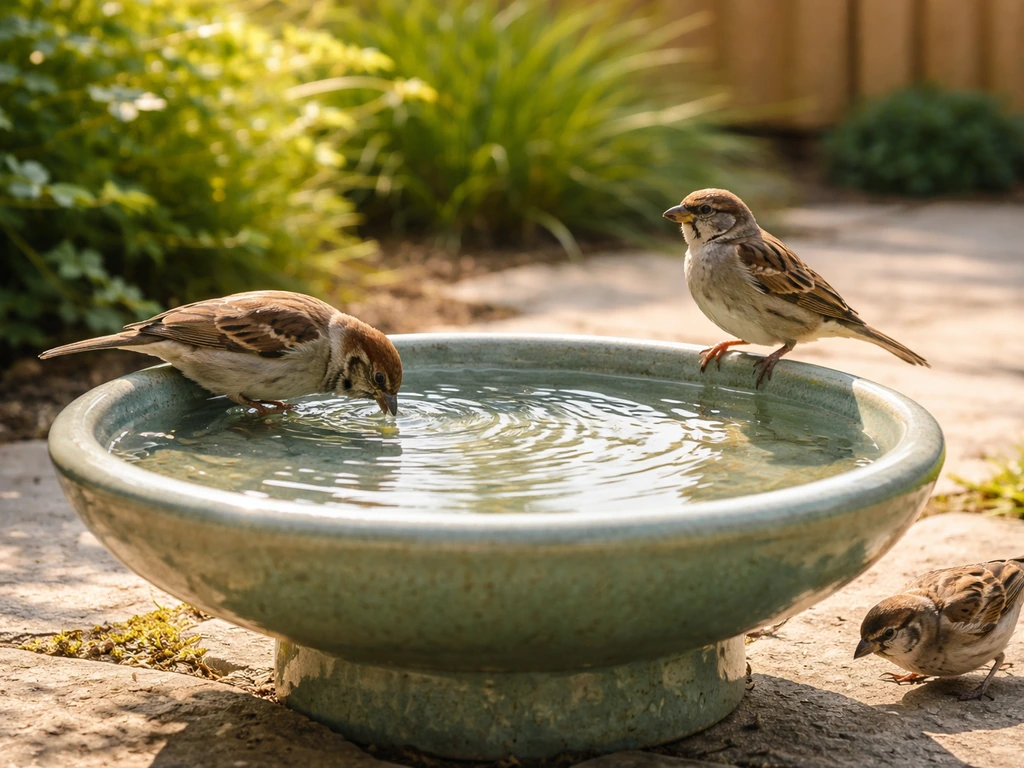
How to Make Bird Water and Get Birds to Drink Fast
DIY steps to make bird water and get birds drinking fast with safe setup, placement, and troubleshooting fixes.