A "bird base" is one of those terms that means different things depending on who you ask. Most backyard builders use it to describe either a platform or stand that a birdhouse or feeder sits on, or the mounting base that keeps a nest box secure on a post or pole. Less commonly, someone might mean the actual floor piece of a nest box itself. All of those interpretations are valid, and this guide covers them all. By the end, you'll know exactly how to build a sturdy, weatherproof base and the nest box that goes on top of it, with the right materials, the right measurements, and a placement strategy that actually attracts birds.
How to Make a Bird Base: DIY Stand for Birdhouses

Marcus Thornton
11 Apr 2026
What exactly is a bird base, anyway?
Let's clear this up fast. The "bird base" most DIYers are looking for falls into one of three categories: (1) a platform base that a freestanding birdhouse or feeder mounts onto, (2) the mounting base at the bottom of a pole or post installation, or (3) the floor piece of a nest box itself. In practical terms, all three share the same core requirements: they need to be stable, weatherproof, and built with bird-safe materials. If you're planning a full backyard setup, your bird base is really the foundation of the whole system, and getting it right means everything above it stays level, dry, and predator-resistant for years.
For most people reading this, the goal is a nest box or birdhouse mounted on a secure post or stand. That's what I'm going to walk you through in detail, because it's the most common and most rewarding DIY project in this space. If you're focused more on habitat as a whole, it's worth reading up on how to make a bird sanctuary in your backyard alongside this guide, since a great bird base is just the start of a bigger picture.
Choose the right design for your goal and the birds you want
Before you cut a single board, you need to know who you're building for. Different birds have very different requirements, and a nest box that works perfectly for a bluebird will be wrong for a chickadee or a wren. The design of your base and box together depends on three things: the target species, whether you're building for nesting or feeding, and how much weather exposure your site gets.
For cavity-nesting birds like bluebirds, chickadees, tree swallows, and wrens, you're building a closed nest box with a specific entrance hole diameter, a recessed floor, drainage, and ventilation. Bluebirds, for example, need an entrance hole of exactly 1.5 inches in diameter. Go bigger and you invite starlings. Go smaller and the bluebirds simply won't use the box. The box sits on top of your base/post, and the base needs to be stable enough that the box doesn't wobble or shift in wind, which can disturb nesting birds and make them abandon the site.
If you're building a platform base for a feeder or an open tray-style setup, the design is simpler: a flat, durable platform with drainage gaps or holes, mounted at the right height for the species you're targeting. Either way, the base itself is your anchor point, so build it with that responsibility in mind.
Materials, tools, and where to source them safely
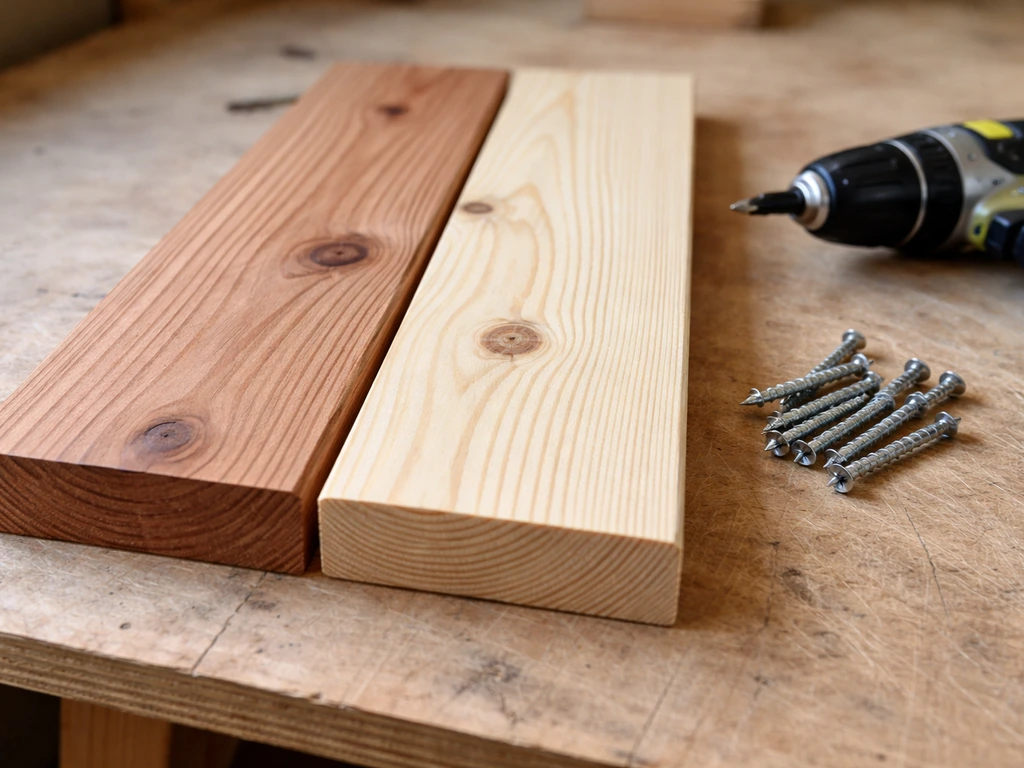
Wood choice is where a lot of first-timers go wrong. The rule is simple: use untreated, natural wood. Cedar is the gold standard for nest boxes and bases because it resists rot and insect damage naturally, without any chemical treatment. Untreated pine and fir also work well and are easier to find at lower prices. Whatever you use, it should be unfinished on the interior of any nest box. Never use pressure-treated lumber inside a box where birds will nest. The chemicals in treated wood can leach into the nesting cavity and harm eggs and chicks. Even if a treated wood is marketed as "safe," the consensus from birding organizations is clear: don't risk it.
For thickness, aim for 3/4-inch boards. This gives the box real insulation value and structural integrity without making it unnecessarily heavy. Thinner wood warps faster and offers less temperature buffering for nestlings. For the base platform or post mount, you can go slightly thicker if you want extra stability, especially in areas with strong winds or heavy snow loads.
On the exterior of the box, a water-based, non-toxic exterior paint or a light exterior stain is fine for the outside only. Earthy tones like brown, tan, or gray blend into the landscape and don't heat up the way dark colors do in summer sun. Never apply any finish inside the box, and never use oil-based paints or harsh sealants anywhere near the nesting cavity.
What to put in your shopping list
- Cedar or untreated pine boards, 3/4-inch thick (a single 6-foot cedar fence board often gives you everything you need for a standard nest box)
- Galvanized screws or galvanized nails (these resist rust and won't corrode the wood over time)
- Exterior wood glue for reinforcing joints
- A drill with a 1/4-inch bit for drainage holes and a hole saw or spade bit sized to your target species' entrance hole
- A jigsaw or handsaw for cutting boards to length
- Sandpaper (medium grit) for smoothing interior surfaces without making them dangerously slick
- A 4-inch PVC pipe section or sheet metal wrap for your predator guard
- A metal or wooden post (4x4 lumber or a metal conduit pipe works well)
- Exterior wood stain or water-based paint in a natural tone for the outside only
One thing I've learned: galvanized hardware is non-negotiable. I once used standard zinc-coated screws on an outdoor build and had rust streaks running down the box within a single wet season. Galvanized or stainless steel screws cost almost the same and last dramatically longer.
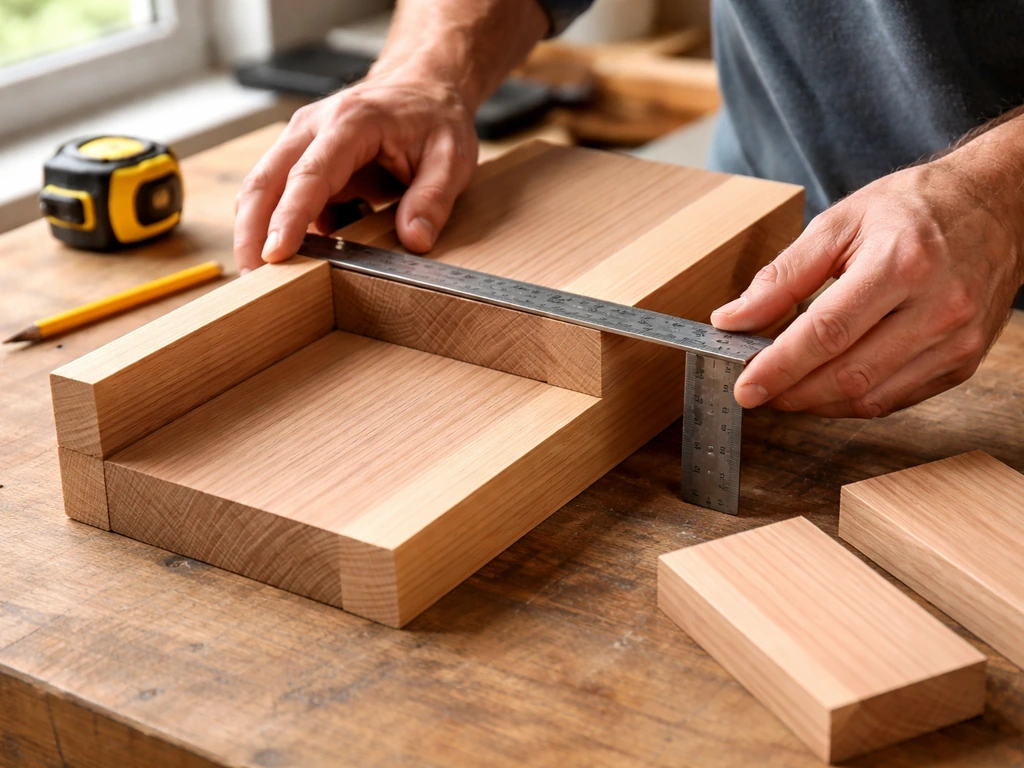
How to build it: measuring, framing, and putting it all together
I'm going to walk you through building a bluebird-style nest box with a secure post base, since that's the most common and most useful starting point. Once you understand this build, you can adapt the dimensions for other species easily.
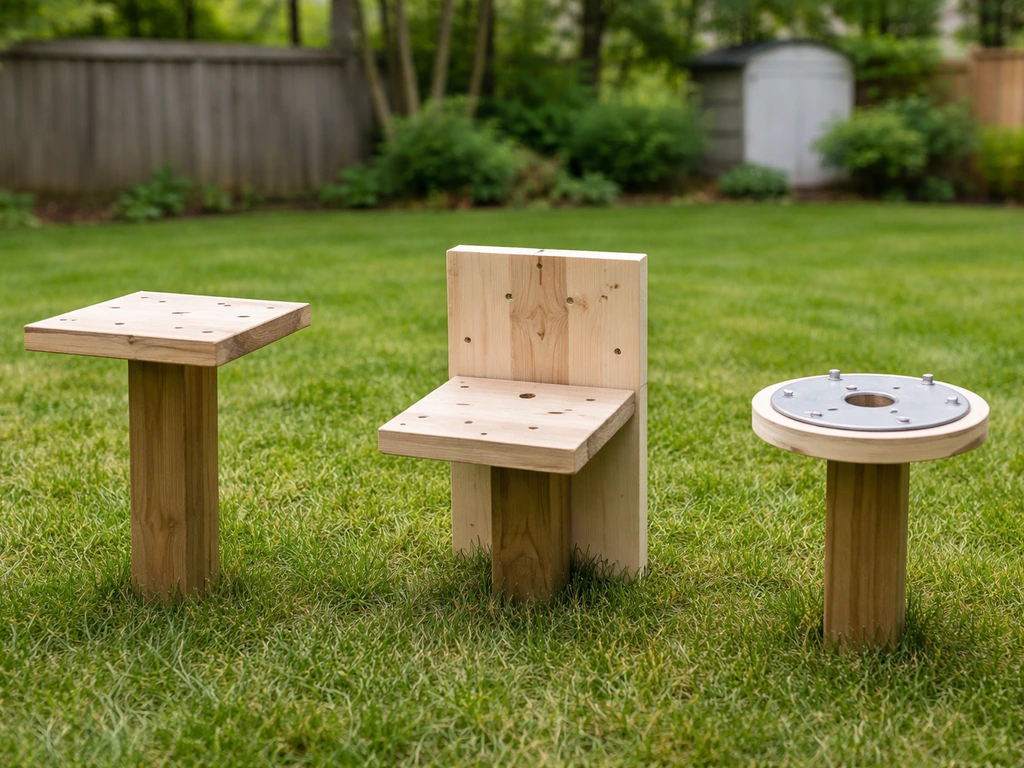
Cut your pieces first
From a standard cedar board, you'll cut six pieces: the front, back, two sides, roof, and floor. Audubon's bluebird box plan calls for the roof piece to be 11.25 inches by 11 inches, cut from 3/4-inch stock. The front piece should have your 1.5-inch entrance hole drilled before assembly, centered horizontally and placed high enough that the floor of the box sits about 5 to 6 inches below it. This depth below the entrance hole is intentional: it makes it harder for predators to reach in and grab nestlings.
One important detail on the front piece: leave a 1/2-inch ventilation gap at the very top where the front panel meets the roof. This gap allows warm, humid air to escape from the nesting cavity without letting rain in, because the roof overhangs it. Don't skip this step. A box that traps heat and moisture is a box that birds won't use, or worse, one where nestlings overheat.
Prepare the floor for drainage
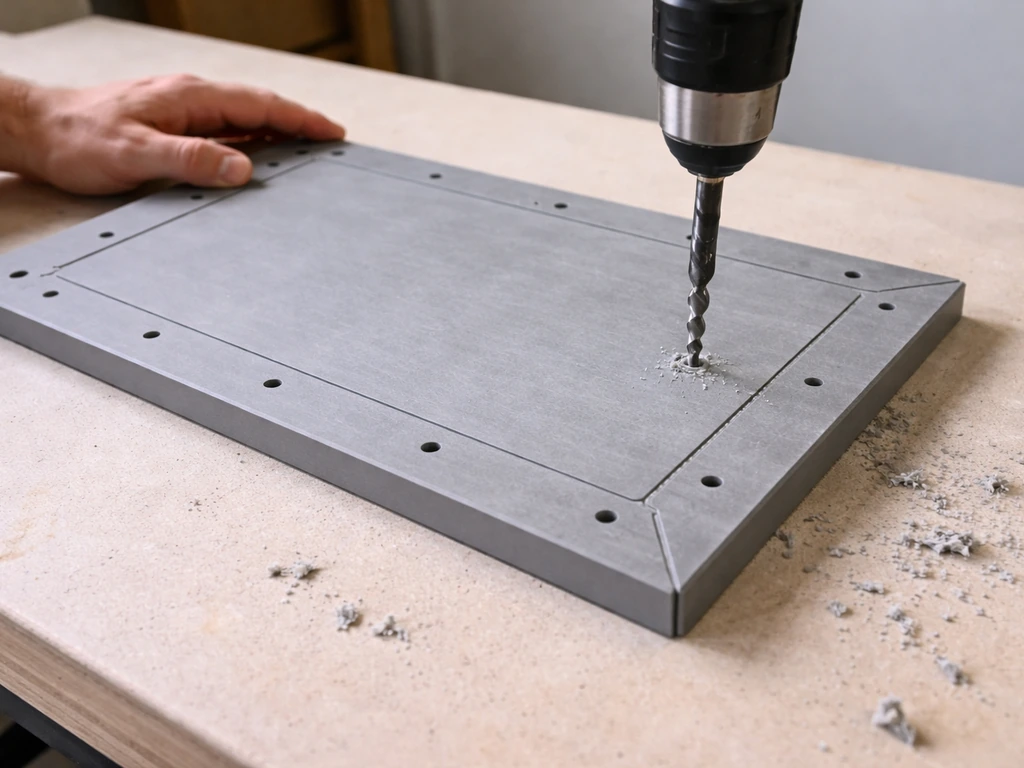
Before assembling anything, prepare your floor piece. Clip or cut away the four corners at a 45-degree angle, removing roughly 3/8 of an inch from each corner. Then drill at least four 1/4-inch drainage holes through the floor panel. This combination means any water that gets inside the box drains out immediately rather than pooling and soaking the nest material. It's a small step that makes a huge difference in keeping eggs and chicks dry during spring rains.
Rough up the interior below the entrance
Take your medium-grit sandpaper and score the interior of the front panel below the entrance hole with horizontal grooves or rough scratches. Alternatively, use a chisel to cut a few shallow horizontal kerfs. This texture gives fledglings something to grip as they climb up and out of the box when they're ready to leave. A smooth interior surface can trap young birds. This is one of those steps that seems minor but matters a lot.
Assemble and add ventilation
Assemble the box using galvanized screws rather than nails where possible, because screws give you the ability to disassemble and clean the box. Pre-drill pilot holes to prevent the cedar from splitting. Attach the sides to the back first, then the floor, then the front. The roof should be attached with hinges or a single pivot screw on one side so it can swing open for monitoring and cleaning.
Leave the 1/2-inch ventilation gap at the front-to-roof junction, and if you're in a hot climate, also drill two or three small vent holes just below the roofline on the side panels. Apply your exterior stain or paint to all outside surfaces after assembly, keeping all product away from the interior and entrance hole.
Entrance holes, landing details, and cleaning access
Skip the perch. I know it's tempting to add a little dowel below the entrance hole because it looks nice in photos, but don't do it. Perches are unnecessary for cavity-nesting birds like bluebirds (they have strong enough feet to cling to the entrance hole rim) and they actually give non-native species like house sparrows and European starlings an easier foothold to harass nesting birds. Leave the front panel clean below the hole.
Cleaning access is something a lot of beginner builds overlook entirely. If you can't open the box, you can't clean it between nesting seasons, and old nest material can harbor parasites that harm the next clutch. The easiest solution is a hinged roof panel: attach the roof with two screws on one side acting as a hinge point, and use a single screw or a hook latch on the opposite side to keep it closed. When you need to clean, remove the latch screw, swing the roof open, and scoop out the old nest. It takes about 30 seconds.
A side-opening panel is another solid option if you prefer easy access without leaning over the top of the box. Whatever method you choose, test that the access point opens and closes cleanly before you mount the box at height, because dealing with a stuck latch on a 6-foot pole is frustrating.
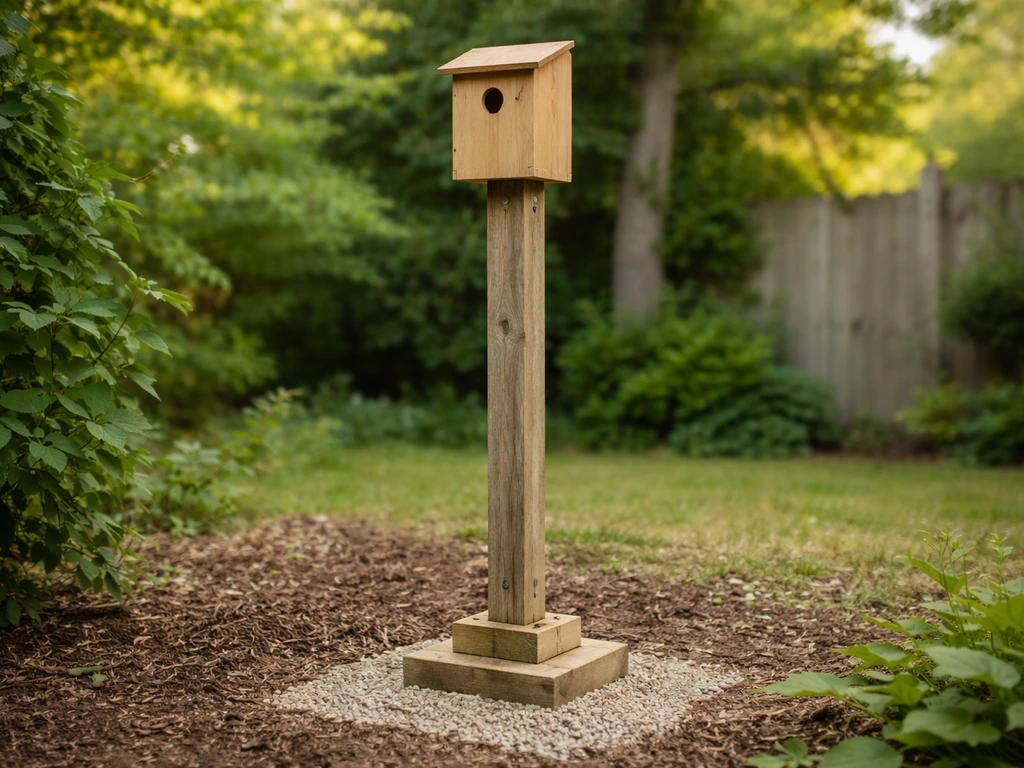
How to mount your bird base, and where to put it
Digging in and setting the post
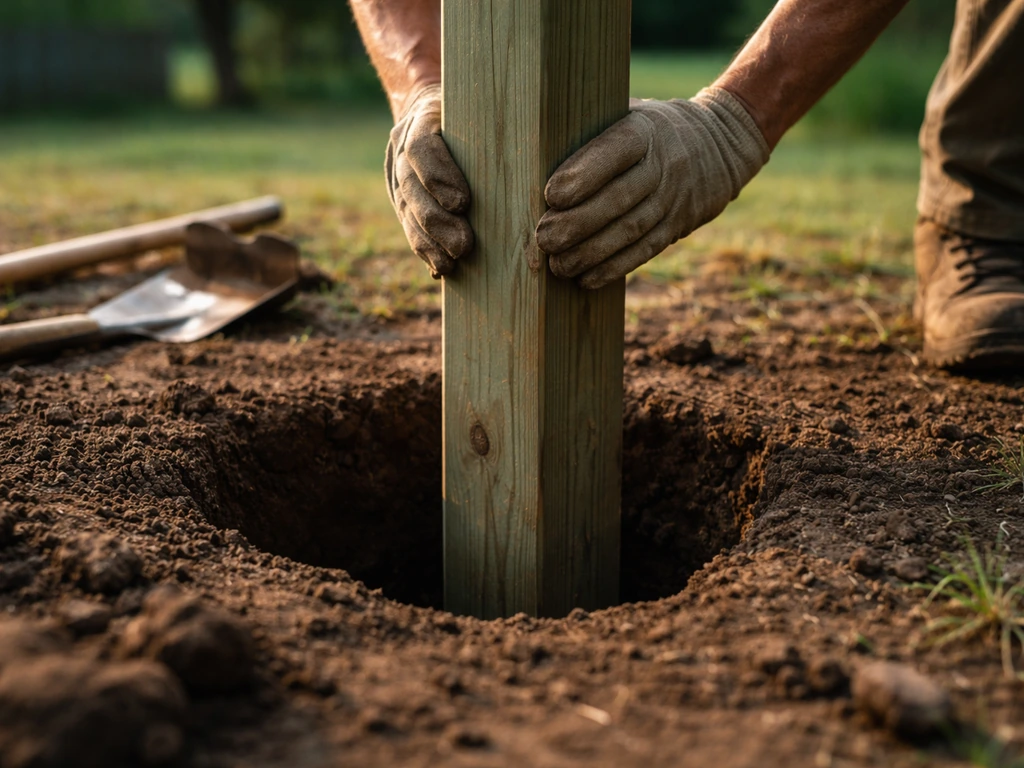
The most stable mounting method for a freestanding nest box is a wooden or metal post set directly into the ground. Dig your hole about 2.5 feet deep, drop in your post (a 4x4 cedar or pressure-treated post for the underground section only is fine, since birds never contact this part), and pack the surrounding soil firmly. For a metal conduit post, you can pour a small concrete collar around the base for extra stability in loose or sandy soil. The underground depth matters: a post set only 12 inches deep will wobble in wind and over time, which unsettles nesting birds and can cause the box to tilt or fall.
Height and orientation
Mount bluebird boxes at a minimum of 5 feet off the ground, with up to 10 feet being acceptable. Lower than 5 feet and ground predators like cats and raccoons can reach the entrance hole far too easily. For the direction the entrance faces, southeast or east is generally recommended, as it exposes the opening to morning sun (helping warm the nest early in the day) while avoiding the hottest afternoon heat. Strong prevailing winds should hit the back or side of the box, not the entrance.
Add a predator guard
A predator guard is one of the most impactful additions you can make and one of the most commonly skipped. The simplest version is a section of 4-inch PVC pipe or a sheet metal wrap placed around the mounting pole directly beneath the nest box. This smooth barrier stops raccoons, snakes, and squirrels from being able to grip the pole and climb up. Without one, you're essentially serving up the nest to whatever comes sniffing around at night. Slide the PVC section onto the pole before you mount the box, center it about 2 to 3 feet off the ground, and secure it so it can't be pushed down.
Spacing between boxes
If you're putting up more than one nest box, spacing matters. Bluebirds are territorial, and placing two bluebird boxes too close together usually results in one being abandoned or both being contested by tree swallows. A common and effective approach is to pair boxes: place two boxes about 15 to 25 feet apart from each other, and then space the next pair at least 100 yards away. This pairing strategy allows one box for bluebirds and one for tree swallows without direct competition, and it keeps the territory dynamics manageable.
Location: open habitat is key
Bluebirds specifically need open habitat with clear sightlines so they can spot insects on the ground from the box entrance. Connecticut DEEP also highlights that bluebird nest boxes should be placed in open habitat with proper sightlines and that mounting considerations can help protect nests from predators open habitat with clear sightlines. Open fields, orchards, meadow edges, and large mown lawns all work well. Dense tree cover and thick shrubs nearby make the site less appealing. For other cavity nesters like chickadees and wrens, you have more flexibility and can place boxes closer to wooded edges, but the same principle applies: the birds need clear flight paths to and from the entrance hole.
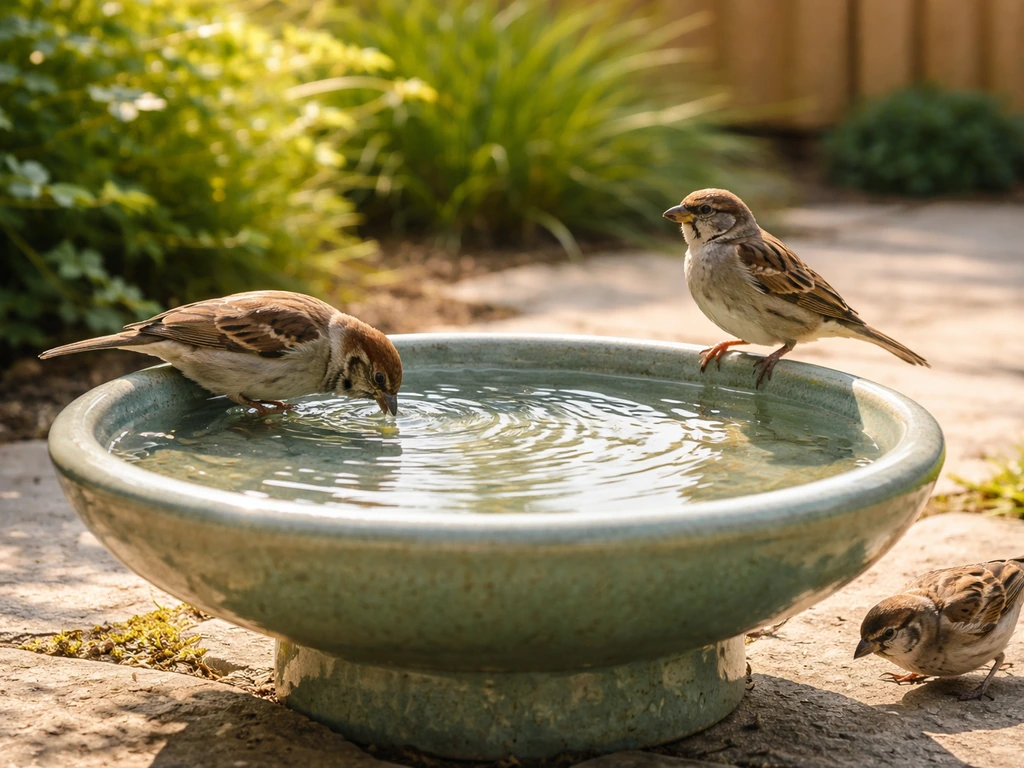
Putting together a bird-friendly environment around your base
The box and base are just part of the picture. Birds that nest in your yard need reliable water nearby, native plants that support the insects they eat, and year-round shelter options. Making sure your yard has reliable bird water close to the nesting area is one of the fastest ways to increase the chances that your boxes get used, especially during dry spells when natural water sources disappear.
If you're thinking about winter, the same post and base system you just built can support a roosting box or winter shelter. The construction principles overlap heavily, and a well-built base that goes up in spring can serve a different purpose by December. Learning how to build a winter bird shelter is a natural next step once your nesting box is in place.
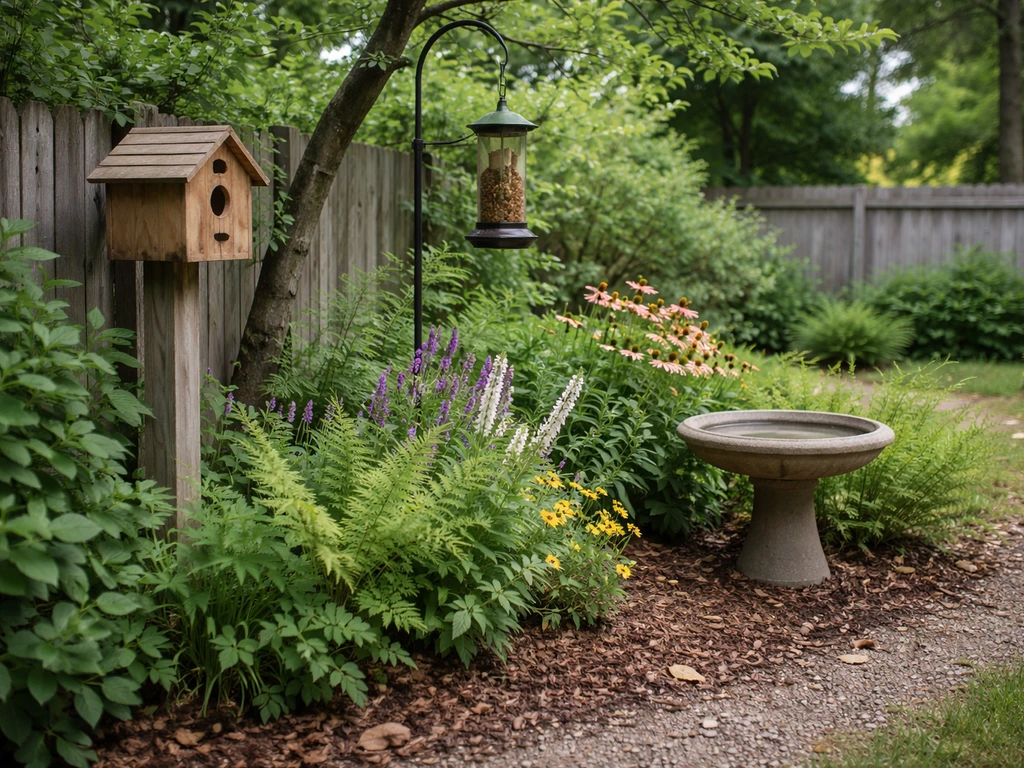
Beyond structure, the landscaping around your bird base has a real impact on who shows up. Native grasses, berry-producing shrubs, and insect-friendly flowering plants all increase the attractiveness of your site to nesting birds. If you want to think through the full picture of your outdoor space, exploring how to make your garden bird friendly will give you a solid framework for the plantings and features that complement your new build.
Quick-reference build specs for a standard bluebird nest box
| Component | Dimension / Spec | Notes |
|---|---|---|
| Wood thickness | 3/4 inch | Cedar preferred; untreated pine acceptable |
| Entrance hole diameter | 1.5 inches | Specific to bluebirds; adjust for other species |
| Floor-to-entrance depth | 5 to 6 inches | Reduces predator reach into the cavity |
| Floor drainage holes | Four 1/4-inch holes plus clipped corners | Prevents water pooling after rain |
| Ventilation gap (front/roof) | 1/2 inch | Leave this gap; do not seal it |
| Roof panel size | 11.25 inches x 11 inches | Overhang covers the ventilation gap |
| Mount height | 5 to 10 feet off the ground | At least 5 feet for predator resistance |
| Post burial depth | 2.5 feet into the ground | More in sandy soil; concrete collar optional |
| Box spacing (paired strategy) | 15 to 25 feet between paired boxes | Space pairs at least 100 yards apart |
| Entrance orientation | East or southeast | Morning sun, sheltered from prevailing wind |
| Predator guard | 4-inch PVC or sheet metal collar on pole | Place 2 to 3 feet above ground level |
Building a bird base is genuinely one of the most satisfying backyard projects you can take on, partly because the feedback loop is so clear: when a pair of bluebirds moves in and you watch them raise a brood, you know the build worked. Get the materials right, nail the drainage and ventilation, mount it at the correct height with a predator guard, and place it in the right habitat, and you've done everything you can. The rest is up to the birds.
FAQ
How do I know which “bird base” type I should build for my yard?
Look at what you are installing. If you are mounting a nest box on a pole or post, you need the post mount base. If you are putting out an open tray or feeder, you need a flat platform base. If you are building from scratch for a nest box, the “floor piece” is part of the box base, not a separate stand.
What entrance height or placement is best if I am adapting the bluebird dimensions for another cavity-nesting species?
Keep the relative geometry between the entrance hole and the floor (depth below the entrance) and match the entrance diameter to the target bird. If you change depth too much, predator access and airflow change, and the birds may abandon the box even if the hole size is correct.
Can I use deck screws or exterior construction screws instead of galvanized hardware?
You can, but only if they are truly corrosion-resistant outdoors (galvanized or stainless are the safe choices). Regular zinc-coated or interior screws often rust quickly and can stain or loosen in wet seasons.
Is it okay to skip pilot holes when assembling cedar so I can save time?
It is risky. Cedar splits easily near edges and screw heads. Pre-drill pilot holes to reduce splitting and maintain tight, square joins, especially on the front and roof sections.
How can I tell if my box is too hot or too wet even if it has a ventilation gap?
After a warm, humid day, check for moisture film inside the box (without disturbing nesting birds). If you regularly see condensation or water marks, increase airflow by adding small side vents near the roofline (in hot climates) and verify the roof overhang still covers the top gap.
Can I add a perch for convenience of cleaning or to help birds land?
For cavity nesters like bluebirds, a perch is usually a mistake. It increases access for non-native competitors and predators. Use hinged or side-opening access for cleaning instead of adding a landing feature.
What should I do if my post wobbles or the soil is loose after setting it?
Repack firmly while the soil is still workable, and consider a concrete collar for added stability if you are on sandy or shifting ground. A post set shallow (around a foot) commonly tilts over time, which can make nesting birds abandon the site.
How do I position the entrance direction if my yard does not have east or southeast exposure?
Aim for the entrance to face morning sun when possible. If you cannot, prioritize shelter from prevailing winds and avoid direct afternoon heat on the entrance side. A consistent wind pattern matters more than perfect compass direction.
How far apart should I space multiple boxes if I am not strictly targeting bluebirds?
Use conservative spacing to prevent territorial fights, especially between similar cavity nesters. The bluebird pairing approach (two boxes relatively close, then a larger gap to the next pair) is a good baseline, and you should increase distance if you see repeated conflicts or one box stays empty.
Is it safe to paint or stain the entire box before assembly?
Best practice is to finish only the exterior after assembly, while keeping interior surfaces and the entrance area uncoated. Finishing after assembly also prevents paint buildup in joints that could reduce drainage, ventilation gap function, or cleaning access.
How often should I clean the nest box, and what if birds are using it now?
Clean between nesting attempts and after the season, not while a brood is active. If you open it and find fresh nesting material, close it immediately and wait until the birds stop using it. Old nests can harbor parasites, so plan to remove them promptly after birds leave.
Do I need a predator guard if I am placing the box higher than 5 feet?
Height helps, but it does not replace a guard. Predators can still reach by climbing poles or using nearby cover. A smooth barrier on the pole beneath the box reduces climbing access and is one of the highest-impact upgrades.
What drainage approach works best if my area gets heavy spring rain?
Use drainage holes in the floor panel plus the angled corner relief so water does not pool. After installation, briefly inspect under the box after a rain event to confirm water is escaping downward rather than running back into the nest cavity.
Will untreated pine or fir last as long as cedar in wet climates?
They can work, but cedar generally lasts longer due to natural rot and insect resistance. If you choose pine or fir, be extra strict about exterior-only finish, keep the box well-separated from ground splash, and inspect screws annually for corrosion or loosening.
Next Articles
How to Make Bird Water and Get Birds to Drink Fast
DIY steps to make bird water and get birds drinking fast with safe setup, placement, and troubleshooting fixes.
How to Make a Bird Sanctuary in Your Backyard
Step-by-step DIY plan to create a backyard bird sanctuary with feeders, baths, nesting boxes, native plants, safety, and

How to Build a Chimney Swift Bird House DIY Guide
Step-by-step DIY plans to build a chimney swift bird house, with correct dimensions, placement, and weatherproofing for