You can build a stable, predator-safe birdhouse stand in a weekend using basic lumber, a metal post or pipe, a few hardware pieces, and some exterior-grade screws. The key is matching the stand height and mounting style to the bird species you want to attract, then adding a baffle below the box so cats, raccoons, and squirrels can't reach it. Get those two things right and you're most of the way there.
How to Make a Bird House Stand: DIY Steps and Tips

Marcus Thornton
3 May 2026

Pick the right birdhouse size for the species you want
Before you cut a single board, decide which bird you're building for. The interior floor size, entrance hole diameter, and mounting height all change dramatically depending on the species. I've made the mistake of building a box I liked the look of, then wondering why nobody moved in. It almost always came down to the wrong hole size or the wrong height.
| Species | Floor Size | Entrance Diameter | Hole Height Above Floor | Box Height Above Ground |
|---|---|---|---|---|
| Eastern Bluebird | 5 x 5 in | 1.5 in | 4–10 in | 4–10 ft |
| Black-capped / Carolina Chickadee | 4 x 4 in | 1 1/8 in | 4–8 in | 6–15 ft |
| American Kestrel | 8 x 8 in | 3 in | 9–12 in | 8–30 ft |
These dimensions matter for two reasons: the floor size determines whether a nesting pair has enough room to raise a clutch comfortably, and the entrance hole diameter is essentially a bouncer at the door. A hole that's too big lets in house sparrows or starlings; one that's too small simply won't be used. Measure twice and cut the entrance hole carefully because you can't make it smaller once it's done.
Spacing matters too, especially for bluebirds. Because they defend nesting territories, you should space individual boxes at least 100 yards apart, and ideally out of line of sight from the nearest bluebird box. If you're planning multiple stands, map out the yard first before you start digging.
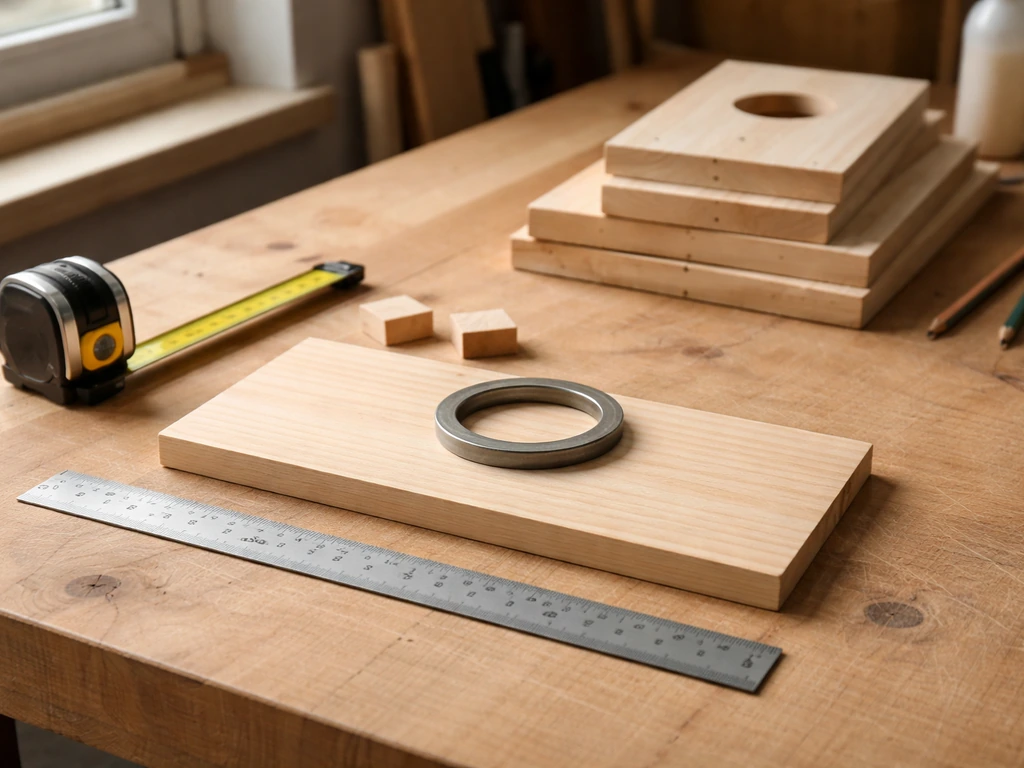
Materials and tools you actually need
The best wood for a birdhouse is untreated, unpainted, scent-free lumber. White cedar, western red cedar, hemlock, and cypress are all excellent choices because they're naturally rot-resistant and low in toxicity. Avoid pressure-treated wood entirely. The preservatives used in treated lumber are genuinely harmful to nesting birds, especially nestlings in a small enclosed box. If you're on a budget, rough-cut pine from a local sawmill works fine; just plan to check it and repaint the outside every couple of seasons.
For the stand itself, a 4x4 wooden post or a 1.5-inch galvanized steel conduit pipe are both solid choices. The pipe is my preference for predator-proofing reasons I'll get into below, but a properly baffled wooden post works just as well. Pick whatever is easier to source locally.
Materials list
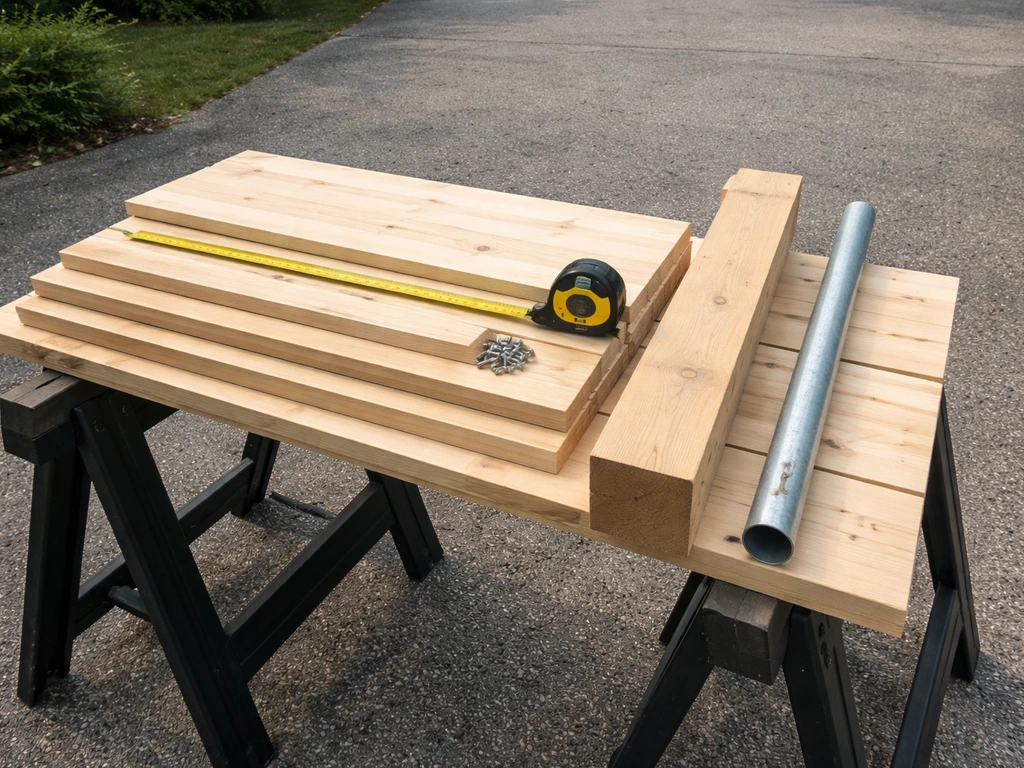
- 1x6 or 1x8 untreated cedar or pine boards (enough for five panels: front, back, two sides, floor, and a roof)
- 4x4 wooden post (8 ft is a good all-purpose length) OR 1.5-inch galvanized steel conduit (10 ft)
- Exterior-grade 1.5-inch and 2-inch screws (coated deck screws work great)
- Galvanized or stainless steel hinges (for the cleanout door)
- A metal stovepipe baffle (6-inch diameter, 24 inches long) or a cone-style predator guard
- Post anchor or drive spike for ground mounting (or deck bracket if rail-mounting)
- Exterior wood glue
- Non-toxic, water-based exterior paint or raw linseed oil for the outside surfaces only
- A drill with a 3/8-inch bit, a 5/8-inch bit, and a hole saw or spade bit sized for your entrance hole
- A handsaw or circular saw
- A level
- Sandpaper (80 and 120 grit)
You don't need a workshop. I've built plenty of these on a pair of sawhorses in the driveway. If you don't own a hole saw, most hardware stores will loan or rent one, or you can buy an inexpensive spade bit set for a few dollars. A jigsaw works for curves on the roof if you want one; otherwise a flat shed roof is simpler and just as effective.
Build the birdhouse body
Cut your panels to the species-appropriate dimensions from the table above, then follow this sequence. The order matters because some cuts are much easier before assembly.
- Cut the floor panel first and drill four drainage holes (3/8 to 1/2 inch diameter) near the corners. These let rainwater escape so the nest doesn't sit in a puddle.
- Cut both side panels and drill two ventilation holes (5/8 inch diameter) near the top of each side wall, four holes total. Good airflow prevents overheating on hot days, which can be fatal to nestlings.
- Cut the front panel and use a hole saw or spade bit to cut the entrance hole at the correct diameter and height for your target species. Sand the inside edge smooth so birds don't snag feathers.
- Do NOT add a perch below the entrance hole. Perches look cute but give predators and pest birds a foothold. Every birdhouse I've seen with a perch ends up attracting house sparrows.
- Rough up the inside front wall below the entrance hole with a few horizontal saw cuts or coarse sandpaper. This gives fledglings something to grip when they're ready to leave.
- Assemble the floor to the back panel first, then attach the side panels, then the front. Use exterior screws plus a dab of exterior wood glue at each joint for a weather-tight fit.
- Attach one side panel on a hinge instead of screwing it permanently. This is your cleanout door. You'll thank yourself every single time you need to monitor or clean the box.
- Cut the roof panel with a slight overhang of at least 2 inches over the entrance hole to shed rain. Attach it with screws but leave it removable if you want easy top access.
- Sand all outside edges lightly, then apply one coat of non-toxic exterior paint or raw linseed oil to the outside surfaces only. Never paint or finish the inside of the box.
Entrance hole, placement features, and weatherproofing

The entrance hole is the most critical measurement in the whole build, so double-check it before you cut. For bluebirds, 1.5 inches is the magic number. For chickadees, 1 1/8 inches keeps out larger competitors. For kestrels, you need a full 3-inch opening. A hole that's even 1/8 inch too large can allow a competing species to evict the intended residents.
Weatherproofing starts at the roof. A slight forward slope (even just a 15-degree angle) helps rain run away from the entrance. If you live somewhere with heavy rain or intense afternoon sun, consider a roof overhang of 3 inches rather than 2. Caulk the seam where the roof meets the back panel on the outside only, using a non-toxic, water-based exterior caulk. Don't seal the inside; you want air movement, not an airtight box.
Orient the entrance hole facing away from prevailing wind and, where possible, toward the east or southeast. Morning sun warms the box gently; afternoon western sun in summer can overheat it. This is one of those small choices that genuinely affects whether birds use the box.
Mounting options for a stable, predator-safe stand
There are four main stand styles worth knowing. Each has real trade-offs, and the best one depends on your yard, your budget, and which species you're targeting.
Option 1: Freestanding post-mounted stand
This is the most common and most bird-friendly approach. This freestanding approach is one of the most straightforward ways to build a bird stand while keeping the structure stable and bird-friendly. Drive a 4x4 wooden post or a galvanized steel conduit pipe 2 feet into the ground (or use a post-anchor bracket set in concrete for rocky or sandy soil). The remaining height above ground puts the box at the right elevation for your species. Attach the birdhouse to the top of the post with two lag screws through the back panel, or build a small mounting platform on top of the post and screw the box floor down to it. A steel conduit pipe is harder for predators to climb than wood, which is a real advantage.
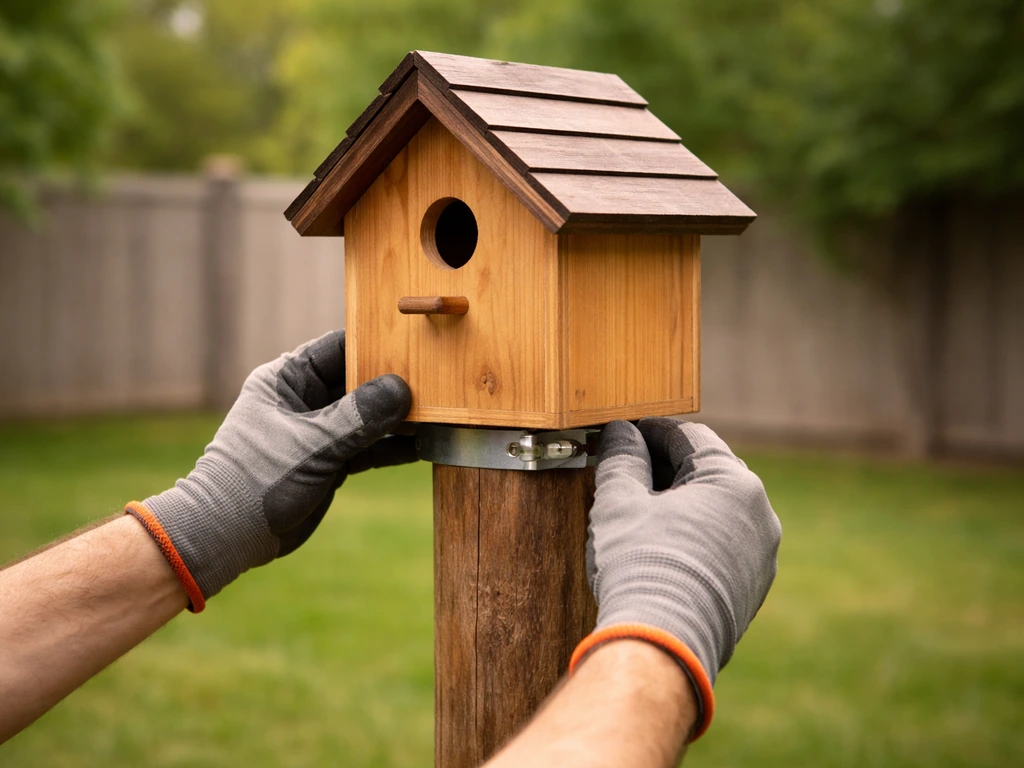
Option 2: Deck or railing bracket stand
If you can't dig into the ground (renting, or solid hardscape), a sturdy L-bracket or post-mount bracket bolted to a deck railing or fence post works well. Use a bracket rated for at least 50 lbs, tighten all bolts fully, and check it for wobble before the season starts. The limitation here is height, since most railings top out around 4 feet, which suits chickadees and wrens but isn't ideal for kestrels. You'll also need to be more deliberate about predator guards since the deck itself becomes a platform for climbing animals.
Option 3: Hanging stand (for a tree or arbor)
Hanging a birdhouse from a branch or shepherd's hook post is simple and adjustable, but honestly it's my least favorite option for most cavity-nesting species. The box swings in wind, which discourages nesting, and it's very hard to add an effective predator guard. If you go this route, use a short length of chain rather than rope (rope rots), keep the swing to a minimum with a secondary anchor line, and be prepared for lower occupancy rates compared to a solid post mount.
Option 4: Freestanding base stand
A freestanding stand uses a weighted base (a concrete block, a cross-base made from 2x4s, or a commercial post anchor) so you can move the whole setup without digging. It's great for renters or for experimenting with placement before committing to a permanent install. The trade-off is stability: make sure the base is heavy enough that the stand won't tip in a storm. A cross-base made from two 24-inch 2x4s screwed in an X pattern with a 10-pound concrete block on top is a cheap and effective solution.
Predator guards: don't skip this step
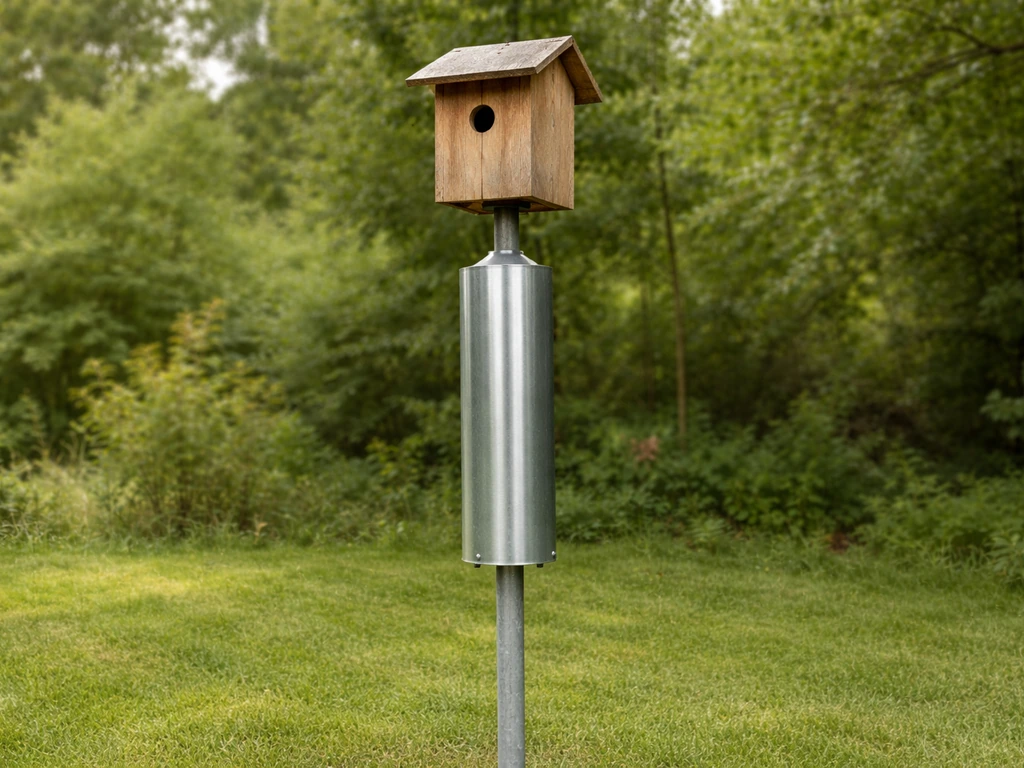
A stovepipe-style metal baffle is the most effective predator deterrent for a pole-mounted box. Use a 6-inch diameter, 24-inch long section of galvanized stovepipe mounted on the pole about 4 to 5 feet above the ground. The slippery metal surface stops raccoons and cats cold. Install the baffle before you mount the birdhouse on top, since it's impossible to slide it on afterward. If you're mounting on a wooden post, a cone-style metal baffle works similarly. Avoid placing the box on a tree trunk or fence unless you can attach a proper guard, because those structures give predators too many footholds.
For boxes already occupied by nesting birds, a Noel guard (a wire mesh cylinder attached around the entrance hole) adds a second layer of protection against raccoons or snakes reaching in. It's an easy retrofit if you notice predator activity mid-season.
Maintenance, troubleshooting, and keeping the stand going year after year
Cleaning routine
Clean the box after each brood fledges. Open the hinged side panel, remove the old nest completely, and scrub the interior with a 10% bleach-to-water solution. Rinse it well and let it dry fully before closing it back up. At the end of the season, clean it out again. If mice moved in over winter (and they often do), give it an extra thorough wash before the next nesting season starts. A box that smells like mouse is less attractive to birds than a clean one.
No birds moving in
If the box sits empty for a full season, work through this checklist before giving up. First, check the height and entrance hole size against the species table above. Second, check the direction the entrance faces: is it catching prevailing wind or harsh afternoon sun? Third, check for competing nest boxes nearby (for bluebirds, anything within 100 yards). Fourth, look for nearby brush or dense shrubs right next to the post, since predators use these as a launch point. Moving the box just 10 to 20 feet sometimes makes the difference.
Rot and weathering
Even cedar degrades over time. Check the box and post every spring for soft spots, cracks, or loose screws. The floor and the bottom few inches of the back panel take the most moisture stress. If the floor starts to feel soft, replace it before it fails entirely. Refinish the exterior with a fresh coat of water-based exterior paint or linseed oil every two to three seasons. Never refinish the interior.
Insects and wasps
Finding insects in a nest box is almost always normal. Most arthropods in there are harmless or even beneficial. The two pest situations worth dealing with are wasp nests (usually in early spring before birds claim the box) and mite or blowfly infestations that are bad enough to threaten nestlings. For wasps, remove the nest when the box is unoccupied and rub a thin layer of bar soap on the interior ceiling, which discourages them from rebuilding. For mites, if you see a severe infestation during monitoring, remove the old nest and replace it with fresh dry grass during the nesting period. Avoid chemical pesticides entirely near an active nest box. The risks to nestlings far outweigh any benefit.
Wobbly stands
A stand that wobbles is a stand birds won't trust. If your post moves, check that the ground anchor is still seated firmly (frost heave can loosen even well-set posts over winter). Re-tamp or re-set the post in early spring. For bracket-mounted stands, re-tighten all bolts at the start of each season. It takes five minutes and it matters.
What to tackle next
Once your birdhouse stand is up and leveled, the natural next projects are refining the stand itself or expanding your backyard setup. A simple garden bird stand (a post with multiple attachment points for feeders and a box) is a great companion project that serves both nesters and visiting birds year-round. If you want to go bigger or branch out into perch-style structures for non-cavity nesters, building a dedicated bird tree stand or a multi-arm bird stand opens up a lot of options for attracting different species to the same area. If you want to go bigger, see how to make a bird tree stand next for perch-style options and multi-arm setups. And if you're mounting multiple boxes in an open field, a proper bird house pole setup keeps everything at the right height and makes the whole trail easy to monitor and clean on a schedule. When you’re building a birdhouse pole, don’t forget a predator guard like a stovepipe-style baffle to protect the entrance.
FAQ
What should I check first if nobody moves into the bird house after I build it correctly?
If birds are not using the house, first verify the entrance hole diameter and the mounting height for the target species, then check that the box is not in line with a competing box or sheltered predator pathway (brush directly next to the post). If those match, reassess roof orientation and sun exposure, overheating from late afternoon west sun can reduce occupancy even with the correct hole size.
Can I adjust the stand height after birds start investigating the box?
For most cavity nesters, raising the box slightly is better than lowering it if you are unsure, but only within the species’ acceptable height range. If you need to adjust, do it before the season peaks, ideally early in the nesting window, because frequent disturbances later can cause abandonment.
Is it okay to paint or stain the inside of the birdhouse to make it look nicer or more water-resistant?
No. Even “natural” or “wildlife-safe” finishes can add scents or residues inside the box that deter nesting. Keep the interior raw (treated only by build-time drying), and apply any paint or oil only to the exterior surfaces after the wood fully cures.
Can I add extra waterproofing around the roof and seams to prevent leaks?
Yes, but only if you still maintain ventilation and avoid trapping moisture. Do not run caulk or sealant along interior seams, instead focus water control at the roof seam and external joints, and leave enough gaps for airflow so the nest area stays dry.
Which predator guard type works best if my stand is on a wood post versus metal pipe?
Choose the guard that matches the mounting style and predator pressure in your yard. For pole-mounted stands, a stovepipe-style baffle is typically the safest choice, while cone-style baffles are more appropriate for wooden posts. Avoid improvising with materials that leave footholds, predators will use any climbable surface below the entrance.
How tight do the screws and bolts need to be so the stand doesn’t wobble?
A snug fit is important for stability, but overtightening can crack older cedar over time. After installation, do a quick wobble test by pushing the box firmly; if it moves, re-seat the anchor or re-tighten bolts before the first nesting attempt rather than waiting for a problem later.
What is the safest way to handle pest problems if birds are already nesting?
Replace the box content but keep timing in mind. For an emergency cleanout due to severe mites or a wasp problem, remove the old material when the box is unoccupied or immediately when you confirm the risk, then return it only when you are not actively handling nesting adults. Avoid repeated visits that can chill or stress nestlings.
If my first location fails, how far should I move the stand?
Yes. If the stand is empty for a full season, you can move it 10 to 20 feet and often improve results by changing both predator access routes and sight lines to competitors. Aim to reduce sheltering brush right beside the post and avoid areas where the entrance faces direct wind bursts.
Should I rebuild the entire birdhouse or only adjust placement if it didn’t work the first year?
In most cases, the best next step is to confirm that the entrance hole size and entrance height are correct for your target species before making any stand changes. If those are already correct, adjust placement and microclimate factors, then monitor for a year, because many species start later when conditions look stable.
How can I prevent rot at the bottom and back panel seams?
Use only non-toxic, water-based exterior caulk on external roof-back seams, and keep the inside unsealed. Also ensure the roof has a slight forward slope so water runs away from the entrance, if you seal a flat roof seam without slope you can trap moisture and rot the bottom boards first.
Do I need to clean the box immediately after nesting, and what if mice used it over winter?
After each brood fledges, fully remove old nest material and scrub the interior, then let it dry completely before closing. If mice may have used it over winter, expect to do an extra thorough cleaning because lingering odor can reduce next-season interest.
Next Articles
How to Make a Bird House Pole: DIY Mounting Guide
Step-by-step guide to build a sturdy birdhouse mounting pole, choose materials, set height, prevent wobble, and weatherp
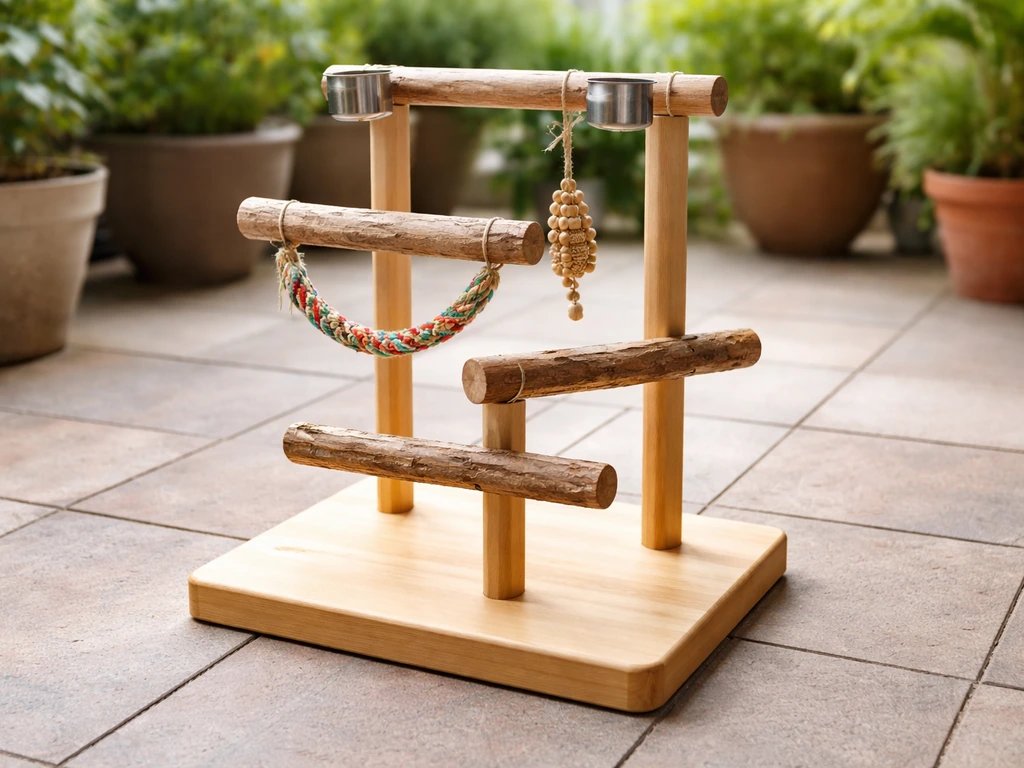
How to Build a Bird Play Stand: DIY Step-by-Step
Step-by-step DIY guide to build a stable bird play stand with safe perches, levels, enrichment, and non-toxic finishes.
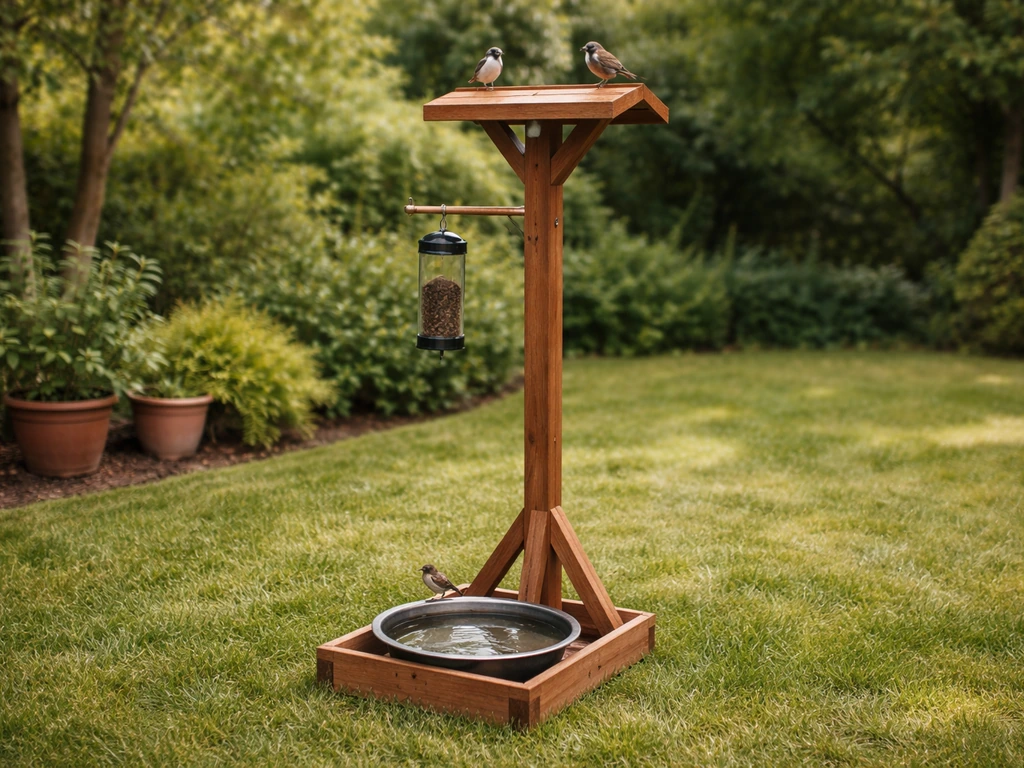
How to Make a Bird Stand for the Garden DIY
Step-by-step DIY guide to build a stable, weatherproof freestanding bird stand for perching, feeding, and watering.