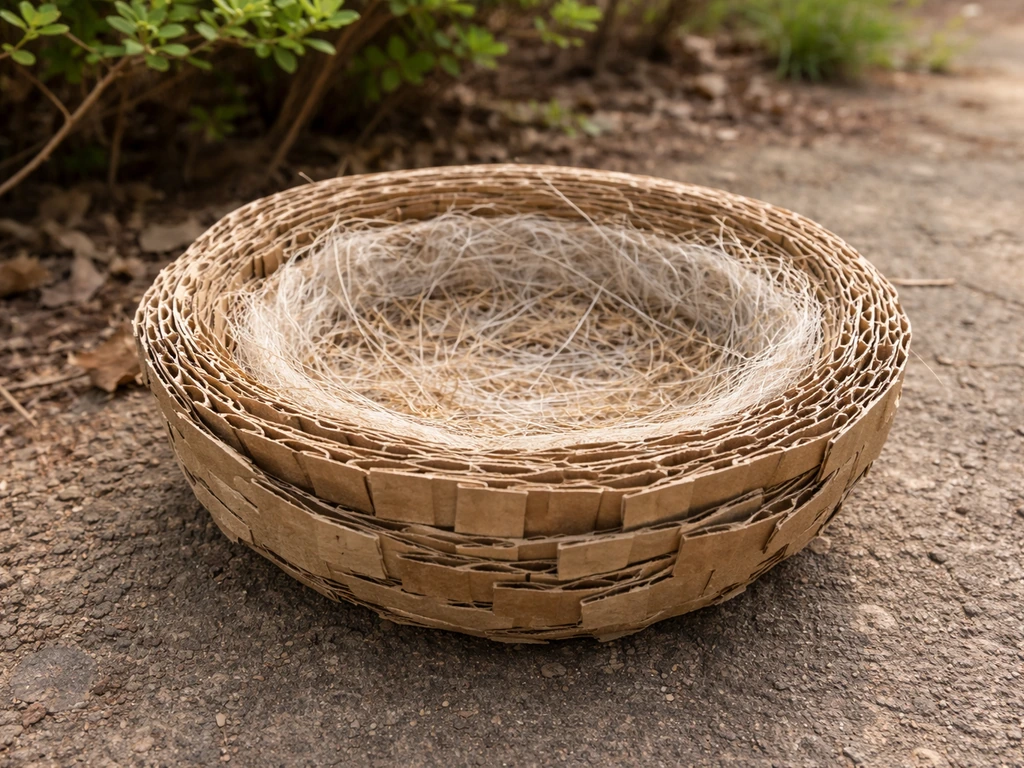
You can make a functional cardboard bird nest in under an hour using nothing more than a cereal box or shipping carton, some natural twine, and a handful of dry grass or torn paper towels. The result is a shallow bowl-shaped cup that you place inside a sheltered spot, like a hanging nest basket or a ledge under the eaves, giving local birds a ready-made foundation to build on or a safe temporary nest for displaced nestlings. It is not a permanent structure and it will not outlast a wet season, but it works exactly when birds need it most.
How to Make a Bird Nest With Cardboard Step-by-Step

Marcus Thornton
15 May 2026
Why make a cardboard bird nest (and what it is actually for)
A cardboard nest is not meant to replace a wooden nest box. Think of it more like a scaffold or a starter cup. Birds like American Robins and Chipping Sparrows build open cup nests, and a shaped cardboard bowl gives them a stable base to anchor their own materials onto. The other big use case is a surrogate nest: if you find a fallen nest with nestlings still in it, wildlife rehabilitators at places like Tufts Wildlife Clinic recommend placing the birds into a lined container as close as possible to the original nest site while you arrange proper help. A cardboard food container or small box, shaped and lined correctly, can literally save young birds' lives in that situation.
For DIY birding purposes, a cardboard cup nest works best as a seasonal enrichment project. You set it out during nesting season (roughly March through August in most of North America), and you accept that it is a temporary structure. Some birds will use it as a base and coat it with mud and grass until it is barely recognizable. Others will ignore it entirely and build next to it. Either outcome is fine. The point is to give birds an option, not to force a design on them.
Choosing the right cardboard and safe materials
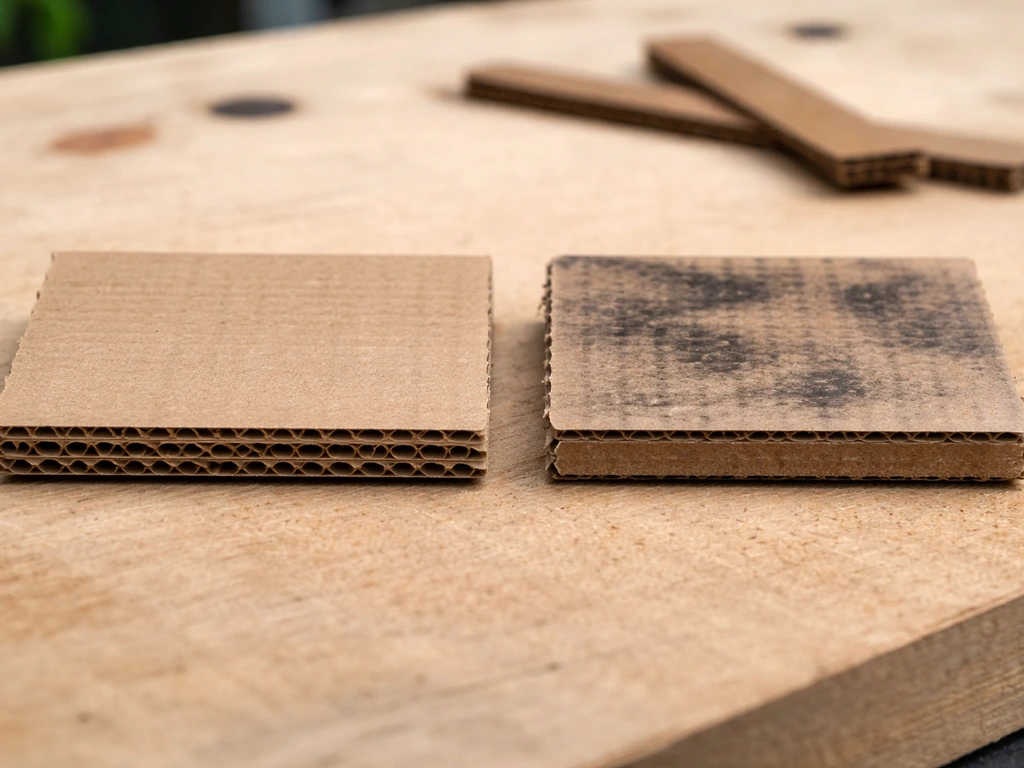
Not all cardboard is equal, and the wrong choice can genuinely harm birds. The safest option is plain corrugated cardboard with no wax coating, no glossy surface, and no heavy ink printing on the inside surfaces that will contact the nest lining. Cereal box cardboard (thin, brown on the inside) is fine for the lining layer. Shipping box corrugated cardboard is better for the structural base because it holds a curve without cracking. Avoid anything that feels slick or waxy to the touch, anything with metallic inks, or boxes that previously held cleaning products or chemicals.
One thing I learned the hard way: cardboard cartons do not regulate temperature the way wood does. NestWatch specifically flags this, noting that thin cardboard is a poor insulator compared to solid materials. That is not a reason to skip the project, but it is a reason to always place the finished nest inside a proper shelter rather than leaving it exposed to direct sun or rain.
For binding and lining, stick to natural, bird-safe materials only. The list of what to avoid is longer than most people expect. NestWatch warns that yarn and other stringy items can be dangerous for birds because long fibers can wrap around feet, wings, or the neck of nestlings, potentially trapping them or restricting airflow.
| Material | Safe to use? | Why |
|---|---|---|
| Plain corrugated cardboard (uncoated) | Yes | Sturdy, moldable, biodegradable |
| Cereal box cardboard (unprinted side) | Yes | Good for inner lining layer |
| Dry grass or straw | Yes | Mimics natural nest material |
| Torn paper towels or newspaper | Yes | Recommended by Tufts Wildlife Clinic as safe lining |
| Natural jute twine (short lengths under 3 in) | Yes, with caution | Useful for binding; cut short to prevent entanglement |
| Yarn or string (any length) | No | Long fibers can wrap around legs, wings, or necks of nestlings |
| Dryer lint | No | Can cause internal blockage if ingested; compacts when wet |
| Plastic strips, tinsel, cellophane, or foil | No | Choking hazard; identified as unsafe by Cornell Lab and Canadian Wildlife Federation |
| Felt or synthetic cloth scraps | No | Potential choking hazard; does not break down safely |
| Hot glue or synthetic adhesives | Avoid on inner surfaces | Can stick to feathers; some formulas are toxic when warmed |
| Wax-coated or glossy cardboard | No | Coating can flake off and be ingested by nestlings |
For binding the cardboard structure together, white PVA glue (plain school glue) diluted slightly with water works well on exterior joints and dries flexible enough that the bowl will not crack. Keep glued surfaces on the outside of the cup only. The interior, where birds and chicks will actually be sitting, should be lined with natural materials rather than adhesive.
Step-by-step: make a sturdy cardboard nest
Before you start cutting, gather everything you need. You will want a piece of corrugated cardboard roughly 12 by 12 inches for a medium-sized nest, scissors or a utility knife, a pencil, a ruler, diluted PVA glue and a brush, a bowl or round container to use as a mold (about 4 to 5 inches in diameter works for most backyard songbirds), binder clips or clothespins to hold seams while they dry, and your lining materials like dry grass, moss, or torn paper towels.
- Draw and cut the base circle. Trace a circle approximately 5 to 6 inches in diameter on your corrugated cardboard. This becomes the flat bottom of the nest cup. Cut it out cleanly. If you score the surface lightly first with a knife, the scissors will follow the line more accurately.
- Cut the side strip. Cut a long strip of cardboard about 3 inches tall and long enough to wrap around the base circle (roughly 16 to 18 inches long for a 5-inch base). Corrugated cardboard curves more easily if you roll it against the edge of a table first, working the grain gently until it flexes without cracking.
- Score the bottom edge of the strip. Using a ruler and a blunt tool like a butter knife, score a line along the bottom edge of the strip about half an inch up from the bottom. This scored flap will fold outward and create a gluing tab that attaches the side wall to the base.
- Make relief cuts. Every inch or so along the scored flap, cut straight up to the score line. These small tabs let the strip curve smoothly around the circular base without bunching. This is the step most beginners skip, and the result is a lumpy, uneven bowl. Take your time here.
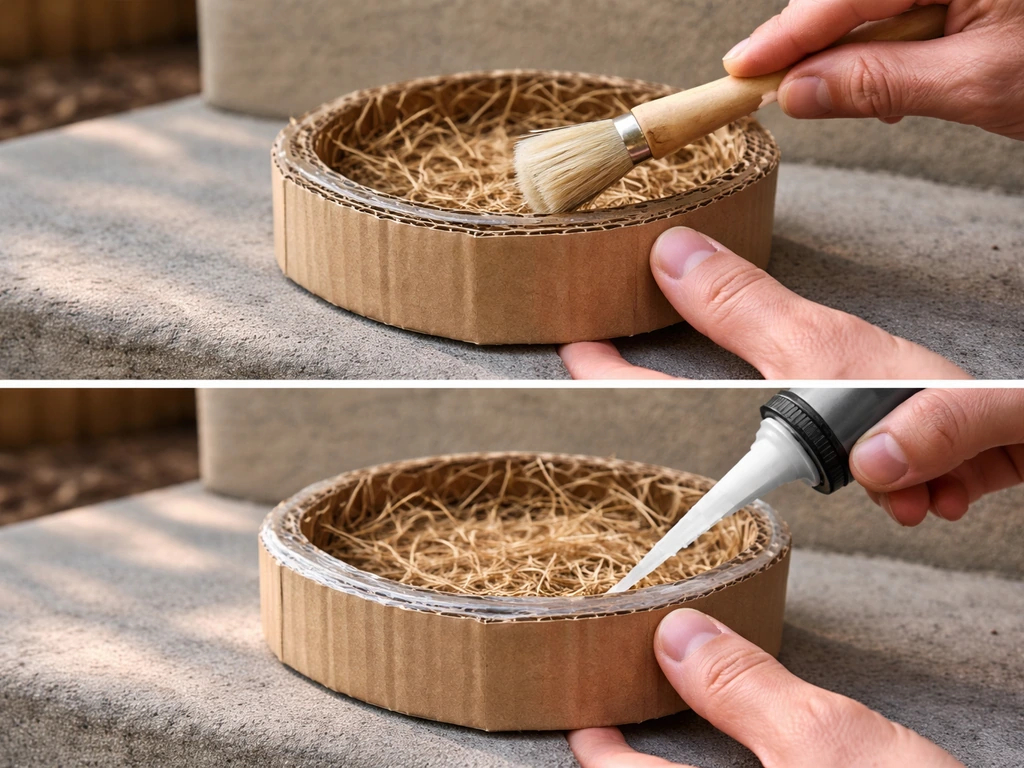
- Glue the side wall to the base. Brush diluted PVA onto the tabs and press them firmly against the underside of the base circle. Work your way around slowly, using binder clips to hold each section while the glue sets. Give it at least 20 to 30 minutes before removing the clips.
- Reinforce the seam. Run a second bead of glue along the inside joint where the side wall meets the base. Smooth it with a finger or a small brush. This inner reinforcement is what keeps the bowl from splitting when it gets bumped or slightly damp.
- Add an outer cardboard wrap (optional but recommended). Cut a second, narrower strip of cardboard (about 2 inches tall) and glue it around the outside of the first wall. This doubles the wall thickness and makes the structure significantly more rigid. Roll the strip against the table edge again before applying.
- Let everything cure fully. Set the bowl aside for at least an hour, ideally overnight. The structure should feel solid and hold its round shape without flexing when you press the sides lightly.
- Line the interior. Add a layer of dry grass, moss, or small pieces of torn paper towel to the inside of the cup. Press it gently into the bottom to create a soft, slightly concave lining. You are not gluing this material in: the birds will adjust it themselves, and you want it to be moveable. Just enough to cushion the cup and give birds a tactile prompt that this is a nest space.
The whole process takes maybe 45 minutes of active work plus drying time. My first attempt split along the base seam because I skimped on the relief cuts. My second one held together all season and a pair of robins used the area around it as a staging ground before building their own mud cup a few feet away. That counts as a win.
Sizing, shaping, and lining for different backyard birds
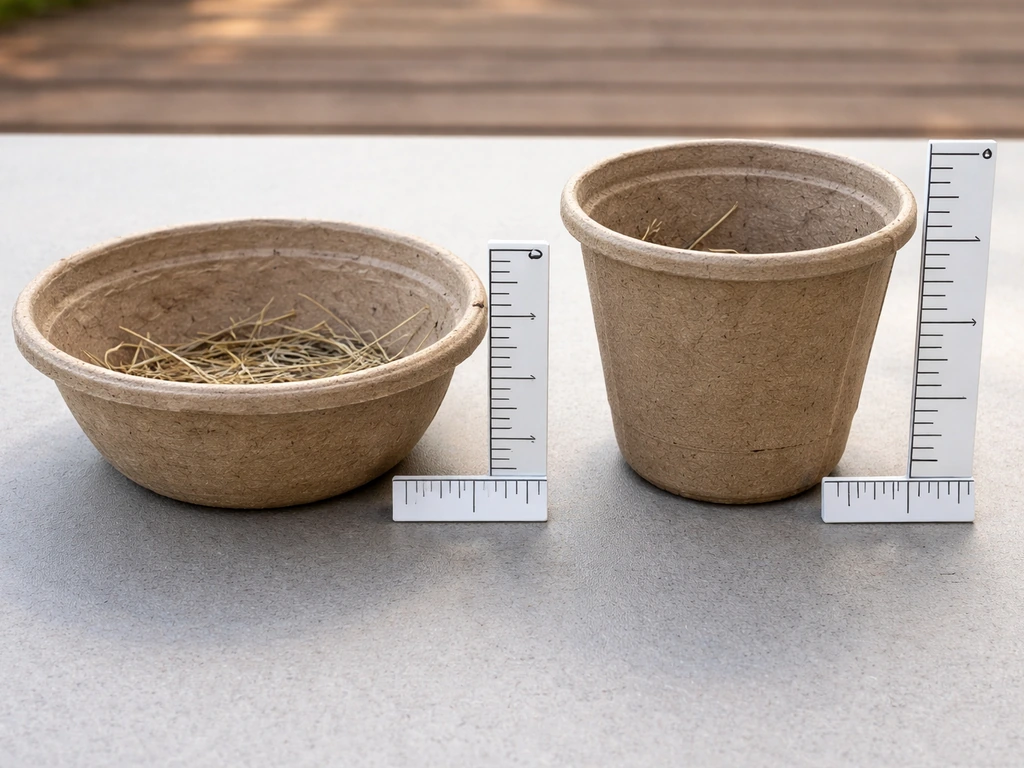
The dimensions of your nest cup really do matter if you are hoping to attract a specific species. A cup that is too shallow will not feel secure to birds; one that is too deep can trap nestlings. Here are some useful reference points based on documented nest measurements.
| Bird species | Inside cup diameter | Cup depth | Notes |
|---|---|---|---|
| Chipping Sparrow | ~2 inches (5 cm) | ~1.5 inches (4 cm) | Very compact cup; use a tennis ball as a mold for the inner form |
| American Robin | ~3.5 to 4 inches | ~2 to 2.5 inches | Robins add a mud layer; leave interior slightly rough so mud adheres |
| House Finch | ~3 inches | ~1.5 to 2 inches | Often nests in hanging planters; a small round form works well |
| Song Sparrow | ~2.5 to 3 inches | ~1.5 to 2 inches | Prefers dense lining of fine grasses |
| Mourning Dove | ~4 to 5 inches | Shallow, ~1 inch | Doves build very flat, loose platforms; keep the cup wide and low |
For shaping, your mold object is the easiest way to get the right interior curve. Press the wet, glued cardboard base around a ball, bowl, or container of the right diameter while the glue is still slightly tacky, then let it cure in that shape. A tennis ball gives you roughly the right interior curve for a Chipping Sparrow cup. A large orange or softball gets you close to Robin dimensions. Remove the mold object once the glue is fully dry.
Lining choices should also reflect the target bird. Robins specifically use mud as a cup layer, so leaving the inside slightly textured (rather than smoothly lined) gives them something to adhere mud to. Sparrows and finches prefer softer, drier material: fine dried grass, plant down, or torn paper towel strips all work. If you are making a surrogate nest for an injured or displaced nestling, Tufts Wildlife Clinic recommends using the original nest material if available, or substituting torn paper towels and dry grasses. Keep the lining dry and replace it if it gets wet.
This is also a good moment to mention that if you are interested in making nests from other materials, such as repurposed plastic bottles or other waste materials, the shaping and sizing principles are the same. The material choice changes the durability and insulation properties significantly. Cardboard sits somewhere in the middle: more insulating than plastic, less than wood, and more breathable than either when the sides are left uncoated. Cardboard and plastic behave very differently, so if you are specifically looking for how to make bird nest with a plastic bottle, choose methods that keep the materials safe and the structure sheltered.
Where to place the nest and how to encourage use
Placement makes the difference between a nest that gets used and one that sits ignored all spring. Open cup nests like the one you have just built should never sit in the open, exposed to rain and direct sun. The cardboard will collapse within days if it gets rained on directly, and even a wooden cup nest will be abandoned if it overheats. Tuck the nest into a sheltered spot: under a porch overhang, inside a hanging nest basket, on a ledge inside an open garden shed, or wedged into the fork of a dense shrub with some overhead leaf cover.
Height matters less than shelter for open cup nesters, but somewhere between 5 and 15 feet off the ground keeps the nest accessible to the birds you want while reducing the risk from ground predators. Place it near areas where birds are already active, near a feeder, a birdbath, or dense plantings where you regularly see birds foraging. Birds are creatures of habit and they investigate familiar territory first.
To actively encourage use, put out nesting materials nearby at the same time as the nest. A simple mesh bag or wire holder filled with short lengths of dry grass, small feathers, or plant fibers lets birds grab materials and carry them straight to the nest area. For a fuller walkthrough, see a simple guide on how to make a bird nesting material holder so birds can grab materials easily. Nesting material availability is most critical from March through August, and having everything in one zone gives birds a strong reason to stick around. You can find guidance on building a simple nesting material holder as a companion project to this nest.
If a surrogate nest is needed because of a fallen original, Tufts Wildlife Clinic is clear on one thing: place the substitute as close as possible to where the original nest was. Parent birds locate their young by sight and by returning to a known location. Moving the nest even a few feet can cause them to lose track of the nestlings. Use wire or zip ties to secure the cardboard cup to the same branch or fence post where the original nest was sitting.
Safety tips, durability fixes, and cleanup
The biggest safety issue with cardboard nests is sharp edges. When cardboard is cut, especially corrugated cardboard, the inner flutes can leave stiff fibers sticking out. Run your fingers along every cut edge and sand or trim any points that could snag a feather or scratch a nestling. You can also fold the top edge of the cup outward by about a quarter inch and glue it down to create a rounded lip. This takes two minutes and eliminates the sharp-edge problem entirely.
To improve weather resistance without introducing toxic materials, you can apply a thin coat of plain beeswax to the outside of the cup. Rub a block of raw beeswax across the exterior surfaces and then warm it gently with a heat gun on low until it soaks slightly into the cardboard fibers. Do not apply wax to the interior. This gives you a modest amount of water repellency and noticeably extends the life of the structure. Some builders use a coat of diluted PVA on the outside as an alternative, which also stiffens the walls. Neither treatment makes the nest waterproof, so shelter is still essential.
Check the nest weekly during nesting season, especially after rain. A nest that has gotten wet should be replaced promptly because damp material is a poor insulator and can harbor mold that is harmful to chicks. When you inspect, also watch for signs that unwanted species like European Starlings or House Sparrows have taken over the nest site. Wildlife conservation guidelines recommend weekly monitoring of nest structures specifically to catch this early.
After the nesting season or once a nest has been used and abandoned, remove it completely. Old nest material can harbor mites, bacteria, and parasites that will affect any birds that try to use the spot next season. Cardboard nests can go straight into compost (they are fully biodegradable) and the location can be cleaned and set up fresh the following spring. Plan to make a new cup each year. The materials cost almost nothing and the project takes less than an hour, so there is no reason to try to rehabilitate an old, used cup when a fresh one is so easy to build.
If at any point during your nest-monitoring you find injured or orphaned nestlings that cannot be safely returned to a nest, contact a licensed wildlife rehabilitator right away. LDWF’s substitute nest guidance also notes that if nestlings cannot be found or handled within the relevant time window, you should contact a wildlife rehabilitator promptly since timing affects survival [contact a licensed wildlife rehabilitator right away](https://www. wlf. louisiana.
gov/assets/Resources/Publications/WildlifeRehabilitation/substitutenest2020. pdf). Timing is critical for young birds, and a cardboard surrogate nest buys you time to get help but is not a substitute for proper care. If you are trying to build a cockatiel nest box instead, use dimensions and ventilation that match cockatiel nesting needs and confirm the materials are bird-safe cardboard surrogate nest.
Your state or provincial wildlife agency can connect you with the nearest rehabilitator quickly.
FAQ
What size cardboard nest should I make if I do not know the species?
If you are unsure, aim for a medium cup around 4 to 5 inches across inside (using your mold) with moderate depth, then check results after a week. Too shallow often gets ignored, and too deep can trap chicks, so it helps to start with a size that matches common open-cup songbirds rather than pushing extremely small or extremely large dimensions.
Can I make the nest stronger by using more glue or thicker cardboard?
You can reinforce the structural base, but do not add glue to the interior or create a hard, coated inner surface where birds will sit. Also avoid over-thick walls, since thicker cardboard can hold heat and moisture longer than expected if the nest ever gets damp, even when you place it under shelter.
Is it okay to use shredded paper instead of dry grass for the lining?
Yes, as long as it is dry, absorbent, and free of glossy coating, heavy ink, or staples. Torn paper towel strips are usually safer and break down into soft fibers, which is helpful for keeping the lining comfortable while still letting parents anchor materials onto it.
How do I avoid mold if the cardboard nest gets damp during storms?
Inspect it right after any rain and remove it promptly if it feels damp. Damp cardboard and lining can grow mold and also becomes a worse insulator for chicks, so replacing early is safer than trying to dry and reuse the same cup.
What should I do if birds start nesting but the cardboard cup looks like it is falling apart?
If the structure is no longer stable, it is usually better to leave things alone and let the birds complete the job with whatever reinforcement they can add. Remove and replace only if it is clearly hazardous, like sharp edges forming or the nest collapsing onto the chicks, and do so outside of active incubation when possible.
Can I paint or decorate the outside of the nest to make it look nicer?
Avoid painting or adding adhesives on the surfaces that the birds can contact, and do not use products that smell strong or could flake. If you want color, rely on plain, uncoated cardboard and natural reinforcement materials instead, since inks, dyes, and coatings are common sources of unwanted exposure.
How do I prevent birds from abandoning the nest after I put it out?
Place it already in the correct sheltered location and offer nesting materials at the same time, birds are more likely to investigate when the area feels like a ready-made site. Also avoid moving the cup once birds begin working, even small shifts can break their routine and reduce trust in the spot.
Should I put the nest directly on a branch or is a hanging placement better?
Either can work for open-cup nesters, but hanging or wedged-in-with-overhead cover usually reduces rain exposure. If you are mimicking an existing site for a surrogate nest, secure it to the same branch or fence post as closely as possible, since proximity helps adults locate and return to the chicks.
How often should I check the nest, and what am I looking for?
A weekly check is a good baseline, and always check after storms. Look for wet lining, sharp edges exposed by wear, and signs of takeover by aggressive competitors, if you notice another species occupying the nest area early, respond quickly rather than waiting until later in the season.
Is it safe to add a thin layer of something to waterproof the inside?
Do not waterproof the interior. Even if an exterior coating improves water repellency, the inside needs to stay natural and dry enough to prevent chilling and mold risks, so keep interior contact surfaces as plain lining fibers (dry grass, moss if appropriate, or paper towel strips).
What should I do if I find eggs or nestlings in a cardboard surrogate nest?
Keep the nest as undisturbed as possible, but monitor distance and shelter so it stays protected from sun and rain. If the chicks are injured or you cannot safely return them to a proper situation, contact a licensed wildlife rehabilitator immediately, cardboard is temporary support, not medical care.
Can I reuse the same cardboard cup in the next nesting season?
It is best to make a fresh cup each year. Old nests can carry mites, bacteria, and parasites, and even biodegradable structures can accumulate debris, so composting the old materials and starting new reduces disease risk for the next occupants.
Next Articles
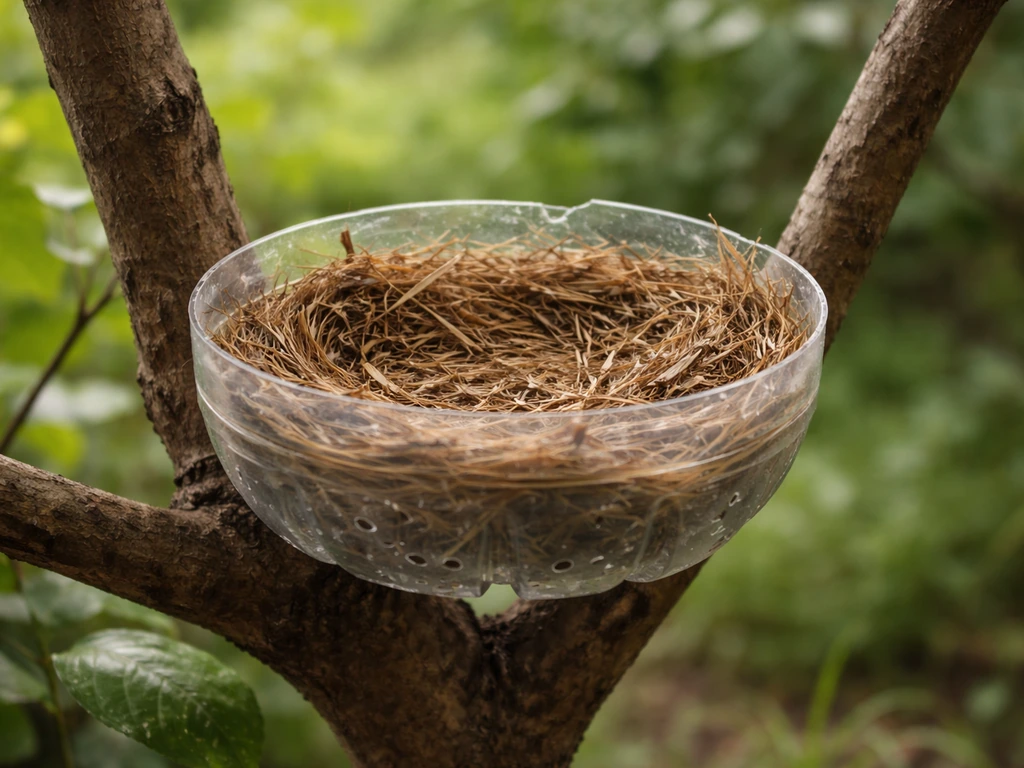
How to Make a Bird Nest With a Plastic Bottle
Step-by-step guide to make a bird nest or nesting cup from a plastic bottle, safely, with drainage, lining, and placemen
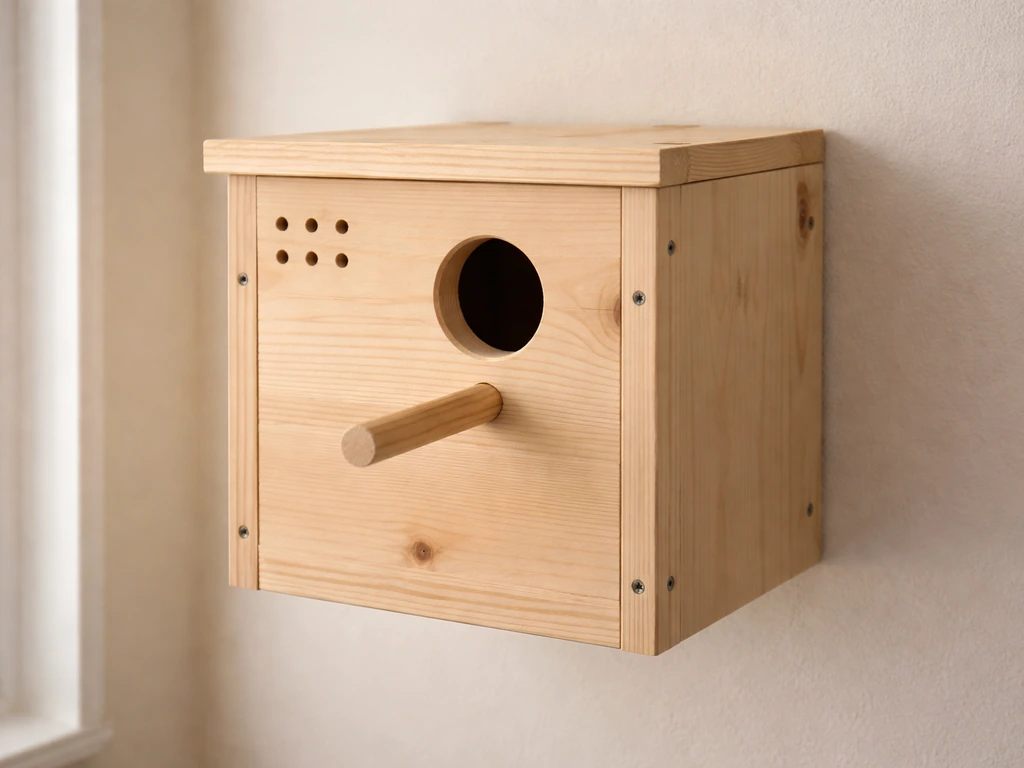
How to Make a Cockatiel Nest Box DIY Step by Step
Step-by-step DIY cockatiel nest box with safe materials, exact measurements, ventilation, mounting, and cleaning tips.
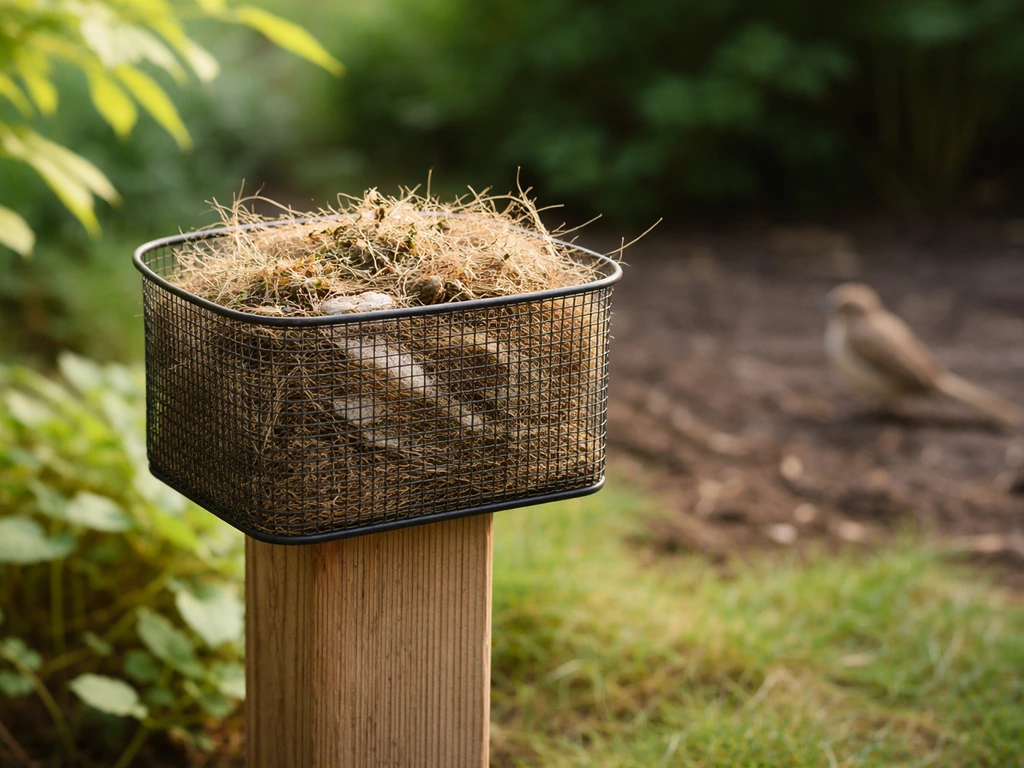
How to Make a Bird Nesting Material Holder DIY Guide
Step-by-step DIY plans and safe materials to build a bird nesting material holder that attracts the right birds.