A net-based bird trap is one of the most effective humane capture tools you can build yourself, but it only works well when you match the net to your target bird, build a solid frame and trigger, and commit to checking it constantly. The basic concept is simple: a soft net is deployed (either dropped, swept, or drawn over a baited area) to contain a bird without injuring it, and then the bird is safely removed.
How to Make a Bird Trap With Net: DIY Steps
Marcus Thornton
30 May 2026
Done right, it causes far less stress than hard-sided cage traps and leaves you with a live, uninjured bird ready for banding, relocation, or observation. Done wrong, it entangles, injures, or even kills the bird you were trying to help. [This guide walks you through every step, from choosing your net to what to do five minutes after a successful capture. ](https://www.
usgs. gov/publications/capturing-birds-mist-nets-a-review)
Before You Build Anything: Legal and Humane Ground Rules
This is the part most DIY guides skip, and it's the part that can get you in real trouble. In the United States, nearly every wild bird is protected under the Migratory Bird Treaty Act, which means trapping them without a federal or state permit is illegal, full stop. The U. S.
Fish and Wildlife Service publishes specific guidance titled 'The Humane Capture, Handling, and Disposition of Migratory Birds' that covers exactly what permitted capture must look like, including welfare requirements and check timing. States layer their own rules on top. Florida, for example, requires that anyone using a bird trap notify the Florida Fish and Wildlife Conservation Commission Division of Law Enforcement before outdoor use, providing the target species, number and types of traps, permit number, and physical location.
Washington requires a Special Trapping Permit for nuisance wildlife situations, with its own application and reporting process. Illinois DNR explicitly requires daily trap checking as a minimum humane standard.
Before you cut a single piece of netting, contact your state wildlife agency and confirm what's legal for your situation. If you're a backyard birder wanting to observe, band, or relocate a specific bird, you almost certainly need a permit. If you're dealing with a nuisance species like European starlings, house sparrows, or pigeons (which are not protected under the MBTA), your legal path is different and typically simpler, but still worth confirming locally. The humane design choices in this guide are built around minimizing injury and stress regardless of species, because a well-built trap protects both the bird and you.
Choosing the Right Net: Mesh Size, Material, and Scale
The net you use matters more than almost any other variable. The two most common types for backyard DIY builds are mist nets and drop nets. Mist nets are ultra-fine nylon mesh suspended between two poles; they're essentially invisible to birds in flight and are the gold standard for capturing small songbirds without injury. Drop nets are heavier, deployed flat over a baited area, and then triggered to fall over birds feeding below. For a first build, a drop net over a feeding station is much more beginner-friendly than a mist net, which requires careful handling, a permit for most uses, and practiced extraction technique.
Mesh size is critical. For very small birds like finches, warblers, and sparrows, you want a fine mesh in the 30mm to 36mm range (measured diagonally when stretched). Avinet, a leading supplier of mist-net equipment, notes that even Song Sparrows can bounce out of nets with mesh that's slightly too large, and thrush-sized birds can slip straight through a mesh designed for tiny species. For medium birds like starlings, robins, or doves, a mesh in the 50mm to 60mm range works better. The principle is simple: the mesh should be small enough to stop the bird but large enough to avoid deep entanglement that's hard to reverse.
| Target Bird Size | Example Species | Recommended Mesh Size | Net Type |
|---|---|---|---|
| Very small (under 15g) | Warblers, finches, wrens | 30mm to 36mm | Mist net |
| Small to medium (15g to 60g) | Song sparrows, chickadees, nuthatches | 36mm to 45mm | Mist net or drop net |
| Medium (60g to 150g) | Starlings, robins, thrushes | 50mm to 60mm | Drop net or clap net |
| Large (150g+) | Pigeons, doves, crows | 60mm to 75mm | Drop net or cannon net |
For material, nylon is the standard choice. It's lightweight, relatively low-visibility, and durable enough for repeated use. Avoid stiff or coarse mesh like hardware cloth for the capture net itself, since any rigidity increases entanglement and injury risk. The net should collapse softly around the bird, not snag or clamp. The PestSmart NATSOP-GEN003 soft net trap guidelines describe exactly this principle: a flexible frame with netting that collapses over the animal rather than closing with rigid force is the design goal.
Building the Frame, Anchor, and Holding Setup
Simple Drop Net Frame (Beginner Build)
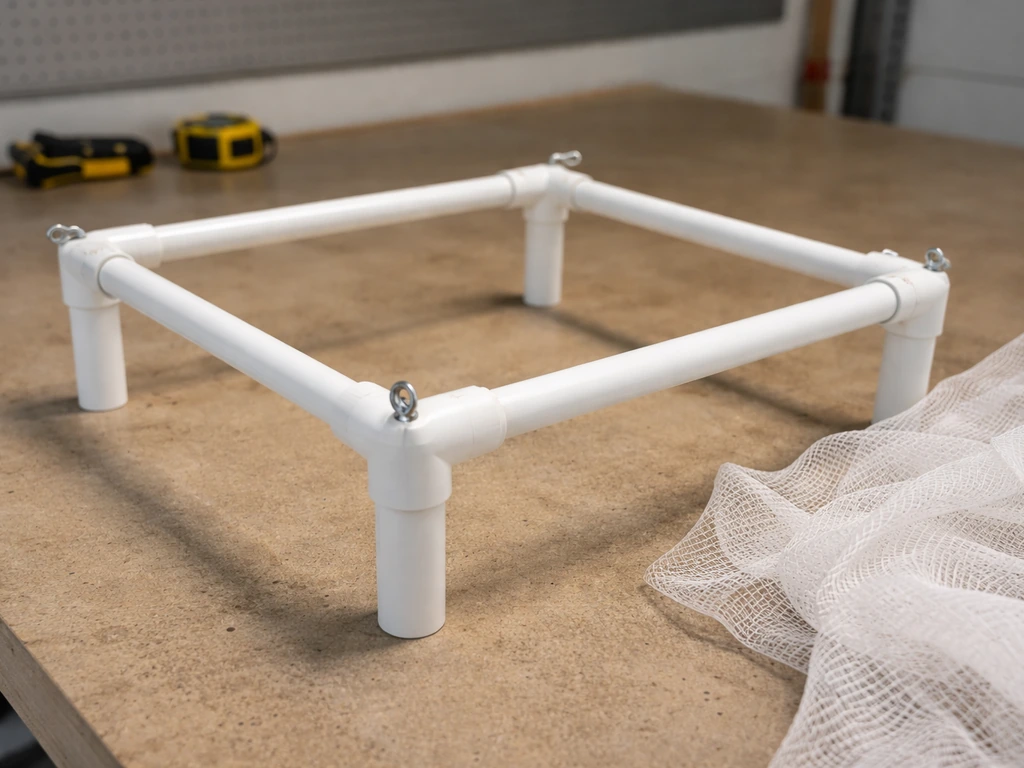
The simplest drop net frame you can build in an afternoon uses four pieces of lightweight PVC pipe or thin wooden dowels as corner uprights, connected at the top by a square frame of the same material. The net hangs or drapes over this frame, which is propped up by a single central support stick (the trigger stick). When the trigger is pulled, the stick falls, the frame collapses, and the net drops over the birds below. PVC is ideal here because it's cheap, lightweight, and won't injure a bird on impact the way heavier wood might.
- Cut four corner uprights from 1/2-inch PVC, each about 18 to 24 inches long (scale up for larger birds or wider coverage areas).
- Cut four horizontal frame pieces to form a square or rectangle. For a feeding-station setup, 24 by 24 inches covers most small-bird scenarios; 36 by 48 inches works better for medium birds like pigeons.
- Connect the horizontal pieces with PVC elbows at each corner to form the top frame. No glue needed for a test build; friction fit is fine.
- Attach the net to the top frame using zip ties or small bungee loops spaced every 4 to 6 inches. The net should hang loose enough to drape to the ground on all sides when the frame falls.
- Insert the corner uprights so the frame stands about 12 to 18 inches above the ground (just enough clearance for your target birds to walk underneath comfortably).
- Prop the frame up using a single central stick, dowel, or piece of bamboo placed vertically under the center of the top frame. Tie a long pull cord to this trigger stick and run the cord to your observation point.
Sturdier Frame for Repeated or Larger Builds
If you're planning to use your trap repeatedly or you're targeting larger birds, a sturdier frame built from thin aluminum angle stock or wooden stakes is worth the extra effort. Use bungee cords or shock cord at the frame corners so the collapse on trigger is fast and smooth rather than catching or jamming.
A spring-loaded hinge mechanism on one side of the frame, with the opposite side anchored to the ground via tent stakes, gives you a 'clap trap' style that snaps shut quickly rather than just dropping. For anchoring, pound tent stakes at least 6 inches into the soil at each corner of the baited area so the net can't be dragged away by a panicked bird or a gust of wind.
Always ensure the anchor points are reachable quickly from your observation position, because you need to be on top of the trap within seconds of a capture.
Trigger and Deployment Options
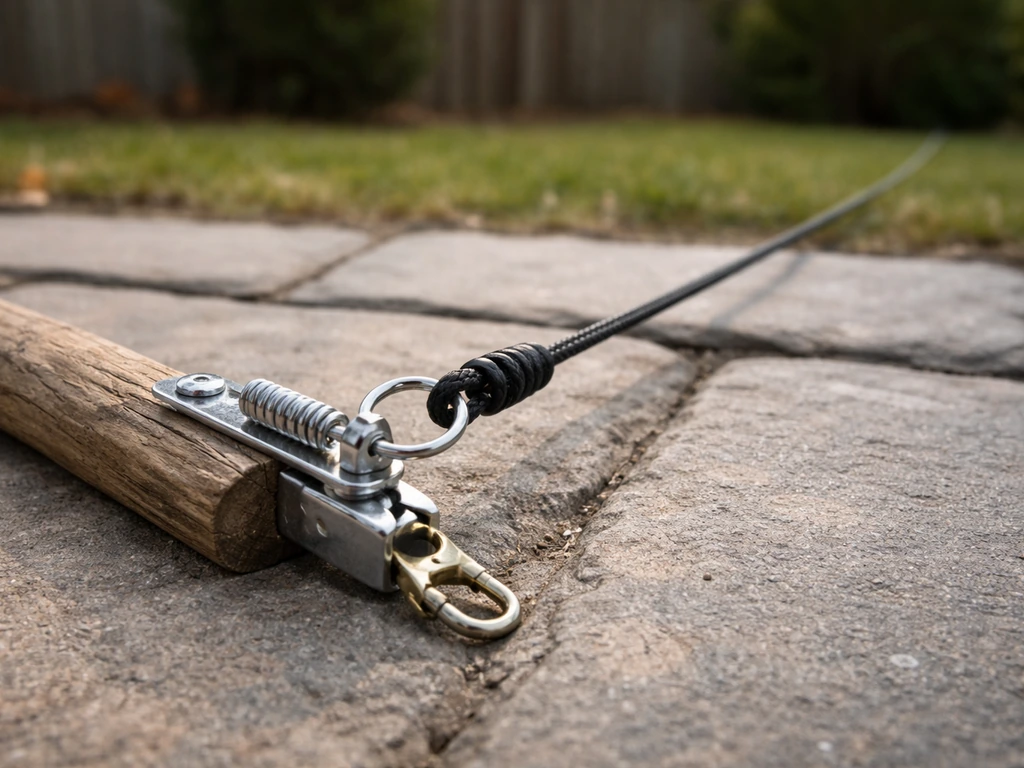
How you deploy the net is where most DIY builds either succeed or fail. There are three practical trigger approaches worth knowing about for a backyard build, each with real tradeoffs. If you want an automatic bird trap, the key is choosing a reliable trigger that drops or closes the net fast while you can still monitor the capture continuously.
- Pull-string trigger: You hold a cord connected to the prop stick from 15 to 30 feet away (behind a window, fence, or blind) and pull when birds are in position. This is the simplest, most reliable method and keeps you in full control. Its only downside is that you have to be there and watching the whole time, which is actually a legal requirement for many net trap setups anyway.
- Perch or treadle trigger: A weighted perch or foot-pad inside the trap area depresses under a bird's weight and pulls the prop stick. This lets you step away briefly but still requires frequent monitoring. Sensitive enough to trip on a sparrow but not on a leaf in the wind takes some tuning.
- Remote electronic trigger: A servo motor connected to a release pin, triggered by a wireless remote or a motion sensor. This is the most reliable for precision timing and lets you be further from the trap, but it's also the most complex build. If you're interested in more automated setups, the related topic of how to make an automatic bird trap goes deeper on this approach.
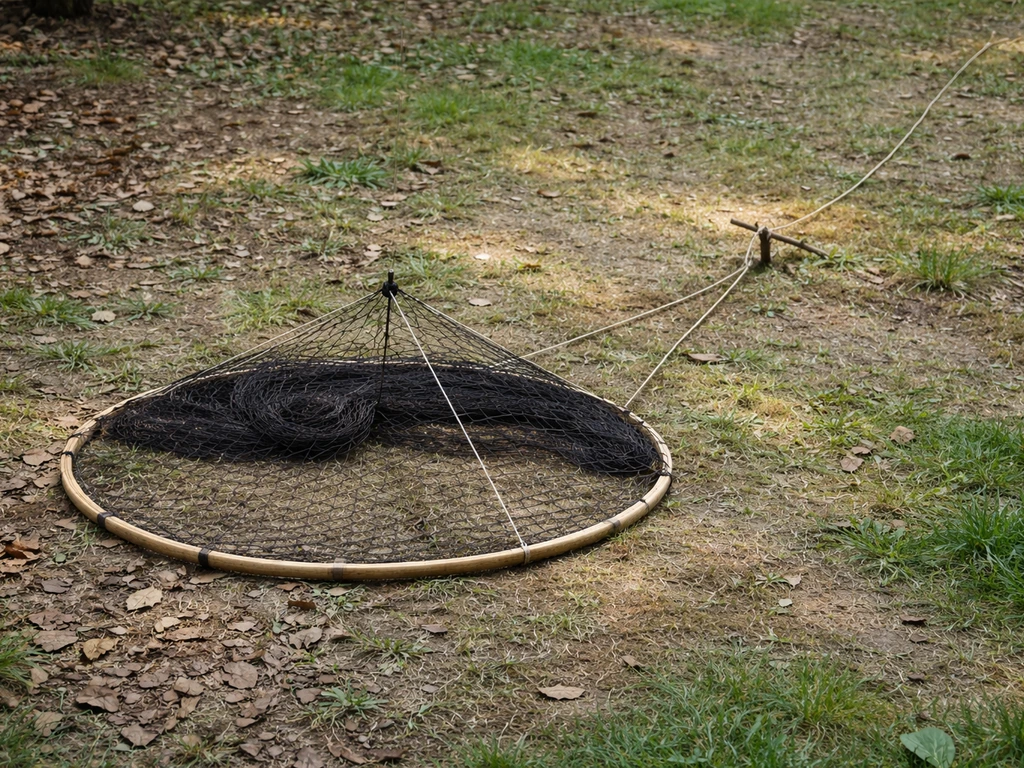
- Person-deployed sweep or throw net: Rather than a fixed frame, some setups use a circular throw net (like a fishing cast net) that you toss manually over birds at close range. This requires skill and practice to do without injury, and it demands constant presence since there's no trap frame at all.
Victoria, Australia's Agriculture Department biosecurity guidance puts it plainly: if a net trap is triggered by a person or set across an animal's path, it must be constantly monitored. That's not optional. The welfare risk from a triggered net is high if you're not there to intervene quickly. Design your trigger system around whatever lets you watch the trap without interruption.
Baiting, Placement, and Reducing Non-Target Captures
Placement is probably the single biggest factor in whether your trap works at all. Net traps need to feel natural and safe to the birds you're targeting, which means siting the trap near existing feeding or foraging activity rather than in an open exposed area. Watch where your target birds spend time over a few days before setting the trap. If you're after sparrows, set near low shrubs and a seed source they're already using. For starlings or pigeons, an open graveled area with grain scattered around works well. The trap frame should be introduced to the site several days before you activate it so birds get used to it.
For bait, match it to your species. Mixed millet and cracked corn works for ground-feeding sparrows, finches, and doves. Whole corn or bread attracts pigeons and starlings. Suet or mealworms can attract insectivorous species like robins. Scatter bait both inside and around the trap for the first few pre-trapping days so birds associate the area with food rather than danger. On trapping days, bait only inside the trap so birds have to enter the zone to feed.
Reducing non-target captures is mostly about timing and selectivity. If your target is a ground-feeding granivore like a house sparrow, operate the trap during the mid-morning peak feeding window and close the trap during dawn activity when more species are moving. If you're catching birds you don't want, cover or close the trap immediately, release them unharmed, and reassess your bait type or timing. Never leave a net trap unmonitored with non-target birds inside. Entanglement around the neck or wings, even in a soft net, can prevent feeding, cause injury, or lead to infection if the bird is left too long. This point is underscored by NOAA Fisheries' research on net entanglement harms, which applies even to bird-scale soft netting.
Testing, Monitoring, and Using the Trap Responsibly
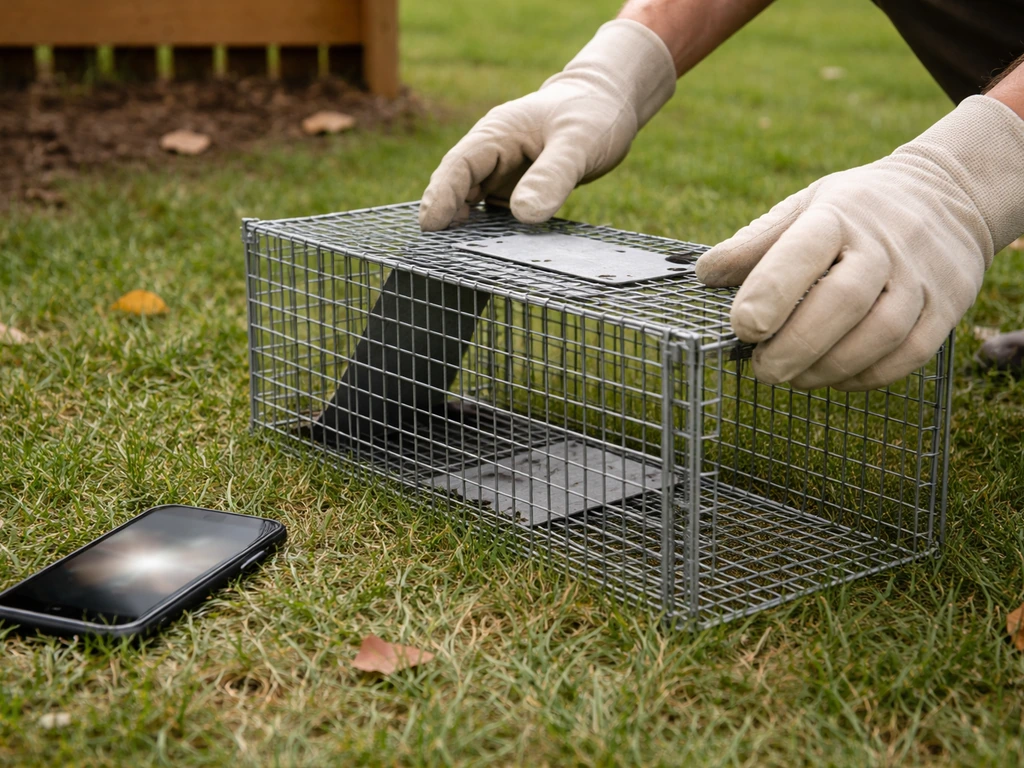
Before you put bait down and wait for birds, run through a dry test of the whole system. Trigger the drop three to five times with no birds present and confirm: the frame falls completely and quickly, the net reaches the ground on all sides with no gaps a bird could squeeze through, the net doesn't snag on the frame uprights or the anchor stakes, and you can get from your observation point to the trap in under 10 seconds. That last point is non-negotiable. If you can't reach the trap fast, the design isn't done yet.
Once you start actively trapping, monitoring is the job. Illinois DNR and USDA APHIS both treat daily checking as the legal minimum for any trap, but for a net-based triggered system you're not checking once a day, you're watching continuously while the trap is active. The USFWS humane capture guidelines note that check timing for live-capture techniques must account for weather and time of day, both of which affect bird stress and welfare significantly. On a hot day, a bird under a net in direct sun can overheat within minutes. On a cold or wet day, stress accumulates even faster. Active the trap only when you're physically present and can respond immediately.
When you make a capture, approach calmly and quickly. Cover the net and bird with a lightweight cloth to reduce panic, then reach under and cup the bird gently in both hands with its wings folded against its body. Don't squeeze. If it's a permitted banding or research situation, process the bird efficiently and release it at the capture site. If you're relocating a nuisance bird, Washington's WDFW guidance recommends moving the animal to a quiet, protected location and keeping it covered until the transfer or release happens. Never leave a freshly caught bird sitting in a collapsed net longer than it takes you to retrieve it.
Troubleshooting Common Problems
Birds Aren't Entering the Trap Area
This usually means the trap isn't blending into its environment yet. Leave the frame in place, unbaited and untriggered, for another three to five days. Birds habituate to new structures slowly. Also check that the mesh isn't reflecting light in a way that looks artificial; slightly dirty or weathered netting is more invisible than fresh white nylon. Move the trap closer to known foraging spots or increase the bait scatter radius.
The Net Drops but Birds Escape
Check the drop height first. If the frame is propped too high, birds have time to flush before the net reaches the ground. Aim for 12 to 15 inches of clearance for small birds, not more. Also check the net's slack; the net needs to be loose enough that it billows out and settles over the bird rather than bouncing off. If the trigger stick is too stiff, the drop is slow. Shorten the stick or reduce friction at the contact point with the frame.
Birds Are Getting Tangled and Hard to Extract
This is a serious welfare problem. If a bird is deep in the mesh, work one loop at a time, never pull against the entanglement. Birdnet. org's mist-net guidelines note that extraction from a net caught in vegetation is especially difficult, so keep the trap area clear of shrubs, twigs, or ground debris that can snag the net further.
If this happens repeatedly with your current net, the mesh size is likely wrong for your target species. Either the mesh is too fine (causing the bird to thrash deeper in) or too coarse (causing the head or wing to catch in a way that's hard to reverse). Research by Boise State University confirms that mesh size is one of the primary factors influencing injury risk in mist-netting. Switch to the right mesh before your next session.
The Trigger Is Misfiring (No Birds Present)
Wind is usually the culprit. Add a small windbreak (a folded piece of cardboard or a garden stake with cloth) on the upwind side of the trigger stick to reduce false trips. If you're using a treadle trigger, increase the weight threshold slightly or reposition it so only a bird landing directly on it will activate the mechanism. Keep a simple repair kit nearby: spare zip ties, a roll of nylon cord, and a couple of extra prop sticks, because you will break or lose a piece mid-session at some point.
When to Ditch the Net and Try Something Else
Net trapping is genuinely not the right tool for every situation, and recognizing that early saves you time and prevents harm. If you can't be present to monitor the trap continuously, a net trap isn't appropriate for your situation, full stop. The constant-monitoring requirement isn't a suggestion, it's a welfare and legal necessity. If the problem you're trying to solve is birds getting into a garden, a building, or a specific structure, physical exclusion almost always works better than capture: bird netting installed over the area, hardware cloth blocking entry points, or visual deterrents like reflective tape and predator decoys address the behavior without any capture risk at all.
If you're catching significant numbers of non-target birds despite adjustments, it's a signal to stop and reassess entirely. The USFWS humane capture framework is clear that where welfare cannot be reliably maintained, the responsible move is to shift to an alternate method.
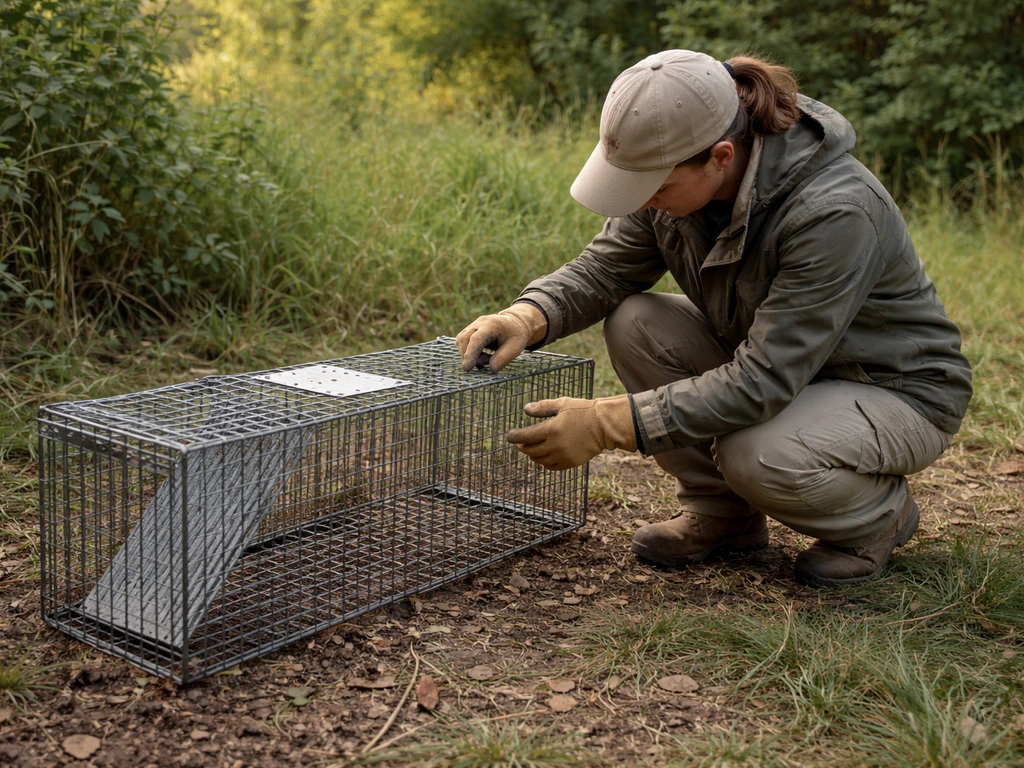
For backyard nuisance situations involving unprotected species like house sparrows or European starlings, a repeating live trap (a cage-style design) is often more selective and less welfare-intensive than a net setup, since it can be left checked at regular intervals rather than demanding constant eyes-on presence. Myna-specific and live trap designs are related approaches worth looking at if the net trap doesn't match your specific situation.
If you're specifically trying to learn how to make a myna bird trap, compare myna-focused live trap designs and placement approaches before choosing a setup.
The bottom line is this: a well-built net trap, with the right mesh, a solid frame, a clean trigger, and an attentive operator behind it, is one of the most humane capture methods available to a backyard DIYer. The build itself is achievable in a weekend with basic tools and a modest materials budget. What makes it work isn't clever engineering, it's being present, being prepared, and knowing your local rules before you set a single stake in the ground.
If you need a more complete step-by-step on the full process, see how to make a live bird trap before you start choosing materials or bait local rules. If you prefer video guidance, search for YouTube how to make a bird trap and compare the setups to the humane steps in this guide.
FAQ
Do I need a permit if I’m only trying to catch unprotected nuisance birds like starlings or pigeons?
Often it’s simpler than protected songbirds, but it’s not automatically “no rules.” Cities and counties can regulate trapping on certain properties, and relocation may be restricted to avoid spreading disease. Before you build or set bait, confirm local ordinances and whether you’re allowed to move captured birds off-site.
How can I tell whether the mesh size I chose is too small or too large without harming birds?
Do a no-bird test using a mannequin-like object that matches the target species’ head and wing width (for example, a cleaned plastic form or tied fabric “bird”). If the “head” would pass through or snag in a way that would prevent easy release, adjust mesh size or net tension before any real trapping. Also watch for repeated “bounces” during early trial days.
What’s the safest way to cover the net and bird when I arrive at a capture?
Bring a pre-cut, lightweight cloth you can place over the bird quickly without pulling on the mesh. Then cup the bird with both hands, keep wings folded, and avoid tugging the net. If the bird is tangled near the head, reduce movement first, then work slowly loop-by-loop instead of yanking.
Can I set the trap at night or early morning to reduce non-target captures?
Net trapping is high-risk when you cannot monitor continuously, and low light increases the chance you won’t notice entanglement quickly. If your local rules require it, only operate during times you can stay within immediate reach and maintain clear visibility, and stop if the weather or lighting makes fast intervention impossible.
What should I do if the trap activates but no bird is caught?
Treat false trips as a design and placement issue, not just a failed attempt. Check trigger alignment, wind effects (especially around stakes and the trigger stick), and whether bait is positioned to guide the bird into the exact capture zone. Re-test with a few controlled dry activations before trying again with birds nearby.
How do I prevent the net from snagging on the frame or anchors?
Before setting bait, inspect the net’s attachment points and ensure the mesh has a smooth, slack drape when the frame is propped. Trim or reposition any lines that contact stakes, and confirm the frame falls without twisting. Clear the ground of twigs and gravel edges so the net lands flat rather than catching.
Is it okay to leave a captured bird briefly while I get tools or call someone?
No. Even short delays can increase stress and entanglement risk, especially in heat, cold, or rain. Keep a small “capture kit” staged at your observation position, and if you cannot intervene immediately, don’t activate the trap.
What if I catch a non-target species despite my timing and bait adjustments?
Stop capturing immediately for that session and release the non-target quickly and unharmed. Afterward, revise only one variable at a time (bait type, placement, or operating window) so you can identify what caused the overlap. If you repeatedly catch protected species or the capture rate is unpredictable, switch methods rather than continuing.
How do I handle repeated failures because birds avoid the trap structure?
Extend the habituation period by leaving the frame untriggered and unbaited (or minimally baited) for several more days, then gradually shift bait closer to the center entrance. Also check whether the net looks too reflective or too new, weather it lightly in the shade, and ensure the site matches existing foraging paths so birds don’t treat the trap as a barrier.
What should my “first-aid” plan be if a bird appears injured or deeply entangled?
Have a conservative decision rule: if extraction would require force, if the bird is bleeding, or if it’s entangled in a way that you cannot safely resolve in moments, stop trapping and contact a licensed wildlife rehabilitator or your state wildlife agency for guidance. In the meantime, keep the bird shaded and covered to reduce stress, and avoid repeated handling.
Can I use this kind of net trap for birds inside a building or garage?
Usually it’s a bad fit because you have limited ability to provide safe, continuous monitoring and you may risk injuries from hard indoor surfaces. In most indoor situations, use exclusion and humane capture methods suited to enclosed spaces, and consider professional help if the bird is stressed or the area is not safe to approach quickly.
Next Articles
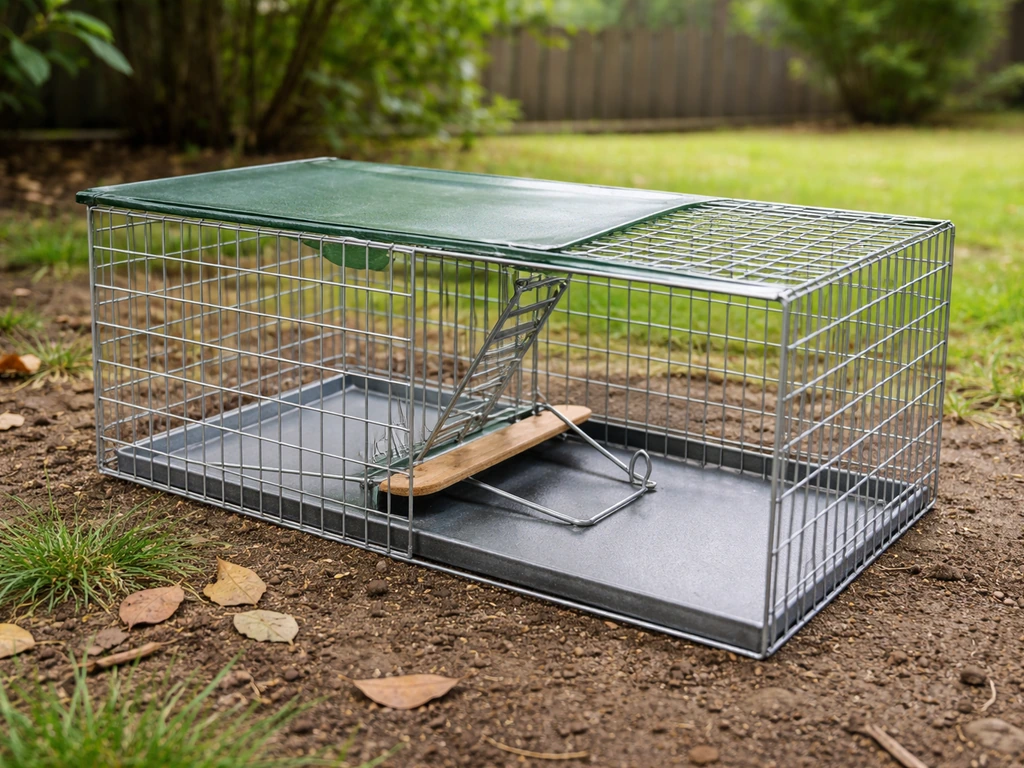
How to Make an Automatic Bird Trap Safely and Humanely
DIY guide to build a humane self-triggering bird trap safely, with placement, testing, capture release, and legal tips.
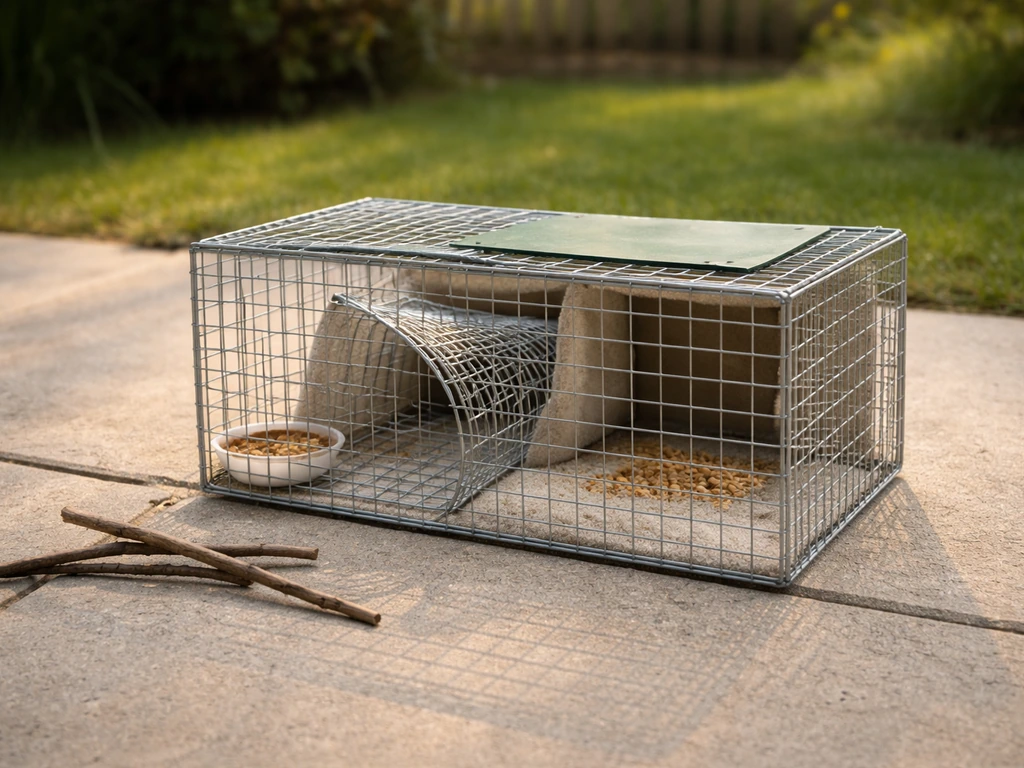
How to Make a Live Bird Trap: DIY Humane Guide
Step-by-step DIY humane live bird trap build, placement, bait, and release tips with safety and legal guidance.
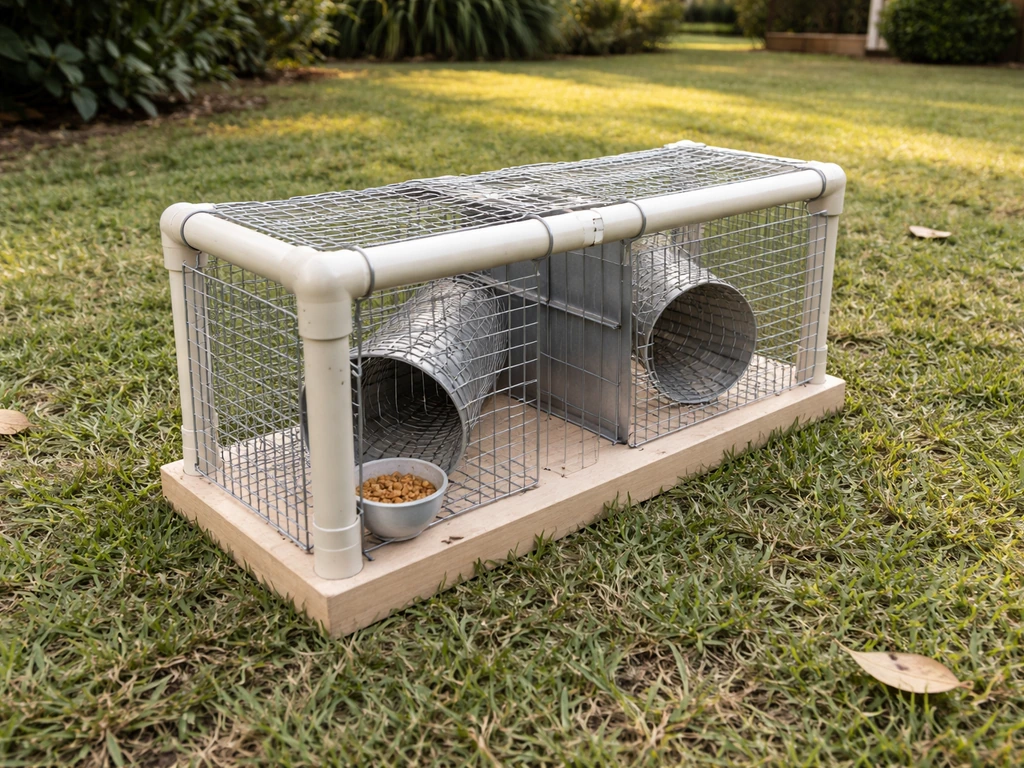
How to Make a Myna Bird Trap: DIY Indian Myna Guide
Step-by-step DIY guide to make a humane Indian myna live-capture trap, place it with bait, and handle release safely.