You can build a functional, non-injurious bird trap using rope or string in under an hour with materials most people already have at home. The basic design is a loop or noose snare set around a baited area, triggered either by a bird stepping into it or by a manual pull-cord you control from a distance. Rope and string are completely interchangeable here, the physics are the same, so use whatever you have. Done right, this trap catches the bird gently, holds it without injury, and lets you release it cleanly. Done carelessly, it can hurt the bird or land you in legal trouble. So before you cut a single length of rope, read the next section first.
How to Make a Bird Trap With Rope (String Guide)

Marcus Thornton
29 Apr 2026
Safety, legality, and ethics, read this before you build anything
This is the part most DIY guides skip, and it's the most important part. In the United States, most wild birds are protected under the Migratory Bird Treaty Act (MBTA). That law prohibits "taking" migratory birds, and taking explicitly includes blank" rel="noopener noreferrer">capturing by baiting. On top of that, individual states add their own layers. Maine, for example, makes it unlawful to trap any wild bird species that doesn't have an open trapping season. blank" rel="noopener noreferrer">Washington state makes it unlawful to possess or transport live wild birds without a permit, even if you caught the bird accidentally. So in many common backyard scenarios, trapping a wild songbird with intent to keep it is simply illegal without the right permits, no matter how humanely you do it.
That said, there are legitimate, legal reasons to use a rope or string trap in a backyard or outdoor setting. Catching a specific bird for banding under a research permit, relocating an injured bird for rehabilitation, controlling an invasive species on your own property (with applicable rules in your area), or catching a domestic bird like a lost pigeon or escaped pet parrot are all situations where a simple hand-made trap makes practical sense. If you are looking for the best bird trap homemade option for a specific situation, start with legal, humane use cases first and then match the design to the bird size. If you're doing this for any purpose involving a protected wild bird, check your state fish and wildlife agency's current regulations before you set anything. When in doubt, contact a licensed wildlife damage control company rather than trapping on your own.
The ethical baseline is simple: the trap should never be able to injure the bird. No sharp edges, no tight cinching around the body or neck, no leaving the trap unattended for long periods. If you can't check the trap every 30 to 60 minutes, don't set it. A bird stuck in a trap for hours, even in a gentle one, will exhaust itself and can die from stress. Keep this in mind for every design decision you make.
Rope vs. string: what to use and why it barely matters
For a loop-style bird trap, the material choice between rope and string comes down to the bird's size and how stiff you need the loop to hold its shape. Thin, lightweight string (paracord inner strands, cotton twine, or basic crafting string in the 1–2mm range) works well for smaller birds like sparrows, finches, or doves. Thicker rope (3–5mm braided cord or paracord itself) is better for larger birds like pigeons or crows where you need a bit more structure to keep the loop open on the ground. Both are soft enough to avoid cutting into feathers or skin when they close gently around a leg or body.
| Material | Best for | Pros | Watch out for |
|---|---|---|---|
| Thin cotton string (1–2mm) | Sparrows, finches, small songbirds | Lightweight, holds shape well on smooth surfaces, inexpensive | Can absorb moisture and go limp in wet grass — dry first |
| Paracord inner strands (0.5–1mm) | Small to medium birds | Very strong, smooth, slides easily for clean closing | Slippery knots — use extra half-hitches |
| Full paracord (4–5mm) | Pigeons, doves, crows | Holds loop shape well, durable in outdoor conditions | Too stiff for small birds — loop may not close fast enough |
| Jute twine (2–3mm) | Medium birds, general use | Budget-friendly, biodegradable, good texture for knots | Rough texture — check that it won't snag feathers on release |
| Nylon cord (2–4mm) | General outdoor use | Weather-resistant, smooth | Can be slippery — test your slip-knot before using |
The honest recommendation: use whatever soft, smooth cord you have on hand. Cotton twine from the kitchen drawer works. Leftover paracord from a previous project works. The design matters far more than the specific material. Just avoid stiff wire, monofilament fishing line (too thin and can cut), or anything with rough fibers that could tangle in feathers.
How the trap actually works
The rope bird trap is one of the oldest catch-and-release designs in the world, and the mechanism is straightforward. If you specifically want a bottle option, the idea is the same: build a safe, humane trigger-and-release trap that closes without injury rope bird trap. You lay a loose loop of rope flat on the ground (or on a platform) around a bait spot. The loop is connected by a running slip-knot so that when it's pulled, it tightens and closes. The pull comes either from the bird stepping on a trigger, a small stick or twig that holds the loop open and collapses when the bird disturbs it, or from you pulling a long control line from a distance while you watch from a hiding spot.
The manual pull-cord version is actually more beginner-friendly and safer for the bird, because you're in control of exactly when the trap closes. You only pull when the bird is fully inside the loop and in a position where closing it won't catch a wing at an awkward angle. The trigger-release version is hands-free but requires more careful setup and is harder to prevent accidental or poorly-timed catches. For a first build, the pull-cord design is the way to go.
The core components are: a flat base or landing surface, a rope loop with a slip-knot, a guide stake or anchor to keep the loop in position, a pull-cord running from the slip-knot to your hiding spot, and optional bait placed at the center of the loop. That's the whole system, genuinely simple to build.
What you'll need
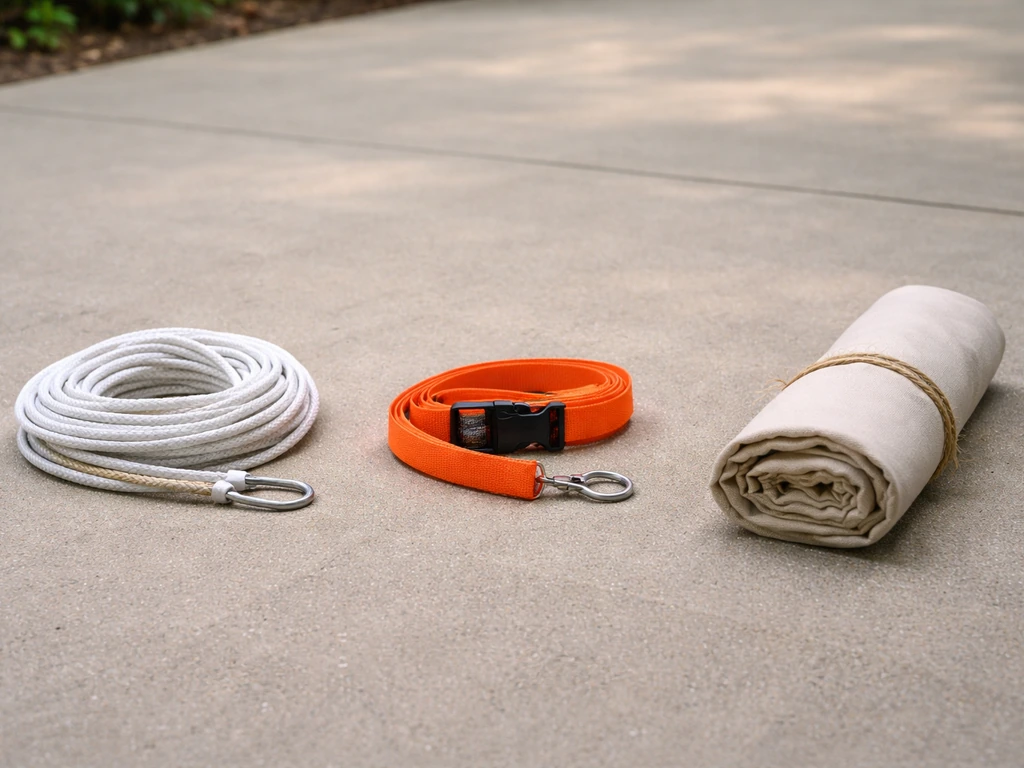
- Soft rope or string: about 3–4 feet for the main loop, plus 10–20 feet for the pull-cord (same material or thinner cord for the long section)
- A flat base: a piece of plywood, a wooden board, a flat stone, or even compacted bare earth works fine
- 2–3 small stakes or short sticks (6–8 inches): to anchor and guide the loop shape on the base
- Scissors or a knife: to cut cord to length
- A small weight or anchor point: a tent peg, a nail partially driven into the board, or a heavy stone to keep the base from shifting
- Bait: seed, bread crumbs, mealworms, or fruit depending on the target bird
- Something to hide behind: a bush, a garden fence, a shed corner — anything 15–20 feet away with a clear sightline to the trap
Step-by-step build instructions
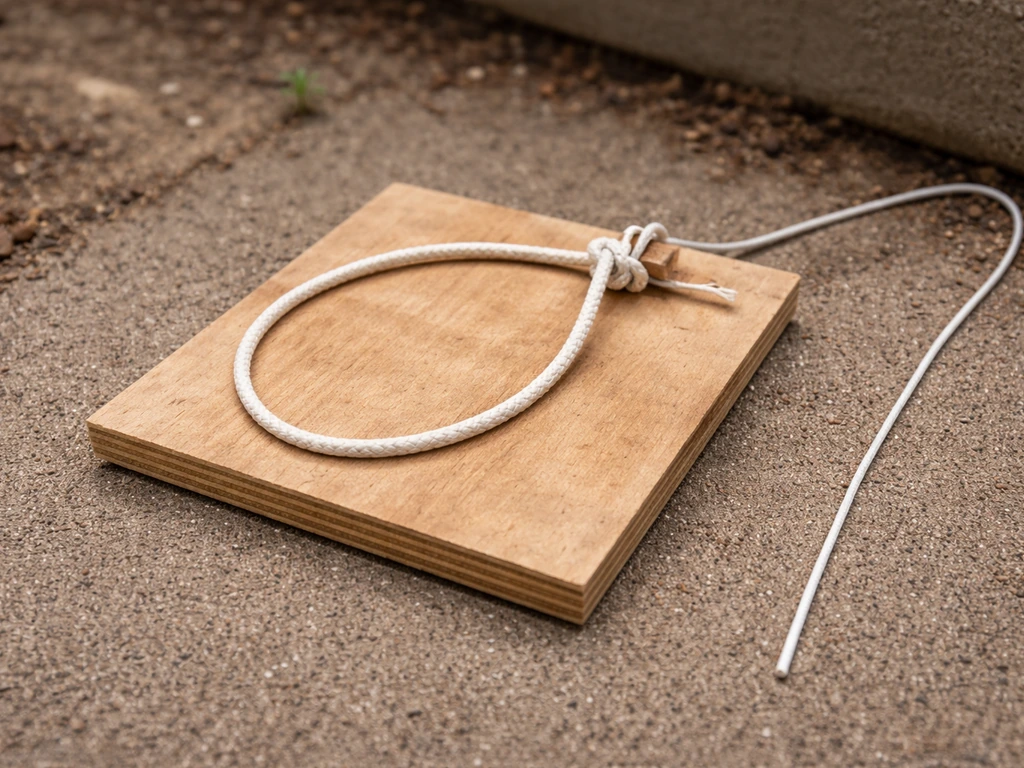
Step 1: Prepare the base
Lay your flat board or chosen surface on the ground in your chosen location. If you're using bare earth, scuff it flat with your foot so there are no bumps that would lift part of the loop off the ground. The base doesn't need to be fancy, I've used a 12x12 inch piece of scrap plywood for years and it works perfectly. The point is just to give the loop a consistent, predictable surface to lay on so it closes evenly.
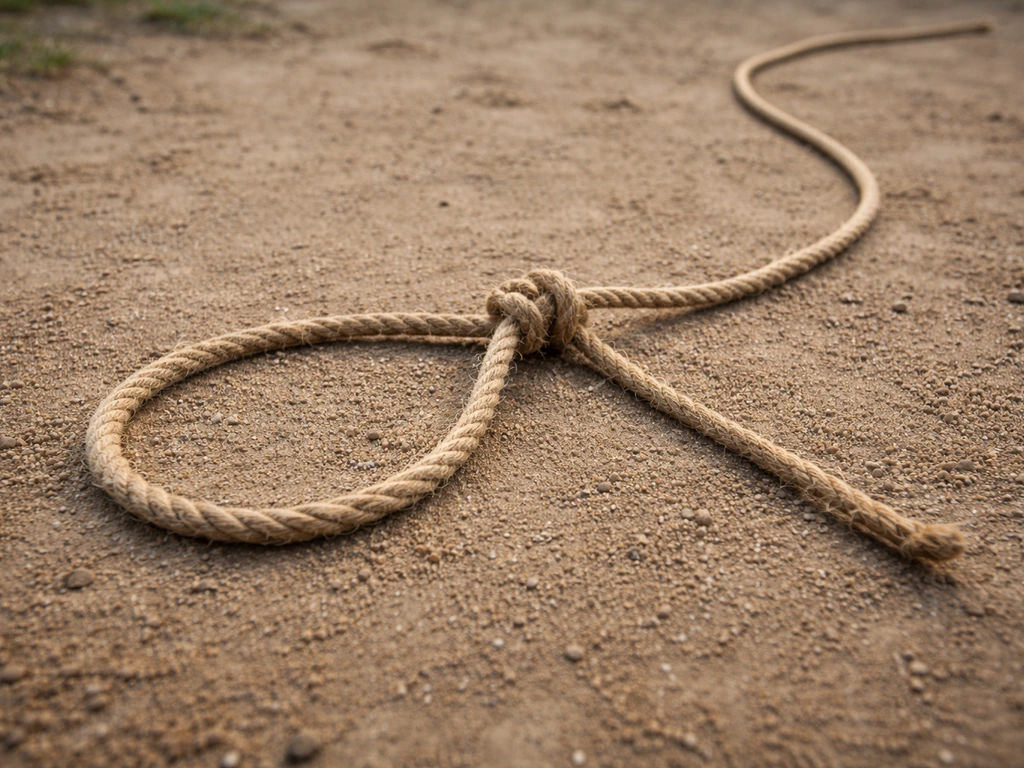
Step 2: Tie the slip-knot loop
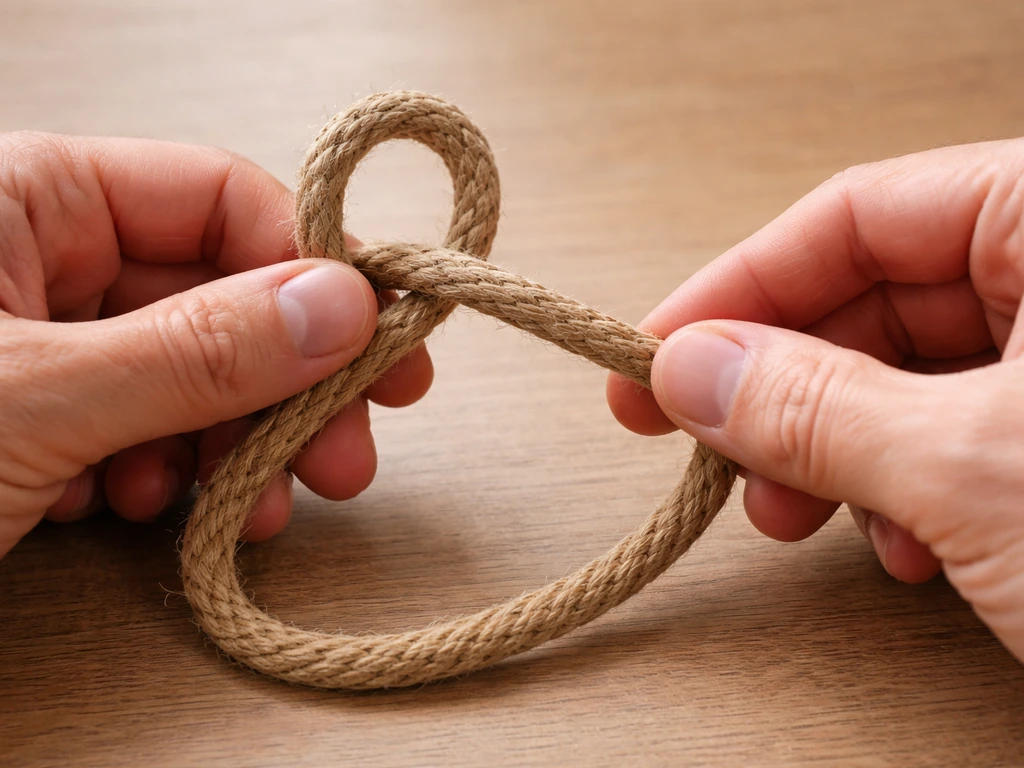
Cut about 3 feet of your rope or string. Fold one end back about 6 inches and tie a simple overhand loop (a fixed small eye loop). Then thread the long end of the cord back through that eye loop to create a running slip-knot, a loop that closes when you pull the tail. Test it by pulling the tail: the loop should close smoothly without jerking or catching. A stick-trigger bird trap uses a similar idea, but a twig holds the loop open and the latch releases when the bird disturbs it. The finished loop when laid flat should be roughly 8–12 inches in diameter for a medium-sized bird like a pigeon or dove, or 4–6 inches for smaller birds. Adjust by changing how much cord you feed through the eye.
Step 3: Attach the pull-cord
Tie your long pull-cord (10–20 feet) to the tail of the slip-knot. This is the cord you'll hold from your hiding spot. Keep this knot tight and test the connection, this is the one junction that gets the most stress when the trap closes. A simple square knot doubled over works fine. Run the pull-cord along the ground toward your hiding spot, keeping it as flat as possible so it doesn't spook birds walking near the trap.
Step 4: Position and stake the loop on the base
Lay the loop flat in the center of your base. Push your small guide stakes into the base (or ground) just outside the loop at 3–4 points around the circle to hold the loop in its open position. These stakes don't need to be tight against the cord, just close enough to prevent the loop from drifting closed or shifting in the wind. Make sure the stakes are short enough that they won't block or interfere with the loop closing when you pull. A half-inch of clearance between stake and cord is plenty.
Step 5: Anchor the base
Secure the base so it doesn't shift when a bird lands on it or when you pull the cord. A tent peg through a drilled hole at each corner of a board works well, or just place a heavy stone on the edge. The base moving when the loop closes is a common beginner mistake, it's annoying because it telegraphs the trap to the bird before the loop is fully closed.
Step 6: Final test before baiting
Before you add bait or set the trap for real, do a dry run. Walk to your hiding spot, hold the pull-cord, and pull it firmly. Watch the loop: it should close smoothly and fully, without the guide stakes blocking it, the base moving, or the slip-knot jamming. If anything sticks, adjust your stakes or recheck the slip-knot. I always test three or four times before I'm satisfied. A trap that fails 50% of the time isn't just useless, it can startle and injure a bird that's half-caught.
Setting, baiting, and placing the trap
Location matters more than most people expect. Place the trap where birds are already spending time voluntarily, near an existing feeder, on a flat patch where they land regularly, or close to a water source. A bird walking into a trap in a spot it already trusts is far less stressed than one lured somewhere unfamiliar. Scatter a small amount of bait (seed, crumbled bread, or mealworms depending on species) both around and inside the loop. Put the main concentration of bait at the center so the bird has to step fully into the loop to get to it.
Before setting the trap, lay the loop flat, run your pull-cord to your hiding spot, and make sure nothing is fouling the cord along its length. Grass or small sticks caught under the cord will create drag that delays or prevents the loop closing. Keep the cord path clear. Then add the bait, get to your spot, and wait quietly. Movement and noise near the trap will delay birds approaching, give it at least 10–15 minutes of stillness after you're in position before expecting any action.
When a bird enters the loop area, wait. Don't pull the cord the instant a bird appears near the trap. Watch until the bird is fully inside the loop and its legs (or body, depending on your loop size) are clearly within the circle. Then pull the cord with one firm, steady motion, not a jerk, but a confident pull. A hard jerk can startle the bird into jumping just as the loop closes, which can catch a wing awkwardly. Firm and smooth is what you want.
This design is very similar in spirit to other simple hand-made traps, if you've built or researched a box trap, a stick-and-string drop trap, or even a bottle trap before, the patience and positioning principles are exactly the same. The rope version is just lighter and faster to set up.
After the catch: monitoring, handling, and releasing
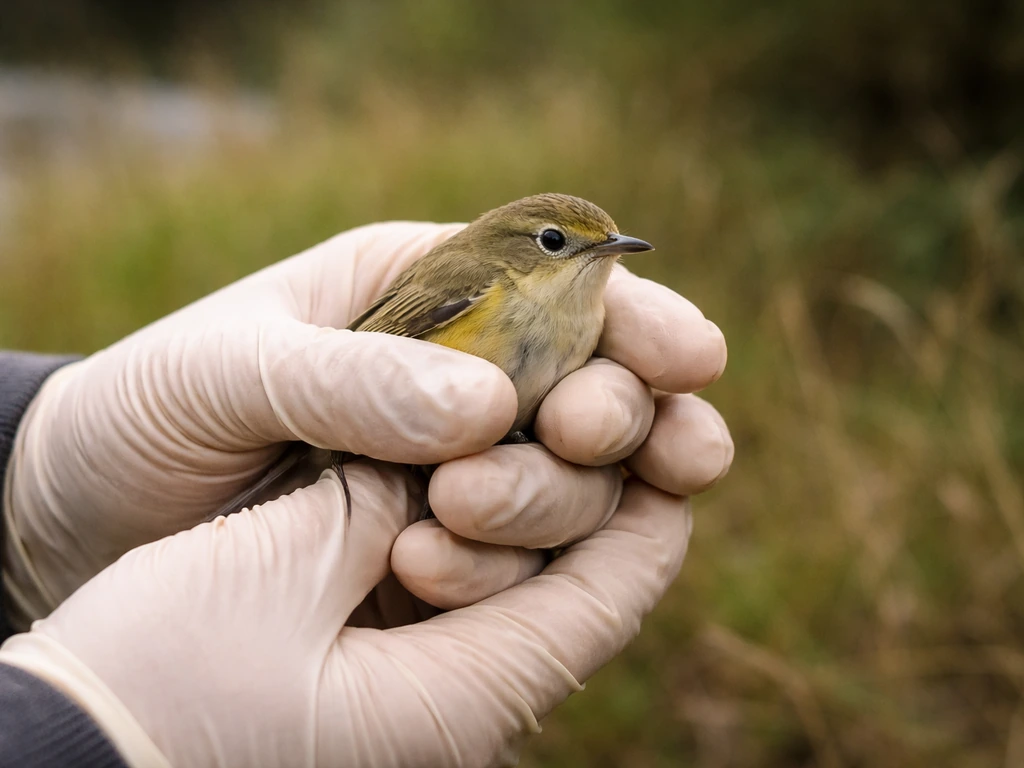
The moment the loop closes around the bird, move to the trap quickly and calmly, don't run, because that increases the bird's panic. Get there within 15–30 seconds. A bird in a closed rope loop on an open surface will thrash, and the longer it's unattended, the higher the chance of self-injury. When you reach the trap, place one hand gently over the bird's back and wings to calm it, then loosen the slip-knot with your other hand. The loop should fall open easily, if it's too tight, keep gentle pressure on the bird with one hand and use a finger to work the knot open.
Once the rope is off, hold the bird loosely in both hands with its wings folded naturally against its body. Check quickly for any obvious injury, look at the legs, feet, and wings. If the bird looks healthy and uninjured, release it immediately on the spot by opening your hands gently and letting it fly. Don't carry it somewhere else unless you have a specific reason (and legal authorization) to do so. In many states, transporting a wild bird, even briefly, without a permit is unlawful, as Washington's regulations explicitly note.
If the bird appears injured, contact a local wildlife rehabilitator rather than trying to care for it yourself. Keeping a wild migratory bird in your possession without a permit, even with good intentions, creates legal exposure under the MBTA and most state laws. A licensed rehabilitator can take over legally and provide proper care.
Check your trap frequently, every 30 to 60 minutes at most. Never leave a rope loop trap set overnight or unattended for extended periods. A bird in a closed loop that isn't immediately retrieved can suffer from stress, exposure, predator attacks, or cord entanglement. Maine's trapping regulations are explicit that any animal found in a trap must be removed promptly. That standard is a reasonable baseline for any responsible trapper regardless of state.
A few things I'd tell a first-timer
The most common first-attempt failure isn't the trap design, it's impatience. People pull the cord a half-second too early because they get excited when a bird steps near the loop. Practice your timing by watching birds at an existing feeder for a few days before you set the trap, just to calibrate your patience. The second most common mistake is a slip-knot that sticks or closes unevenly. Test yours ten times before you use it for real. These two things account for probably 80% of failed captures.
If you want to explore other trap styles alongside this one, a box-style drop trap and a stick-trigger trap each have their own advantages depending on your situation, particularly if you want a hands-free option or need to cover a larger baited area. A glue trap, on the other hand, is one design I'd steer clear of entirely for bird capture: the injury risk and stress to the animal are much higher, and it's nearly impossible to release a bird from glue without damage. The rope or string loop trap is genuinely one of the safest hand-made options available when it's built and used correctly.
FAQ
How do I size the loop so it holds the bird without injuring it?
Use a loop diameter matched to the bird species, and aim for a loop that can close around the legs or torso without cinching the neck. As a quick check, after you build the slip-knot, run a few dry pulls and confirm the loop closes evenly and lies flat, with no twisted segments that could create a pinch point.
What should I do if the slip-knot jams or closes unevenly during the dry run?
Disassemble and re-tie, then retest with the same cord. Uneven closure usually comes from a poorly seated eye loop or frayed fibers catching inside the knot, so trim loose strands and avoid cords with rough, fuzzy texture that can snag when tension increases.
Can I leave the trap set while I wait, and how often should I check it?
Do not leave it unattended for long periods. Plan to approach immediately after a bird enters and then check on a strict schedule (every 30 to 60 minutes at most if any wildlife is present), because stress and exposure rise quickly even when the mechanism is designed to be humane.
Is a rope trap okay to use on backyard birds, like pigeons, without permits?
It depends on whether the birds are protected and on your state rules. A safer decision process is to treat any wild migratory bird as potentially protected, then verify current regulations (fish and wildlife agency guidance) before setting, even if the design is non-injurious.
What if I accidentally catch a non-target species (or a protected bird)?
Release it as soon as you can, gently and on the spot, and do not attempt to relocate it unless you are following local law. If the bird appears injured, contact a licensed wildlife rehabilitator instead of trying to transport or keep it.
How do I prevent the cord from spooking birds or getting delayed by grass and debris?
Clear and protect the cord path. Keep the pull line flat to the ground, remove small sticks and grass that can catch under it, and consider laying the cord in a shallow, unobtrusive groove so it slides without friction when you pull.
What’s the safest way to release the bird after the loop opens?
Support the bird’s body and keep wings folded naturally, then check legs, feet, and wings briefly for obvious injury. If the slip-knot does not loosen easily, use gentle pressure to calm the bird and work the knot open with a finger rather than forcing it abruptly.
How can I tell whether the bird is injured versus just stressed?
Stress often looks like rapid but coordinated movement and normal breathing posture, while injury signs include drooping wings that do not settle, visible bleeding, limping, inability to stand, or a twisted or extended leg. If you notice any injury indicators, stop attempting handling for release and call a wildlife rehabilitator.
Can I use the trap to catch a domestic bird or pet that escaped?
It may be more appropriate than capturing wild birds, but you still should avoid causing harm and follow any local animal control or welfare guidance. If the animal is a pet, prioritize contacting the owner or local lost-animal resources, and consider using a humane live-capture cage designed for domestic pets instead of a snare.
What’s a good alternative if I can’t commit to frequent checks?
If you cannot check frequently and reliably, do not set any loop trap. In that case, switch to non-trapping methods like improving shelter access, using feeders strategically, or contacting a wildlife control or rescue service that can handle capture and transport legally.
Why is pulling technique important, and what should I avoid?
Pull firmly and steadily only when the bird is fully inside the loop. Avoid jerking or pulling as soon as the bird approaches, because abrupt closure can startle a wing into an awkward angle and increase the chance of injury.
Is it ever legal to use these traps if I intend catch-and-release only?
Intent does not automatically override wildlife and migratory bird protections. Many jurisdictions define “taking” to include capture, so legality depends on permits, species, and season rules, not only on whether you plan to release the bird.
Next Articles
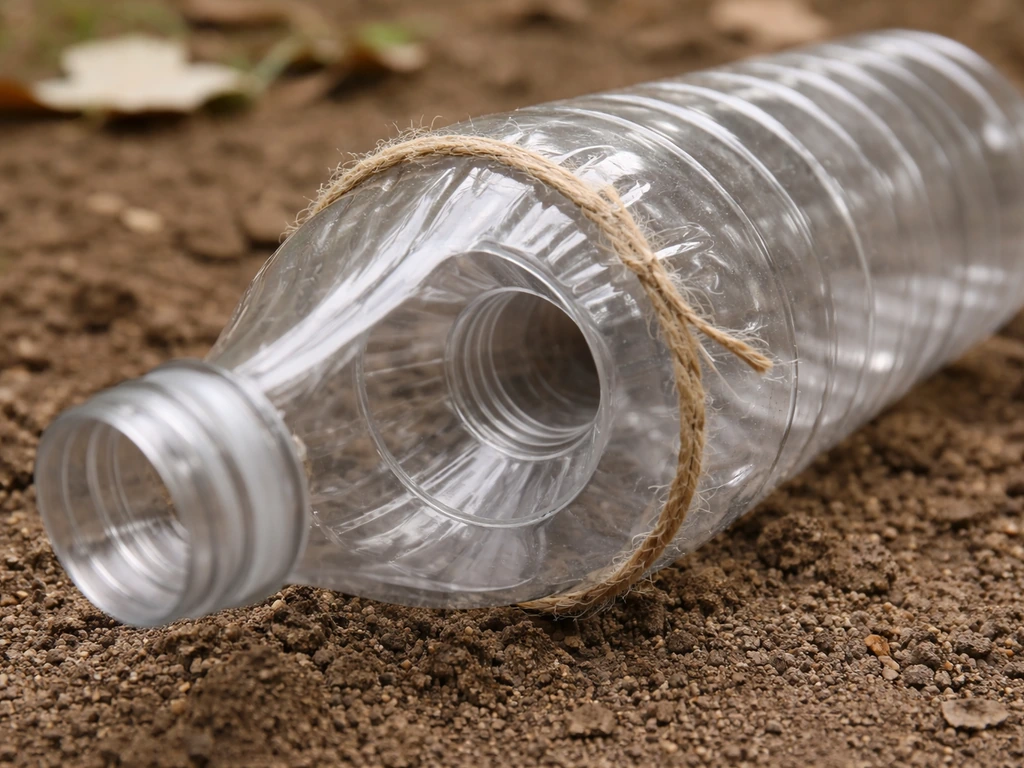
How to Make a Bird Trap Out of a Bottle Safely
Step-by-step DIY bottle bird trap build with one-way entry, safe ethical guidance, release tips, and troubleshooting for
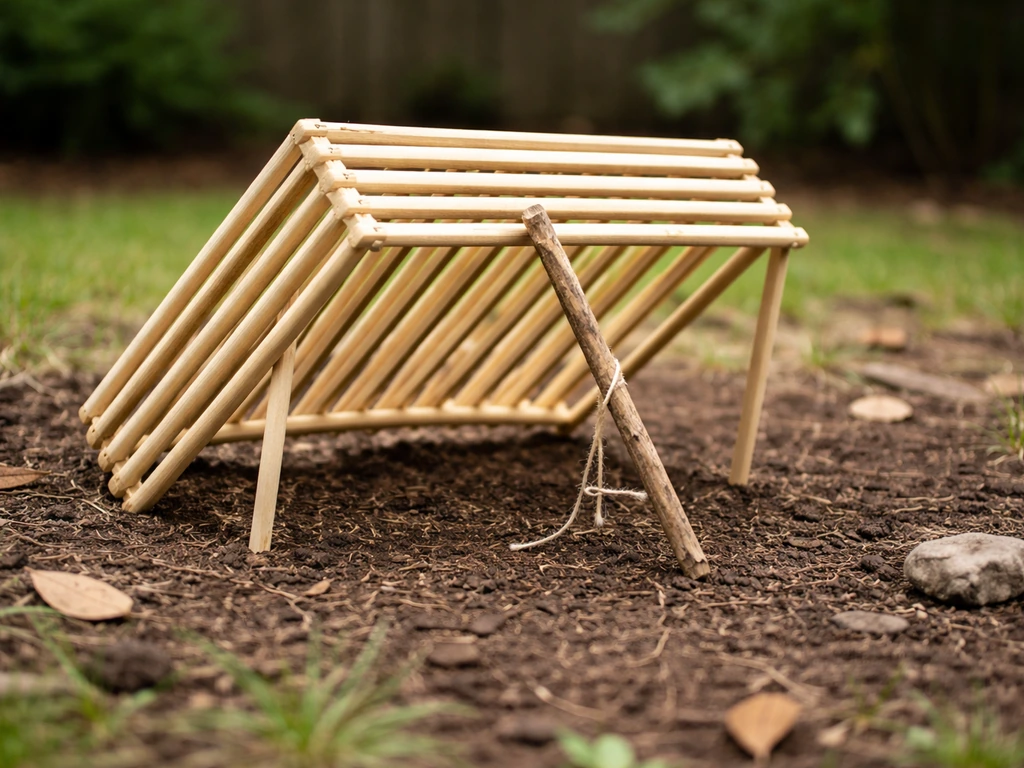
How to Make a Bird Trap With Sticks Safely and Humanely
Step-by-step humane stick bird trap plan, with legal safety notes, setup tips, and humane release guidance.
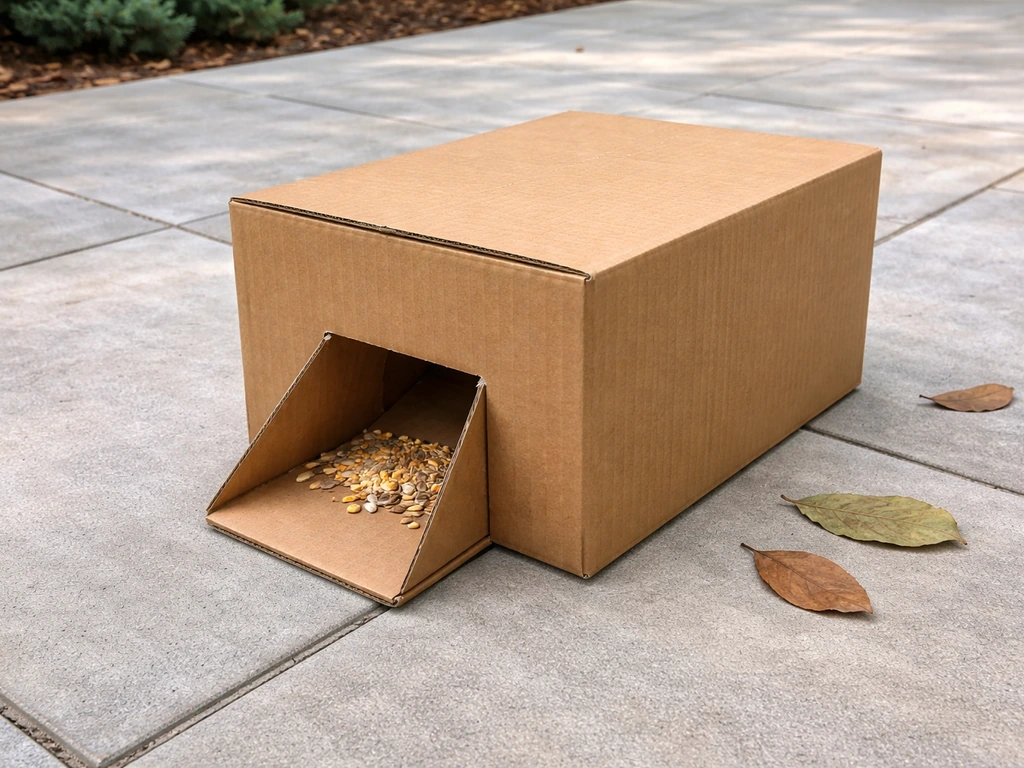
How to Make a Bird Trap With a Box: DIY Steps
Step-by-step DIY guide to build a humane cardboard box bird trap, with door, bait, escape-proofing, and release tips.