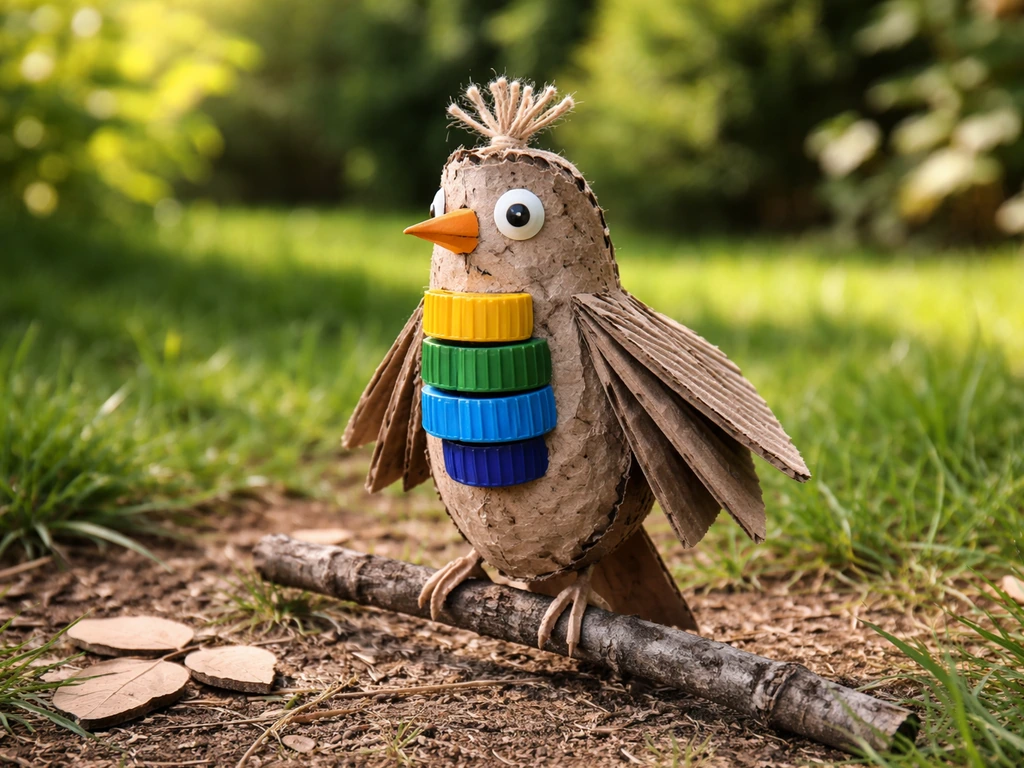
You can make a great-looking bird from recycled materials using cardboard, plastic bottles, bottle caps, wire, and a few basic craft supplies. The whole project can cost nearly nothing, takes a couple of hours for a beginner version, and the finished piece can live outdoors in your backyard as a decoration, a yard accent, or a fun enrichment item near your feeding area. This guide walks you through every step, from picking safe materials to drilling, shaping, painting, sealing, and placing your finished bird outside where it belongs.
How to Make a Bird from Recycled Materials Step by Step

Marcus Thornton
11 May 2026
Choose the right recycled materials and keep it bird-safe
Not every material that seems harmless actually is once it sits outside and wild birds start pecking, hopping, or nesting around it. The good news is that most common recyclables are perfectly fine as long as you know what to avoid and what to look for.
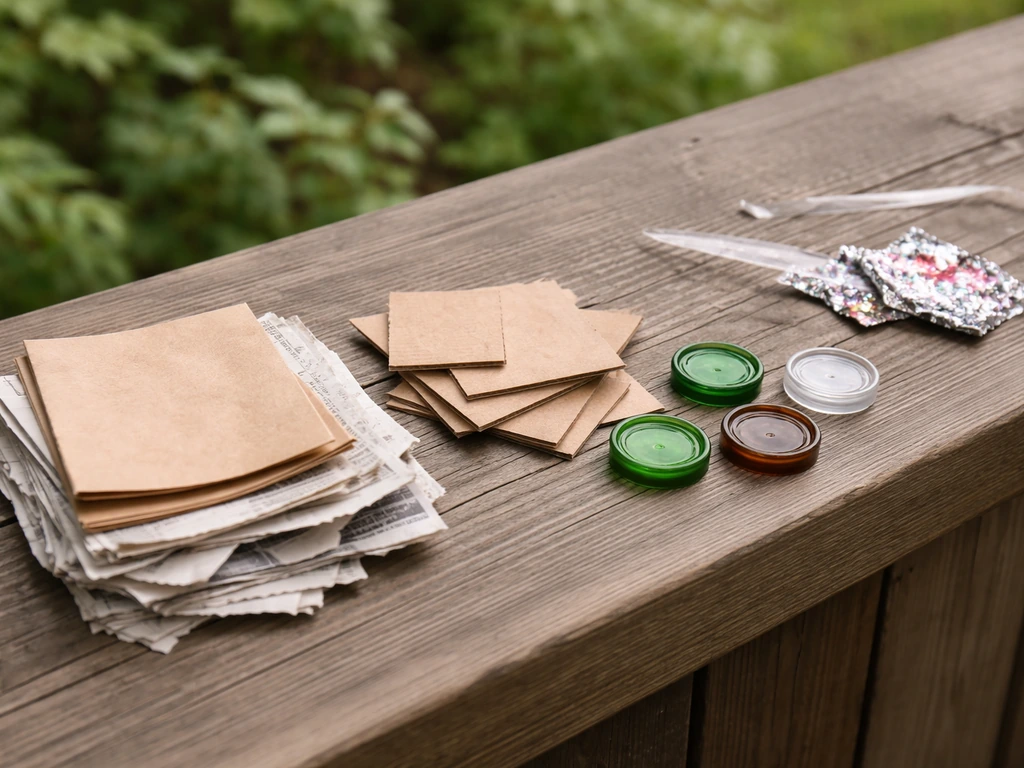
Here are the recycled materials that work best for a bird figure:
- Corrugated cardboard from shipping boxes (sturdy, easy to cut, holds paint well)
- Plastic bottle caps (bottle cap birds are a classic beginner project — drill holes through them and use wire for legs and structure)
- Glass bottles or plastic bottles (great for the body of a larger 3D bird)
- Aluminum cans (flattened sections work well for wings and tail pieces, but sand or file all edges smooth)
- Old wire coat hangers or 18-gauge craft wire (perfect for legs, armature, and hanging hooks)
- Newspaper or scrap paper for papier-mache layering over a base form
The safety side matters more than most guides admit. Avoid loose yarn, string, or twine as any kind of decorative or structural element. The U.S. Fish & Wildlife Service warns explicitly that string and yarn left outdoors can wrap around a bird's legs or neck and cause serious injury or death. Even if you think it's just decorative, real birds will investigate it. Stick to wire, rigid cardboard tabs, or sealed fabric pieces rather than anything fibrous or dangling.
For paints and glues, check the label before you buy or grab from the shelf. Look for the ACMI AP seal (that stands for Approved Product from the Art and Creative Materials Institute), it means a board-certified toxicologist has evaluated the product as non-toxic, and you can use it without worry around a backyard bird environment. Avoid solvent-based paints, rust primers, or anything with strong fume warnings for outdoor craft use. Water-based acrylic paints with the AP seal are your best friend here.
Pick a bird design: simple starter vs. more detailed versions
Your design choice really comes down to how much time you want to spend and what tools you have. I've made both, and honestly the simpler versions hold up just as well outdoors as the fancy ones.
Beginner: flat cardboard bird
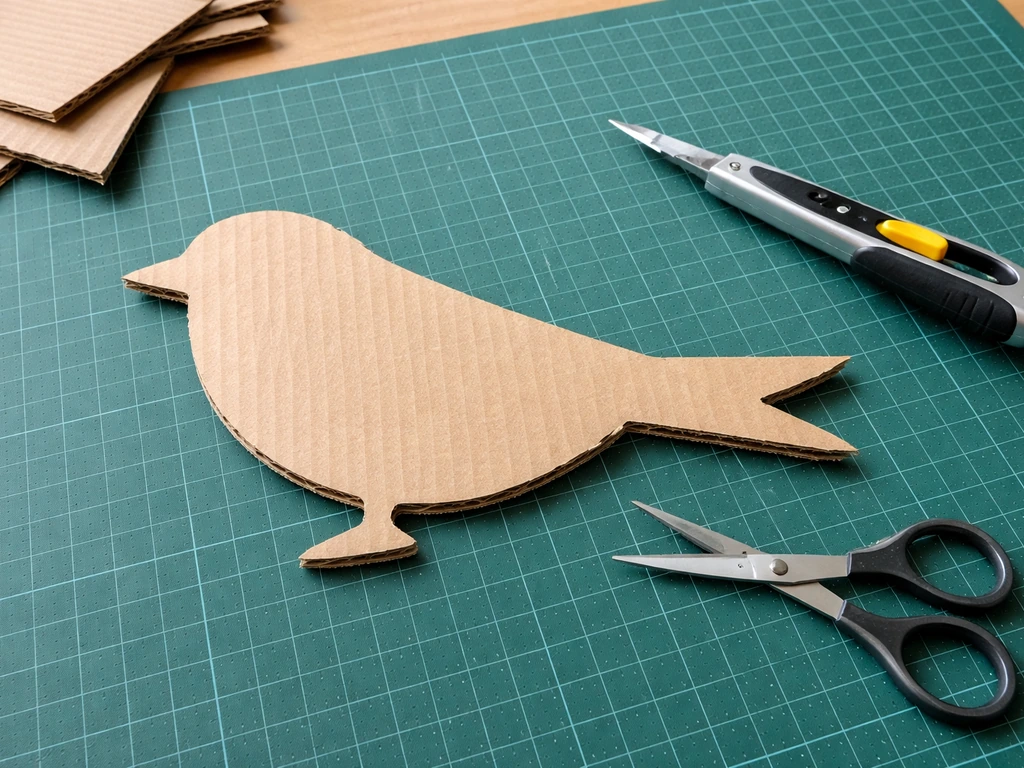
This is the fastest version and a great starting point. You cut a bird silhouette from a single piece of corrugated cardboard (a recycled cereal box works, but a double-layer shipping box piece holds up far better outdoors). Cut two matching pieces roughly 6.5 inches square, trace a simple bird profile onto one, cut both together for identical shapes, and glue them back-to-back for thickness. Add a triangle beak piece, wing shapes cut from a second layer of cardboard, and you're mostly done. Simple, clean, and very kid-friendly.
Intermediate: bottle cap bird
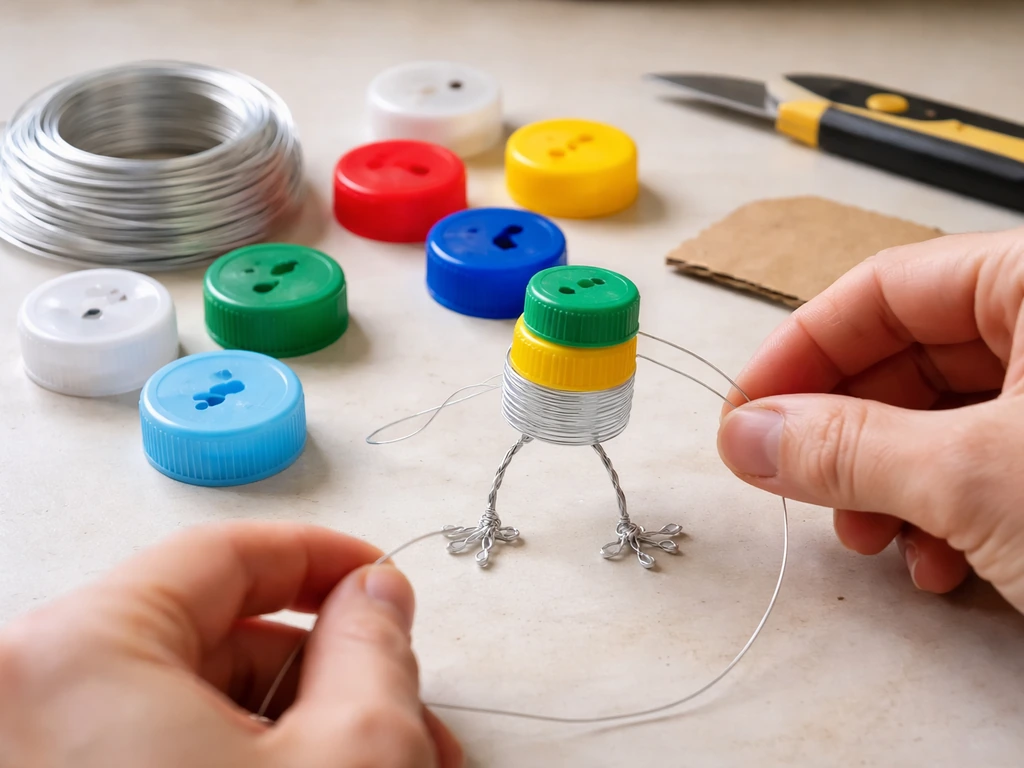
A plastic bottle cap bird is a real step up in visual texture and durability. You drill a small hole through the center of each cap, then thread 18-gauge craft wire through them to build a body shape. Caps make up the feathered texture of the body, and wire legs anchor the whole thing to a branch or post. This design takes more patience but is genuinely sturdy outdoors and looks impressive once painted.
Advanced: papier-mache or bottle-body bird
For a full 3D bird, use a plastic bottle as the body form and layer papier-mache (strips of recycled newspaper soaked in a water-and-glue mix) over the surface. Build out the tail, head, and wings from cardboard shapes attached before the final layers dry. This takes longer to cure but produces a solid, fully dimensional bird you can paint to look like a specific species.
| Design | Best materials | Skill level | Approx. build time | Outdoor durability |
|---|---|---|---|---|
| Flat cardboard bird | Shipping box cardboard, acrylic paint | Beginner | 30-60 minutes | Good with sealer |
| Bottle cap bird | Plastic caps, 18-gauge wire, paint | Intermediate | 2-3 hours | Very good |
| Papier-mache bottle bird | Plastic bottle, newspaper, glue, cardboard | Intermediate/Advanced | Half day + drying time | Excellent with proper seal |
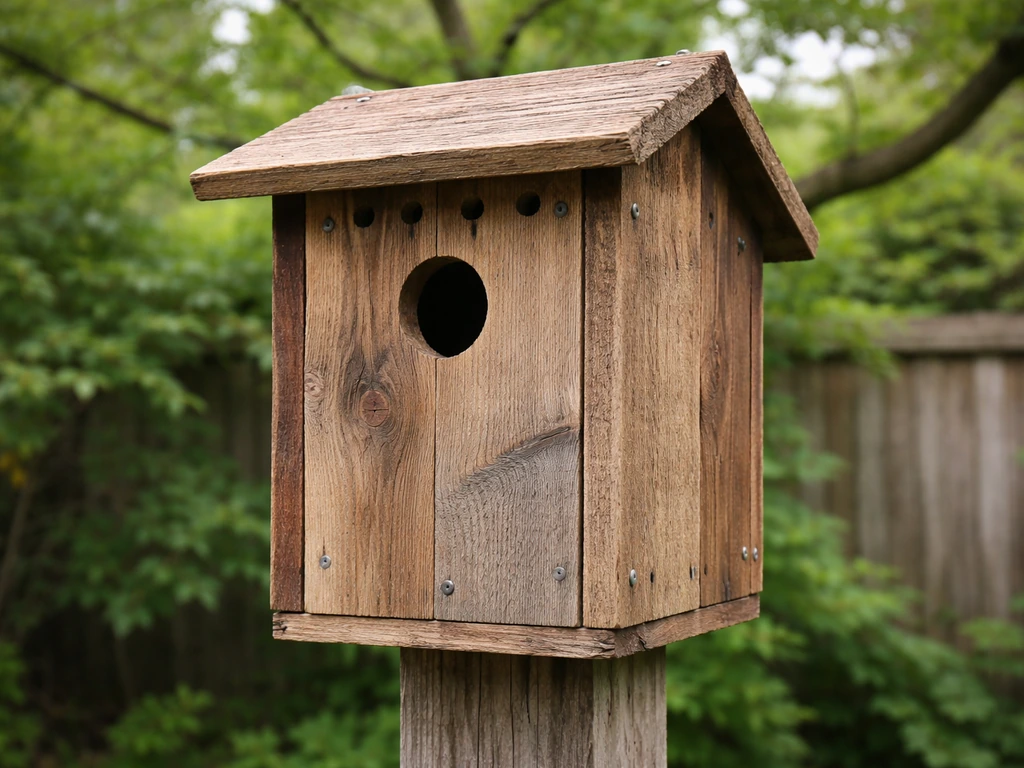
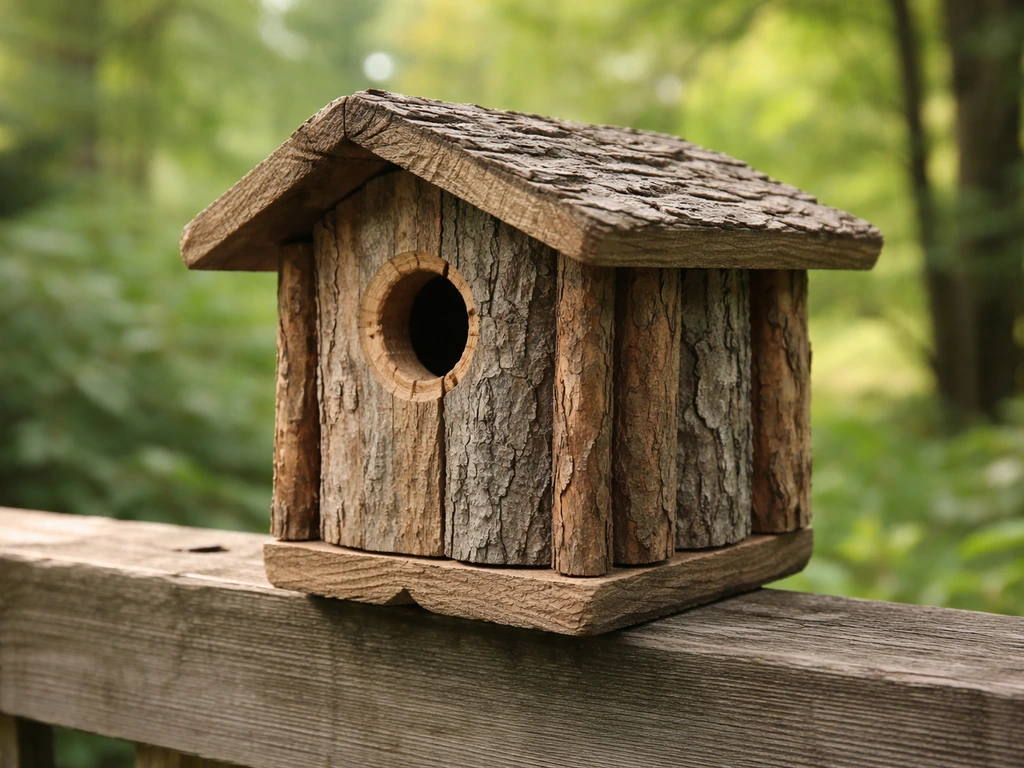
If you're also interested in making functional structures rather than decorative figures, you might want to explore guides for building recycled birdhouses or bird boxes out of reclaimed wood or waste materials, those projects follow a different set of structural requirements for attracting nesting birds. If you want a functional project instead, learn how to make a bird box out of recycled materials with the same focus on safe, weather-ready components. If you want something more functional than a display figure, learn how to make a recycled bird house for nesting birds instead.
Tools and prep steps for cutting, cleaning, and shaping recyclables
You don't need a workshop for this. Here's what actually gets the job done:
- Box cutter or utility knife (use a sharp blade — dull blades require more pressure and lead to slips and ragged cuts)
- Cutting mat or thick piece of scrap cardboard to protect your work surface
- Scissors for paper and thinner cardboard sections
- Hand drill or Dremel for bottle caps and plastic (a 1/16" bit works for wire threading)
- Sandpaper (80 to 120 grit) for smoothing cut edges on aluminum and plastic
- Needle-nose pliers for bending and shaping wire
- Bowls of warm soapy water for cleaning glass and plastic before you start
Always cut away from your body with a box cutter, not toward it. Keep your free hand well clear of the blade path. This sounds obvious until you're halfway through a thick piece of corrugated cardboard and the blade snags, that's exactly when injuries happen. A sharp blade is genuinely safer than a dull one because it requires less force.
Clean every piece before you work with it. For glass bottles or caps with sticky labels, soak them in warm soapy water for 20-30 minutes, peel the label, then rub any residual adhesive off with a bit of cooking oil or rubbing alcohol. A clean surface means your paint and glue actually stick rather than peeling off a week after you put the bird outside.
Step-by-step build instructions for your recycled bird
These instructions follow the intermediate bottle cap bird, which gives you the most flexibility and the best outdoor result. Adapt the steps if you're doing a flat cardboard version, the core sequence is the same.
- Collect and clean 30-50 plastic bottle caps. Remove any labels, rinse well, and let them dry completely before drilling.
- Drill a single small hole through the center of each cap using a hand drill and a 1/16" bit. Hold caps steady with needle-nose pliers, not your fingers, while drilling.
- Cut a 12-inch length of 18-gauge craft wire. Fold it roughly in half to form a loop at the top (this becomes the bird's body spine and hanging hook). Twist the two ends together a few times below the loop to create a rigid stem.
- Thread bottle caps onto the wire, concave side facing outward, layering them from the tail end upward toward the head. Pack them tightly so the caps overlap like feathers.
- Cut a larger oval shape from double-layer cardboard to form the bird's chest/belly area. Sandwich this between your wire layers at the widest point to give the body a rounded 3D shape.
- For legs, cut two 6-inch pieces of 18-gauge wire. Twist each one to the base of the body spine, then bend the bottom 1.5 inches of each leg at a right angle to form feet. Curl the feet ends slightly so they can grip a branch or flat surface.
- Cut wing shapes from flattened cardboard or aluminum can sections (sand all metal edges smooth with 80-grit sandpaper). Attach wings to the body sides using Aleene's DIY Craft Outdoor Adhesive or a similar UV/water-resistant adhesive, pressing firmly and letting it cure per label instructions.
- Cut a small triangle from cardboard for the beak and glue it to the head area. Let everything dry completely — at least 30 minutes for most adhesives — before moving to painting.
Add finishing details: wings, beak, eyes, and safe weatherproofing
This is where your bird actually becomes a bird. The details matter, and so does the order you do them in.
Painting the body and details
Use water-based acrylic paint with the ACMI AP non-toxic seal. Apply a base coat over the entire body first, one solid color, and let it dry fully before adding detail colors. For a species-inspired look, consider a black and white chickadee pattern, a red cardinal finish, or a blue jay color scheme. Two thin coats beat one thick coat for durability. For eyes, paint a small circle with a slightly lighter center, or glue on a small flat button (make sure it's glued down completely with no loose edges a real bird could snag).
Sealing for outdoor use
Don't skip the sealer. A finished but unsealed cardboard bird will turn to mush in the first rain. Mod Podge Outdoor is a good budget option, it's a water-based, non-toxic glue, sealer, and finish designed for sheltered outdoor surfaces. It dries clear and reaches full cure after about four weeks. For harder weathering, a UV-resistant spray sealant over the top gives extra protection. Apply the sealer in thin, even coats following the label directions, and let it dry between coats. Work in a ventilated area when using any spray product.
One important note: Mod Podge Outdoor is weather-resistant but not fully waterproof, so it performs best in a sheltered spot (under an eave or on a covered porch) rather than fully exposed to driving rain. If your bird will be in a fully exposed spot, layer on a more robust UV-resistant sealant spray over the Mod Podge once cured.
Check for hazards before you go outside
Before placing your bird in the yard, run your hand over every surface and edge. Sharp wire ends should be bent back or covered with a small wrap of electrical tape. No loose strings, no dangling fiber, no unsecured buttons or small pieces. Real birds will land near or on your craft, and anything they can pull free and tangle in is a hazard. Check glue joints and make sure nothing lifts when you tug gently, if something moves, re-glue and let it fully cure before outdoor placement.
Mounting or placing options for backyard use and enrichment

Where you put your bird figure matters both for how good it looks and for whether it inadvertently causes problems for the real birds in your yard.
The simplest option is to perch the wire-legged bird on a wooden branch, a garden stake, or the edge of a raised planter. The bent wire feet grip surprisingly well, and you can add a small drop of outdoor adhesive to make it permanent. For hanging versions (if you used the loop-top wire design), hang from a tree branch, a shepherd's hook, or a covered porch beam with a short length of rigid chain rather than string or cord.
Keep your bird craft away from windows if it includes any reflective surface like aluminum can sections. Audubon's guidance on window collisions recommends placing objects either within three feet of a window or more than 30 feet away. At three feet or closer, birds can't build up enough speed to injure themselves on the glass; beyond 30 feet, they have clear enough visual distinction to navigate safely. The danger zone is that middle range of roughly 3-30 feet from a window, so aim to set up outside of it.
For enrichment and visual interest near a feeding area, place your bird figure near (but not on top of) a feeder or birdbath. Real birds tend to check out new objects near their feeding spots, and a brightly painted bird can add a pop of color to the garden without interfering with natural feeding behavior. Just make sure it's fully cured and stable before placing it close to areas where birds actively land and feed.
If you end up catching the bug for this kind of project, building an actual recycled birdhouse or a bird box from reclaimed materials is a natural next step, those take more planning around entrance hole sizing and interior dimensions for specific species, but the same recycled-material philosophy and safety mindset applies.
FAQ
Can I make a bird decoration for inside first, then move it outdoors later?
You can, but you still need to wait for full cure of paint and sealer before any outdoor use, especially after weather exposure. Also, if you used hot glue or non-water-based adhesives indoors, test a small area outdoors for peeling or brittleness before mounting it near where birds land.
What’s the safest way to handle wire legs so birds are not at risk?
After assembly, bend wire ends inward or cap them with rigid tubing, then seal the junctions with a thin layer of non-toxic sealer. Do a tug test on every foot, if it flexes or lifts, re-glue and re-seal before placing outside.
Are bottle caps and plastic bottles always safe to use outdoors?
They’re usually fine, but you need to remove labels and any adhesive film so paint and sealer bond securely. If the cap has sharp molding edges or cracks, sand or cover the edge so nothing can snag a bird’s foot or claw.
Can I use string or twine to add wings, tail feathers, or texture?
For outdoor bird figures, avoid any loose fibrous or dangling materials. Even short pieces can wrap around legs or neck during curiosity and pecking, so stick to rigid cardboard shapes, wire, or fully sealed fabric pieces that cannot come loose.
What should I do if my paint keeps peeling after a few days outside?
Peeling usually means the surface was not clean or not fully cured before sealer. Re-clean, lightly roughen glossy plastic with sandpaper, then reapply a thin base coat, let it dry fully, and only then apply sealer in thin layers.
How long does the sealer need before the bird can go outside?
Plan on at least several days for dry-to-the-touch, and up to about four weeks for full cure when using a product like Mod Podge Outdoor. If you must place it sooner, keep it sheltered under an eave and monitor for soft spots after rain.
Is Mod Podge Outdoor waterproof enough for heavy rain?
Not fully. It’s weather-resistant but best in a sheltered location. For fully exposed areas, use an additional UV-resistant spray sealant over the cured base, applied in thin coats to avoid tacky buildup.
How do I prevent cardboard from warping or turning soft?
Use a thicker double-layer cardboard for the body, seal all sides not just the front, and keep the finished bird out of standing water. If the cardboard edges swell, your sealer application was too light, add another thin sealer coat once the prior layer is dry.
What’s the best placement distance from windows for a bird figure?
Aim to keep it either within about three feet of the window or beyond about 30 feet, the middle range (roughly 3-30 feet) is the risky zone. Also avoid reflective components, if you used any shiny metal or foil-like surfaces, relocate it away from glass.
Can I hang the bird, or is a perch better?
A perched wire-legged setup is usually more stable, but hanging can work if you use rigid chain or a solid hanging point. Avoid any plan that uses string or cord, also ensure the bird cannot swing into the feeder where birds land frequently.
Do I need to avoid window-adjacent placement if my bird has painted eyes or glossy details?
Yes, especially if the eyes or finishes look reflective from certain angles. Angle the placement so reflections do not line up directly with the window, and re-check after dark, when light from inside can change how the figure appears.
What’s a good way to test safety before leaving it outside permanently?
Run a two-step check: first inspect for any loose edges, dangling fiber, or uncured glue bumps, then do a gentle tug test on every moving or textured area. Place it in a lightly sheltered spot for a few days, after one rain event verify that nothing softens or peels.
Next Articles

How to Make Eco Friendly Bird House: DIY Step by Step
Step by step eco-friendly DIY birdhouse guide with safe materials, bird size match, assembly, and maintenance checklist.
How to Make a Recycled Bird House Step by Step
Step-by-step guide to build a bird-safe recycled bird house with proper entrance, ventilation, drainage, and finishing.
How to Make a Bird Box From Recycled Materials
Step-by-step DIY guide to build a bird box from reclaimed wood or logs, with safe dimensions, drainage, and mounting.