Build a Carolina wren house with a 1.5-inch entrance hole, a 4x4-inch floor, and a cavity depth of 6 to 8 inches, then blank" rel="noopener noreferrer">mount it 5 to 10 feet off the ground near dense shrubs or brush piles. That combination matches what Carolina wrens actually look for, and getting those numbers right is the single biggest factor between a box that sits empty and one that gets claimed within a season.
How to Make a Carolina Wren Bird House Step by Step

Marcus Thornton
31 May 2026
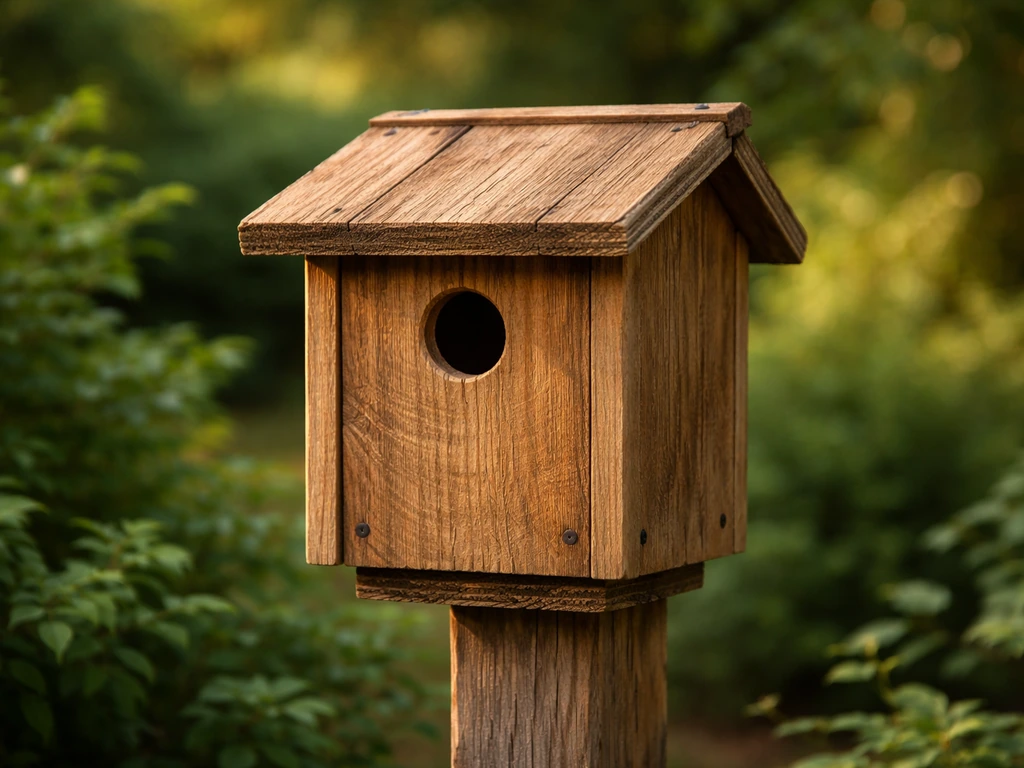
What Carolina wrens need in a bird house
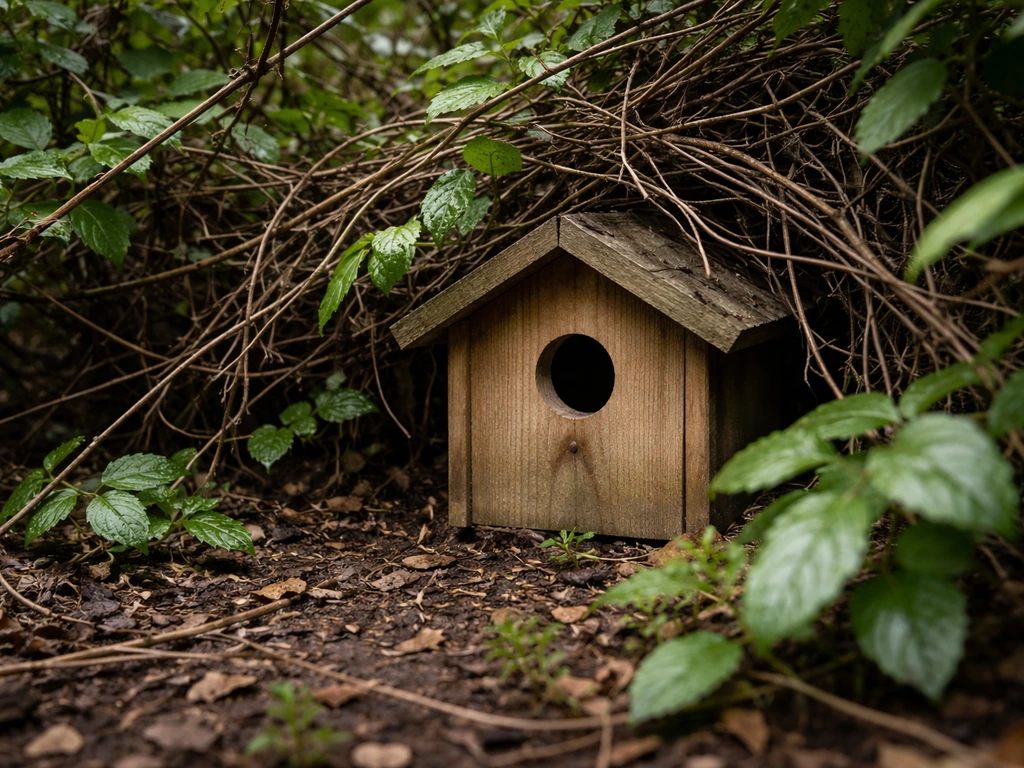
Carolina wrens are cavity nesters, but they are pickier about location and cover than they are about the box itself. In the wild they nest in tangles of brush, vine-covered stumps, old woodpecker holes, and even flowerpots on porches. What that tells you is they want to feel hidden and protected, not exposed. A box mounted on a open post in the middle of a lawn is rarely going to attract them, no matter how well built it is.
Inside the box, they want a small, dark space with good air circulation and a dry floor. The interior wall directly below the entrance hole needs to be rough or have horizontal saw kerfs cut into it so nestlings can grip the wood and climb toward the opening when it is time to fledge. A smooth inside wall is a trap, not a home. They also need drainage, because a damp nest floor breeds bacteria and mites that kill chicks.
- Small, enclosed cavity with a round entrance hole (not a slot or open front)
- Rough interior surface below the entrance hole so fledglings can climb out
- At least four drainage holes on the floor, each 3/8 to 1/2 inch diameter
- Ventilation gaps near the top of the side walls or in the roof overhang
- Location near dense vegetation, brush, vines, or low shrubs
- No perch below the entrance hole (perches help predators, not wrens)
- Predator guards on the mounting pole or tree if possible
Birdhouse design specs: entrance size, dimensions, and placement
The entrance hole is the most important measurement on the whole box. Too small and the wrens physically cannot get in. Too large and starlings or house sparrows move in instead. For Carolina wrens, the hole should be exactly 1.5 inches in diameter. That is the dimension published by both the US Fish and Wildlife Service and the NJ Audubon nest box tables, and it is the one to stick with.
The rest of the box dimensions come from the same published specifications. A 4x4-inch floor gives the birds enough room without so much space that the nest feels insecure. Cavity depth of 6 to 8 inches is the sweet spot, though some sources extend that to 10 inches for warmer climates. The entrance hole should be positioned so the top of the hole sits roughly 6 to 8 inches above the floor, leaving that crucial ladder distance for fledglings.
| Measurement | Recommended Value |
|---|---|
| Floor size | 4 x 4 inches |
| Cavity depth | 6 to 8 inches |
| Entrance hole diameter | 1.5 inches |
| Entrance hole height from floor | 6 to 8 inches |
| Mounting height | 5 to 10 feet off the ground |
| Minimum spacing between boxes | 200 feet |
For placement, mount the box 5 to 10 feet high on a tree, fence post, or garden structure near shrubs, brush piles, or vine tangles. NJ Audubon’s nest box placement table lists Carolina wren placement guidance, including typical box heights of 5 to 10 feet and a numeric minimum spacing value of 200 feet the nest box placement table. Orient the entrance hole away from prevailing winds and direct afternoon sun.
In most of North America that means facing the hole east or north. The roof should overhang the entrance by at least an inch to shed rain. For those who want to build one specifically for Carolina wrens, follow the window bird house dimensions and entrance placement details for a cavity-style setup roof should overhang the entrance. Keep boxes at least 200 feet apart if you put up more than one, since Carolina wrens are territorial.
Materials and tools for a DIY Carolina wren house
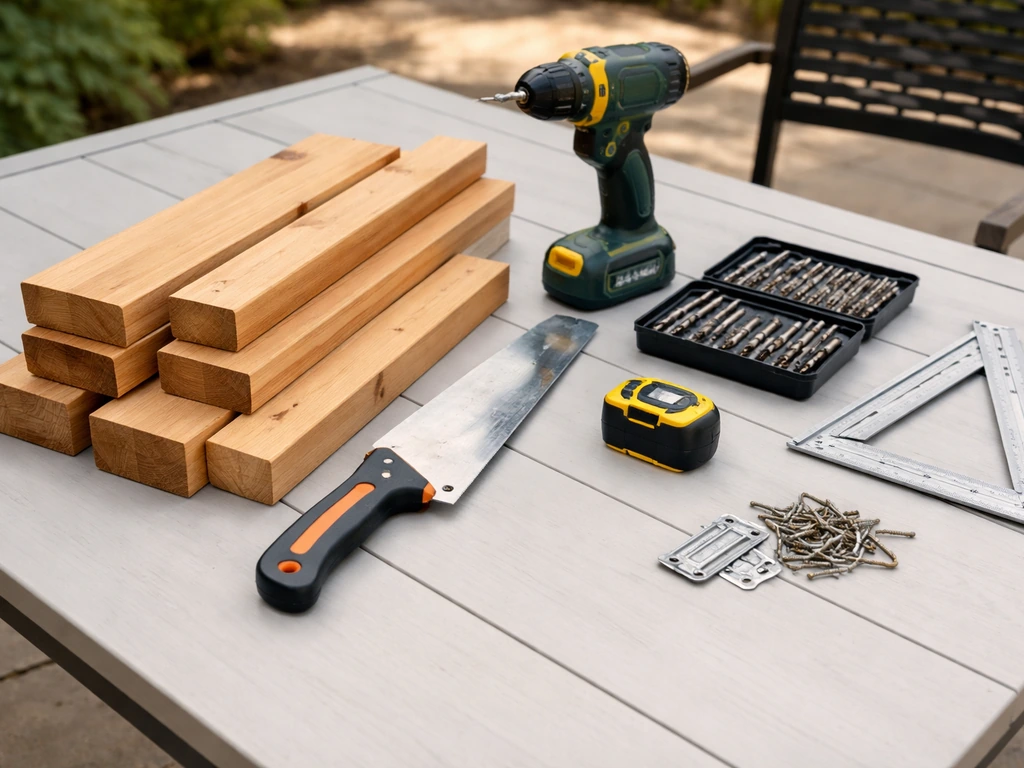
Cedar is the best wood choice here because it is naturally rot-resistant, handles outdoor weather without warping badly, and does not need any stain or sealant to last years outdoors. Pine and cypress work nearly as well. Whatever you use, buy untreated, unpainted lumber. Pressure-treated wood contains preservatives that are toxic to birds, and interior paint creates fumes in a small enclosed space. If you want the outside to look a little more finished, a thin coat of raw linseed oil on the exterior only is fine.
You do not need a fully equipped shop for this project. A handsaw, a drill, and a 1.5-inch spade bit or hole saw will get you there. If you have a jigsaw or circular saw, great, but a basic crosscut handsaw cuts everything on this list without trouble. Screw the box together rather than nailing it, since screws make the box easy to open for cleaning and will not work loose over years of temperature changes.
- One 1x6 cedar, pine, or cypress board, approximately 4 feet long (gives you all the panels you need)
- 1.5-inch spade bit or hole saw for the entrance hole
- 3/8-inch drill bit for drainage holes
- Handsaw or power saw
- Drill or screwdriver
- Exterior-grade 1.5-inch screws (galvanized or stainless to resist rust)
- Sandpaper (80 grit and 120 grit)
- Pencil and measuring tape
- Optional: chisel or saw for cutting ladder kerfs inside the box
Step-by-step build plan and assembly
Start by cutting your board into five pieces: a 4x4-inch floor, two side panels at 4 inches wide and 8 to 9 inches tall, a front panel at 4 inches wide and 9 to 10 inches tall (slightly taller to support the angled roof), a back panel at 4 inches wide and 12 to 14 inches tall (the extra height gives you something to nail or screw to the mounting surface), and a roof panel about 5 to 6 inches wide and 5 to 6 inches deep. Cut the top of the side panels at a slight angle, around 10 to 15 degrees, so the roof sheds water rather than pooling on it.
- Cut all five panels to the dimensions above and label them so you do not mix up front and back.
- On the floor panel, drill four drainage holes using the 3/8-inch or 1/2-inch bit, one near each corner.
- On the front panel, mark the center of the entrance hole so the top of the hole will land 6 to 8 inches from the bottom edge. Drill through with your 1.5-inch spade bit or hole saw. Sand the inside of the hole smooth so it does not snag feathers.
- Cut horizontal kerfs (shallow grooves) on the interior face of the front panel below the entrance hole using a chisel or the edge of a saw blade. Three or four grooves spaced about an inch apart give fledglings grip to climb up and out.
- Assemble the box sides first: attach the two side panels to the floor using exterior screws, keeping everything square. Pre-drill to avoid splitting the wood.
- Screw the back panel to the back edges of the sides and floor assembly.
- Attach the front panel to the front edges of the sides. If you want the box to be cleanable, leave one side panel attached with only two screws at top and bottom so it can pivot open for inspection, or hinge the front panel so it swings out.
- Add ventilation: leave a 1/4-inch gap between the roof and the top of the side walls, or drill two small holes just under the roofline on each side panel.
- Screw the roof on with a 1-inch overhang at the front and at least 1/2-inch on the sides. Angling the roof slightly forward adds extra rain protection.
- Sand any sharp exterior edges and check that all screws are flush. Do not paint or stain the interior.
One honest tip from experience: measure your entrance hole twice before you drill it. Drilling a hole that ends up even 1/4 inch too large is the most common beginner mistake, and there is no easy fix short of replacing the front panel. Use a piece of scrap wood to test your bit diameter before committing to the real panel.
Mounting, maintenance, and cleaning schedule
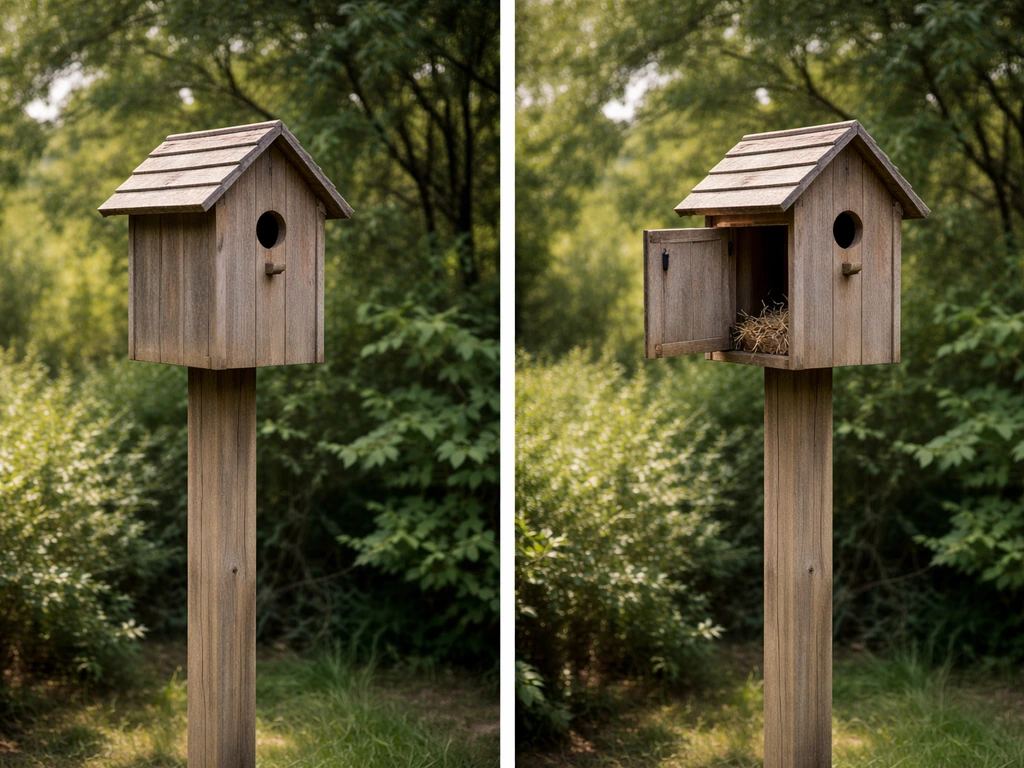
Mount the box between 5 and 10 feet off the ground on a tree, wooden post, or fence near shrubby cover. If you are specifically using a Williamsburg bird bottle, make sure the mounting and entrance opening are positioned for dry, protected nesting and easy access, similar to how you would place a wren box.
Carolina wrens do not like wide-open exposed locations, so the closer the mounting spot is to tangles of native shrubs, brush, or overhanging vines, the better. If you want to build a willow bird house instead, use these same placement ideas and match the opening and interior dimensions to the bird you are targeting how to make a willow bird house. Attaching the box to a living tree is fine and actually preferred by this species.
Avoid metal mounting hardware that conducts heat directly into the box. If squirrels or cats are a problem in your yard, a baffle on the post goes a long way.
Cleaning is simple but the timing matters a lot. Wait until you are completely sure all breeding activity has ended for the season before opening the box. In most of the US, Carolina wrens can attempt two to three broods per year from March through August, so do not assume a quiet box in July is finished for the year.
Once you are certain the birds have moved on, remove all old nesting material, scrub the inside with mild dish soap and warm water, rinse well, and let it dry fully before closing it back up. If there is significant fecal buildup, use a solution of one part bleach to ten parts water, scrub, rinse, and air dry. [Never clean out a nest when eggs or nestlings are present. ](https://loudounwildlife.
org/wp-content/uploads/2016/12/BBNestboxCleaning. pdf)
A good annual rhythm is to do a thorough clean in late September or October after the last brood has fledged, then check the box again in late February before the first wrens start scouting. Replace any warped or damaged panels at that point. A well-built cedar box maintained this way can easily last 10 or more years.
Troubleshooting: getting wren occupancy and avoiding problems
The most common reason a box goes unoccupied is placement, not the box itself. If the box is in full sun, in the middle of an open area, or more than about 20 feet from any shrubby vegetation, Carolina wrens will walk right past it. Move the box before assuming anything else is wrong. Adding a nearby brush pile, even just a loose stack of sticks and branches, can dramatically increase wren interest in an otherwise ignored box.
The second most common problem is house sparrows taking over. House sparrows are aggressive, non-native birds that will evict native species and even kill nestlings. If sparrows are claiming your wren box, monitor the box closely and remove sparrow nests (which are legal to remove, unlike native bird nests). Sparrows prefer open areas and are less interested in boxes tucked into dense vegetation, so good placement doubles as sparrow prevention. Do not add a perch below the entrance hole since that is basically a welcome mat for sparrows.
If the entrance hole is even slightly undersized, the wrens will investigate and leave. Measure it again with calipers or a 1.5-inch dowel that should just slip through with a small amount of play. If the hole is too small, carefully enlarge it with sandpaper wrapped around a dowel, working slowly until the fit is right.
Poor drainage is a quieter problem that can cause nest failure even after a pair moves in. If the floor is staying wet after rain, enlarge the drainage holes or add a corner notch to the floor edge. A dry floor is non-negotiable for healthy chicks.
Finally, if you have built a solid box in a good location and are still not getting takers after a full season, try moving the box to a spot with more mature vegetation or leaf litter. Carolina wrens forage low to the ground and feel safest where there is something to disappear into. A box near a dense azalea, a wild rose tangle, or even a woodpile at the edge of the yard is often all it takes. Give the new spot at least one full breeding season, from February through August, before drawing any conclusions.
If you enjoy building nest structures for different species, the general wren nest box design follows many of the same principles here, though entrance hole sizes differ by species. Robins and other open-cup nesters like robins require an entirely different open-fronted design rather than the enclosed cavity wrens need, so the approach changes quite a bit depending on who you are building for. If you want a robin-ready house, you will need an open-front design and the right materials instead of the enclosed cavity box used for Carolina wrens robin bird house.
FAQ
Can I use a 1.5-inch hole saw bit for the entrance, or will it come out slightly off?
A hole saw often cuts a hair larger or smaller depending on wear and speed. Test on scrap first, then verify the final diameter with calipers. If you end up slightly over, you cannot reliably “fix” it, so scrap testing is the safest step.
What should I do if the entrance hole is drilled too close to the roof or the floor, even if the diameter is correct?
Focus on the vertical ladder distance, since that affects fledging. Keep the top of the hole about 6 to 8 inches above the floor. If you drill it too high, nestlings may struggle to climb and the birds may abandon the cavity.
Do I need to add drainage holes in the floor, or is the notch idea enough?
The article’s drainage guidance (not letting the floor stay wet) works best with real water paths. If your design does not naturally drain, add small drainage holes or a floor notch, then confirm it still sheds water after a rain by checking for puddling.
Is it okay to paint the outside of the bird house with exterior paint?
Avoid paint on the interior, and keep it off enclosed surfaces near the entrance since fumes can affect birds. If you want color, use untreated wood with only a thin exterior coating option like raw linseed oil, and let it fully cure before mounting.
How can I confirm the interior wall is rough enough for nestlings to climb?
Don’t rely on “natural texture” alone. Ensure the wall directly below the entrance has roughness created by horizontal saw kerfs or a deliberately roughened section. If a finger slides smoothly without grip, it is not rough enough.
Should the box be mounted to a live tree with screws, or is wire better?
Screws or proper brackets can work, but avoid hardware that heats up and transfers heat into the box. If using metal, insulate between metal and the box, and prioritize a stable mount that doesn’t sway in wind.
What kind of baffles work best if I am trying to prevent cats or squirrels?
A baffle should sit high enough to block climbing and should not create a new easy route toward the entrance. Smooth metal or plastic barriers are typically more effective than rough surfaces that animals can grip, but the best option depends on your post height and animal behavior.
Are Carolina wrens okay with a birdhouse placed near a bird feeder?
They are generally fine with nearby yard activity if they still feel concealed. Keep the entrance oriented away from harsh afternoon sun and place it near cover (shrubs, brush, vine tangles), not out in the open around feeders.
What if I find an old nest in the box, but I am not sure whether eggs or nestlings might still be there?
Do not clean it out until you are confident breeding is complete. If timing is uncertain, wait, then check again. Opening too early can destroy active nests, and it also makes future nesting less likely.
How do I tell if the lack of wrens is due to sparrows instead?
Look for sparrow signs like frequent visits, larger bulky nests, or aggressive behavior at the opening. If sparrows occupy the box, monitor closely and remove sparrow nests promptly when legal, but do not disturb active native nests.
Can I mount two Carolina wren boxes near each other if they are different designs?
Territorial spacing still matters. Keep boxes at least about 200 feet apart for multiple Carolina wren boxes, even if one box is slightly different, because wrens defend nesting territories regardless of box style.
What is the best way to adjust fit if my front panel does not line up and the box is slightly drafty?
Airflow is useful, but you do not want gaps that create direct exposure or poor shelter. Dry-fit panels first, then tighten with screws so seams close evenly. If there are visible cracks at the corners, adjust the panel edges before final assembly.
Next Articles
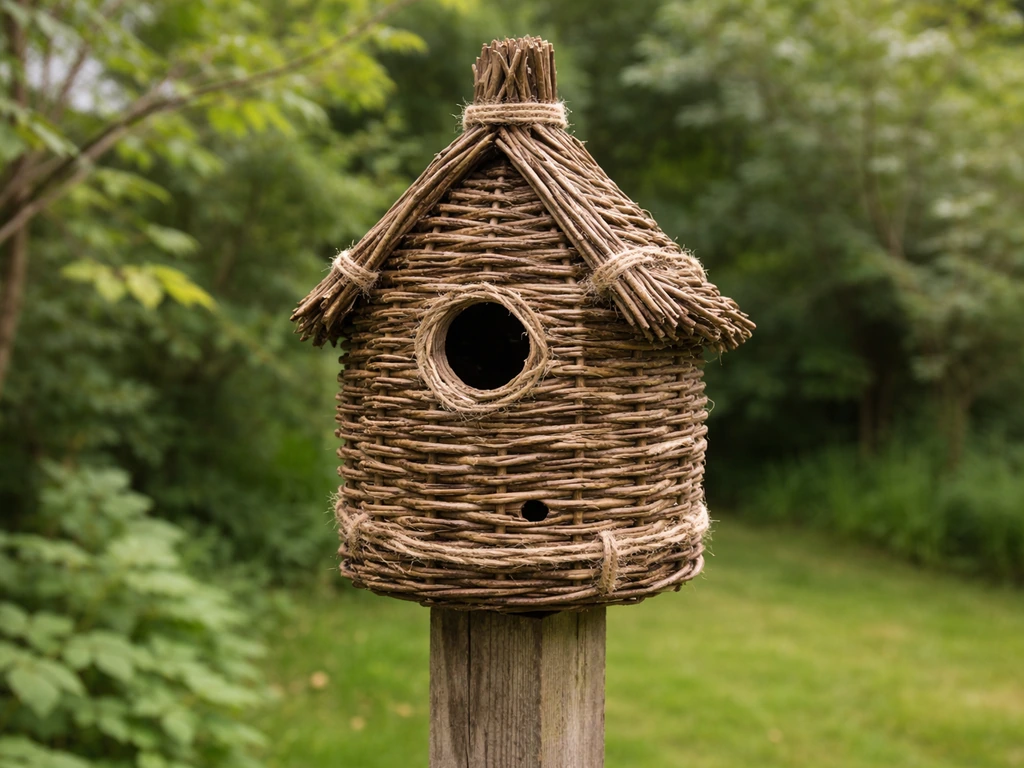
How to Make a Willow Bird House Step by Step Guide
Step-by-step DIY guide to build a willow bird house with correct size, placement, drainage, and predator-safe mounting.
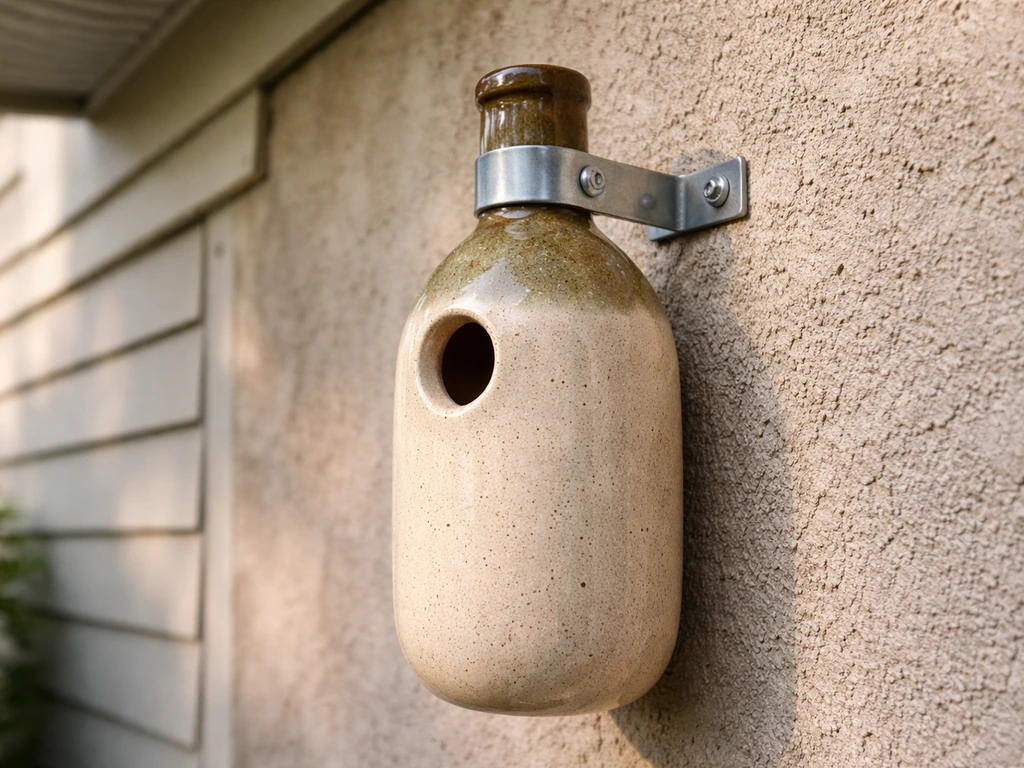
How to Hang a Williamsburg Bird Bottle Safely
Step-by-step guide to safely mount or hang a Williamsburg bird bottle with the right tools, hardware, location, and upke
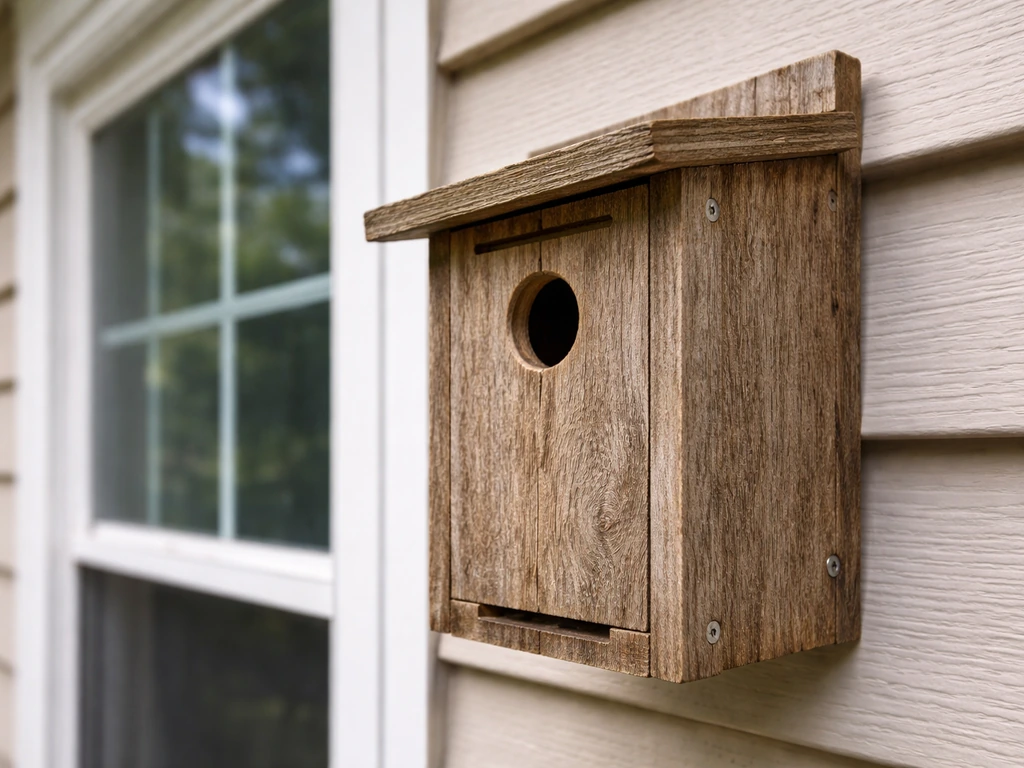
How to Make a Window Bird House Step by Step DIY
Step-by-step DIY window bird house guide with safe materials, cut list, mounting, drainage, ventilation, and placement t