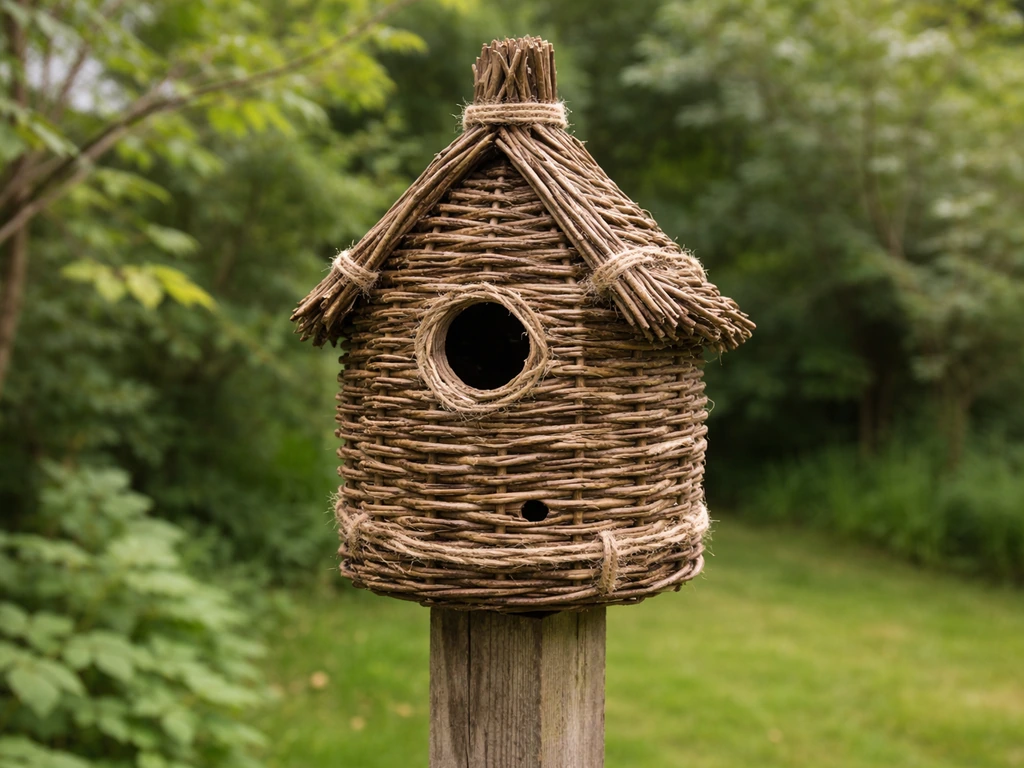
A willow bird house is a natural-style nest box, typically built from rustic or rough-sawn wood, designed to attract small cavity-nesting songbirds like Eastern Bluebirds, wrens, or chickadees to your backyard. If you build it with the right entrance hole (around 1 3/8 to 1 1/2 inches in diameter), a 5x5-inch floor, a cavity about 6 to 10 inches deep, and mount it 4 to 10 feet off the ground facing open habitat, you have a genuinely good chance of getting a nesting pair this season. The rest of this guide walks you through exactly how to do that, step by step. If you also want to use a Williamsburg bird bottle, follow the right hanging setup so it stays secure and inviting for birds how to hang a Williamsburg bird bottle. If your goal is a wren-friendly setup, follow the entrance hole, box size, and placement guidance below for building a wren bird house how to do that.
How to Make a Willow Bird House Step by Step Guide
What willow birds actually need from a nest box
The phrase "willow bird house" usually refers to a rustic or naturalistic-style nest box intended for small cavity-nesting birds. The Eastern Bluebird is the most popular target for this style of DIY nest box, though Carolina wrens and chickadees will also move in if dimensions and placement are right. Carolina wrens are a great target bird for a willow-style nest box, and the entry hole and overall size should match their needs. (If wrens are your main goal, their entrance hole and box size differs slightly from a bluebird box, which is worth checking out separately.) Getting the species right matters because the entrance hole diameter is the single most important dimension in the whole build. Too large and predators get in. Too small and your intended birds can't enter at all.
For Eastern Bluebirds, the target entrance hole diameter is 1 3/8 to 1 1/2 inches (about 35 to 38 mm). The interior floor should be around 5x5 inches, and the cavity depth should be 6 to 10 inches from the floor to the bottom of the entrance hole. Texas Parks and Wildlife specifies that the top of the hole should sit about 8.75 inches above the floor, which is a helpful number to work from when you're marking your front panel. A bluebird-appropriate box like this also works well for tree swallows, which are cavity-nesting birds that often beat bluebirds to available boxes in the same habitat.
Placement is just as critical as dimensions. Bluebirds prefer open, grassy habitat with a clear flight path in front of the entrance. New Jersey Audubon recommends orienting the entrance hole to face east as a first choice, then north or south, with west as a last resort (afternoon sun beating into a west-facing box overheats the cavity). If you're putting up more than one bluebird box, space them at least 300 feet apart to avoid territorial conflicts. The ideal mounting height is 4 to 10 feet depending on your site, with 5 to 6 feet being a sweet spot for monitoring and predator management.
Materials and tools you'll need
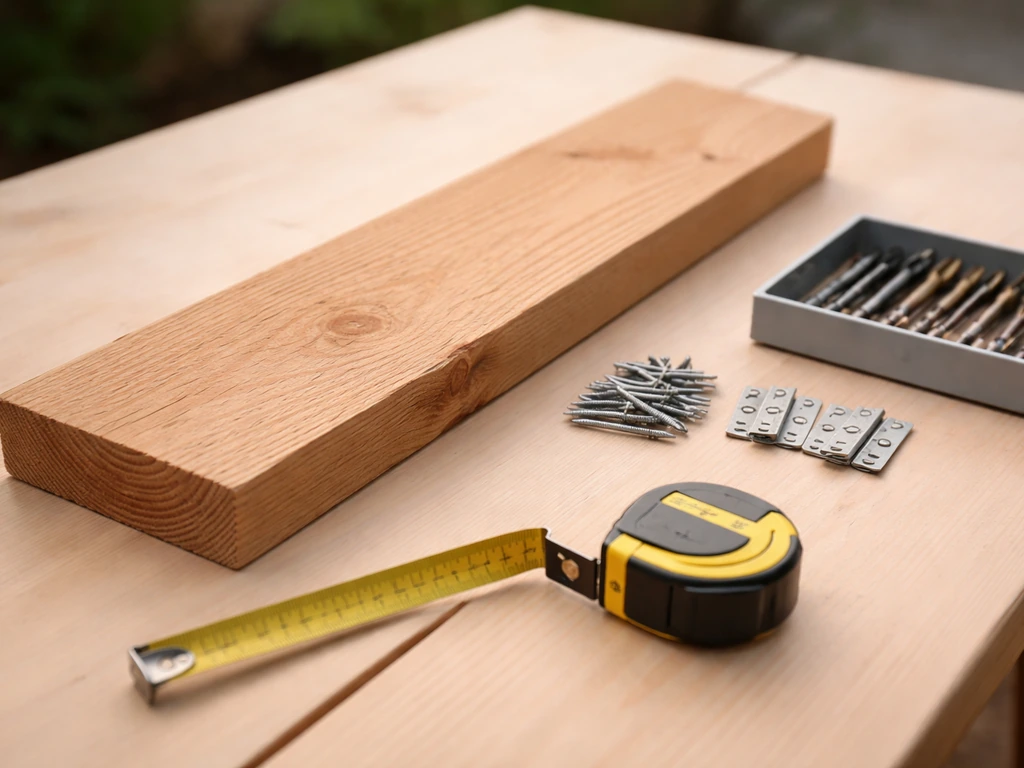
Stick with untreated, unpainted wood. Cedar is the gold standard for outdoor nest boxes because it's naturally rot-resistant and handles temperature swings well. Rough-sawn pine works fine and is usually cheaper. Cypress is another great option if you can find it locally. What you want to avoid is pressure-treated lumber (the chemicals used in treatment are toxic to birds) and anything pre-finished or coated. The willow aesthetic comes from the rough texture of the wood anyway, so rustic untreated boards are exactly what you want here, both visually and for bird safety.
- One 6-foot length of 1x6 untreated cedar, pine, or cypress board (actual thickness about 3/4 inch)
- 1 5/8-inch exterior-grade wood screws (a box of 50 is more than enough)
- A 1 3/8-inch or 1 1/2-inch spade bit or hole saw (for the entrance hole)
- A drill with bits including 1/4-inch and 5/8-inch bits for ventilation and drainage holes
- A handsaw or circular saw for cutting panels
- A tape measure, pencil, and square
- Sandpaper (80 or 100 grit) for smoothing the entrance hole edge
- A hinge or pivot screw for the access door (one 2-inch exterior screw works as a pivot)
- Exterior wood glue (optional but adds seam strength)
- A predator guard baffle if you're mounting on a pole (more on this below)
You don't need fancy power tools for this build. A drill and a handsaw are genuinely all that's required. If you have a drill press, it helps keep your entrance hole perfectly perpendicular, but a steady hand and a spade bit does the job. One honest tip from experience: buy a slightly longer board than the cut list calls for. Mistakes happen on the first cut, and having an extra six inches of board means you don't have to make a second hardware store run.
The step-by-step build plan
Cut list
All pieces are cut from a 1x6 board (actual width 5.5 inches, actual thickness 3/4 inch). The floor is the only piece that gets trimmed to a true 5x5 inch square, with the corners clipped about 3/8 inch each to allow airflow along the bottom edge. This small corner cut is borrowed from OSU Extension's nest box plans and makes a real difference in passive ventilation without requiring extra drilling.
| Panel | Width | Length | Notes |
|---|---|---|---|
| Floor | 5 inches | 5 inches | Clip corners 3/8 inch; drill four 3/8-inch drainage holes |
| Front | 5.5 inches | 10 inches | Drill 1 3/8 to 1 1/2-inch entrance hole; top of hole 8.75 inches from bottom |
| Back | 5.5 inches | 14 inches | Extra length allows for mounting screws above and below box |
| Left side | 5.5 inches | 10 inches | Drill two 5/8-inch vent holes near top |
| Right side | 5.5 inches | 10 inches | Drill two 5/8-inch vent holes near top; one side hinges for access |
| Roof | 7 inches | 8 inches | Overhang at least 2 inches over front; bevel back edge to sit flush on back panel |
Assembly order
- Cut all panels first and label them with a pencil so you're not second-guessing later.
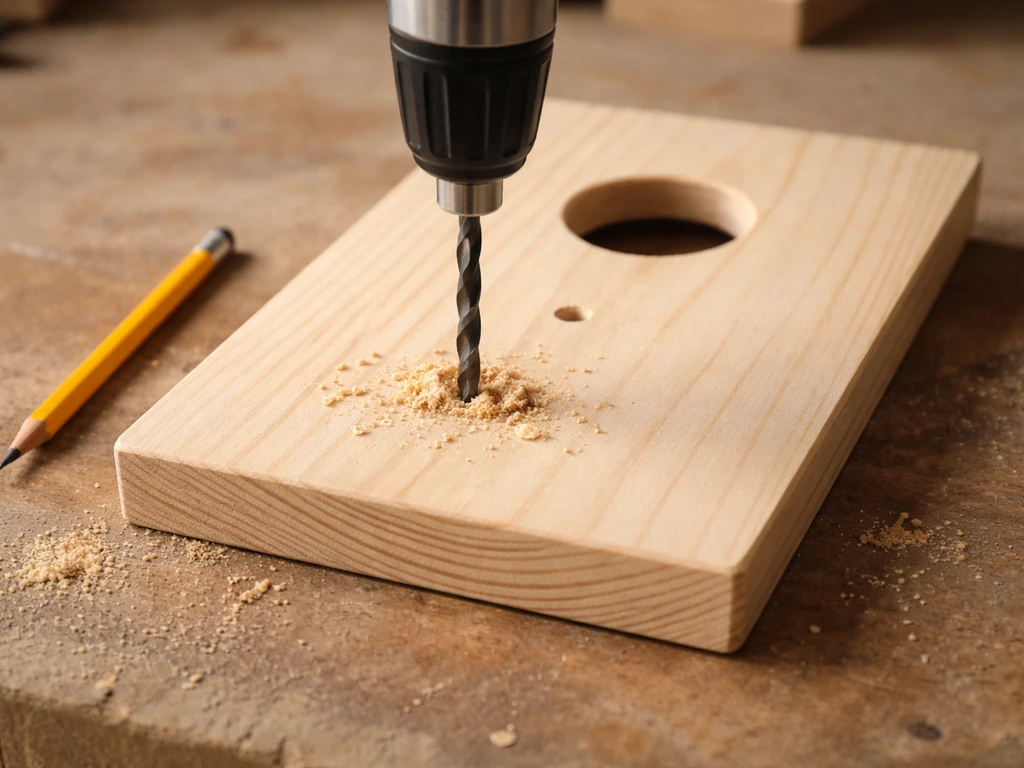
- Drill the entrance hole in the front panel before assembly. Center it horizontally on the 5.5-inch width, and position the top of the hole at 8.75 inches above the bottom edge of the panel. Sand the interior edge of the hole smooth so birds don't snag feathers going in and out.
- Drill ventilation holes in both side panels: two 5/8-inch holes on each side, spaced about an inch apart, positioned near the top of the side walls just below where the roof will sit.
- Drill four 3/8-inch drainage holes in the floor and clip the corners at 3/8 inch.
- Attach the floor to the back panel first using two exterior screws. Keep it flush with the bottom edge of the back.
- Screw the front panel to the floor, then attach both side panels. Use exterior wood glue on the seams before driving screws for extra weather resistance.
- One side panel should be left partially unattached at the bottom so it can pivot open for cleaning. Drive one screw through each side of the front and back panels about 6 inches from the top to act as a pivot point. The bottom of that side panel gets a single hook-and-eye latch or a bent nail to keep it closed during nesting season.
- Attach the roof last. It should overhang the front by at least 2 inches to keep rain off the entrance hole. Angle the back edge if needed so the roof sits level on the back panel.
Entrance hole and roof details
The entrance hole is where most DIY nest boxes fail or succeed. Use a 1 3/8-inch spade bit for a bluebird-specific box, or go up to 1 1/2 inches if you're in an area where tree swallows compete for boxes and you want to accommodate both. Do not use a larger hole thinking more species will move in. A 2-inch hole lets in starlings and house sparrows, which are invasive species that destroy native bird nests. Keep the exterior of the hole rough, not smooth, so birds can grip it when landing. You can leave it unsanded on the outside while smoothing only the interior edge.
The roof on a willow-style box looks best with a slight pitch and a natural or bark-textured surface. A simple flat roof with a forward overhang works perfectly well structurally. If you want the rustic look, cut the roof from a rougher-sawn board and leave the exterior texture intact. Avoid painting or staining the roof with anything dark colored because dark surfaces absorb heat and can raise the interior temperature of the box to dangerous levels on sunny days.
Ventilation, drainage, and keeping water out
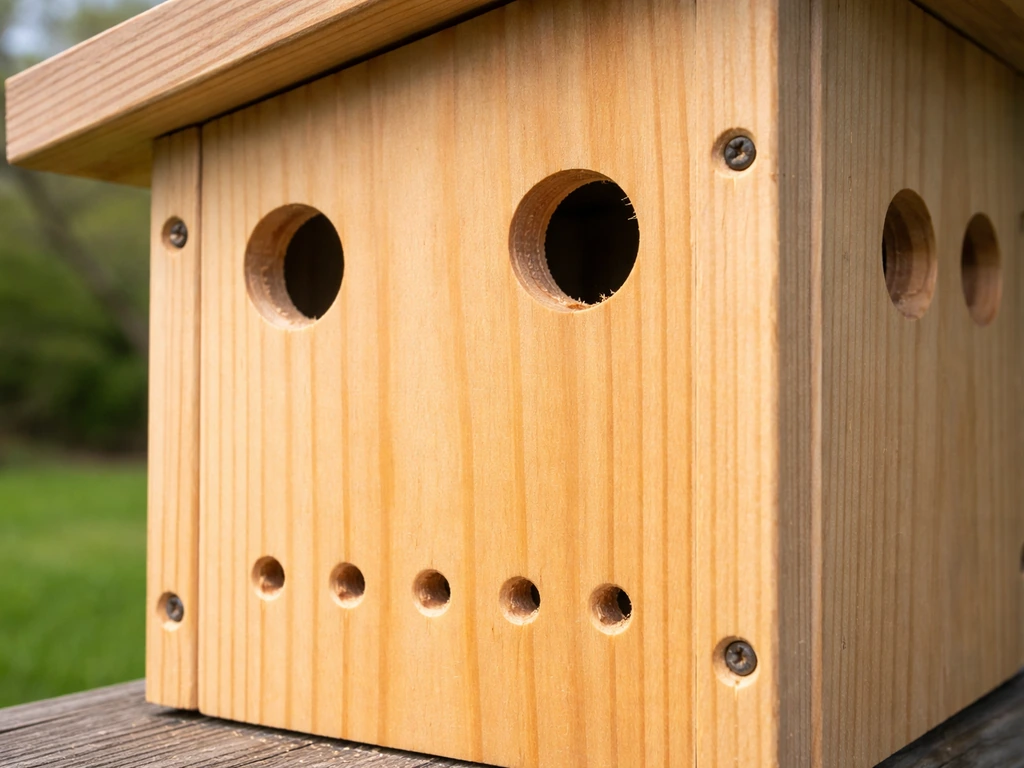
Ventilation does two jobs: it keeps the interior from overheating on hot days and allows moisture to escape so the nest doesn't get moldy. The two 5/8-inch holes on each side wall near the top (four holes total) is the NestWatch-recommended configuration and it works well. If you want a belt-and-suspenders approach, you can also drill a couple of 1/8 to 1/4-inch holes just below the roofline on each side as the Alaska Department of Fish and Game recommends. More airflow near the top of the cavity is almost always better than less.
Drainage prevents the floor from becoming a puddle during heavy rain. Four 3/8-inch to 1/2-inch holes drilled through the floor, plus the clipped corners, gives water a clear exit path. The roof overhang of at least 2 inches over the front does the most work here by shedding rain away from the entrance hole. If you want to add extra weather protection to the seams, a bead of paintable exterior caulk on the outside joints where the roof meets the side panels is fine for birds. Just make sure caulk is fully cured before mounting the box. Never use caulk inside the cavity.
Safe finishes and predator resistance
The safest finish for the exterior of a nest box is no finish at all. Untreated cedar and cypress weather naturally and last years without any coating. If you want to extend the life of a pine box or give it a more finished look, use a water-based exterior latex paint in a neutral color (light gray, tan, or pale green) applied only to the exterior surfaces. Never paint the interior of the box, never paint around the entrance hole, and never use oil-based paints, stains, or wood preservatives anywhere on the box. These off-gas fumes that can harm eggs and nestlings.
Predator resistance is about hardware and mounting, not just location. The most effective predator guard for a pole-mounted nest box is a cylindrical metal baffle, often called a stovepipe baffle. Michigan Bluebirds recommends positioning the top of the baffle between 4 and 4. Use a cylindrical metal stovepipe-shaped baffle and position the top of the baffle between about 4 and 4.5 feet off the ground to help protect bluebird poles from predators Michigan Bluebirds recommends positioning the top of the baffle between 4 and 4.5 feet from the ground.. 5 feet from the ground. This prevents raccoons, snakes, and cats from climbing past it. Without a baffle, even a well-placed box can be raided repeatedly. If cats are a known problem in your area, Audubon recommends mounting at least 6 to 8 feet off the ground as an additional layer of protection. Adding a wooden or metal entrance hole protector (a thin plate with the same hole diameter drilled through it) around the entrance also prevents squirrels from gnawing the hole wider.
Where and how to mount it
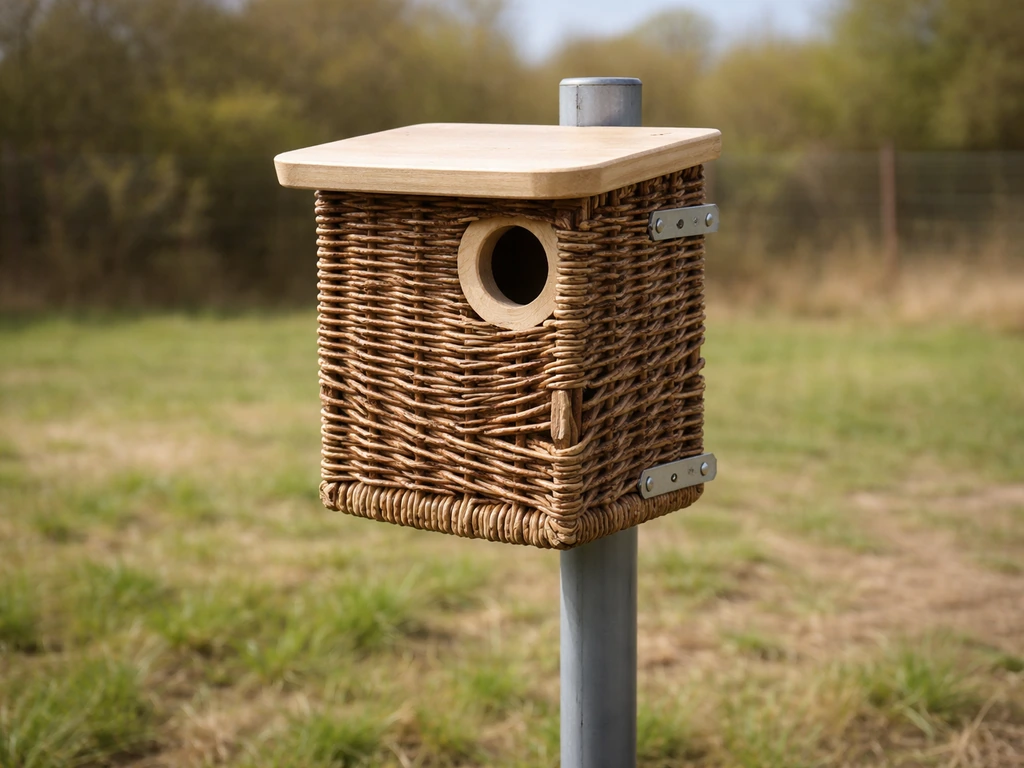
Mount the box on a smooth metal pole rather than a tree or wooden post whenever possible. Trees and fence posts give predators easy climbing access, and even a well-baffled wooden post is harder to protect than a smooth metal one. A 1/2-inch galvanized conduit pipe works great and costs very little. The back panel of your box, which you cut 14 inches long intentionally, gives you enough wood above and below the cavity to drive two long screws through into a mounting post or directly into a bracket attached to your pole.
Mount the box so the entrance hole faces east if possible, and ensure there is open space in front of the box, ideally 50 to 100 feet of open grassy or low-shrub habitat. Bluebirds hunt by perching and scanning from a height, then dropping onto insects, so open sight lines in front of the box matter. Keep the box away from dense brush directly in front of the entrance. The ideal height is 5 to 6 feet from the ground to the base of the box when using a baffle setup, which puts the entrance at about 6 to 7 feet. If you're not using a baffle and predators are a concern, go higher, up to 8 to 10 feet, though this makes monitoring harder.
If you're putting up multiple boxes, keep them at least 300 feet apart for bluebirds. You can pair a bluebird box with a wren-style box closer together since the two species are less territorial with each other than bluebirds are with other bluebirds. Avoid mounting near active feeders, which attract house sparrows and starlings that will compete aggressively for nest boxes.
Keeping it clean and troubleshooting problems
Cleaning schedule
Clean the box after each brood fledges, or at minimum once at the end of the breeding season in late summer or early fall. Removing old nests encourages returning birds to build fresh nests rather than piling material on top of old ones, which can harbor parasites. To clean, open the side panel, remove all nesting material, and let the box air out for a day. For a deeper clean, scrub the interior with a 10% bleach solution (1 part household bleach to 9 parts water), rinse thoroughly, and let it dry completely in the sun before closing it back up. If mice have nested in the box over winter, handle that old nesting material carefully and wear gloves, since mouse nests carry a small hantavirus risk.
During the nesting season, check the box weekly if possible, roughly between April and August in most parts of North America. This lets you spot problems early: parasites, dead nestlings, or signs of predator attempts. Keep monitoring visits brief and calm to avoid disturbing incubating adults.
Troubleshooting common problems
| Problem | Likely cause | Fix |
|---|---|---|
| Birds won't use the box | Wrong habitat, wrong entrance size, or too close to feeders/shrubs | Move to open habitat, verify hole is 1 3/8 to 1 1/2 inches, clear brush from in front of entrance |
| Wrong species moving in (starlings, sparrows) | Entrance hole too large | Replace front panel with correct 1 3/8-inch hole; do not use boxes with holes larger than 1 1/2 inches for bluebirds |
| Water pooling inside | Drainage holes clogged or insufficient roof overhang | Clear drainage holes, extend roof overhang, check roof seams and re-caulk exterior joints |
| Predator damage or raided nest | No baffle, box too low, or mounted on climbable surface | Add stovepipe baffle with top at 4 to 4.5 feet, switch to smooth metal pole, increase mounting height |
| Box overheating | West-facing entrance or dark exterior finish | Reorient box to face east, repaint exterior with light neutral color only |
| Mites or parasites in nest | Old nesting material left from previous brood | Clean out box between broods with 10% bleach solution, let dry fully before birds return |
| Box rotting or joints failing | Untreated pine without exterior screws, or water seeping in at seams | Switch to cedar or cypress, use 1 5/8-inch exterior screws, re-caulk all exterior seams |
One thing worth saying plainly: even a well-built, perfectly placed box sometimes goes unused for the first season. Birds scout in winter and early spring for the following year, so a box put up in late spring may not attract a pair until the following March. Don't pull it down too soon. Check it in late winter for signs of interest, adjust anything that looks off, and give it at least two full seasons before concluding the location isn't working. Building a wren house nearby or a robin-style open-fronted box for different species can also help you learn what birds are active in your yard while you wait for bluebirds to discover the box. If you want a robin-style bird house instead, the box design and entrance opening requirements can differ from bluebird nest boxes.
Your best next steps: get your lumber cut this weekend, drill the entrance hole first so you can practice and get it right before full assembly, and scout your yard for an open, east-facing spot on a smooth pole at least 5 feet from the ground. If you specifically mean a window-mounted bird house, use a similar entrance-hole size and then follow the manufacturer’s mounting and safety guidance for glass and trim window bird house. Everything else follows from those three decisions, and with the right specs in place, you've built a nest box that genuinely works for the birds you're trying to attract.
FAQ
What entrance hole size should I use if I’m unsure whether bluebirds or tree swallows are likely in my area?
Use 1 1/2 inches if tree swallows are common where you live, because that size accommodates both species better than the 1 3/8 to 1 1/2 inch range. If you know bluebirds are your primary goal and swallows are less frequent, staying closer to 1 3/8 inches can help reduce unwanted occupants.
Can I sand the outside of the entrance hole to make it look cleaner?
Avoid smoothing the outside landing area. The exterior edge should stay rough so birds can grip while landing. You can smooth only the interior edge lightly to remove sharp splinters, since landing grip is mainly needed at the exterior around the hole.
How do I keep the roof from shifting or leaking if I skip complicated joinery?
After you cut the roof and set the slight pitch, secure it with screws that bite through into the side panels and use an adequate front overhang. If you add caulk at the roof-to-side seams, only apply it on the outside joints, and let it fully cure before mounting so fumes and residue do not contact the cavity.
How can I tell if my ventilation holes are positioned correctly?
For the 2 side-wall holes near the top, place them high enough that they sit close to the roofline but still clearly on the side walls inside the cavity. If you add the extra small “belt and suspenders” holes under the roof, keep them near the top as well, because airflow near the warmest part of the cavity usually helps prevent overheating and moisture buildup.
Do I need to drill entrance or drainage holes into the exact same spots every time?
Not exact millimeter-perfect, but keep the functional goals. Drainage needs multiple holes through the floor, and ventilation needs to be near the top of the cavity. If you change hole locations, keep at least enough wood around each hole to avoid weakening the panel, and make sure the roof overhang still sheds water away from the entrance.
Why did my nest box attract birds but not the species I wanted?
Most often it is entrance size, placement, or nearby competition. If starlings or house sparrows show up, the entrance is likely too large. If bluebirds stay away, the site may not have open flight lines (dense brush directly in front) or the box might be too close to feeders that attract aggressive competitors.
Can I mount a willow bird house on a fence instead of a pole?
Try to avoid it when possible. Fences create climbing routes for predators and often sit in partial shade or near human activity. If you must use a fence, you still need predator protection (including a baffle if feasible), and you should position the box to keep open sight lines in front and avoid placing it near perching areas for predators.
What should I do if a box is used for the first season by another species?
Do not remove it during the nesting attempt. After the brood fledges, clean the box and record what occupied it. If you consistently get the “wrong” birds, adjust the next build by changing entrance diameter (only within safe native-friendly limits), and consider adding a separate box with different entrance requirements nearby rather than forcing one design to fit all species.
Is it safe to clean the box with bleach year after year?
Yes, as long as you mix it at about a 10% solution (1 part household bleach to 9 parts water) and rinse thoroughly. Let the interior dry completely in sun before closing it. If you smell strong chemical residue or the wood feels damp, give it more dry time before re-mounting.
Do I have to check the box weekly even if birds seem to be incubating?
Weekly is a good target, but keep visits brief and calm to reduce stress. If you notice adults becoming noticeably reluctant to return, switch to less frequent checks. Also, avoid leaving the entrance uncovered for long, since that can increase risk from predators.
Can I add nesting material inside the box to help birds?
No. Leave it empty. Birds use the box cavity to build their own nests, and providing material can interfere with proper nest placement or increase parasite risk if the added material is contaminated or holds moisture.
How long should I wait before deciding the location is a failure?
Give it at least two full seasons. Birds scout and may not use a box the same year it goes up, especially if installed late spring. In late winter, look for interest and then make small placement adjustments if needed, rather than removing the box after a single unused period.
What if it rains heavily and the floor seems wet even with drainage holes?
First confirm the floor holes actually go through the wood and that the corners are clipped enough to allow airflow. Also ensure the roof overhang is at least about 2 inches over the front so rain is shed away from the entrance. After extreme weather, allow a full drying day before any deep cleaning so you can evaluate whether drainage needs improvement.
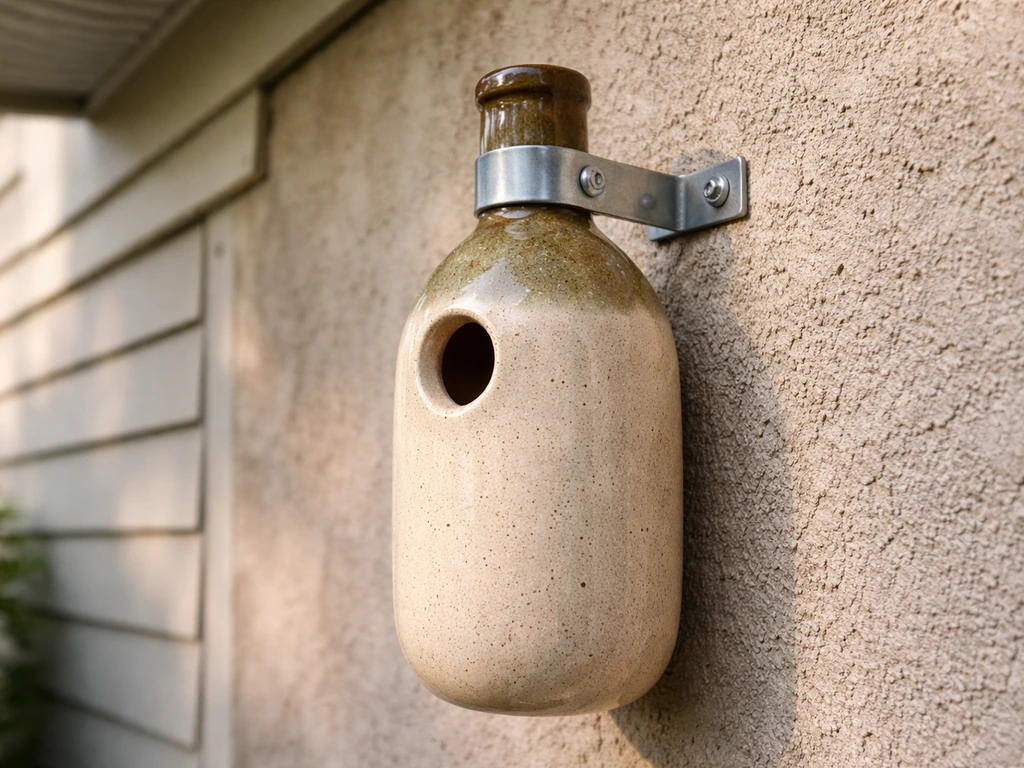
Step-by-step guide to safely mount or hang a Williamsburg bird bottle with the right tools, hardware, location, and upke
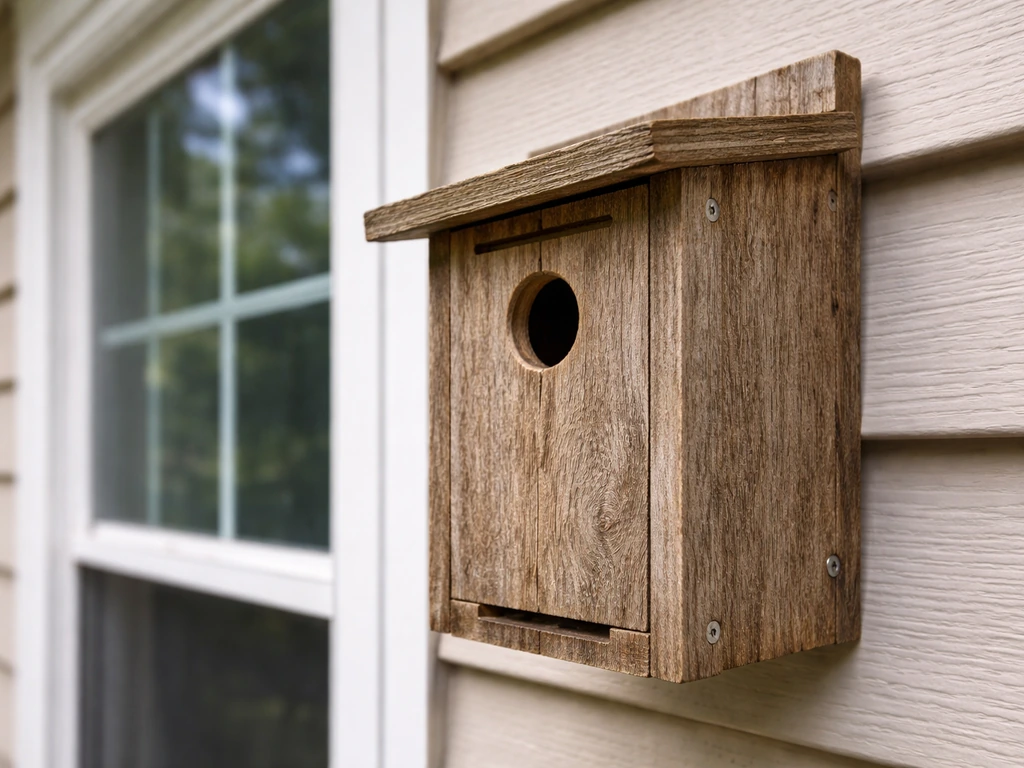
Step-by-step DIY window bird house guide with safe materials, cut list, mounting, drainage, ventilation, and placement t
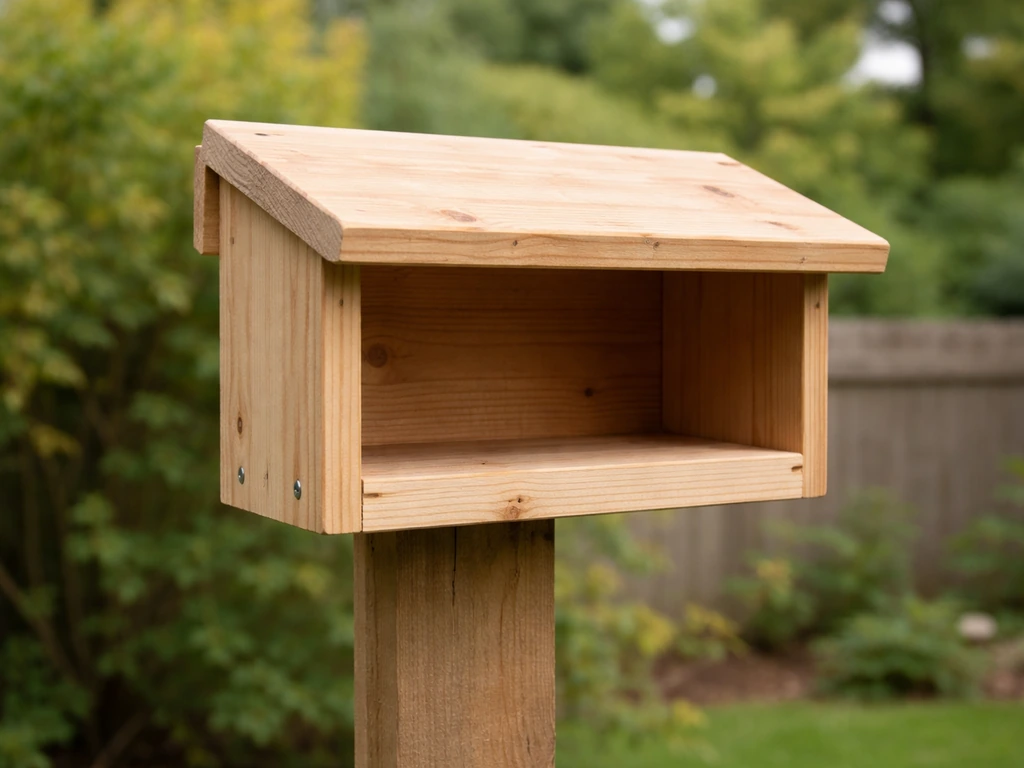
Step-by-step DIY guide to build a robin bird house with right dimensions, entrance, roof drainage, mounting, and safe ma