how to make a bird nest craft for preschoolers that is safe, sturdy, and genuinely fun to build. The whole project takes under an hour, costs next to nothing, and uses materials you probably already have at home or in a classroom supply closet. Here is exactly how to do it, from choosing the right materials to troubleshooting a nest that keeps falling apart mid-storytime, so you know how to make a nest for a bird. how to make a hanging bird nest
How to Make a Bird Nest for Preschoolers: Easy DIY Guide

Marcus Thornton
23 Mar 2026

What kind of "bird nest" are we actually making here?
Before you start collecting twigs, it helps to be clear about what this project is. A preschool bird nest is a pretend/play prop: a handmade model that imitates the shape and look of a real nest for storytelling, sensory play, and nature observation activities. It is not a functional wild-bird nesting site. That distinction matters for two reasons: safety for the kids, and respect for actual birds. how to make love bird nest If you are looking for a species-specific version with similar building principles, you can also check how to make love bird nest.
If you are hoping to teach kids about real nests by also setting up something outside for bird observation, I cover that option at the end of this guide as a separate, optional add-on. But the main craft here is a classroom or living-room prop that kids can pretend eggs, and carry around without anything breaking or causing harm. how to make a parakeet bird nest
One important note on real nests: please do not take, move, collect, or disturb any active nests you find outdoors. Wildlife agencies are consistent on this, and for good reason. Even brief disturbances can change nesting bird behavior in ways that put eggs or chicks at risk. The best thing you can do with a real nest is observe it quietly from a respectful distance and leave it exactly where it is. This is actually a wonderful teaching moment to weave into the craft activity itself.
Materials and tools: keep it safe and simple
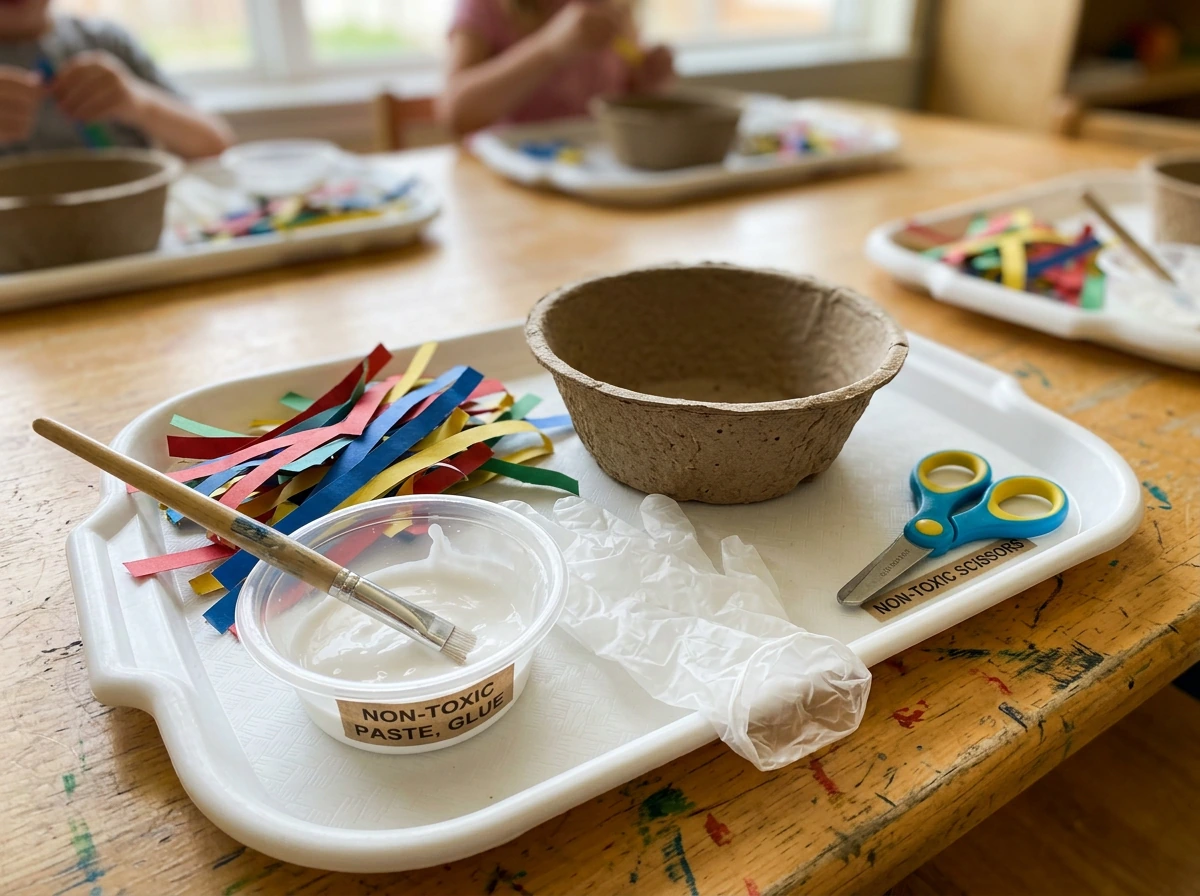
Preschool craft materials need to clear one bar above all others: non-toxic. Look for art supplies carrying the ACMI "AP" (Approved Product) seal. That seal means the product has been evaluated and confirmed to contain no materials in quantities toxic or injurious to humans, including children. It shows up on most craft glues, paints, and modeling materials sold in school supply sections, so it is not hard to find.
Here is what works well for the main nest structure and what you can swap in if you do not have the exact thing on hand:
| Material | What It Does | Safe Swap |
|---|---|---|
| Brown paper bags or kraft paper (torn into strips) | Forms the woven base of the nest | Newspaper, brown packing paper, or paper grocery bags |
| Craft sticks or thin natural twigs (pencil-diameter or smaller) | Adds realistic texture and rigidity | Cinnamon sticks, dried pasta (for color/texture only), cardboard strips |
| Liquid school glue (AP-seal, white PVA) | Binds layers together; dries clear and flexible | Flour-water paste (1 part flour, 2 parts water), cornstarch paste |
| Dried grass, raffia, or craft excelsior (shredded kraft paper) | Fills interior; adds softness and nest-like texture | Dry hay, dried leaves, shredded brown paper |
| Small plastic bowl or cardboard bowl (approximately 4-6 inches diameter) | Mold for shaping the nest while it dries | Upside-down cereal bowl, aluminum foil formed into a dome |
| Brown, tan, or black acrylic or tempera paint (AP-seal) | Colors and seals the exterior | Watercolor paint, diluted coffee (adult-only application) |
| Wax paper or plastic wrap | Keeps the mold from sticking | Light layer of cooking spray on the bowl |
For tools, you need very little: a mixing bowl for paste, a brush for applying glue, scissors (adult-handled), and something to stir with. Hot glue guns show up in a lot of craft tutorials, and they do work well for adults finishing details after the main build. But keep hot glue entirely in adult hands and away from preschoolers. The tip reaches around 400 degrees Fahrenheit, which is a burn risk even with brief contact. PVA school glue does everything you need for this project and is genuinely safe for kids to handle.
Step-by-step: building the nest
This method uses a paper-mache-style technique over a bowl mold. It is forgiving, cheap, and produces a nest that is rigid enough to survive being carried around by a four-year-old. I have made a version of this with toddlers and with kindergartners, and the biggest lesson I learned is to prep everything before the kids sit down. Cut the paper strips, mix the paste, and cover the table first. Once kids start, things move fast. If you want the exact materials and full instructions, follow this step-by-step guide on how to make a bird nest step by step.
- Prep your mold: Flip a plastic or cardboard bowl upside down on your work surface. Cover the outside (the convex side) with plastic wrap or wax paper so nothing sticks permanently. This becomes the form your nest dries around.
- Mix your paste: In a small bowl, mix white school glue with a little water (about 3 parts glue to 1 part water) until it is the consistency of heavy cream. If you are using flour paste instead, mix 1 part flour with 2 parts water and stir until smooth. Either works fine.
- Tear your paper: Rip brown paper bags or kraft paper into strips roughly 1 inch wide and 4 to 6 inches long. Torn edges bond better than cut edges, so tearing is actually the right move here, not a shortcut.
- First layer: Dip a paper strip into the paste, wipe off the excess with two fingers, and lay it over the outside of the upside-down bowl. Overlap strips slightly and smooth them down. Cover the whole bowl surface with one layer. Let preschoolers do this step: it is messy in exactly the right way.
- Add texture and structure: While the first layer is still wet, press short craft sticks, thin twigs, or strips of cardboard onto the surface in irregular crossing directions. Brush paste over them to anchor everything down. This is what gives the nest its realistic "woven" look and adds real rigidity.
- Second paper layer: Add another layer of paste-soaked paper strips over the sticks, sandwiching them in. Three layers total is a good target for a nest that will hold up to play. Two is the minimum.
- Interior lining: While the outside layers are still slightly tacky, press dried grass, raffia, or shredded paper into the inside of the bowl shape (the top, since it is still inverted). Brush on a little paste to hold it. This is the soft lining real birds use to cushion their eggs.
- Dry time: Leave the nest on the bowl mold for at least 4 to 6 hours, or overnight. Do not rush this. A nest that comes off the mold too early will lose its shape.
- Remove and paint: Once completely dry, gently pull the nest off the mold and peel away the plastic wrap or wax paper. If you want a richer color, paint the outside with AP-seal brown or tan tempera paint and let it dry another 30 minutes. Preschoolers can do the painting themselves with a wide brush.
Safety and age-appropriate prep
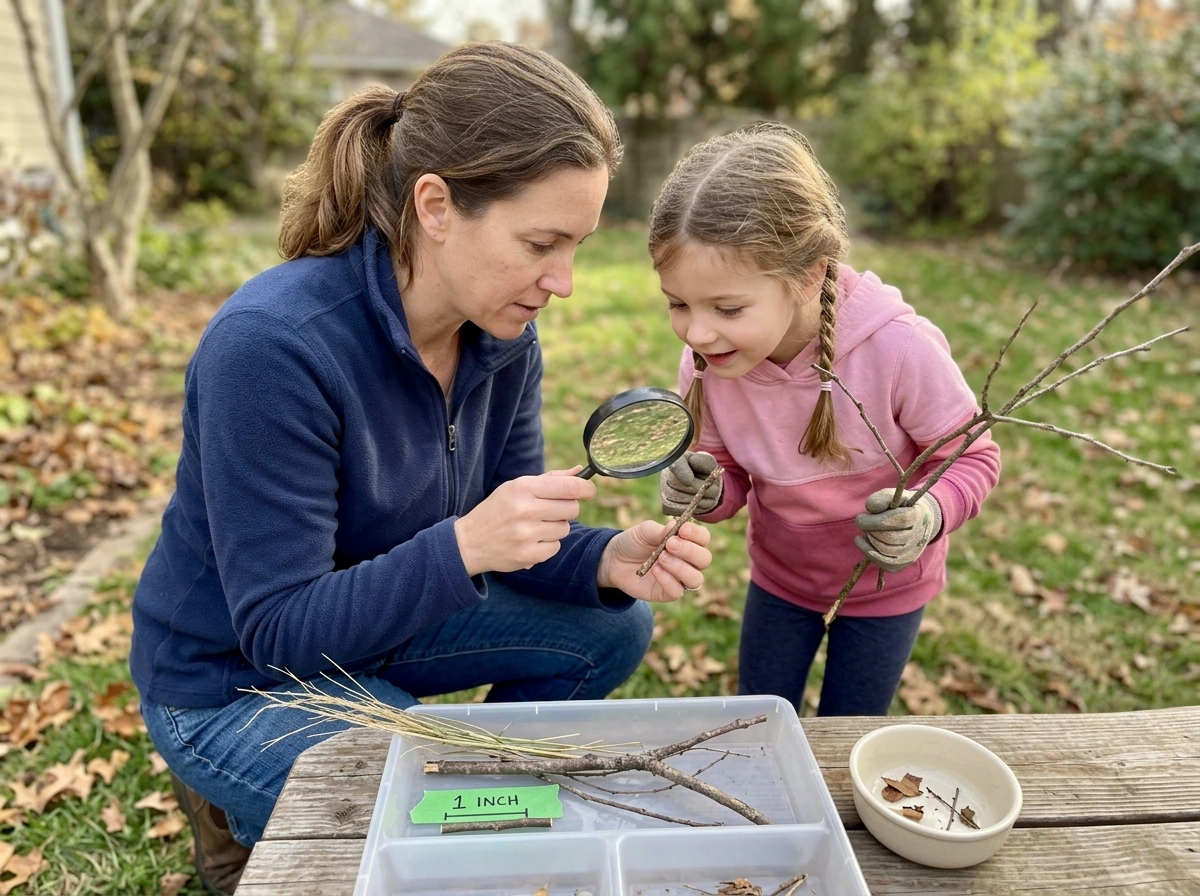
The prep stage is where adults do most of the work so kids can do the fun parts safely. Collect any natural materials (twigs, dried grass, leaves) ahead of time and inspect them. Avoid anything with sharp points, thorns, or mold. If you are using twigs from outdoors, a quick wipe-down with a damp cloth is enough. You do not need to sterilize them for a craft prop, but you also do not want muddy or wet materials that could grow mold later.
Small parts are the main hazard to flag. Avoid anything smaller than about 1.25 inches (roughly the size of a large marble) in any component a child will handle directly. Craft pom-poms, small beads, or tiny decorative stones are not appropriate for preschool-age kids who may still mouth objects. Stick to larger-format materials: big paper strips, chunky craft sticks, full-size feathers.
Adhesives: use AP-seal white school glue for anything kids touch. Reserve hot glue strictly for adult finishing work done before or after kids are involved, never during. If you use any spray adhesive (sometimes tempting for securing grass quickly), do that step outside, let it off-gas completely, and do not let kids handle the piece until it is fully dry and aired out.
Handwashing is non-negotiable at the end of the activity. PVA glue and tempera paint wash off easily with soap and water. Walmart’s listing for Elmer’s Washable School Glue also notes that the glue is washable and cleans up with soap and water PVA glue and tempera paint wash off easily with soap and water. Make it part of the craft routine, not an afterthought. If a child has a latex allergy, check that your glue and any craft foam materials are latex-free (most school-grade glues are, but worth confirming on the label).
Decorations, pretend eggs, and learning add-ons
This is honestly the most fun part of the whole project, and it is where you can stretch the craft into a full nature-learning activity. Here are the approaches I find work best with preschool-age kids:
Making pretend eggs
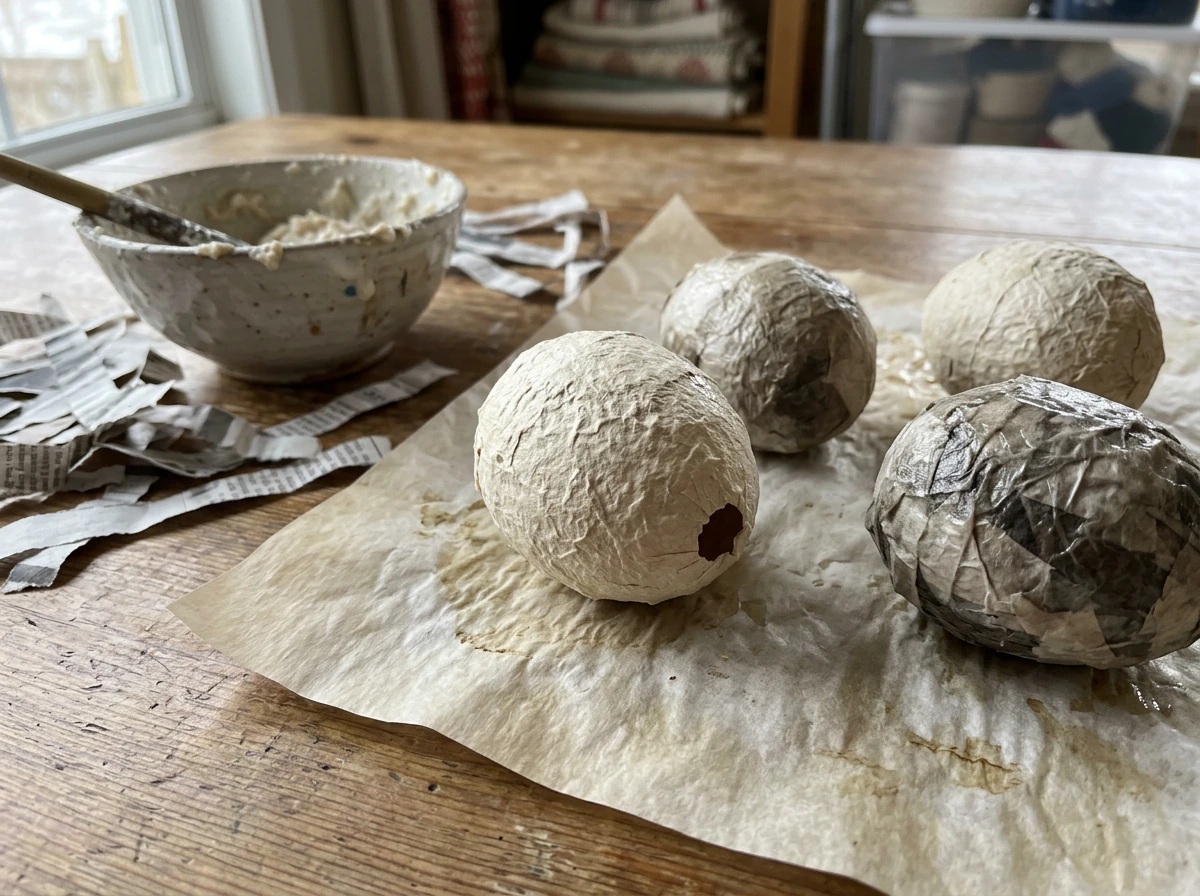
- Paper mache eggs: Blow up a small round balloon to roughly egg size (about 2 to 3 inches), cover with 2 to 3 layers of paste-soaked paper strips, let dry, then pop and remove the balloon. Paint them with AP-seal tempera in realistic colors: speckled blue for robin-style eggs (dab a darker color with a sponge), plain cream for bluebird-style, or speckled brown for sparrow-style.
- Foam eggs: Craft stores sell pre-formed polystyrene foam eggs in multiple sizes. Kids can paint these directly and add speckles with a marker. These survive rough handling well.
- Air-dry clay eggs: Roll a small amount of air-dry clay (AP-seal) into an oval shape and let dry overnight. Paint afterward. This gives kids a sensory shaping activity before the painting step.
- Paper eggs: Simply cut egg shapes from cardstock and let kids paint or color them. Less three-dimensional, but fast and zero drying time.
Decorating the nest itself
Real birds decorate and line their nests with whatever is soft and available nearby. Lean into that for the craft. Let kids press craft feathers (widely available in school supply packs), small dried leaves, or bits of craft moss into the interior lining while the glue is still tacky. You can also glue a ring of short twigs around the exterior rim for a more finished look. An adult can do a thin bead of school glue around the rim and let kids press twigs in, holding each one for about 30 seconds while it sets.
Learning prompts to build into the activity
- Before building: Go on a short outdoor scavenger hunt for natural nesting materials (dry grass, small twigs, leaves, feathers) to add to the craft. Talk about what birds look for and why.
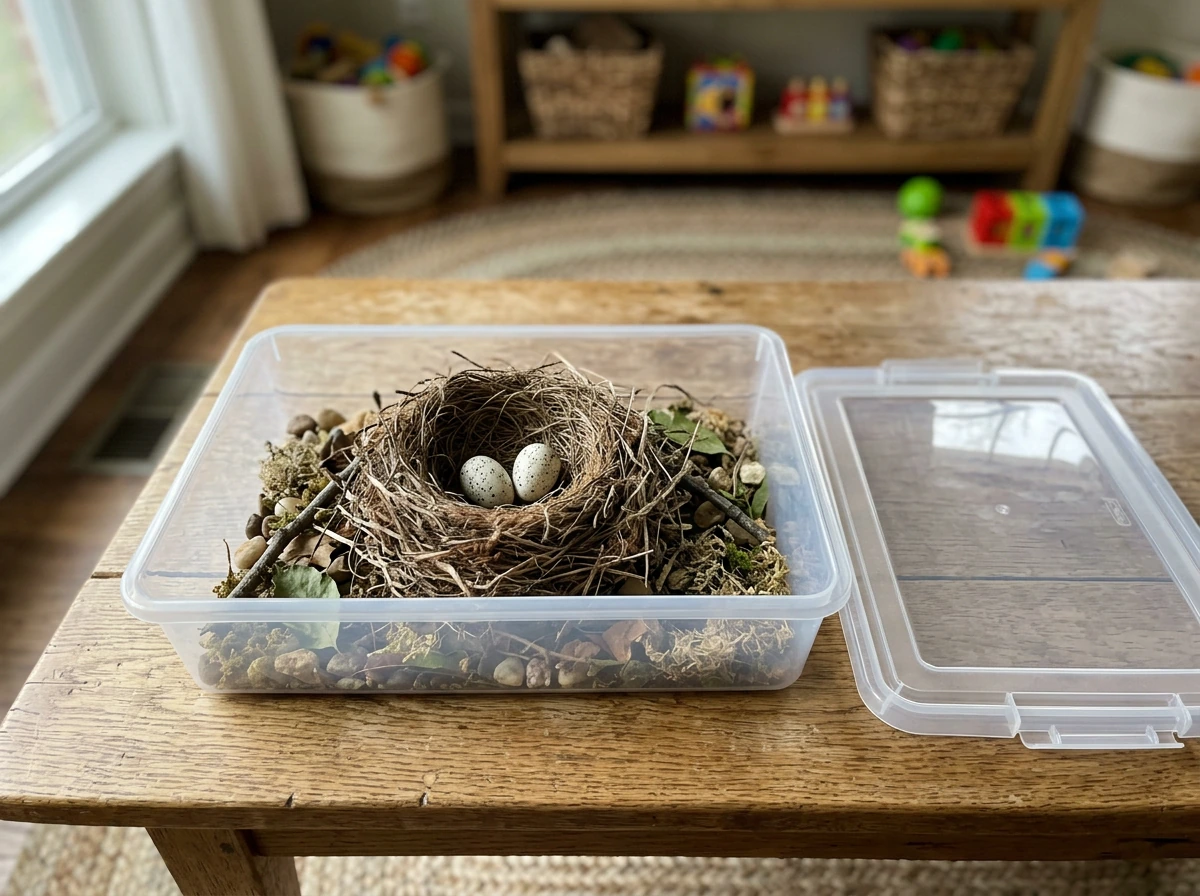
- During building: Ask kids to guess which bird might live in the nest they are making. Match the egg color to a real local species if you can (robins lay blue eggs, house sparrows lay speckled cream eggs).
- After building: Use the finished nest for pretend-hatching play. Kids place the eggs in, cover them with a small piece of felt or craft feathers as a "parent bird," and wait for the pretend hatch.
- Story extension: Read a picture book about nesting birds during drying time ("Are You My Mother?" or "A Nest Is Noisy" by Dianna Hutts Aston work well for this age group).
- Comparison activity: Print a few photos of real nests from different bird species and compare them to the finished craft. What is the same? What is different? This builds early observation and critical-thinking skills.
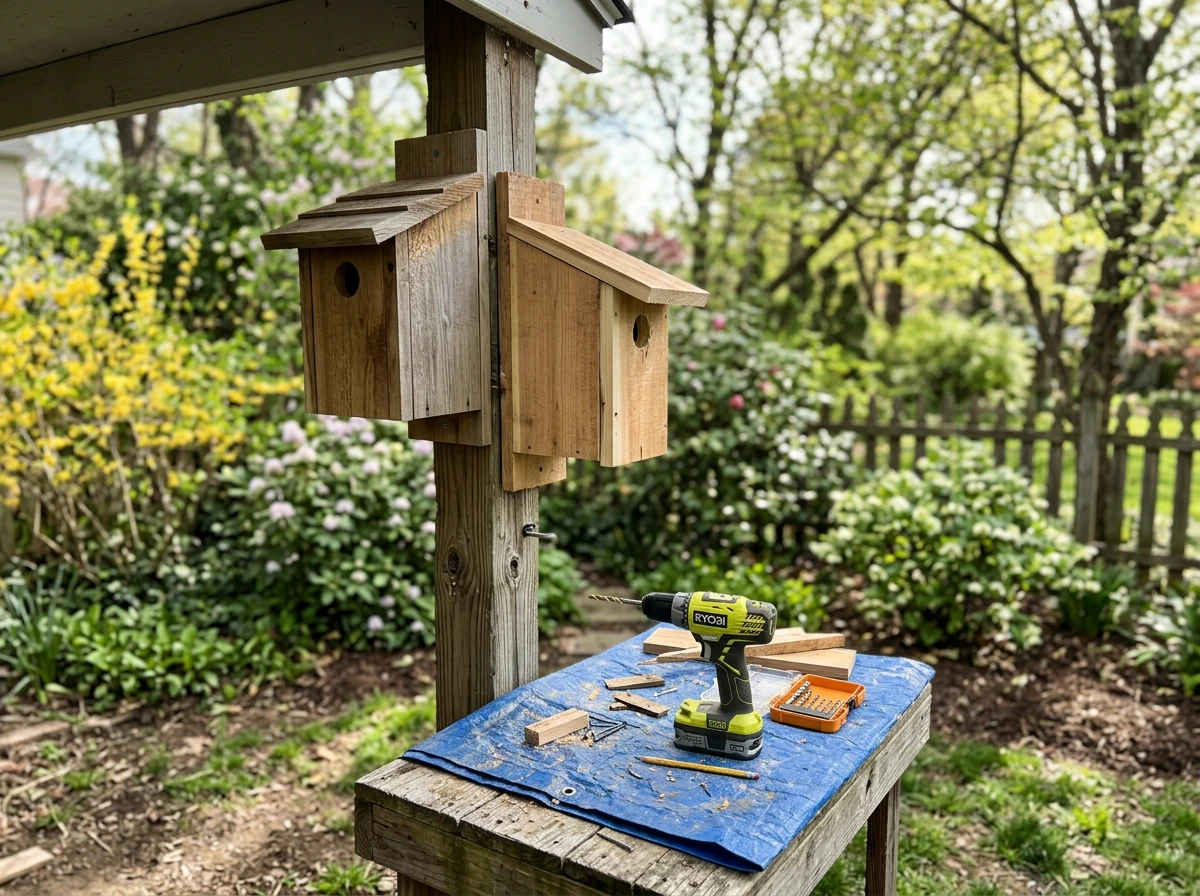
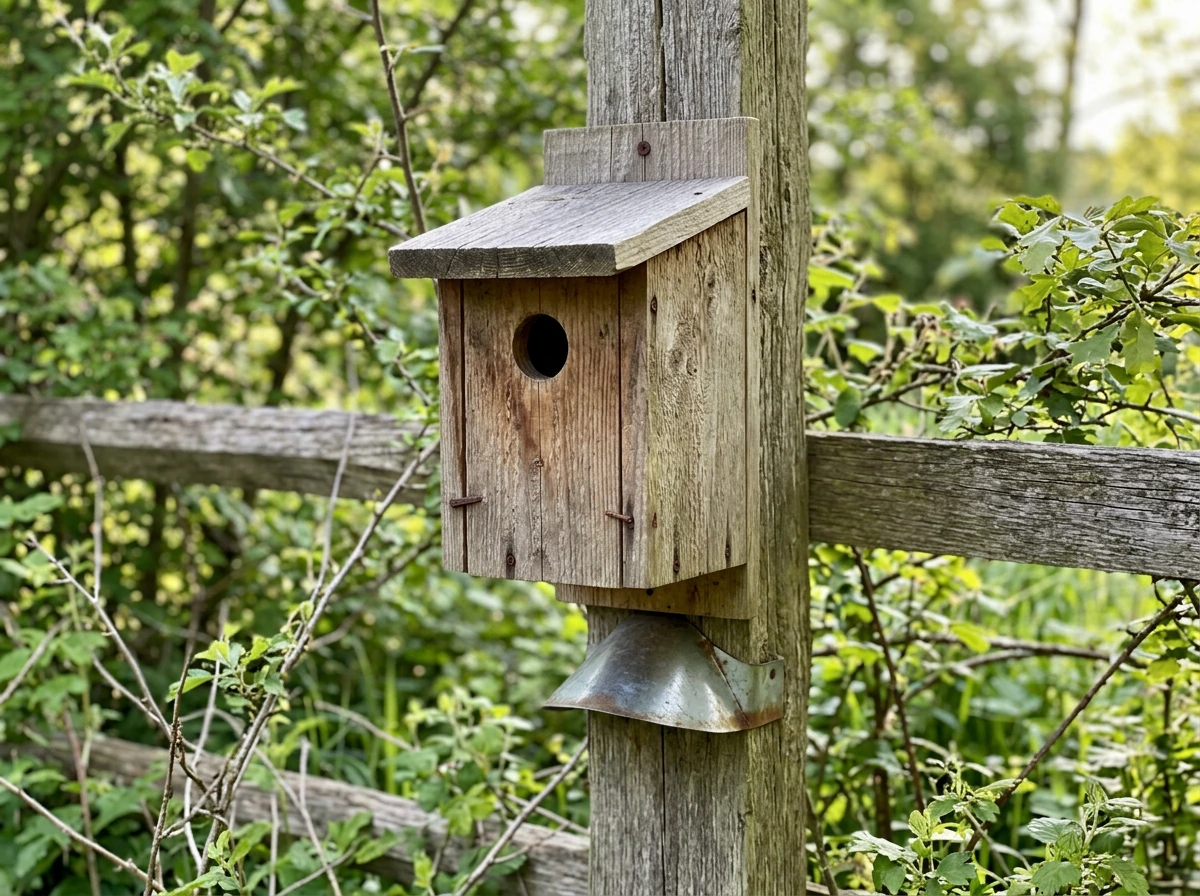
Optional: a kid-safe nesting platform look-alike for outdoor observation
If you want to extend the learning beyond the craft and give kids a way to observe real nesting behavior, you can set up a simple open-platform nesting structure in a safe outdoor spot. This is not a replacement for a birdhouse (those are covered in more detail in other guides on this site covering specific species and box designs), but rather a shallow tray or platform mounted in a sheltered location that some species like robins or mourning doves will sometimes use. If you are looking for a more permanent outdoor option, check out how to make love bird house as a related birdhouse project option.
The key rules for doing this responsibly with kids are straightforward. Place the platform at least 6 to 10 feet off the ground on a post or fence, ideally under a slight overhang for weather protection. Use untreated natural wood only; avoid pressure-treated lumber, painted surfaces, or synthetic materials that could off-gas or shed chemicals. Keep the platform at a distance kids can observe from without approaching closer than about 10 feet. Teach them the rule: we watch, we do not touch, we do not go near.
If a bird does start using the platform, that is when the wildlife-viewing guidelines become especially important. Do not encourage kids to approach, touch, or interfere with the nest in any way. Wildlife agencies are clear that even well-meaning disturbances, like getting too close or making sudden loud noises near a nesting site, can cause parent birds to abandon the nest. Treat active nest observation like watching through a window: still, quiet, and from a respectful distance. This is actually one of the most powerful lessons you can teach alongside the craft: the real ones are fragile and precious, and we protect them by leaving them alone.
If no bird adopts the platform, that is fine too. You can use it as a display stand for the preschool craft nest and eggs during outdoor storytime.
Using, storing, and fixing the finished nest
Using it in the classroom or at home
A well-made paper mache nest is surprisingly durable. It can live in a sensory bin with the pretend eggs, sit on a nature table as a display, or travel in a story basket alongside bird-themed books. It handles being picked up, filled, emptied, and passed around without falling apart as long as the glue layers were fully dry before handling. Avoid getting it soaking wet; like any paper product, extended water exposure will soften it.
Storage
Store the nest in a shallow bin or box rather than stacking things on top of it. A lidded plastic container works well. Keep it somewhere dry; a damp storage closet will eventually cause the paper layers to soften or grow mildew, especially if any natural materials like real dried grass or leaves are incorporated. If you notice any mustiness, it is time to retire the nest and make a fresh one (which honestly takes less than an hour once you have done it once).
Troubleshooting common problems
| Problem | Likely Cause | Fix |
|---|---|---|
| Nest loses its shape after drying | Too few paper layers or removed from mold too soon | Add 1 to 2 more layers of paste-soaked paper, reshape over the bowl mold, and let dry fully again |
| Twigs or sticks fall off | Not enough glue applied over them, or glue did not cure before handling | Re-glue with a thin bead of school glue, press firmly, and clamp or tape in place for 30 minutes |
| Interior grass or raffia sheds everywhere | Not sealed into the lining with paste | Brush a thin coat of diluted school glue (3:1 glue to water) over the entire interior and let dry |
| Nest smells musty after storage | Moisture got in, or natural materials were not fully dry before use | Discard and rebuild with fully dry materials; store in a fully dry, ventilated spot |
| Paint flakes off the outside | Applied before the paper layers were completely dry, or paint too thick | Lightly sand the flaking area with fine-grit sandpaper, repaint with a thin coat, and let dry fully |
| Nest too fragile for rough preschool handling | Only 2 layers of paper applied | Apply 2 more layers over the existing structure, pressing firmly into any weak spots; let dry overnight |
One thing I will say honestly: the first nest you make will probably not be your best one. The second one always comes out better because you have a feel for how wet the paste should be and how firmly to press the twigs into the layers. Make one on your own before sitting down with kids if you have time. You will move faster and troubleshoot better in the moment, and you will have a model to show them at the start of the activity, which genuinely helps preschoolers understand what they are building toward.
If you want to go further after this project, making a real nesting box for wild birds is a natural next step and a great follow-up activity for older kids in the group. If you want to go beyond a pretend prop, see how to build a bird nest for another practical option that also focuses on the right materials and structure. making a real nesting box for wild birds is a natural next step and a great follow-up activity for older kids in the group how to make a nest for a bird. That involves different materials and design considerations (entrance hole sizes, drainage, ventilation), which are worth exploring in their own right once the kids are ready for a woodworking-style project.
FAQ
What can I use instead of twigs if I do not have any dried grass or leaves?
Use chunky craft materials like torn brown paper strips, brown pipe cleaners (cut shorter and only for adult assembly), or thick felt strips rolled into small “fiber” tufts for the interior lining. Avoid tiny confetti-like bits, because they are the easiest for preschoolers to pocket or mouth.
How do I prevent the nest from getting soggy or soft after the craft is finished?
Let the glue layers fully cure in a warm, dry spot (not near a humid window) before handling. If you added real dried grass or leaves, store the nest in a dry, lidded bin immediately and keep it away from steam from kitchens or bathrooms.
My paper-mache nest keeps collapsing. What’s the most common fix?
Usually the paste is too thin or the twigs were pressed in too quickly before the surface got tacky. Aim for a smooth, paste consistency, do multiple paper layers, and let each layer set enough that it holds shape when you lift the bowl mold.
Can kids help with the bowl mold part, or should that be adult-only?
Keep bowl-molding and smoothing adult-led. Preschoolers can safely tear and dip paper if you pre-portion paste in bowls and supervise closely, but adult hands should manage the pressure and placement so the nest stays centered and doesn’t tear.
Is it okay to spray paint or stain the nest for a more realistic look?
If you want color, use washable tempera paint that is fully dry before use. Avoid spray paint or stain during the preschool session, if you do it at all, complete it outside, let it off-gas completely, and store it until there is no lingering odor.
How should I make the pretend eggs so they do not break or create a choking hazard?
For preschool, use large foam or clay “eggs” that are too big to fit in a small mouth. If using plastic Easter eggs, leave them unpainted (no small glitter pieces), and keep any added decorations larger than about 1.25 inches.
What’s the best age-appropriate way to add “nest lining” without making a mess?
Offer lining materials in small batches and pre-portion them into a tray. Pressing feathers or leaves works best if kids add them directly over the nest’s interior area while a teacher holds the nest steady on a table so pieces do not scatter.
How far away should kids stand during outdoor observation if birds visit the platform?
Keep kids at least about 10 feet from the platform and teach “watch, do not touch, do not approach.” If you cannot maintain that distance comfortably, bring the group back inside and observe from farther away rather than trying to crowd around.
Can I use a bird nest craft as a prop outside, like for backyard pretend play?
Yes, but avoid leaving the finished nest outdoors for long periods if it includes natural materials. Brief outdoor display is fine, just keep it away from rain and direct sprinkling, then bring it back inside to dry and store.
What should I do if I suspect mold growing on natural materials used in the craft?
Remove and discard the affected materials before assembly if you see fuzzy growth or strong musty odor. If mold appears later, retire that nest rather than “scrubbing it,” because porous paper and fibers can retain spores even after surface cleaning.
Next Articles
How to Make a Nest for a Bird: Step-by-Step Guide
Build a bird nest step by step by choosing the right nest type, materials, placement, and predator weather protection.
How to Make a Bird Nest Step by Step: DIY Guide
Beginner DIY guide on how to make a safe bird nest step by step with materials, measurements, placement, and maintenance

How to Build a Chimney Swift Bird House DIY Guide
Step-by-step DIY plans to build a chimney swift bird house, with correct dimensions, placement, and weatherproofing for