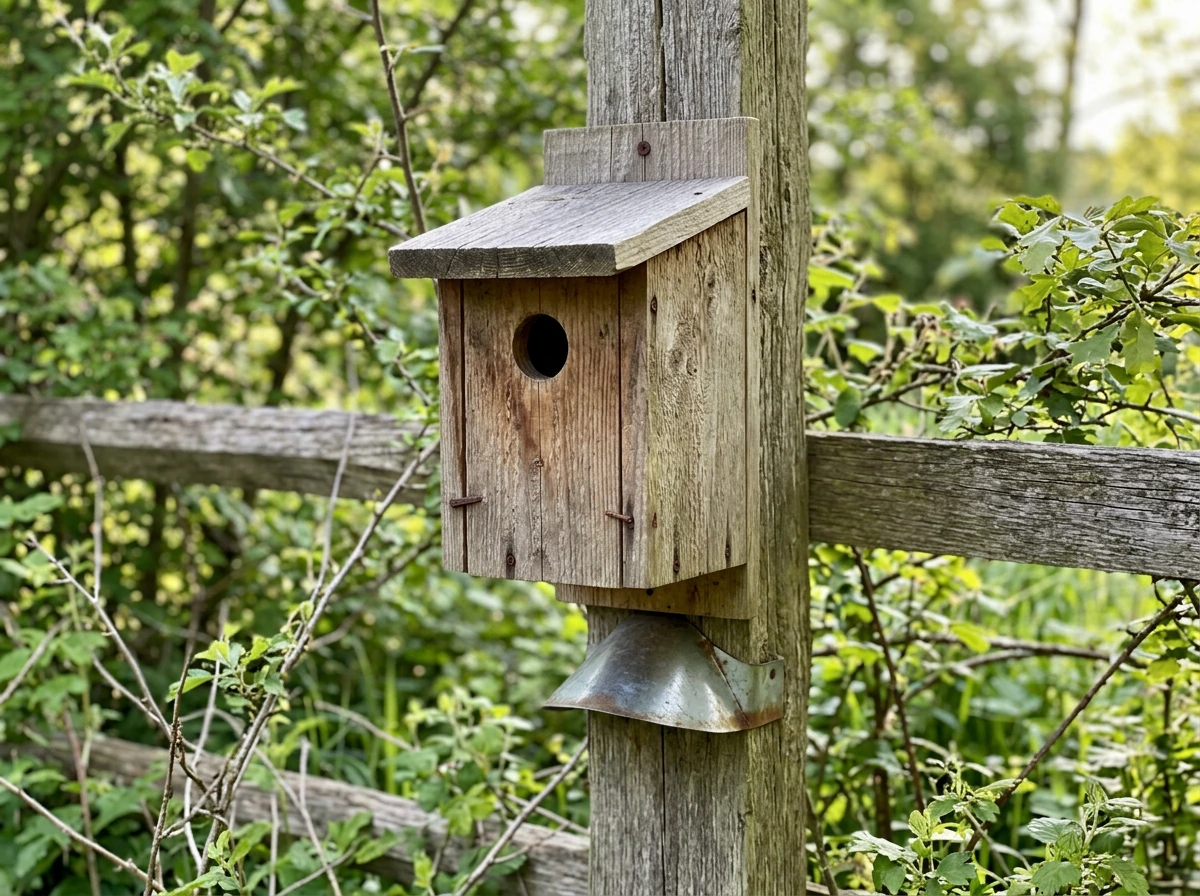
Making an artificial bird nest is one of the most rewarding backyard projects you can do, and you can finish a working one in a single afternoon with basic tools and a few pieces of wood. What we're building here is a nest box or nesting platform: a structure you construct and install that gives wild birds a safe, ready-made place to lay eggs and raise chicks. Real nests are built by birds inside these structures using their own materials. Your job is to give them something worth moving into.
How to Make a Bird Nest Step by Step: DIY Guide

Marcus Thornton
23 Mar 2026
Choose the right bird nest type for your goal
Before you cut a single piece of wood, figure out what you're actually making. There are three main types of artificial nesting structures, and picking the wrong one wastes time and discourages birds. The type you need depends on which birds visit your yard and what nesting habits they have.
| Nest Type | Best For | Key Feature | Skill Level |
|---|---|---|---|
| Enclosed nest box (cavity box) | Bluebirds, chickadees, wrens, tree swallows | Small entrance hole limits access to target species | Beginner |
| Open-front box | Robins, phoebes, barn swallows | Front wall only goes halfway up; no entrance hole | Beginner |
| Nesting platform/shelf | Mourning doves, robins, osprey (larger platforms) | Flat tray with low edges, open sides | Beginner to intermediate |
| Hanging nest cup | Orioles, some finches | Woven or formed cup suspended from a branch | Intermediate |
For most backyard builders, an enclosed nest box is the best starting point. It attracts the widest range of cavity-nesting species, it's the most studied design, and the build process is forgiving. It's also what this step-by-step guide focuses on. If you're specifically interested in a hanging nest cup or a twig-based open nest, those are separate builds worth their own deep dive.
One thing worth understanding: cavity-nesting birds like bluebirds, chickadees, and wrens have lost a huge number of natural nesting sites as old trees with hollow cavities get removed. A well-placed nest box genuinely compensates for that loss. You're not just doing a craft project; you're adding real habitat.
Materials and tools (easy DIY options)
The most important material rule: use untreated, unpainted wood. Cedar, pine, and cypress are all excellent choices because they're naturally weather-resistant and safe for birds. Many nest box guidelines also recommend durable, weather-resistant rough-cut wood such as redwood, white cedar, western cedar, and cypress Cedar, pine, and cypress are all excellent choices because they're naturally weather-resistant and safe for birds.. Pressure-treated lumber contains compounds that can be toxic to nestlings, so skip it entirely even if you have scraps sitting around. I've seen people grab treated fence boards because they're cheap and long-lasting, but it's not worth the risk. Raw wood is the right call.
For a standard enclosed nest box, here's everything you need:
- One piece of untreated cedar, pine, or cypress (1x6 or 1x8 nominal lumber works great): roughly 6 feet long covers all your cuts
- Galvanized screws (1.5 to 2 inch): galvanized means they won't rust and weaken over time
- A drill with a 1.5-inch spade or hole-saw bit (for the entrance hole) and a 3/8-inch bit (for drainage and ventilation holes)
- A handsaw or circular saw for cuts
- Sandpaper (100 or 120 grit) to smooth rough edges, especially around the entrance hole
- A hinge or a single pivot screw if you want a cleanout door (highly recommended)
- A metal mounting pole or wooden post (4 to 6 feet is typical) and a baffle or predator guard
If you don't have a drill press or a large hole saw, a 1.5-inch spade bit in a standard cordless drill works perfectly. Just go slowly and clean up the edges with sandpaper so there are no splinters near where birds enter. That rough edge from a hurried cut is one of the first things I got wrong on my early builds, and it matters more than you'd think.
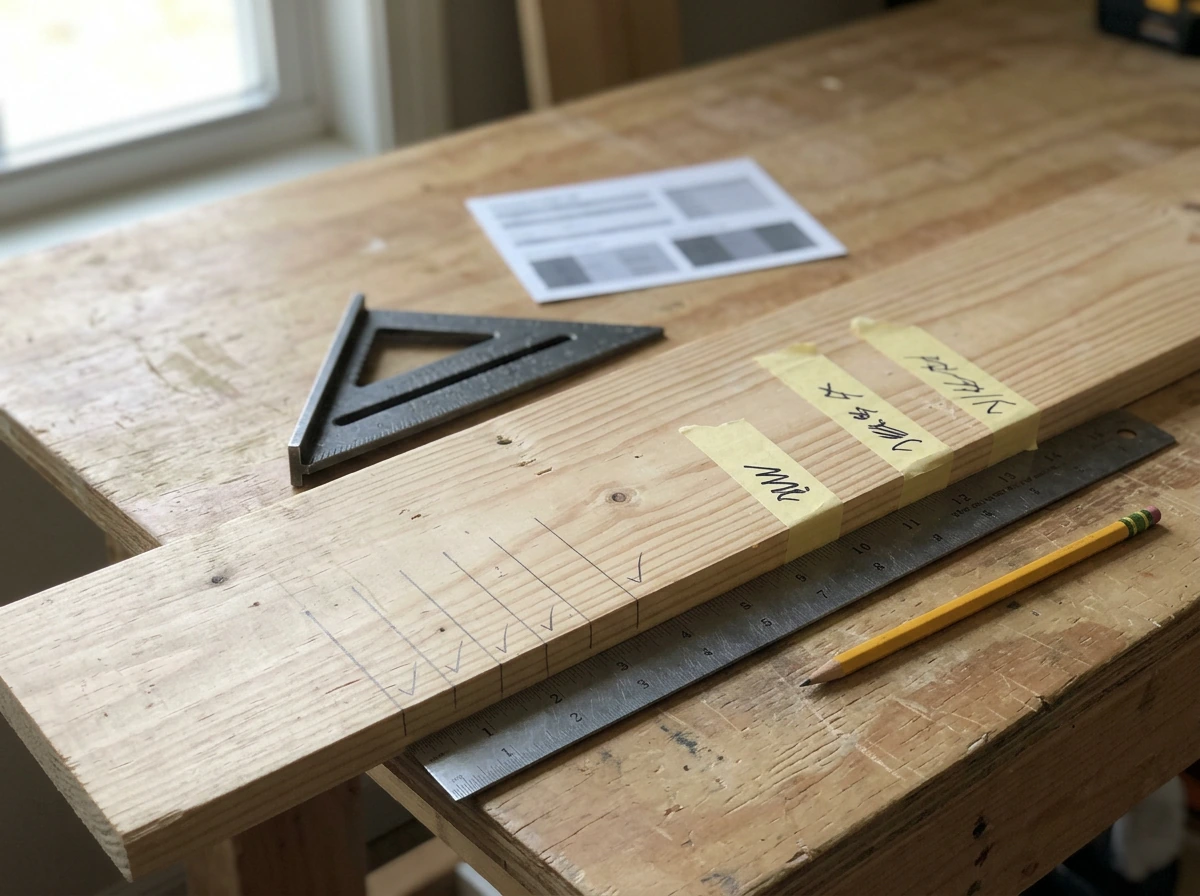
Optional but helpful extras: exterior wood glue for reinforcing joints before screwing, a pencil for marking your cuts, and a measuring tape. If you're using repurposed lumber, check that it's never been treated or painted. Old barn wood and pallet wood can work beautifully as long as you confirm it's raw and weathered naturally rather than chemically treated.
Step-by-step build plan for a safe nest (with measurements)
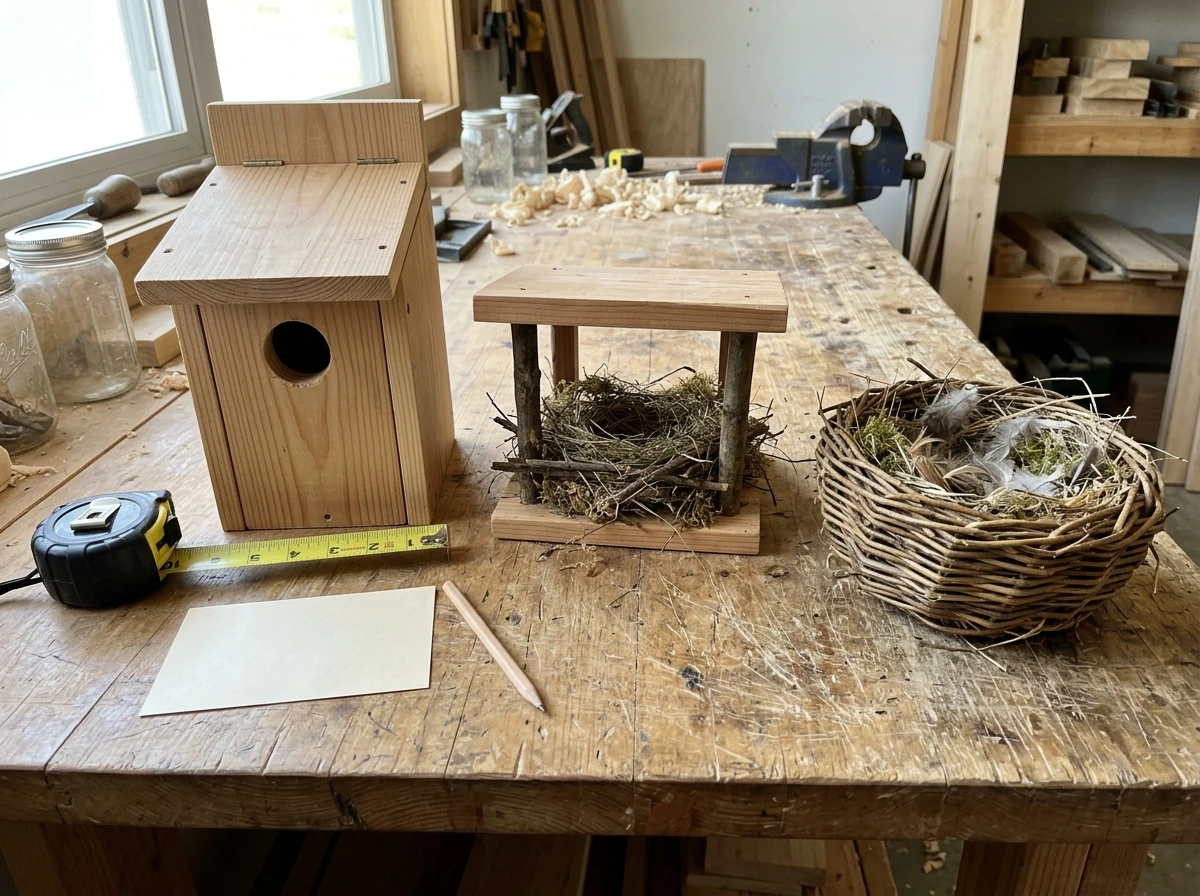
These dimensions are tuned for eastern bluebirds, which is one of the most popular and well-studied nest box species. The same basic build works for tree swallows and chickadees with minor adjustments to the entrance hole size (noted below). A bluebird box floor should be roughly 4 to 5 inches square, and the interior depth from floor to the bottom of the entrance hole should be around 6 to 8 inches. Don't go much deeper than that or fledglings will struggle to climb out.
Cut your pieces
From a single 1x6 board (actual width is about 5.5 inches), cut the following pieces:
| Piece | Dimensions | Notes |
|---|---|---|
| Floor (bottom) | 4" x 4" | Recessed 1/4" inside the walls for drainage runoff |
| Front wall | 5.5" wide x 9" tall | Entrance hole drilled 6" up from the bottom |
| Back wall | 5.5" wide x 12" tall | Extra length at top for roof attachment and mounting |
| Two side walls | 5.5" wide x 9" tall (front edge), 10" tall (back edge) | Angled top edge supports sloped roof |
| Roof | 6.5" wide x 8" long | Wider than box body for a 1" overhang on each side; add front overhang too |
Drill your holes
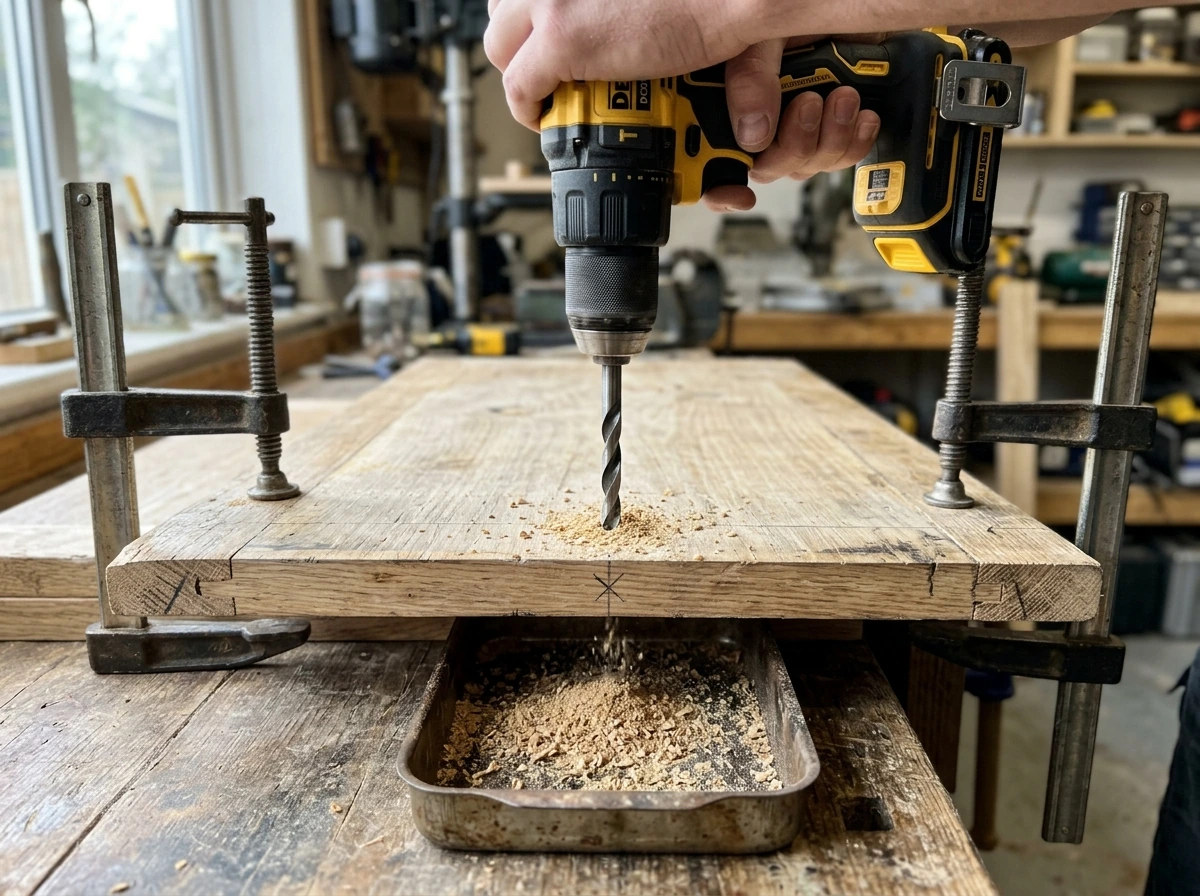
- Entrance hole: Drill a 1.5-inch diameter hole in the front wall, centered side to side, with the center of the hole 6 inches up from the bottom edge. For chickadees, use a 1.125-inch hole. For tree swallows, 1.5 inches works well too.
- Drainage holes: Drill four 3/8-inch holes in the floor, one near each corner. These prevent water pooling, which causes mold and kills eggs.
- Ventilation holes: Drill two 3/8-inch holes on each side wall near the top, angled slightly upward so rain doesn't drip in. These keep the interior from getting dangerously hot in summer.
- Sand the entrance hole smooth inside and out. This is not optional; sharp edges injure birds every time they enter and exit.
Assemble the box
- Attach the two side walls to the back wall using galvanized screws. Pre-drill pilot holes to prevent splitting.
- Recess the floor about 1/4 inch up from the bottom edges of the side walls (this lets water drain out rather than wick into the wood joint). Screw it in from the sides.
- Attach the front wall. If you want a cleanout door, attach the front with a single pivot screw at the top center and a hook-and-eye latch at the bottom. This lets you swing it open for cleaning. If you skip this, you'll regret it at the end of nesting season.
- Attach the roof with screws through the top of the back wall and into the top edge of the side walls. Make sure it overhangs the front by at least 2 inches to keep rain off the entrance hole.
- Do not apply paint, stain, or varnish inside the box. Outside, you can leave it raw (cedar weathers beautifully) or apply a single coat of a non-toxic exterior finish to the roof and outer walls only.
A quick note on interior texture: don't sand the inside of the front wall below the entrance hole. That rough surface gives fledglings traction when they're climbing up to exit. I learned this from a failed first season where smooth-walled boxes had noticeably worse fledging results. Some builders add a few shallow horizontal grooves with a chisel or the corner of a saw blade. Either way, rough is right.
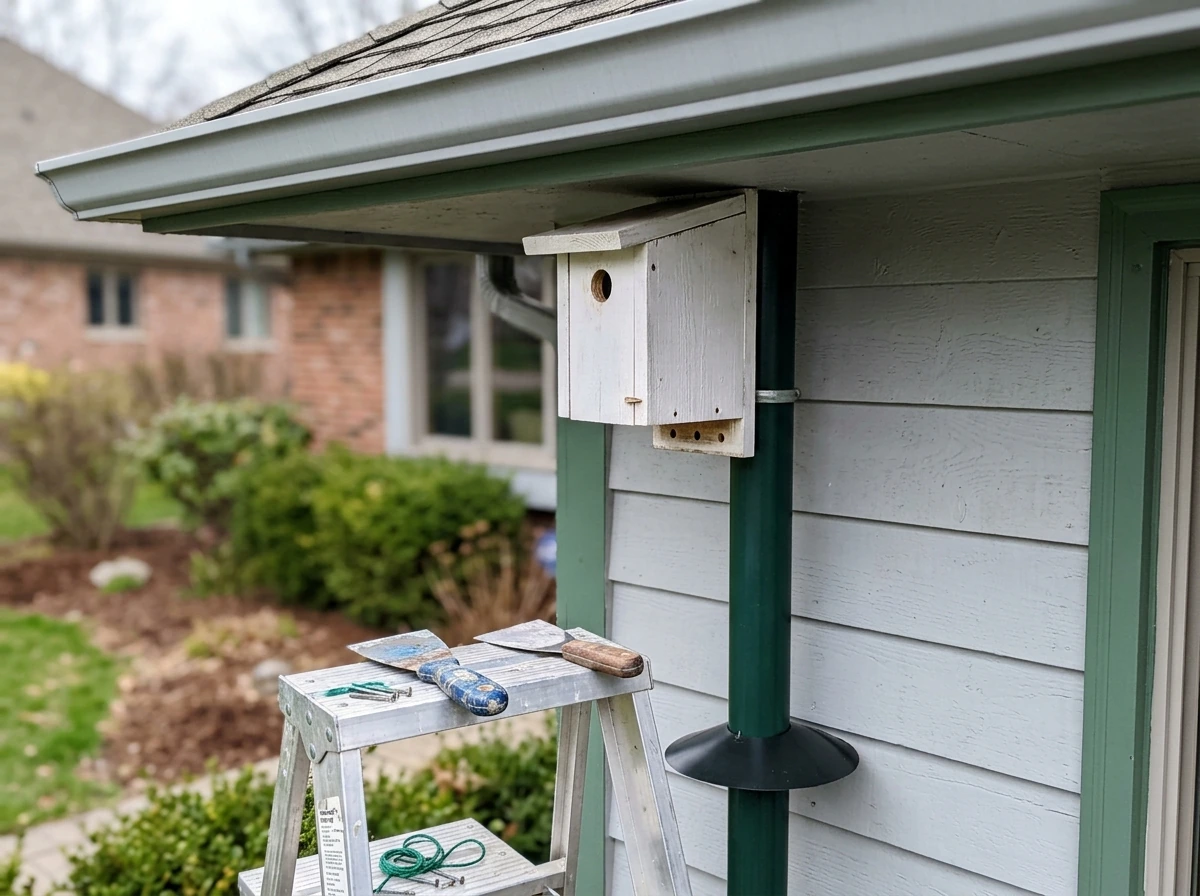
Placement, weatherproofing, and ongoing maintenance
Where and how you mount this box matters as much as how you build it. A perfectly built nest box placed in the wrong spot or without a predator guard is likely to fail, either from predation or simply from being ignored by birds.
Height and orientation
For bluebirds and tree swallows, mount the box 3 to 6 feet above the ground on a smooth metal pole. Face the entrance hole toward an open area (east or north-facing orientations are often recommended) and away from the direction of prevailing winds to reduce rain being blown directly into the hole. Avoid mounting on fence posts or tree trunks if you can help it; those surfaces are predator highways.
The predator guard is non-negotiable
A cone or stovepipe baffle mounted below the nest box on the pole is the single most effective thing you can do to protect the nest. If you're mounting on a post and there's no way to attach a baffle, find a different spot. That's a firm principle worth repeating: never place a box where a predator guard can't be installed. Baffles deter cats, raccoons, and most snakes. Entrance-hole extenders (a short wooden tube added over the entrance hole, extending it inward about 1 to 2 inches) add another layer of protection against reaching predators. Be aware that no single guard stops every threat, so combining a pole baffle with an entrance extender gives the best coverage.
Weatherproofing the box itself
Beyond the sloped roof and overhangs you've already built in, there are a few additional weatherproofing habits worth developing. First, check that your ventilation holes are drilled high enough that the roof overhang shelters them from direct rain. Second, avoid placing the box in full afternoon sun; a box in direct sunlight can heat up enough to kill nestlings on a hot day. Morning sun is fine and actually helps dry out any moisture that got in overnight.
Monitoring and maintenance
Check your box about once a week during nesting season. You're looking for signs of activity, any damage to the box, and signs of parasites or predator attempts. Open it gently and close it quickly. Don't check at all in the two weeks before expected fledging (which is about 16 to 21 days after hatching for bluebirds); opening the box too close to fledging date can cause chicks to bail out before they're ready.
At the end of nesting season, usually fall, clean the box out fully. Use a putty knife or stiff spatula to remove old nesting material. This removes parasites and mites that overwinter in old nests and would otherwise be waiting for next year's tenants. Don't disturb boxes when young are still inside or close to fledging. After cleaning, leave the box open or remove the roof briefly to air it out, then close it back up before winter so it can also serve as roost shelter on cold nights.
Attracting and adjusting for specific species
The box you've just built is a solid general-purpose cavity nest box, but small tweaks to the entrance hole diameter and placement details can make it much more attractive to specific species. If you want a nest specifically for lovebirds, you can adapt these cavity-nesting principles to match how they build and breed how to make love bird nest. Here's a quick reference:
| Species | Entrance Hole Diameter | Mounting Height | Habitat Notes |
|---|---|---|---|
| Eastern bluebird | 1.5 inches | 3–6 feet | Open fields or lawns with low vegetation; face entrance toward open area |
| Tree swallow | 1.5 inches | 4–6 feet | Near water or open grassland; space boxes 30–100 ft apart |
| Black-capped chickadee | 1.125 inches | 4–8 feet | Near woodland edges; add wood chips inside to simulate natural cavity |
| House wren | 1.25 inches | 5–10 feet | Shrubby areas and garden edges; wrens tolerate more sheltered spots |
| Carolina wren | 1.5 inches | 5–10 feet | Dense shrubs or thickets; less picky about habitat openness |
One easy trick for attracting chickadees: fill the bottom of the box with an inch or two of wood shavings or sawdust before mounting it. Chickadees excavate their own cavities in the wild, so they're instinctively attracted to boxes that already have some loose material to "excavate" and rearrange. Don't use cedar shavings; plain pine or aspen shavings are fine.
If you're building specifically for lovebirds or parakeets, those are pet bird setups that use slightly different design specs and nest materials. If you're building specifically for lovebirds or parakeets, those are pet bird setups that use slightly different design specs and nest materials. The same goes for hanging woven nest cups for orioles, which is a separate style of build with its own process.
Both are worth exploring once you've got a basic enclosed box under your belt. If you mean lovebirds specifically, use the lovebird nest approach and materials rather than a standard outdoor cavity box design basic enclosed box under your belt. If you want to go beyond a standard cavity nest, you can also learn how to make a nest for a bird with the right materials and setup basic enclosed box under your belt.
Both are worth exploring once you've got a basic enclosed box under your belt. Both are worth exploring once you've got a basic enclosed box under your belt. Both are worth exploring once you've got a basic enclosed box under your belt. how to make a parakeet bird nest how to make a parakeet bird nest
One last thing: don't add a perch below the entrance hole. It feels intuitive, but it actually helps predators and competing birds like house sparrows access the nest more easily. Target cavity-nesting species don't need a perch to enter; they go straight in. Leave it off and your birds will be better off for it.
FAQ
How do I choose the right entrance hole size for the birds in my yard?
Start by identifying the cavity nesters you actually see locally, then match the entrance diameter to that species’ target range. If you are unsure, use a bluebird-focused plan as a baseline, because many common cavity-nesters differ mainly by hole size, and changing it later is easier than redesigning the whole box.
Can I paint or stain the nest box to improve weather resistance?
Use untreated, unpainted wood for the nesting area and inside surfaces. If you want weather protection, apply an exterior-grade finish only to the outside faces, and keep it dry and cured before installation. Avoid coatings on the entrance area and any surface inside the box.
What’s the best height to mount the box if I don’t know which species will use it?
If you are aiming for bluebirds or tree swallows, mount around 3 to 6 feet high. For uncertain locations, prioritize safety over height by ensuring you can install a proper predator baffle and mount on a smooth pole rather than a tree or fence post that predators can climb.
What should I do if the entrance hole is splintery even after sanding?
Remove loose fibers with additional sanding, then run your fingertip around the entrance edge to feel for any raised spots. If you still find splinters, lightly re-cut or trim that edge until it is smooth, because rough entrances can injure feet and discourage use.
Do I need ventilation holes, and where should they go?
Yes, ventilation helps reduce moisture buildup and overheating. Drill ventilation high enough that the roof overhang shields them from direct rain, and keep airflow unobstructed so interior conditions stay dry during storms.
Is it okay to use screws only, or should I add wood glue too?
Screws alone are often fine, but wood glue can improve joint strength and help the box stay tight over time. If you use glue, apply it to the exterior or joint seams as recommended for exterior use, and keep glue from squeezing into the interior where birds will contact it.
My box seems too hard to clean, what’s the easiest way to remove old nests safely?
If possible, design or install it so the roof can open or the back can be accessed without fully disassembling everything. During cleanup, use a stiff spatula to remove dry material, then leave the box open briefly to air out before closing again.
How often should I check on active nests without disturbing them too much?
During nesting season, check about once a week, open gently, and close quickly. Avoid checking during the last two weeks before expected fledging, because frequent disturbance close to exit time can cause premature abandonment.
Do I need to remove nesting materials every year, even if nothing looks wrong?
Yes, full cleanout after nesting season matters because parasites and mites can overwinter in old nesting material. Removing it every fall reduces reinfestation risk for the next breeding cycle.
Can I install a nest box in direct afternoon sun?
Try to avoid full afternoon sun. Heat buildup can become dangerous for nestlings, while morning sun is usually safer and can help dry out moisture after overnight rain or dew.
What if I can’t install a predator baffle on my mounting pole?
Don’t place the box where a baffle is impossible. Predator access is a common failure reason, and a baffle plus an entrance extender combination offers stronger protection than either alone. If you cannot guard it, relocate to a spot where you can.
Should I add loose nesting material inside to help birds get started?
For chickadees, adding a small amount of loose material like pine or aspen shavings can encourage nesting behavior. For other cavity nesters, avoid putting in material that could block airflow or interfere with the natural nest-building behavior the species expects.
Why do birds ignore my box even though it’s built correctly?
Common causes include wrong entrance size, lack of predator protection, and poor placement such as mounting on climbable surfaces. Also watch for competing species, house sparrows in particular, which are more likely when a perch is added or when predators can reach the entrance.
Is adding a perch below the entrance really that bad?
Yes, it can reduce your odds by making access easier for predators and competing birds. Cavity nesters enter directly, so leave the area below the hole clear to improve safety and acceptance.
Next Articles

How to Build a Chimney Swift Bird House DIY Guide
Step-by-step DIY plans to build a chimney swift bird house, with correct dimensions, placement, and weatherproofing for

How to Build an Oriole Bird House: Step-by-Step DIY
Step-by-step DIY for building an oriole bird house with right dimensions, weatherproofing, predator-safe placement, and

How to Build a Chickadee Bird House Step by Step
Step-by-step DIY chickadee bird house with cut list, chickadee entry sizing, ventilation, drainage, and mounting tips.