A windmill bird scarer works right up until it doesn't. Most people set one up, watch it spin, and feel pretty good about the results for the first few days. Then the birds come back, completely unbothered, and land right next to the thing. The problem isn't the windmill design itself. It's that a single, predictable motion with no real threat behind it stops being scary very quickly. The good news is that a few targeted upgrades, done with basic tools and mostly repurposed materials, can turn a tired spinner into a genuinely effective deterrent that stays effective. This guide walks you through exactly how to do that. If you are also curious about the drinking bird toy style, you can apply the same ideas to make a motion-based homemade deterrent that keeps birds guessing drinking bird toy how to make. If you want to go beyond generic windmills and create something more striking, learn how to make a bird stand out of wood for a customized, high-visibility deterrent windmill bird scarer. If you specifically want a wooden version, follow our steps for how to make a wooden bird so it matches the same deterrent principles.
How to Make a Windmill Bird Scarer More Effective

What kind of windmill bird scarer are we actually talking about?
Before you start upgrading, it helps to know what tools you have available. Windmill-style bird scarers rely on one or more of three core mechanisms: movement, visual cues, and sound. Most cheap garden versions only use one of these, which is why they underperform. Here's how each type works and what you can actually build.
Movement-based scarers
These are your classic spinning pinwheels, wind vanes, and rotating paddle designs. The motion itself triggers a bird's instinct to stay alert near unpredictable objects. The catch is that the motion has to feel genuinely unpredictable. A spinner rotating at the same speed in the same direction in calm weather gives birds very little to fear. The best movement-based designs combine variable rotation (faster in gusts, slower in light wind), wobble, and some physical flash or reflection layered on top.
Visual-cue scarers
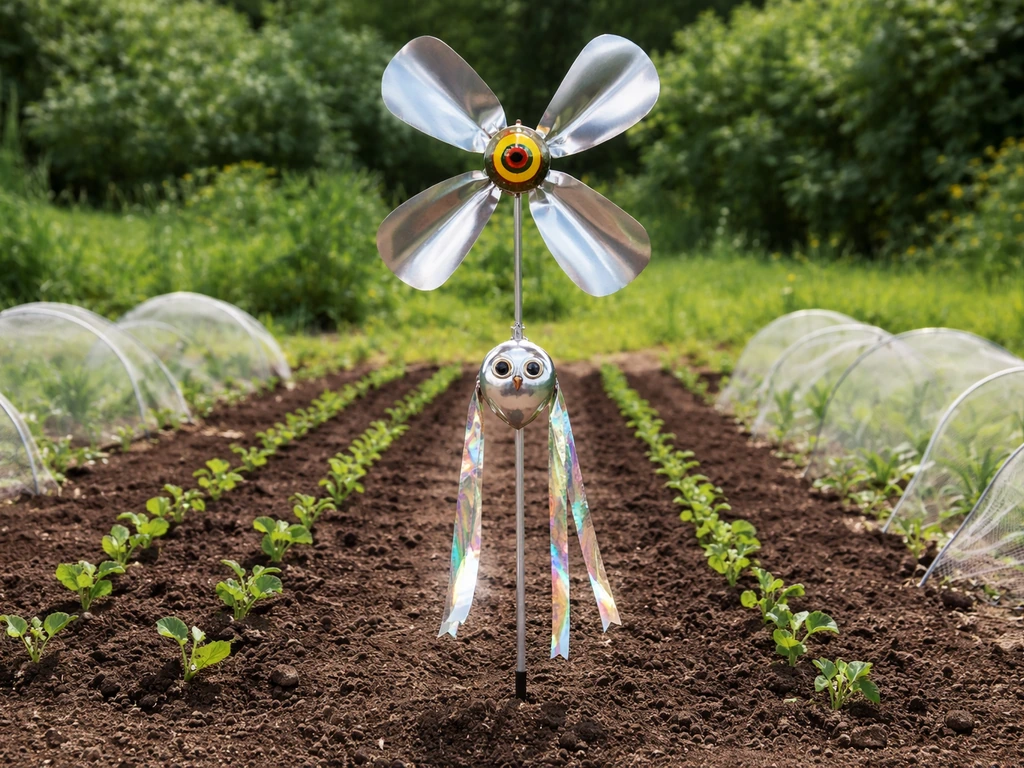
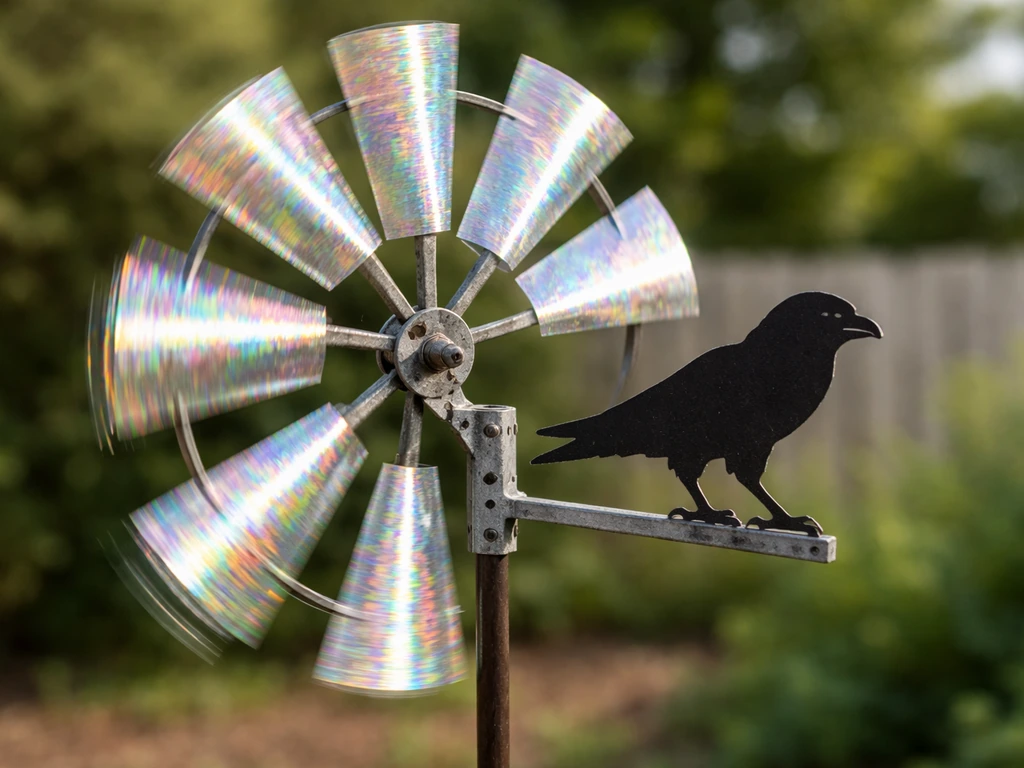
These work by exploiting what birds see as threats: flashing light, high-contrast color, and predator shapes. Reflective tape, foil strips, shiny CDs, and holographic film all bounce light in ways that birds find disorienting. Predator silhouettes (hawk or owl shapes mounted near or on the windmill frame) add a second layer of visual threat. The key word with all of these is variety. A single static silhouette or a single strip of foil gets ignored almost as fast as bare movement alone.
Sound-based scarers
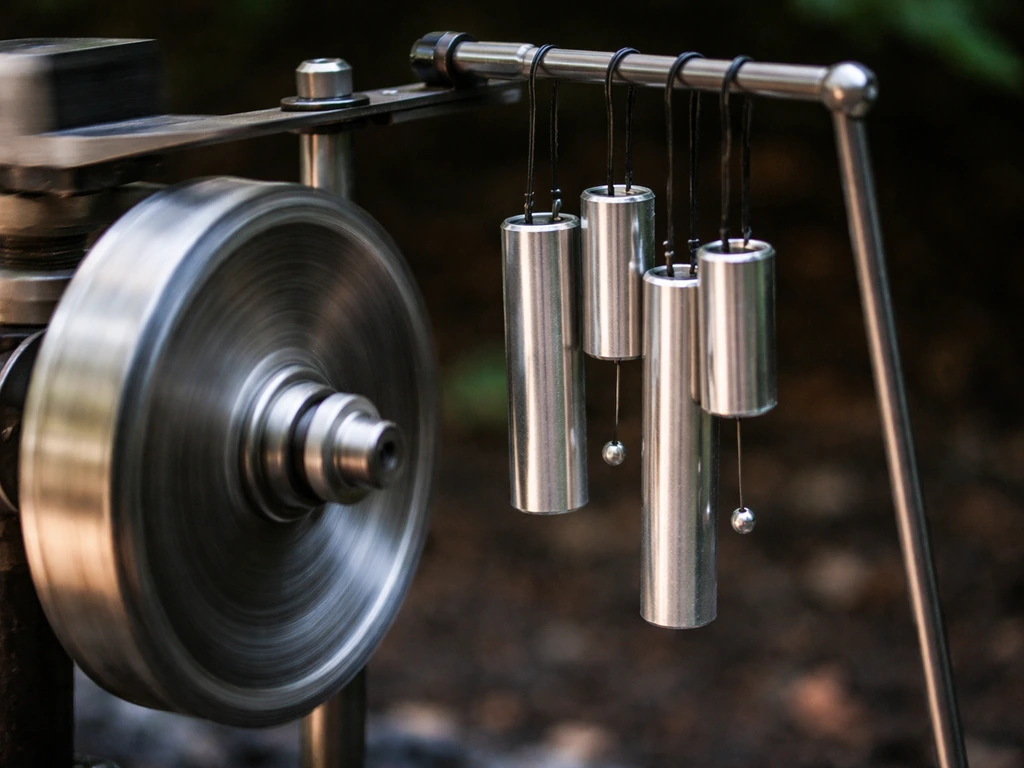
Some windmill builds incorporate noise: wind chimes, rattling foil, or small bells mounted on the rotating arms. Sound adds a sensory dimension that purely visual designs miss, and intermittent, irregular noise is far more effective than a steady drone. The simplest DIY approach is to hang a few strips of stiff foil or thin aluminum flashing from the spinner arms so they slap against a fixed crossbar when the wheel turns. It's low-tech and it works, at least for a while.
Why birds stop caring about your windmill scarer
This is the part most guides skip, but it's the most important thing to understand if you want a scare setup that actually lasts. Birds habituate to deterrents. That word, habituate, just means they learn through repeated exposure that something scary-looking or -sounding carries no real consequence. Cornell researchers studying bird pest management describe it plainly: habituation happens because the fear stimulus does no actual harm to the bird. A hawk shape that never swoops is not a hawk. A flashing spinner that never does anything bad is just scenery.
USDA APHIS wildlife guidance reinforces this directly: birds quickly learn to ignore scaring devices when the fear response is never reinforced. UF/IFAS Extension makes the same point about foil and mylar tape, noting that even materials that hit two senses (visual and auditory) lose effectiveness as birds habituate. And vinyl ribbon, which many people use on windmill arms, is specifically described as something birds get used to "fairly quickly" because it only appeals to one sense.
In practical terms, here's what causes windmill scarers to fail specifically. The motion is always the same speed and direction, so birds learn the pattern. The device stays in one spot, so birds mentally map around it. The deterrent elements (foil, a silhouette, or a tape strip) never change, so they become background noise. And nothing about the setup ever actually touches the bird or interrupts its feeding in a meaningful way. Once a bird figures out that spinning thing is harmless, it will sit on the post it's mounted to without flinching.
How to upgrade your windmill for rotation, movement, and variable speed
The single best upgrade you can make is to interrupt the predictability of the motion. Here's how to do that with simple materials.
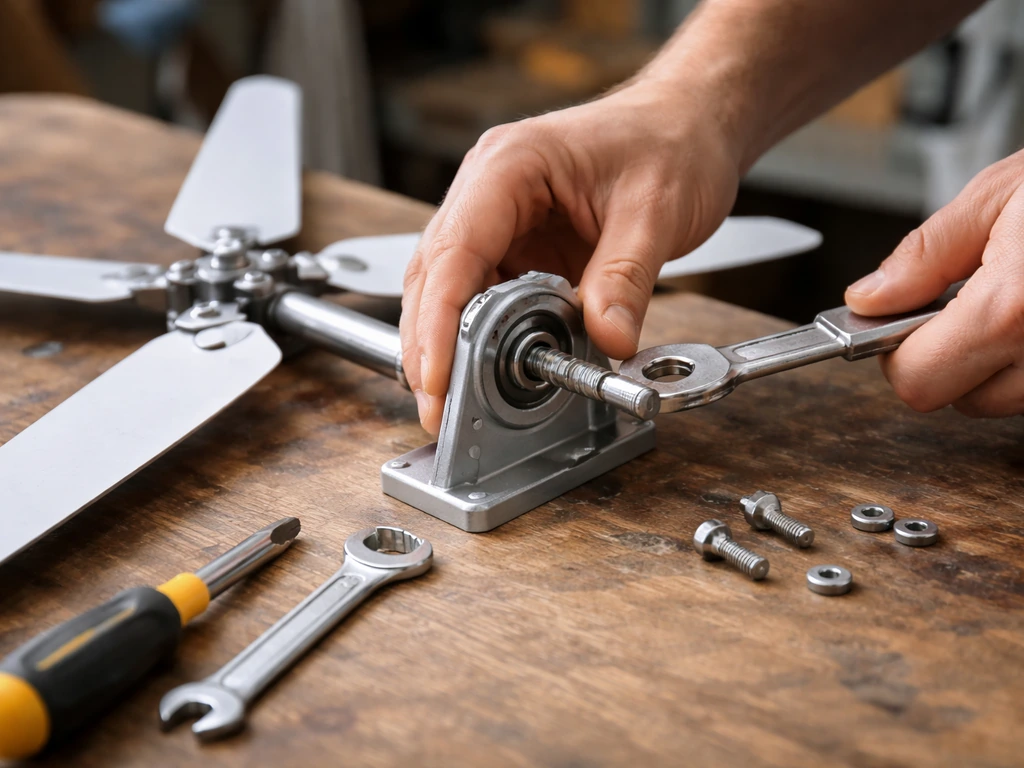
Build for variable rotation
If your windmill is fixed on a rigid axle, replace it with a loose bearing mount. A stainless steel bolt with a nylon locknut tightened just to the point of free spin is enough. Thread it through a central hub made from a PVC end cap or a wooden disk and let the whole spinner float. This way, even light wind changes cause the spinner to speed up, slow down, and briefly reverse direction. That unpredictability is exactly what keeps birds on edge. You can buy a proper swivel bearing (the kind used for fishing tackle or hanging feeders) for a couple of dollars and it works perfectly as a low-friction axle.
Add a wobble element
Mount the entire spinner on a length of flexible conduit or a length of thin-wall electrical conduit (1/2 inch EMT works well) instead of rigid pipe. The slight flex in the conduit means the whole assembly bobs and tilts in wind, not just rotates. A spinner that wobbles at the base while also spinning at the top looks genuinely alive to a bird at distance. If you want to take it further, add a second, smaller spinner mounted at 90 degrees to the main one on a separate flexible arm. The two elements moving on different axes create motion that's almost impossible for a bird to predict.
Materials list for a basic upgraded windmill
- 4-6 paddle arms cut from 2mm aluminum sheet or recycled plastic cutting boards (roughly 8 inches by 3 inches each)
- Central hub: PVC end cap (1.5 inch diameter) or a 6-inch wooden disk cut from scrap plywood
- Axle: stainless steel bolt (M6 or 1/4 inch) with nylon locknut and two washers
- Swivel bearing or fishing swivel (100lb+ rating) for low-friction rotation
- Mounting post: 1/2 inch EMT conduit, 36-48 inches long
- Cross-arm: a second length of conduit or a 1x2 wooden dowel attached horizontally at the top
- Reflective tape, holographic film scraps, or strips of aluminum foil (6-8 inches each)
- Thin aluminum flashing strips for noise elements (hardware stores sell this by the foot)
- Zip ties, wire, and basic hand tools (drill, snips, pliers)
Build steps
- Cut your paddle arms and angle each one at about 30 degrees along its long axis (like a propeller blade) so wind catches and rotates them rather than just pushing the whole assembly sideways.
- Drill a center hole in the hub and attach the arms evenly spaced around it, using rivets or short bolts.
- Thread the swivel bearing or bolt axle through the hub center. Tighten just enough to eliminate wobble but still allow free spin.
- Attach the hub assembly to your conduit post using a short length of wire or a pipe clamp at the top.
- Stick or wire reflective tape strips and foil lengths to the outer edges of the paddle arms. Leave them slightly loose so they flutter independently of the spin.
- Attach 2-3 strips of thin aluminum flashing to a fixed cross-arm positioned so they make intermittent contact with the spinning paddles in light wind.
Layering in reflective surfaces, predator shapes, noise, and scent
A good windmill scarer isn't just a spinner. Think of it as a platform you can attach multiple deterrent types to. Each additional sensory layer makes habituation harder and slows down the process of birds becoming comfortable.
Reflective surfaces
Holographic bird-repellent tape (the kind sold at garden centers) is effective because it scatters light at multiple wavelengths, including ultraviolet, which birds see better than humans do. Attach 12-18 inch strips to the arm tips and to a fixed cross-member near the spinner so they flutter separately from the rotation. Old CDs hung on short lengths of fishing line from the arms catch and redirect light in wide arcs as the assembly spins. The combination of rotation-driven flicker and independent flutter from the strips is much harder to habituate to than static foil.
Predator silhouettes
Cut a hawk or falcon silhouette from dark plywood or heavy cardboard and mount it on a second pivot arm attached to the main post, positioned at a height that puts it above the protected area. The key is to make the silhouette move, not just hang there. Mount it on its own swivel so it rotates to face into the wind, and attach a short tail of reflective tape behind it. A stationary owl cutout does almost nothing after a day or two. One that pivots and flashes is a different story. Reposition the silhouette every 3-4 days so the birds don't mentally mark its location as permanent.
Noise elements
Intermittent, irregular noise is what you're after. A set of hollow aluminum wind chimes hung near (not on) the spinning section adds sound that is decoupled from the rotation itself, so it triggers at different moments than the visual movement. On the spinner itself, the aluminum flashing contact strips mentioned in the build section create a stuttering, irregular clatter as the paddles pass. What you want to avoid is a steady rattle or hum that becomes background noise. Test your build in a light breeze: if it makes the same sound at the same interval repeatedly, add or reposition an element to break the pattern.
Scent deterrents (safe use)
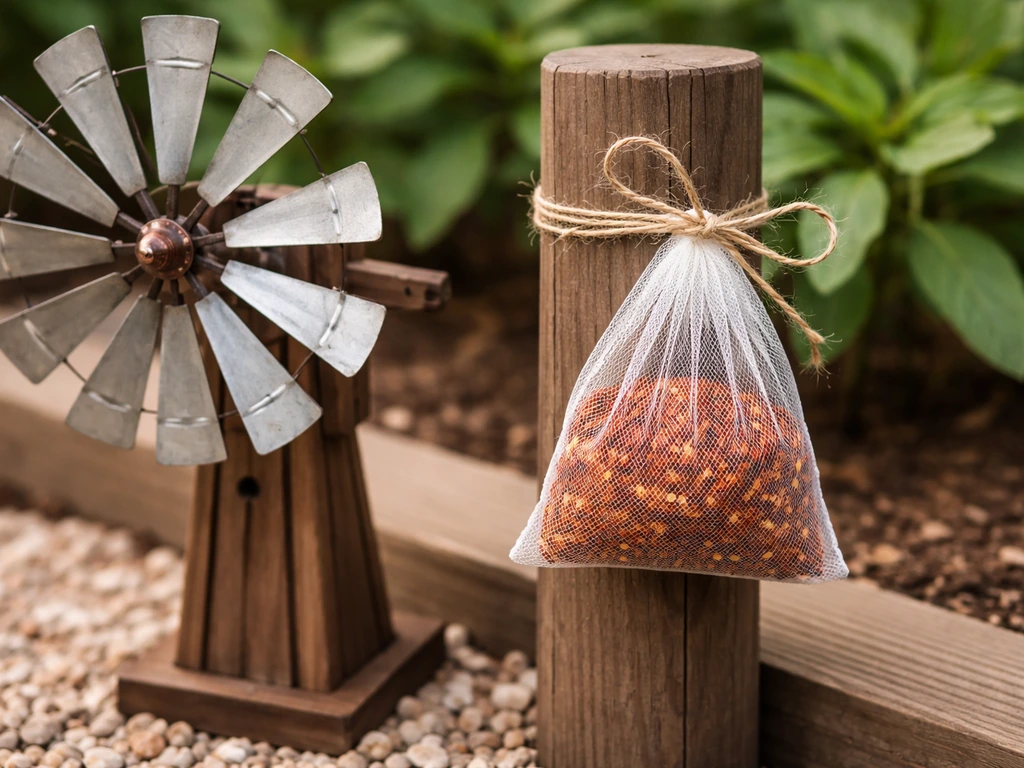
Scent is an underused layer and it's easy to add safely. Small mesh bags containing dried hot pepper flakes or commercial bird-repellent gel (blank" rel="noopener noreferrer">methyl anthranilate-based, which is derived from grape and is non-toxic) can be hung from the post near ground level or near the specific plants you're protecting. Replace or refresh these every 1-2 weeks. Do not use mothballs, bleach-soaked rags, or any petroleum-based products as scent deterrents. These are harmful to birds, other wildlife, and the soil, and they're not more effective than the safe alternatives.
Where to put it: height, spacing, and when to move it
Even a perfect windmill scarer fails if it's in the wrong spot or left in the same place too long. Placement is where most DIYers leave easy effectiveness on the table.
Height and distance rules

Mount the spinner so its center sits 12-18 inches above the top of whatever you're protecting (raised garden beds, fruit bushes, seedling trays). Too low and the movement is hidden below the birds' typical approach angle. Too high and it's visible but not associated with the target area. For open ground or lawn areas you want to protect, one spinner covers roughly a 10-12 foot radius effectively. For long rows or raised beds, space units no more than 15-20 feet apart. If you have a single large bed, one unit at each end facing inward is more effective than one in the middle.
When and how often to move it
Move every piece of the scare setup at least every 3-5 days. This is non-negotiable if you want sustained effectiveness. Move it to a different height, a different edge of the protected area, or rotate it 90 degrees. Even small changes reset the birds' mental map of the space. Keep a simple log (a sticky note works fine) with the date and position, so you're not guessing whether you moved it recently. In high-pressure situations (a flock returning regularly to a specific spot), move it every 2 days.
Seasonal timing
Bird pressure in gardens peaks at two times: early spring (when new seedlings emerge) and late summer/fall (when fruit and berries ripen). These are the windows where your scarer needs to be freshest, most varied, and in the most active position. During low-pressure periods, you can scale back to a simpler setup, which also means the full multi-layer version feels novel again when you deploy it during peak season. Swapping out the reflective tape color or the silhouette shape between seasons adds another layer of novelty.
Protecting plants and feeders without harming birds
If you're reading this on a site about building birdhouses and bird feeders, you're probably not trying to keep all birds away, just the ones causing problems in a specific area. That distinction matters, and it shapes how you design and place your scare setup.
The core principle is zone-based deterrence. You place the scare setup around the area you want to protect (vegetable beds, fruit trees, seedling trays), not scattered randomly across the yard. Your bird feeders, bird baths, and nesting boxes should be placed well away from the deterrence zone, ideally on the opposite side of the yard or behind a visual barrier like a fence or shrub line. Birds associating your feeders with scare elements is a real risk, and it's counterproductive if your goal is to attract species to those structures.
A useful distance rule: keep scare devices at least 20-25 feet from any bird feeder or nesting box you want to remain active. If your garden is small and that gap isn't possible, directional placement matters more. Angle the reflective elements away from feeders and toward the protected plants. The windmill's spinning action is omnidirectional, but you can use low shrubs or a fence panel to break the visual line between the spinner and your feeder area.
It's also worth saying clearly: don't use sticky traps, nets that birds can become entangled in, or any chemical that birds can ingest. The scent deterrents mentioned above (hot pepper and methyl anthranilate) are safe because birds don't like the smell and avoid the area, but there's no ingestion or contact harm. Netting is fine for fruit trees as long as it's properly tensioned and the mesh size (1/2 inch or smaller) prevents birds from getting their heads or wings caught. Loose or saggy netting is a serious entanglement hazard.
If you're also working on bird housing projects for specific species, positioning your deterrence zone thoughtfully actually helps. Cavity-nesting birds like bluebirds and chickadees are far more likely to take up a nesting box that isn't surrounded by chaotic flashing and movement. Keeping the scare setup focused on your crop zone and leaving the rest of the yard calm and welcoming is the right balance.
How to test, maintain, and troubleshoot when birds go back to ignoring you
Think of your windmill scarer less like a set-and-forget tool and more like a rotating maintenance task. Here's a straightforward approach to keeping it working.
Weekly maintenance checklist
- Check that the spinner rotates freely. Grit, spider webs, or a bent arm can slow or stop rotation, which makes the whole thing useless in light wind.
- Inspect reflective tape and foil strips. These degrade in UV light within 4-6 weeks outdoors. Replace or refresh any that have gone dull or torn.
- Check scent bags and refresh hot pepper or repellent gel as needed (usually every 1-2 weeks depending on rain).
- Reposition at least one element: move the main post a few feet, swap the silhouette to a new arm, or rotate which side the foil strips face.
- Look for signs of physical damage from birds landing on or near the setup. If birds are comfortable perching on the post, the deterrent field isn't reaching far enough.
Troubleshooting: birds are back and unbothered
If birds have fully habituated to your setup, a gradual tweak won't fix it. You need a reset. Remove the entire setup for 5-7 days. Birds will reclaim the space in that time, but when you redeploy with changed elements (different colors, a new silhouette shape, added noise, or a higher mounting point), the novelty factor starts fresh. This is the same logic behind why crop farmers rotate scare gun positions and timing rather than running them on a fixed schedule. If you are looking for a different style of deterrent beyond windmills, see how to make bird gun for guidance on building a firearm-free scare option. If you need a different, non-windmill way to protect the same area, you can also look at how to make a bird baffle as an adjacent option.
Here's a quick troubleshooting guide for common failure modes:
| Problem | Likely cause | Fix |
|---|---|---|
| Spinner not moving in light wind | Arms too heavy or pitch angle too shallow | Reduce arm weight or increase blade pitch to 35-45 degrees |
| Birds ignoring spinner after 3-4 days | Habituation to predictable motion | Move position, add a second sensory element (foil, noise), or swap to a new arm color |
| Birds ignoring silhouette | Silhouette is static and has been in same location | Mount on a swivel, reposition every 3-4 days, add reflective tape to silhouette edge |
| Reflective elements not flashing in sun | Tape has degraded or angle is wrong relative to sun path | Replace tape, adjust arm angle, reposition for morning or afternoon sun depending on when birds are most active |
| Birds are fine with scarer but not with feeder nearby | Scare elements are too close to feeder | Move feeder at least 20-25 feet away, use visual barrier between zones |
| Setup works for crows/jays but not sparrows | Small birds habituate faster to visual-only deterrents | Add intermittent noise element and increase frequency of position changes to every 2 days |
Build a rotation schedule, not just a single scarer
The most effective long-term approach I've found is building two or three simple windmill units rather than one elaborate one. Rotate them through positions on a schedule: unit A covers the east bed for 4 days, then unit B takes over while unit A moves to the fruit tree. This mimics what happens in nature when a predator moves through a territory on an unpredictable patrol. It's also a great excuse to build a few more of these, which is satisfying in its own right. You can repurpose almost everything: old CDs, aluminum baking trays, dowels, conduit offcuts, fishing swivels. The build cost for a second or third unit is basically zero if you have a well-stocked scrap pile.
The bottom line is this: a windmill bird scarer stops working when it becomes predictable. Every upgrade, every repositioning, every added sensory layer is just another way of saying to the birds: you can't read this thing yet. Keep them guessing, keep the elements fresh, and keep the setup well away from the parts of your yard you want birds to trust. The UC ANR Bird Hazing Manual emphasizes using a habituation-focused program framework, with bird hazing/frightening methods designed to keep deterrents from becoming predictable. That balance between deterrence and invitation is what this whole approach is really about.
FAQ
My windmill spins but birds still land right next to it. What does that mean and what should I change first?
If birds are landing on the post but ignoring the motion, it usually means the scare elements have become background. Do a full “reset” (remove the unit for 5 to 7 days) and then redeploy with at least one change that alters both motion and visuals, for example switching from vinyl ribbon to holographic tape plus adding intermittent noise (wind chimes hung near the setup, not on the rotating arms).
Can I make a windmill bird scarer more effective by adding solar blinking lights?
Yes, but only if you keep the motion irregular. If you install a solar light that blinks in a fixed pattern, birds can also habituate to that timing. Instead, choose a light that flickers unpredictably (or move the light position every 3 to 5 days) and pair it with variable motion at the windmill axle so the light and movement are not synchronized.
What height should my windmill be mounted for best results, and how do I adjust if it’s too high or too low?
Avoid placing it so high that birds only see it while approaching from a distance, that reduces association with the food area. Use the 12 to 18 inch rule (spinner center above the top of what you protect), then fine-tune by observing approach behavior: if birds approach under the arc of movement, lower slightly or reposition toward the birds’ main approach side.
It works on windy days but not on calm days. How can I fix that?
Wind-based spinning can stall in light air, which makes the motion predictable or absent. If you notice it slows to a near-stop, prioritize a loose-bearing axle or flexible conduit mount so the assembly responds to small gusts. Also check that any foil strips you use are not too heavy, heavy strips reduce flutter and speed changes.
How do I protect my garden area without scaring birds away from my feeder or birdbath?
Place scare devices around the protected zone, but keep feeders and bird baths outside it. If you cannot maintain 20 to 25 feet separation, break the visual line by angling reflective elements away from feeders and using a shrub or fence panel. Do not hang deterrent elements on the same posts as your feeders, since birds quickly learn the association.
Are there any deterrents I should avoid using, even if people recommend them for windmill setups?
Avoid sticky traps, loose nets, or any product that birds could ingest. Even if you are only trying to deter, entanglement and ingestion can create animal welfare issues and also reduce your long-term control because injured birds can attract more attention to the area. For noise, avoid steady buzzers, pick intermittent clatter or wind-chime styles.
How often should I move or rotate multiple windmill units?
If you use multiple windmill units, rotate them based on bird pressure and keep changes meaningful. A practical schedule is 4 days per unit during peak pressure, then reposition all units at the 3 to 5 day mark if you see repeated landing in the same spot. The key is that each unit spends time in a different edge or height, not just swapping order without moving position.
How long do the pepper-flake or methyl anthranilate scent bags last, and when should I refresh them?
Refresh scent options on a timer and in response to weather. Replace hot pepper flakes or methyl anthranilate gel mesh bags every 1 to 2 weeks, and after heavy rain because wash-off reduces scent strength quickly. Keep scent near ground level or targeted plant rows so birds actually encounter the deterrent when they forage.
Birds seem to habituate within a week. What’s the best way to troubleshoot the setup?
If birds habituate quickly, you likely have at least one “fixed cue” they can read. The fastest fixes are (1) change the motion behavior (loose bearing plus flexible conduit or add a second smaller rotor), (2) change the visual pattern (swap tape type or silhouette shape between seasons), and (3) add irregular noise that is not tied to a single rotational interval.
What’s the difference between minor tweaks and a real reset when a windmill scarer stops working?
If you have fully habituated, gradual changes rarely restore effectiveness. Remove everything for 5 to 7 days, then redeploy with multiple altered elements, such as a new silhouette position, different reflective material (CDs versus holographic tape), and added intermittent noise. This resets the birds’ mental map rather than just repainting the same cue.
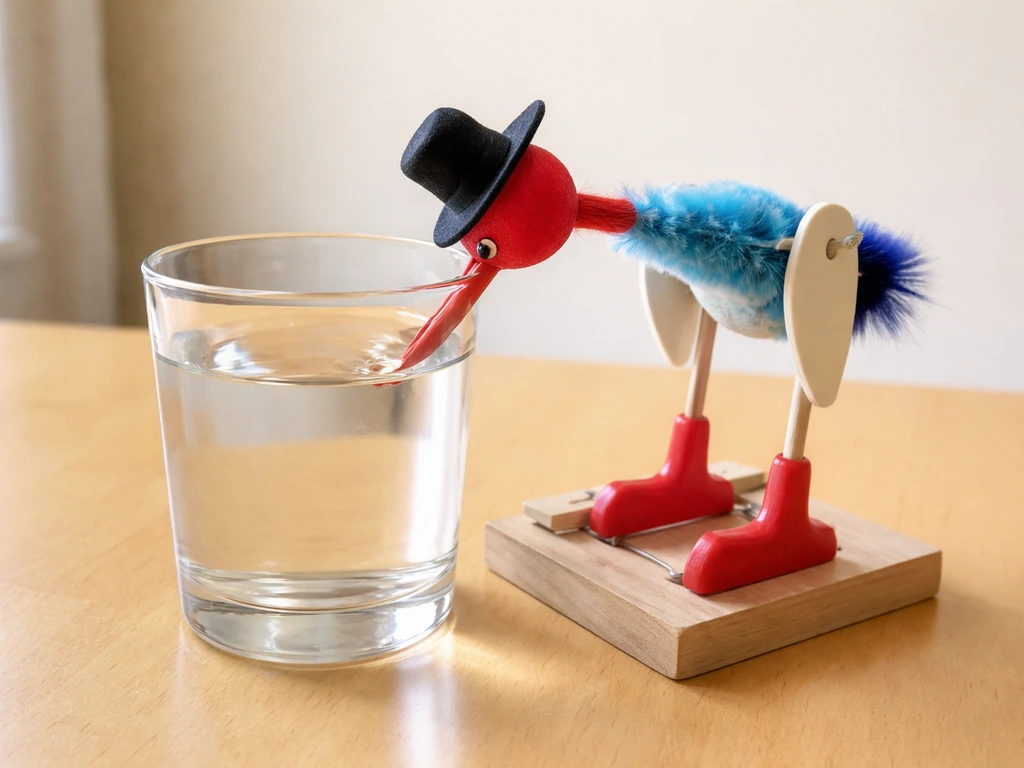
Step-by-step guide to build a working drinking bird toy with materials, assembly order, setup, and leak troubleshooting.
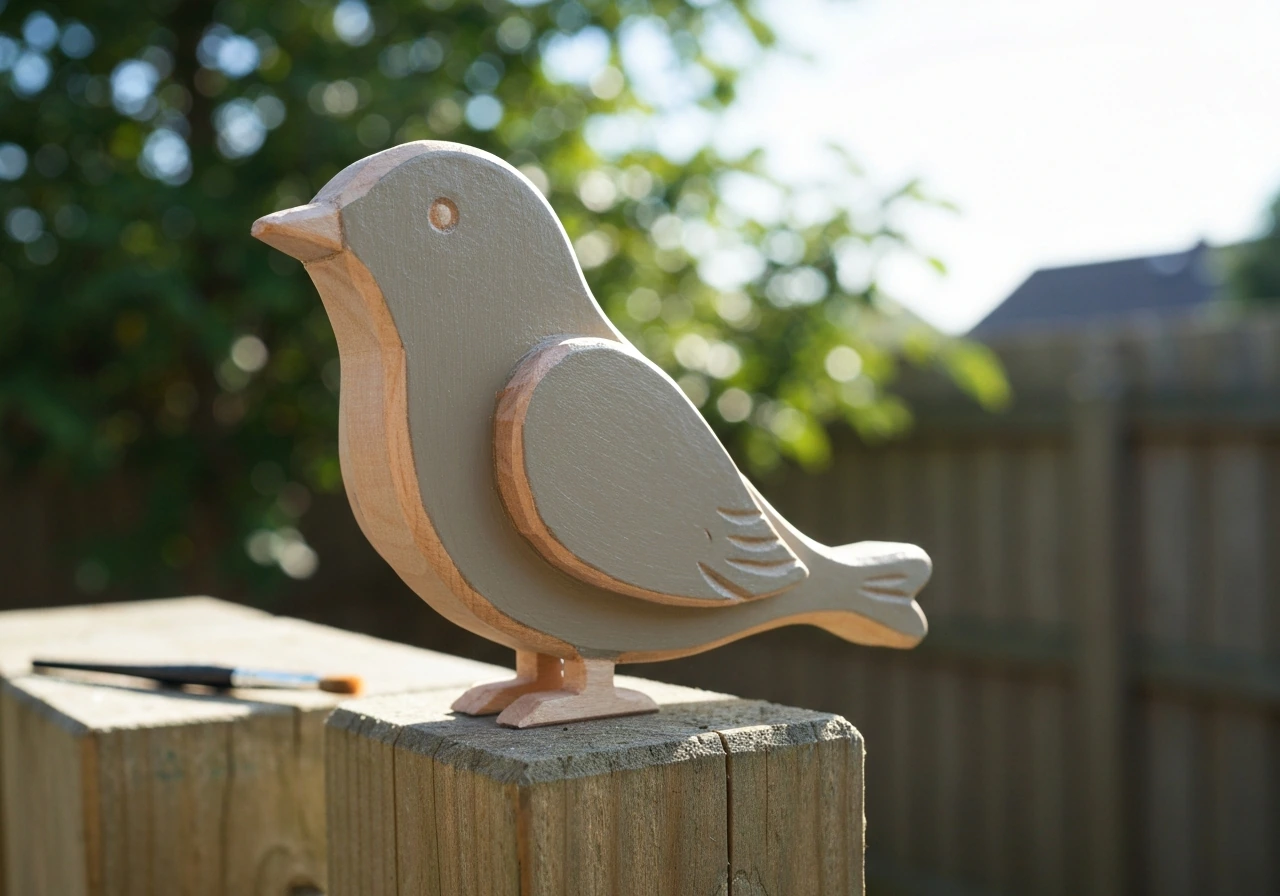
Learn how to make a wooden bird with a beginner-friendly materials list, step-by-step build, and durable outdoor sealing

Step-by-step DIY plans to build a chimney swift bird house, with correct dimensions, placement, and weatherproofing for