Let's clear something up first
If you landed here searching for how to make a bird gun, I want to be upfront with you: this site is about building things FOR birds, not against them. We cover birdhouses, nesting boxes, feeders, enrichment toys, and backyard habitats. So if you were hoping for weapon-building instructions, this isn't the place. But if your real goal is dealing with birds in your backyard, whether that means attracting more of them, supporting nesting, or keeping your space bird-friendly and well-managed, then stick around, because this guide has a lot to offer.
Why "bird gun" isn't a safe or legal DIY path
Using any kind of projectile device to harass, scare, or harm birds carries serious legal risk. State-level wildlife laws in places like Massachusetts explicitly regulate which methods can be used to "take" wildlife, and most backyard bird species (songbirds, bluebirds, swallows, chickadees) are federally protected under the Migratory Bird Treaty Act.
Florida Fish and Wildlife makes it illegal to shoot at or harass any bird, even from a distance. And those are just state examples. Your local municipality may have additional ordinances on top of state law that restrict discharging any kind of firearm or air-powered device on residential property. The short version: building or using any kind of bird gun in a residential backyard is almost certainly illegal, and the consequences aren't worth it.
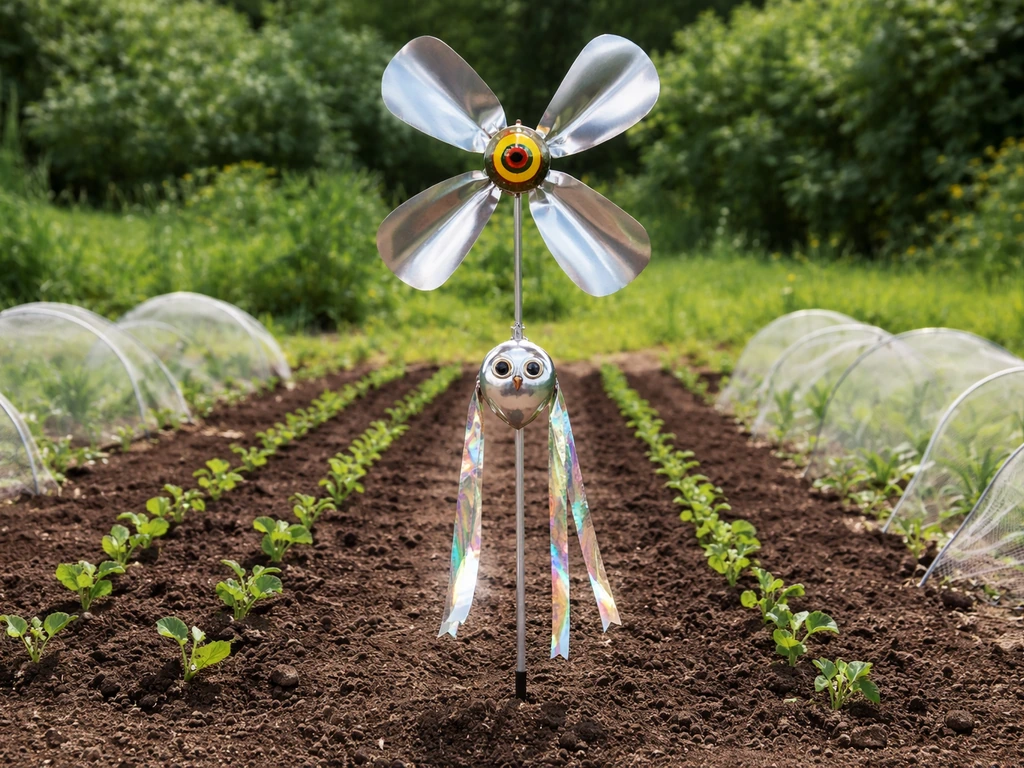
If you're dealing with nuisance birds, there are legal and humane alternatives that actually work better long-term. Habitat design, predator guards, proper feeder management, and species-specific housing all do a better job of shaping bird behavior in your yard than any deterrent device would. If you want to make nuisance birds stay away, a windmill-style scare device can be considered, but placement and movement matter, and humane options usually work better. That's what this guide focuses on.
What you CAN build here: bird-housing and enrichment projects
This site is built around the idea that the best way to manage your relationship with backyard birds is to build things that work with them. That means nesting boxes sized for specific species, feeders designed to reduce disease and waste, enrichment structures that keep birds active and visible, and predator guards that protect your investment without harming wildlife. If you've looked at other topics on this site, you may have seen guides on things like bird baffles (which physically block predators from reaching nest boxes) or bird stands made from wood. All of these feed into the same ecosystem: a thoughtfully designed backyard that supports birds rather than conflicts with them.
The Michigan DNR describes this exact approach as "homes for wildlife," an agency-endorsed way to support bird populations on your property. It's the framework behind everything we build here, and it's genuinely more satisfying than any deterrent strategy.
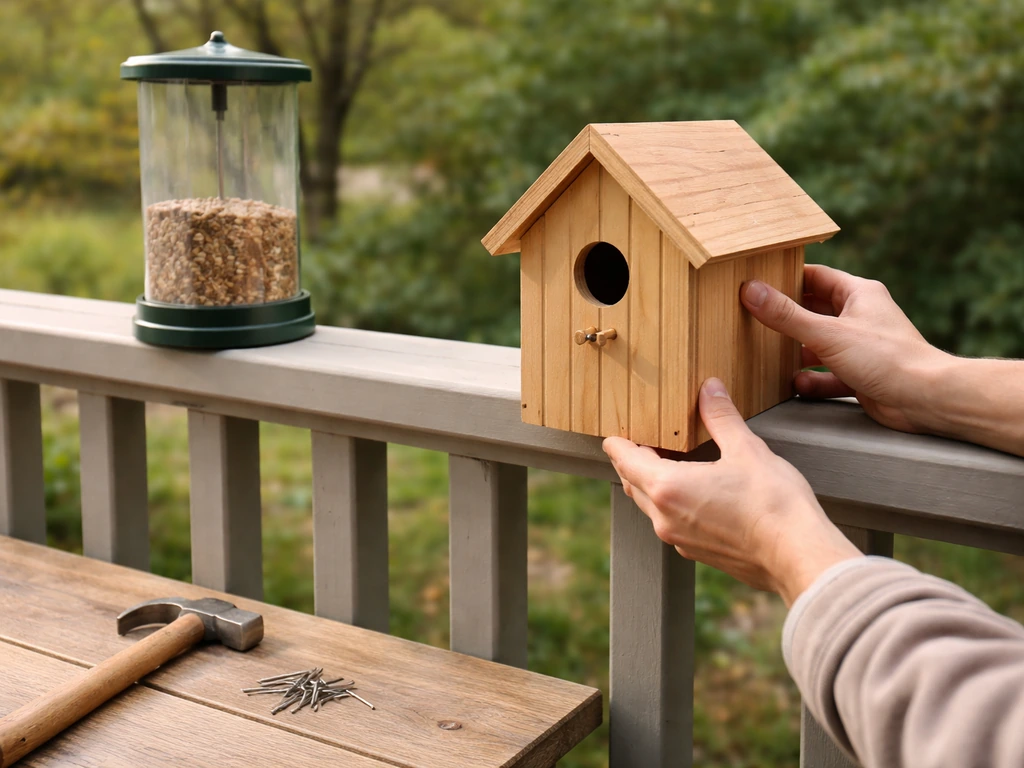
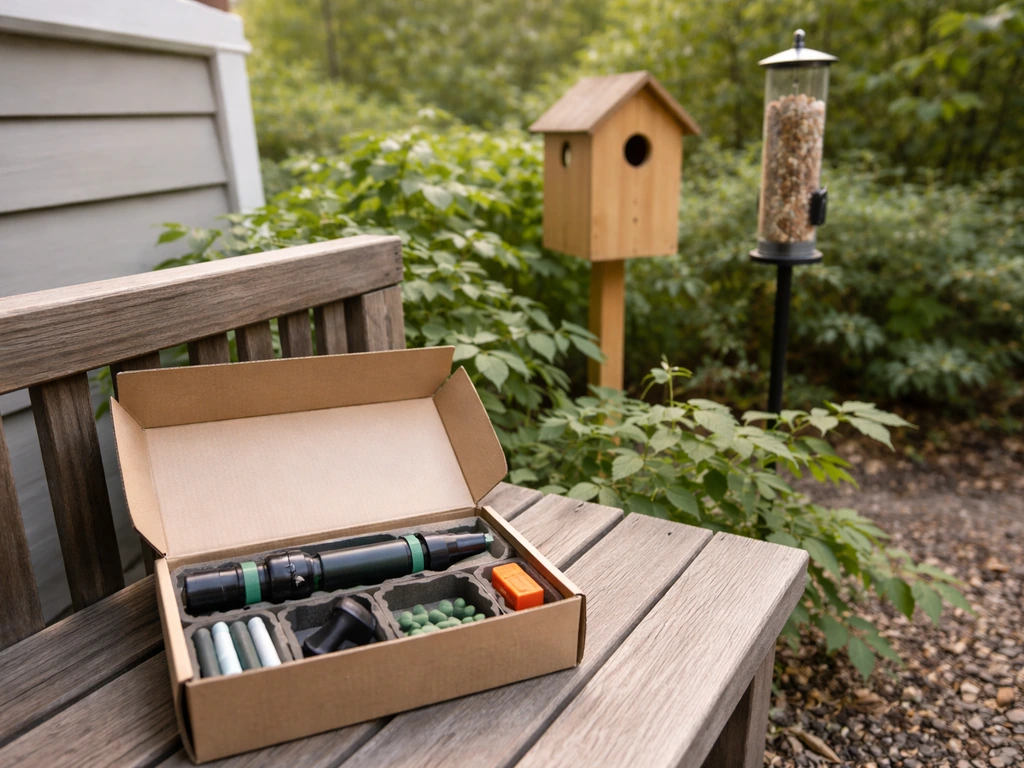
The good news is that most bird-housing projects can be completed with basic tools you probably already own, and the materials list is short. I've built plenty of nesting boxes from cedar fence boards that cost a few dollars at a lumber yard, and they've outlasted more expensive alternatives. Once you have the tools and design basics down, you can apply the same species-friendly woodworking approach to how to make a wooden bird for a complete project set. Here's what I'd recommend having on hand before you start.
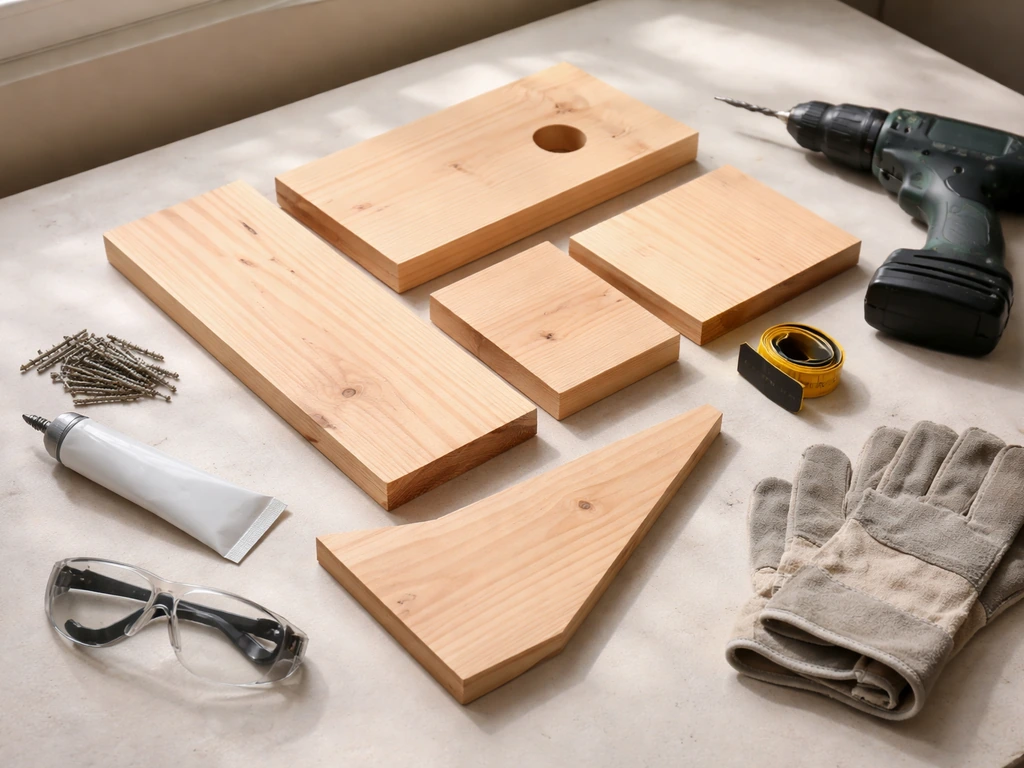
Materials
- Untreated cedar or pine lumber (1-inch thick stock is ideal; cedar resists rot and doesn't need painting)
- Exterior-grade wood screws (1.5 to 2 inches, coarse thread)
- Waterproof wood glue (optional but adds durability at joints)
- A metal pipe or wooden post for mounting (4 to 6 feet is typical)
- Metal predator guard or baffle (can be purchased or made from sheet metal or stovepipe)
- Sandpaper (medium grit, 80 to 120, to smooth entrance hole edges so birds don't snag feathers)
- Exterior latex paint or linseed oil if using pine (never paint the interior of a nesting box)
- Mesh wire or hardware cloth if building a feeder frame
- Plastic or metal tray for feeder platforms
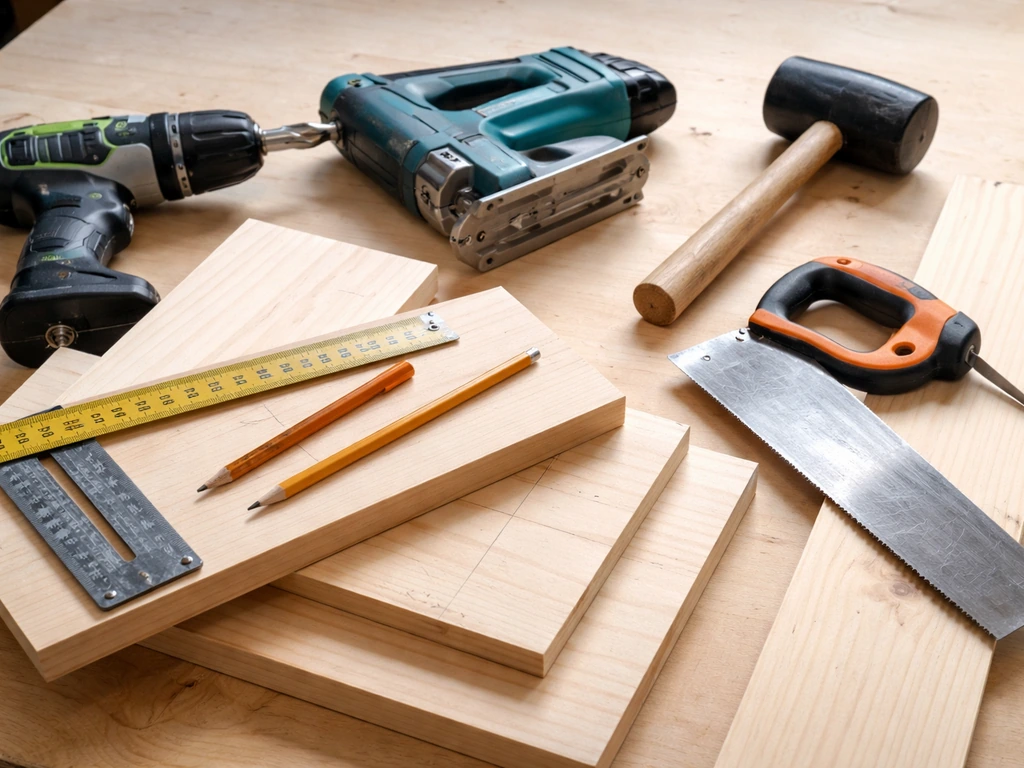
- Drill with a spade bit or hole saw (you'll need specific sizes depending on your target species)
- Jigsaw or handsaw
- Hammer or rubber mallet
- Measuring tape and pencil
- Square (a cheap speed square works fine)
- Screwdriver (or drill with driver bit)
- Sandpaper or a round file for smoothing hole edges
No router, no table saw, no fancy joinery required. I made my first bluebird box with a jigsaw and a cordless drill, and it's been occupied every spring for three years. Don't let a missing tool be your barrier.
Step-by-step: build a nesting box, feeder, or enrichment toy
Project 1: A basic nesting box
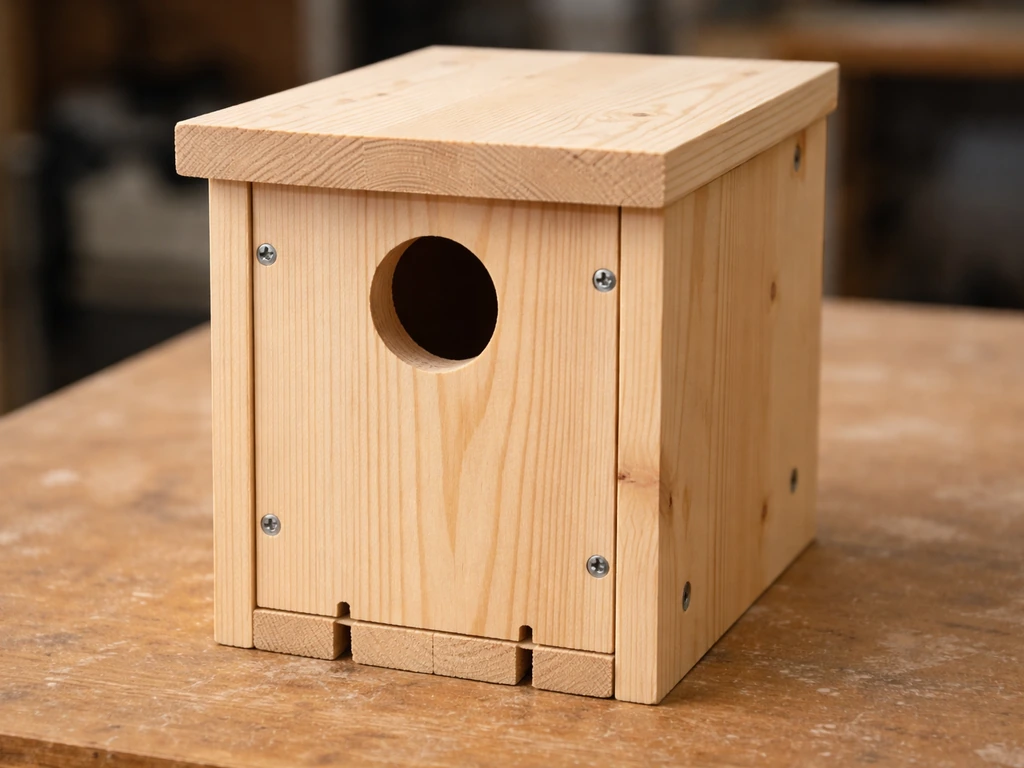
This is the foundational build. Once you've made one nesting box, every other variant is just a dimension change. The construction principles here apply whether you're building for bluebirds, chickadees, or wrens.
- Cut your lumber to size. For a standard bluebird box, you need: a floor (4x4 inches), front and back panels (roughly 5.5 inches wide and 9-10 inches tall for the front, taller for the back to create a roof pitch), two side panels, and a roof (about 7-8 inches wide to provide overhang).
- Drill the entrance hole in the front panel. Use a spade bit or hole saw. The diameter matters enormously here: 1.5 inches for eastern bluebirds, 1.125 inches for Carolina wrens, 1.25 inches for chickadees. Center it about 2 inches below the top of the front panel.
- Sand the entrance hole edges smooth inside and out. Birds enter and exit dozens of times a day. Rough edges damage feathers and can cause injury.
- Drill four drainage holes in the floor, each 3/8 to 1/2 inch in diameter, one near each corner. Water that gets in needs to get out.
- Add ventilation. Drill two 5/8-inch holes on each side panel near the top (four holes total). This keeps the interior from overheating in summer, which can be fatal to chicks.
- Do NOT add a perch below the entrance hole. Perches look cute but give house sparrows and starlings a foothold to harass nesting birds. Leave it off.
- Assemble the box with screws, not nails. Nails work loose over time with seasonal wood movement. Pre-drill pilot holes to avoid splitting.
- Make one side panel hinged or use a pivot screw at the top so it swings open for cleaning. A box you can't clean will become a disease problem within one season.
- Mount the finished box on a metal pipe or wooden post at least 5 feet off the ground. More on placement below.
Platform feeders are the easiest build on this list and serve the widest range of species. They're basically a shallow tray with drainage and a roof, mounted or hung from a post or tree.
- Cut a flat base from 1-inch lumber, roughly 12x16 inches. Drill multiple small drainage holes across it so rain doesn't pool and rot your seed.
- Add low side rails (about 1 inch tall) on three sides using thin strips of wood. This keeps seed from blowing off while still allowing birds to land from any angle.
- Build a simple roof frame using four corner uprights (about 8-10 inches tall) and a flat or slightly pitched roof panel. The roof keeps seed dry and reduces mold.
- Sand all edges smooth. Birds will land, grip, and walk all over this surface.
- Apply an exterior finish to the wood if using pine. Leave the floor interior unfinished or use a food-safe sealant.
- Hang it or mount it on a post at least 5 feet off the ground to reduce cat and raccoon access. Add a baffle below the post for extra protection.
Project 3: A DIY bird enrichment toy or foraging structure
If you have parrots or kept birds, enrichment toys are a whole separate topic. For wild backyard birds, "enrichment" usually means structures that give them more to interact with: suet cages, log feeders with drilled holes packed with suet or peanut butter mix, or branch perch stations near feeders. A simple log feeder takes about 20 minutes to make.
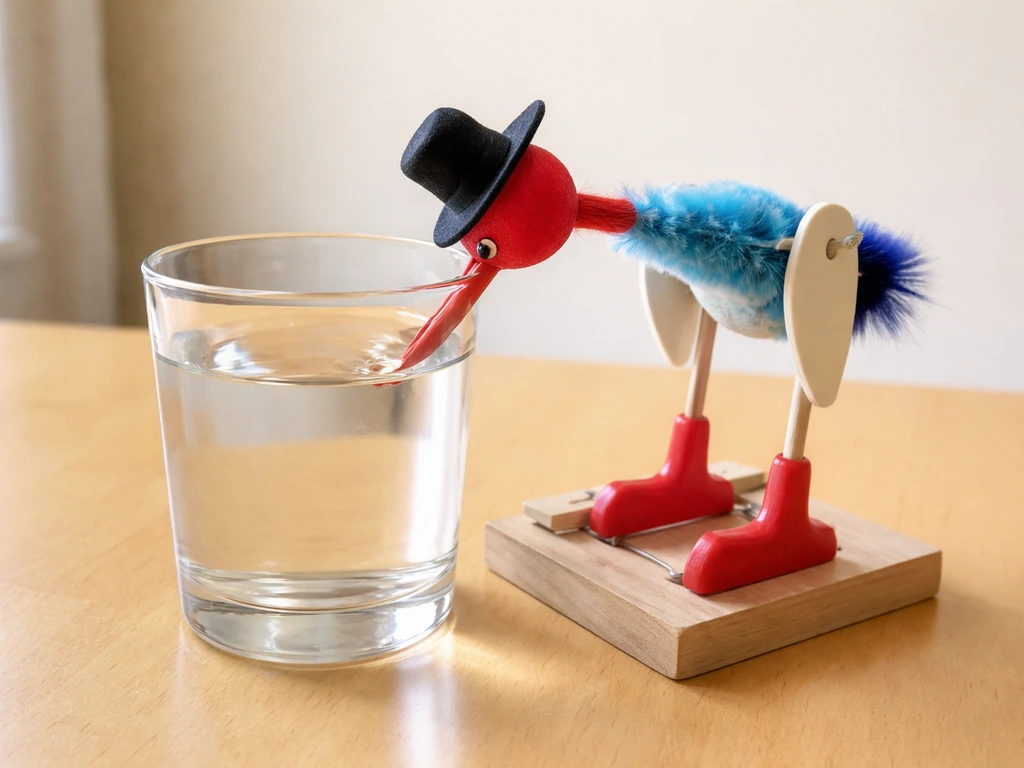
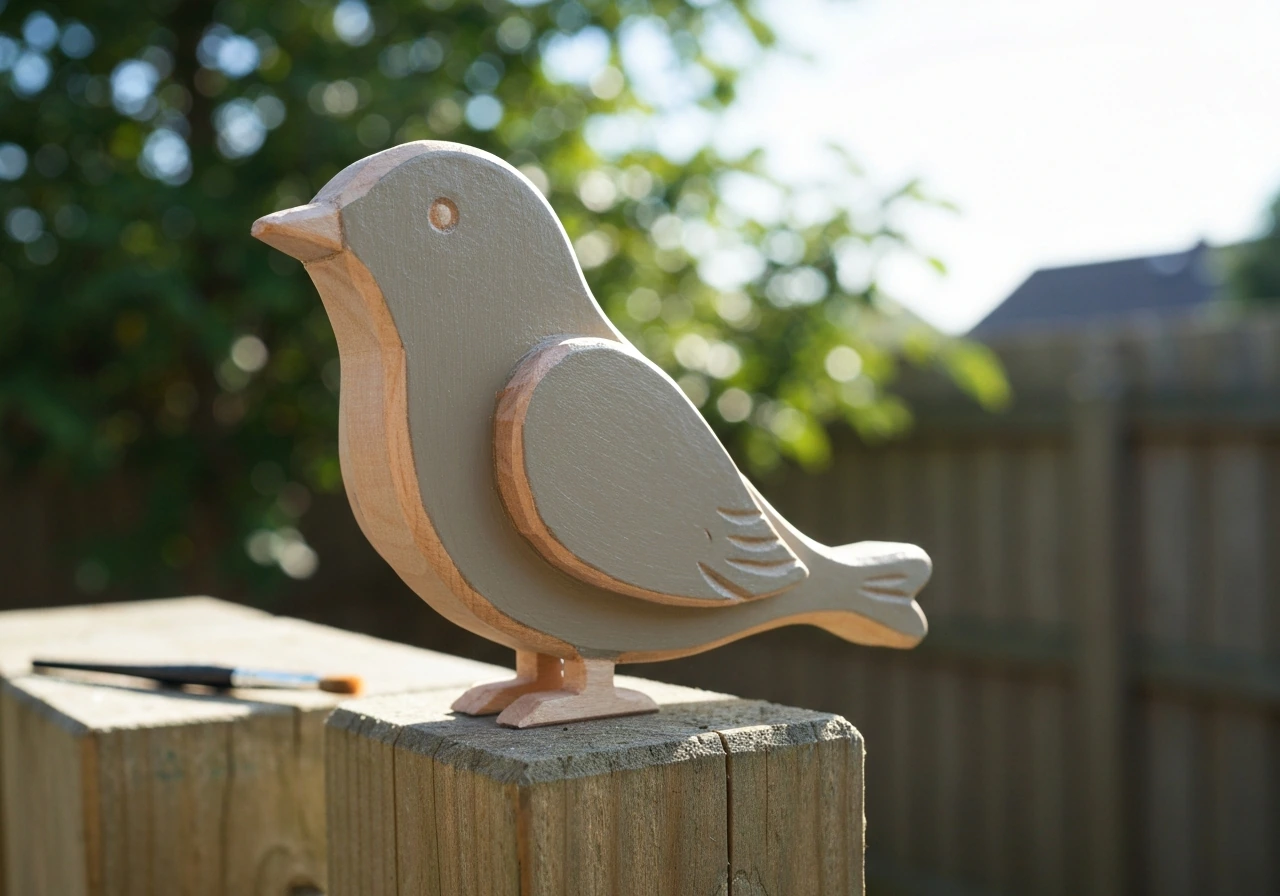
If you want a related wood-focused project beyond feeders and nesting boxes, you can also look at how to make a bird stand out of wood. If you're also curious about a drinking bird toy, you can adapt the same hands-on approach to build one at home safely drinking bird toy how to make.
Drill 1-inch holes at various angles into a thick branch or short log, pack them with a suet and seed mix, and hang the whole thing from a hook or branch. Woodpeckers, nuthatches, and chickadees will use it constantly. It's not complicated but birds genuinely prefer it to flat feeders for certain foods.
Matching your design to the right species and location
The entrance hole diameter is the single most important spec to get right. Too large and you're inviting starlings. Too small and your target species physically can't get in. Here's a quick reference for common North American backyard species.
| Species | Entrance Hole Diameter | Box Interior Floor Size | Preferred Habitat |
|---|
| Eastern Bluebird | 1.5 inches | 4x4 inches | Open fields, meadow edges, golf courses |
| Mountain Bluebird | 1 9/16 inches | 5x5 inches | Open western landscapes, rangelands |
| Carolina Chickadee / Black-capped Chickadee | 1.125 to 1.25 inches | 4x4 inches | Wooded suburbs, forest edges |
| House Wren | 1.125 inches | 4x4 inches | Brushy areas, shrubby yards, wood edges |
| Tree Swallow | 1.5 inches | 5x5 inches | Open areas near water |
| Downy Woodpecker | 1.25 inches | 4x4 inches | Deciduous forest, wooded yards |
| American Kestrel | 3 inches | 9x9 inches | Open country, farmland edges, rural yards |
Beyond hole size, think about the habitat around your mounting location. A bluebird box placed in a shaded, shrubby yard won't get used because bluebirds need open sight lines to hunt insects from a perch. Tree swallows want to be near water. Chickadees prefer wooded areas with existing tree cover. Match the box to what your yard actually offers, not just what you want to attract.
Spacing matters too. Bluebirds are territorial and won't tolerate another bluebird pair nesting within about 100 yards. Tree swallows are less fussy and can be paired in boxes set about 25 feet apart. NestWatch publishes detailed spacing minimums by species if you're planning a multi-box setup.
One design note I've learned the hard way: don't try to make a universal box. I once built a slightly oversized box thinking it would attract more species. It attracted house sparrows. Stick to species-specific dimensions and you'll get far better results.
Installation, placement, and keeping everything safe long-term
Getting placement right
Mount nest boxes on metal conduit or wooden posts rather than nailing them to trees where predators have easy access. A height of 5 feet off the ground is the standard recommendation for most cavity-nesting species. For bluebird boxes specifically, face the entrance hole away from prevailing winds and afternoon sun to prevent overheating. A north or east-facing orientation works well in most parts of the country.
For feeders, placement relative to windows is a real safety issue. Birds that flush from feeders can hit glass at full speed. The safest options are: place feeders within 3 feet of a window (so any bird that flushes doesn't build up dangerous speed) or more than 10 feet away. The zone between 3 and 10 feet is the most dangerous for window strikes. I moved my main feeder from 6 feet to 2 feet from the window and the strike problem stopped immediately.
Adding predator guards

This is one of the highest-impact upgrades you can make. NestWatch data shows that nest boxes with predator guards have nest success rates 6.7% higher than those without. A stovepipe baffle mounted on the post below the box is effective against raccoons, squirrels, and snakes. You can buy one or make one from an 8-inch stovepipe section with a cap. The guard needs to be at least 18 inches long and positioned so the top is at least 3 feet off the ground. If you're interested in this as a standalone build, a bird baffle is a great companion project to a nesting box.
Cleaning and maintenance schedule
Clean nest boxes at the end of each nesting season (late summer or fall) by removing old nesting material, scrubbing the interior, and letting it dry completely before closing it back up. For feeders, the standard recommendation from Cornell Lab and Audubon is to clean them every two weeks or so under normal conditions, and more frequently in hot or humid weather when mold grows faster.
Use a solution of one part bleach to nine parts water, scrub all surfaces, rinse thoroughly, and let the feeder dry completely before refilling. Wet seed left in a feeder becomes a disease vector. The U. S.
Fish and Wildlife Service has flagged moldy and decomposing seeds as a direct health risk to birds, so when in doubt, dump it out and start fresh.
Bird baths need the same attention. Change the water every two to three days and scrub the basin with the same dilute bleach solution monthly. Standing water in a dirty bath spreads disease just as readily as a neglected feeder.
Seasonal weatherproofing and repairs
Before nesting season (late winter or early spring depending on your region), inspect every box and feeder. Look for: cracked or warped wood, loose hinges, blocked drainage holes, and any damage to predator guards. Re-apply exterior finish to pine boxes as needed. Cedar boxes generally don't need finishing but can be treated with linseed oil to extend their life. Check that entrance holes haven't been enlarged by woodpeckers chiseling at the edges (which happens more often than you'd expect). A hole that's widened by even 1/4 inch can change which species will use it.
The maintenance side of this hobby is genuinely where the difference between a bird-supporting backyard and a neglected one shows up. It doesn't take much time, maybe 30 minutes a season per box plus the regular feeder cleanings. But it matters for bird health, and it's the part most DIY guides skip over. Don't skip it.