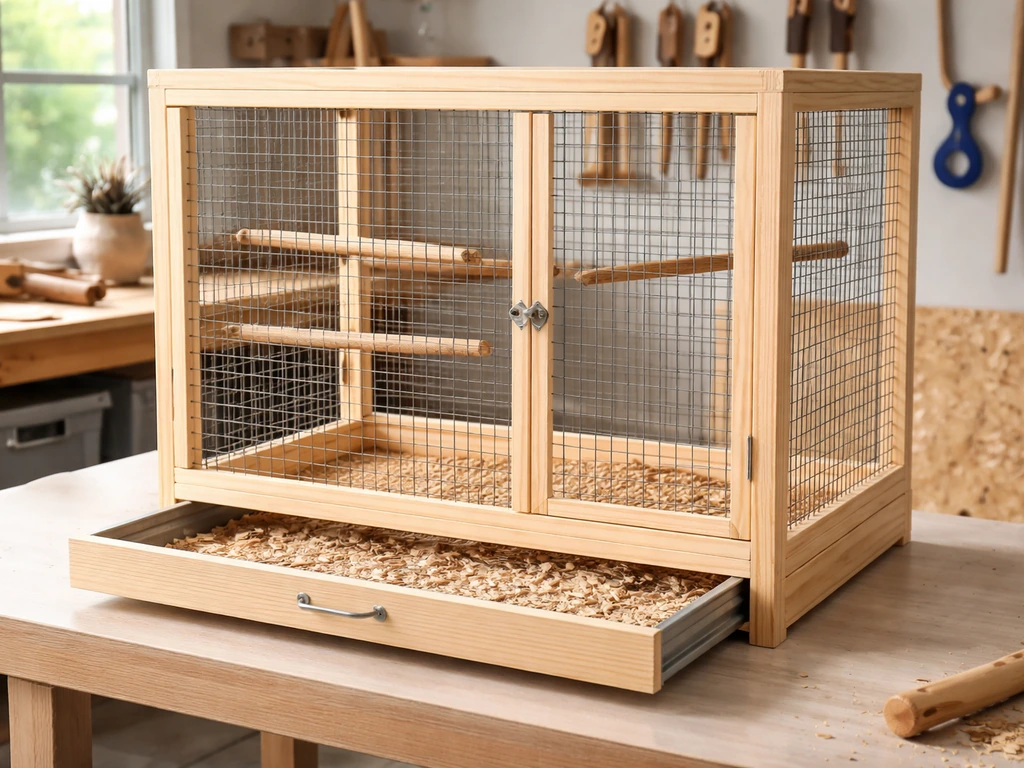
You can absolutely build a functional, safe bird cage craft at home using basic tools, wire mesh, and wood. The core build is straightforward: a wooden frame, mesh sides, a hinged door, a solid base with a removable tray, and enough ventilation to keep air moving without creating drafts. What takes a little more thought is making sure the wire spacing is right for the birds you have in mind, avoiding toxic materials, and adding the enrichment features that make the space actually usable. This guide walks you through the whole thing from start to finish. If you are aiming for a simple beginner project, these steps also align with how to make a bird at home. Note: in some jurisdictions, keeping wild birds or wild animals in captivity for exhibition or custody/control may require a state permit (see, e.g., Pennsylvania statute on menagerie permits: https://law.justia.com/codes/pennsylvania/title-34/chapter-29/section-2964/) blank" rel="noopener noreferrer">34 Pennsylvania Consolidated Statutes § 2964 (2025) — Menagerie permits.
How to Make a Bird Cage Craft: Safe DIY Guide
First, decide what this cage craft is actually for
Not all bird cage crafts are built the same way, and getting clear on the purpose before you cut a single board will save you a lot of rework. There are really two main styles to think about: a housing structure and a play or enrichment frame. A housing cage is fully enclosed with secure latching, a solid floor, and a removable tray for cleaning. A play structure is more open, often built like a tree stand or activity frame, designed for supervised time outside a main enclosure. The build steps overlap, but the safety priorities are different. This guide focuses primarily on the enclosed housing-style cage, since that's where most DIYers run into problems with spacing, ventilation, and materials.
One thing worth knowing before you get too far in: if you're thinking about housing wild or migratory birds, there are federal and state-level rules that apply. The U.S. Fish and Wildlife Service regulates migratory birds, and many states, like Pennsylvania and Washington, require permits to keep wild birds in captivity. For example, Washington’s wildlife regulations under Chapter 220-450 address rules for wildlife in captivity and wildlife rehabilitation and related permit requirements Washington, like Pennsylvania, require permits to keep wild birds in captivity. This guide is designed for domestic or pet birds, backyard enrichment use, and craft or learning builds. If you're working with wild birds or rehab situations, check your local wildlife agency requirements before building anything.
Materials and tools: repurposed vs. purpose-built
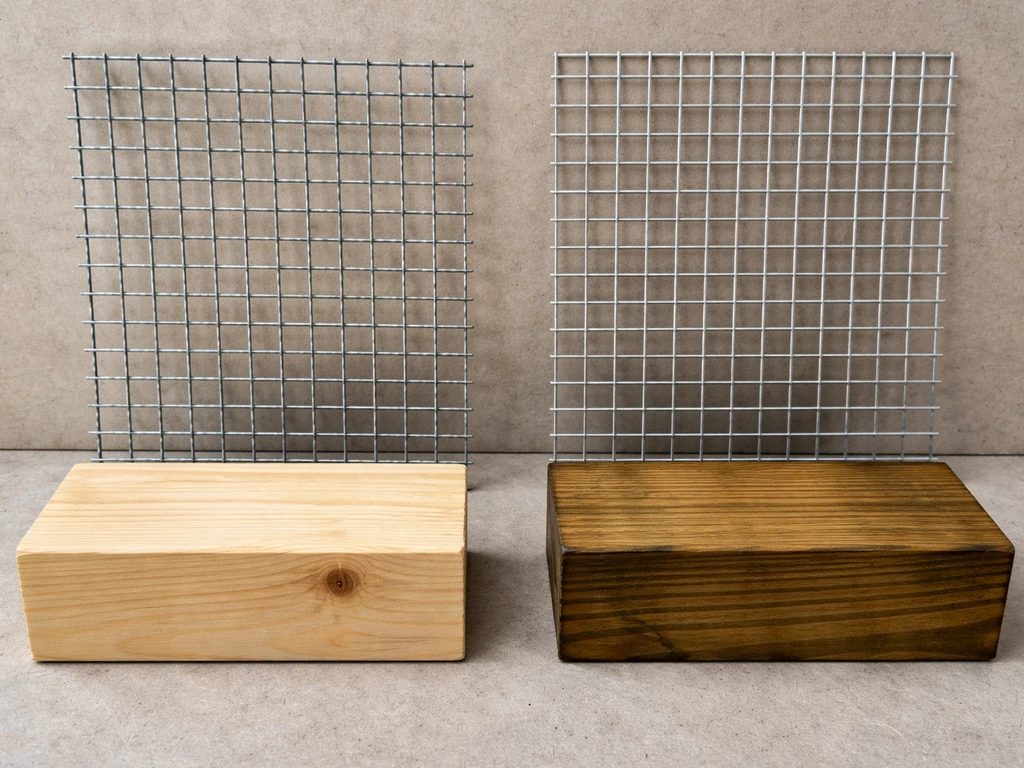
Here's where a lot of first-time builders go wrong. The cage looks fine but the materials aren't safe for birds. The biggest culprit is galvanized wire mesh. Freshly galvanized wire has zinc and lead residues on the surface, and birds that chew or preen against it can get metal poisoning.
Avian vets consistently flag this as a real and serious risk. The safest options are stainless steel mesh or powder-coated steel wire. Stainless costs more but lasts forever and cleans easily. Powder-coated is a solid middle ground if the coating is fully cured and chip-free.
If you're repurposing an old cage or wire panel, make sure there's no peeling coating and test any galvanized wire by scrubbing it thoroughly with a vinegar solution before use.
For the frame, untreated pine or cedar are common choices and both are easy to work with hand tools. Avoid pressure-treated lumber entirely since the chemical preservatives are not bird-safe. Reclaimed wood is fine as long as it hasn't been painted with lead paint or treated with anything chemical. Give old wood a good sanding and let it air out for a few days before use.
On the finish side: skip aerosol sprays, polyurethane, and anything with PTFE or Teflon-based coatings. Birds have extremely sensitive respiratory systems and fumes from overheated or freshly applied coatings can be lethal. If you want to seal the wood, use a water-based, bird-safe sealant and let it cure fully with good airflow before any bird goes near the cage. The same applies to paints: water-based, zero-VOC formulas only, and always fully cured.
| Material | Pros | Cons | Verdict |
|---|---|---|---|
| Stainless steel mesh | Safest metal, no toxic coatings, long-lasting, easy to clean | Higher cost | Best choice if budget allows |
| Powder-coated steel wire | Affordable, looks clean, safe when intact | Can chip over time; chipped coating is a hazard | Good choice, inspect regularly |
| Galvanized wire (new) | Widely available, cheap | Zinc/lead risk from chewing; needs thorough prep | Avoid if possible; prep well if used |
| Untreated pine or cedar (frame) | Easy to cut, affordable, widely available | Can absorb moisture; seal edges | Solid repurposed or new option |
| Repurposed wood pallets | Free or cheap, sturdy | May have chemical treatments; check before use | Use only if confirmed untreated |
Basic tool list
- Tape measure and pencil
- Hand saw or circular saw for cutting frame pieces
- Wire cutters and pliers for shaping and attaching mesh
- Staple gun with heavy-duty staples (to secure mesh to frame)
- Drill with bits for pilot holes and hinge screws
- Sandpaper (80 and 120 grit) for smoothing all wood edges
- Screws, hinges, and a latch for the door
- Safety glasses and gloves (wire edges are sharp)
Step-by-step build: frame, sides, door, and base
I'll walk you through building a mid-sized housing cage, roughly 24 inches wide by 18 inches deep by 30 inches tall. That's a good general starting size you can scale up or down based on your bird. If you want ideas for a simple setup, you can also look up diy bird cage plans and adapt them to your bird’s needs. More on sizing at the end of this guide.
Step 1: Build the frame
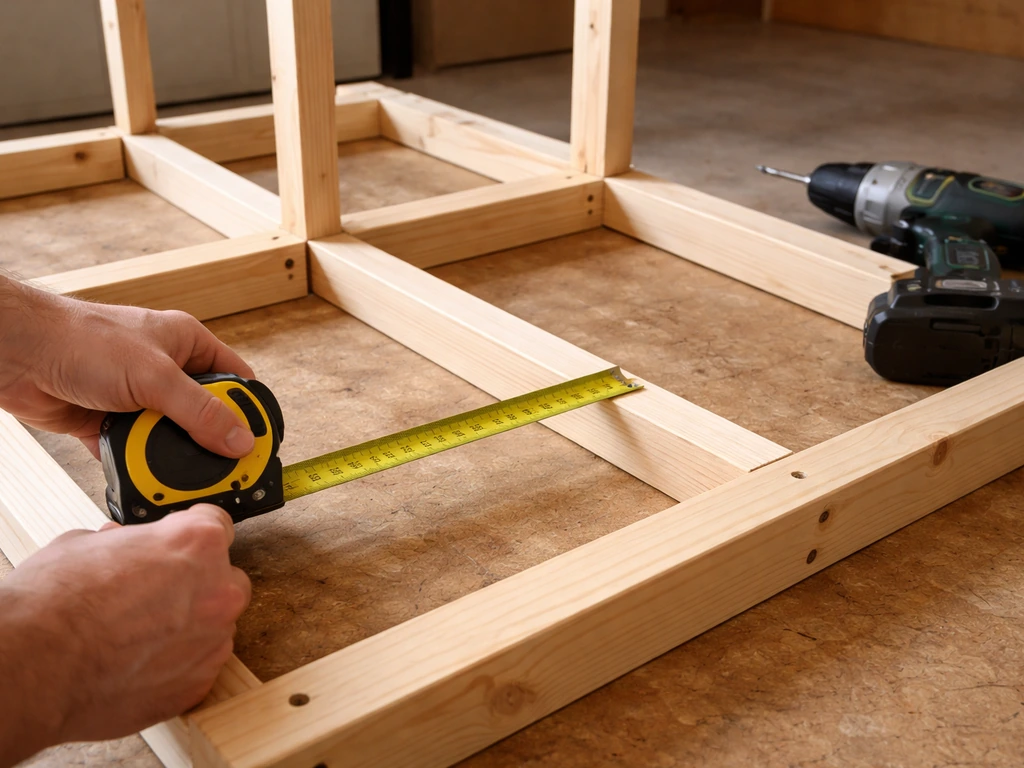
Cut your lumber into the uprights and horizontal rails that form the skeleton of the cage. Use 1x2 inch boards for a lightweight build or 2x2 inch posts if you want extra rigidity. You're building a box frame: four corner uprights, top and bottom rectangles, and mid-height horizontal braces on the front and back where the door will sit. Pre-drill all your screw holes to avoid splitting the wood. Sand every edge and corner smooth before assembly. Rough wood edges can injure birds and also snag wire mesh, making installation harder.
Step 2: Install the mesh sides
Cut your mesh panels to fit each face of the frame, leaving a half-inch overlap on all sides so you have material to staple down securely. Start with the back panel, then the two sides, then the top. Leave the front open for now since that's where your door will go. Use a staple gun to attach mesh every two to three inches along each edge, then add J-clips or wire ties at the corners for extra hold. After stapling, run your hand firmly along every edge and fold down any protruding wire points with pliers. Any sharp wire end pointing inward is a potential injury hazard for the bird.
Step 3: Build and hang the door
Frame the door opening with a small rectangular sub-frame made from the same lumber. Cut a mesh panel to fit and attach it the same way as the side panels. Mount the door on two sturdy hinges, making sure it swings outward for easier access. Add a two-step latch at the top of the door. Birds, especially parrots and corvids, are surprisingly good at flipping simple latches open, so use a carabiner clip, barrel bolt, or a latch that requires two separate motions to open. Test the door by rattling it firmly. There should be no gap large enough to admit a curious beak.
Step 4: Build the base with a removable tray
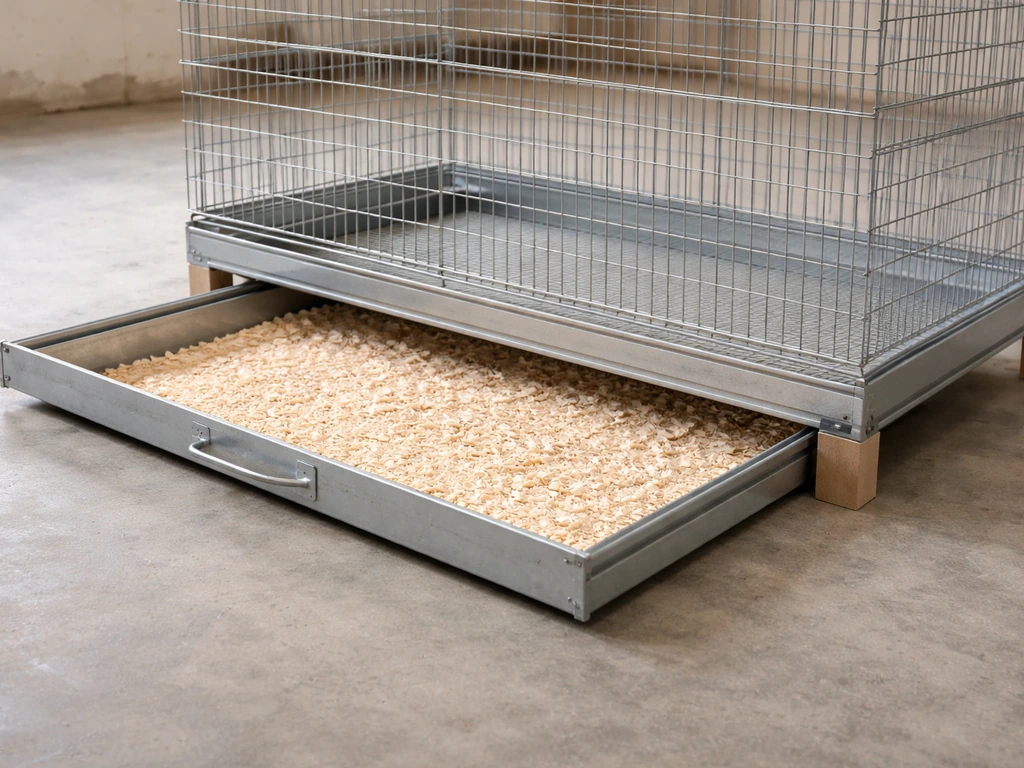
This is the part most beginner builders skip, and it makes cleaning a real pain later. Build the floor as a two-part system: a fixed lower tray that slides out from beneath the cage, and a wire grid floor that sits just above it. The tray catches all droppings and food debris. Line it with newspaper or paper cage liner that you swap out daily or every other day.
The wire grid keeps the bird off the debris and gives you a stable floor surface. Make the tray slightly smaller than the outer footprint so it slides freely, and add a small lip at the front so it doesn't fall out during normal movement. This pull-out tray design means you can clean the floor without fully opening the cage and stressing the bird.
The base frame itself should be elevated slightly off the ground (even just on small rubber feet) to allow airflow underneath and prevent moisture buildup, which leads to mold. If you're using the cage outdoors or in a garage, this matters even more.
Safety requirements you can't skip
Wire spacing
Wire spacing is probably the most important safety measurement in the whole build. Too wide and a bird can get its head stuck or escape. Too narrow and small birds may catch toes or beaks. A quick rule of thumb: use the 'finger fits' check.
If you can push your pinky finger through the mesh opening, it's too wide for small birds. For small birds like finches and canaries, half-inch spacing is the right target. For mid-sized birds like cockatiels or doves, half-inch to three-quarter-inch works. For larger birds like parrots, one-inch spacing is acceptable but wider than that risks head entrapment.
As a cage-size baseline, the overall enclosure should be at least 1. 5 to 2 times the bird's wingspan in every direction so the bird can move freely.
Coatings and toxic materials
Birds don't have to ingest a toxic material to be harmed by it. Their respiratory systems are uniquely sensitive to airborne chemicals, which means fumes from fresh paint, aerosol cleaners, certain disinfectants, and especially overheated PTFE (Teflon-based) coatings can cause serious illness or death. Never use aerosol sprays near a bird, even for cleaning. Use bird-safe, non-aerosol cleaning products, rinse thoroughly with clean water, and let everything air-dry completely before returning the bird to the cage. Avoid using fans to dry caged areas since fans can disperse residual fumes.
Ventilation without drafts
Good ventilation keeps air fresh and prevents ammonia buildup from droppings. But there's a real difference between gentle airflow and a direct draft, and direct drafts stress birds and lower their resistance to illness. The mesh walls on a well-built cage provide passive ventilation automatically. Where people go wrong is placement: don't put the cage directly under or next to an HVAC vent, an air conditioner, a heating unit, or a fan. The cage should be in a stable-temperature area away from direct airflow from any mechanical source. If you're building for outdoor use, position the cage so at least one solid wall faces the prevailing wind direction.
Cleaning access and routine
Your pull-out tray handles daily spot cleaning. For a deeper clean, remove all perches, toys, and dishes, and clean from the top of the cage downward using a bird-safe cleaner. Pay close attention to the corners, bar intersections, and any cracks in the wood frame where debris hides and bacteria can grow. Rinse everything thoroughly and let it dry completely before reassembling. Wire floors should be cleaned regularly since dried fecal material on wire is a hygiene and foot-health problem. Set a weekly deep clean schedule and do daily tray swaps as a baseline.
Adding enrichment: perches, feeders, water, and toys
A bare cage is stressful for birds. Enrichment isn't optional, it's part of the build. If you want a more functional feeding centerpiece, you can also learn how to make a bird seed covered birdhouse. The good news is this is where the project gets fun, and most of what you need can be made from natural or repurposed materials.
Perches
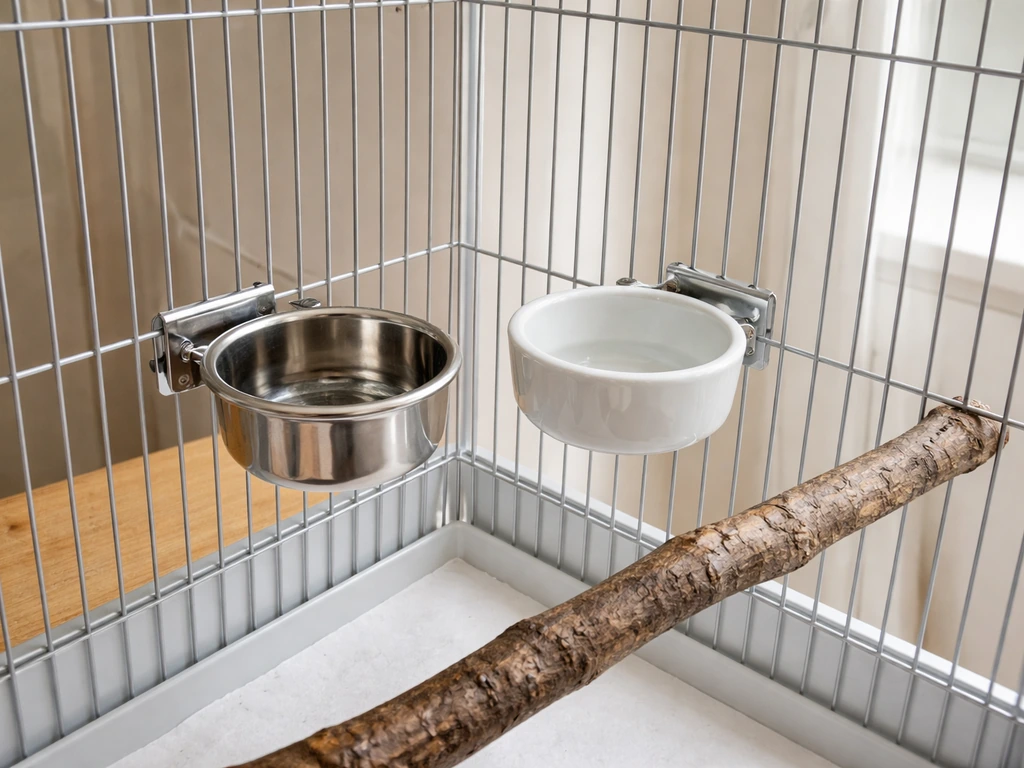
Birds spend nearly all of their time on their feet, so perch variety matters for foot health. Use at least two different perch types inside the cage. A natural branch (apple, willow, or manzanita work well, and make sure the wood hasn't been sprayed with pesticides) gives an irregular surface that exercises foot muscles. A flat wooden dowel at a different height gives a resting surface. Position perches at two different heights: a higher one for roosting and a lower one near the feeder area. The critical hygiene rule here is to never place a perch directly above a food or water dish. Droppings in the food and water are one of the fastest ways to cause illness.
Feeder and water setup
Clip-on stainless or ceramic dishes are the cleanest option and easiest to remove for daily washing. Mount food and water dishes on the side of the cage at a comfortable height for the bird to access without leaning awkwardly. Keep water dishes shallow enough that a small bird can't risk drowning, and change water daily. Parrots.
org safety guidance also highlights drowning risk for birds and advises taking precautions like keeping lids down to help prevent birds from landing where they could drown Keep water dishes shallow enough that a small bird can't risk drowning.
If you're building a cage for outdoor backyard use, consider a drip-style water attachment that keeps the dish from becoming stagnant. Seed feeders with a small catch tray below them reduce the amount of debris that falls to the floor.
Toys and activity features
Add toys scaled to the size of the bird. Oversized toys crowd a small cage; undersized toys are boring and sometimes dangerous to larger birds who can dismantle them quickly. Foraging toys (small wooden blocks, hide-a-treat puzzles, cork pieces) are excellent for mental stimulation. Natural fiber rope or sisal toys are popular but need monitoring.
Frayed or tangled fibers can cause entanglement or be ingested and cause obstruction. If a rope toy starts to look shredded, replace it. A simple swing made from a dowel and two short lengths of chain is easy to build and gives small birds an activity they use constantly. Keep the number of toys manageable so the bird can still move freely without bumping into things.
If this project is sparking ideas for other builds, the approaches here connect naturally to making bird decorations and DIY bird structures of various kinds. If you mean a decorative bird house, the same basic principles of safe materials and smart design help you create a welcoming spot outdoors bird decorations. Each project builds on the same core skills: safe materials, bird-appropriate sizing, and enrichment thinking.
Size, placement, and bird suitability checklist
Use this checklist before you finalize your build dimensions and decide where the cage will live. It's quick and will catch the most common mistakes before they become problems.
- Minimum cage size: at least 1.5 to 2 times the bird's wingspan in width, depth, and height so the bird can move and stretch wings freely.
- Wire spacing: half-inch for finches and canaries, half to three-quarter-inch for cockatiels and doves, up to one inch for larger parrots. Confirm with the 'finger fits' check.
- Frame material: untreated pine, cedar, or reclaimed wood confirmed free of chemical treatment or lead paint.
- Mesh material: stainless steel or powder-coated steel. No freshly galvanized wire without thorough prep. No peeling or chipped coatings.
- Door: swings outward, secured with a two-step or double-action latch. No gap wider than wire spacing when closed.
- Base: pull-out tray beneath a wire grid floor. Tray lines with replaceable paper liner. Cage elevated slightly off the floor.
- Ventilation: mesh walls provide passive airflow. Cage is NOT placed directly under or beside any HVAC vent, fan, air conditioner, or heating unit.
- Coatings: all wood sealants and paints are water-based, zero-VOC, and fully cured before bird contact. No aerosols used near the cage.
- Perches: at least two different types and diameters. No perch positioned above food or water dishes.
- Feeder and water: stainless or ceramic clip-on dishes. Water changed daily. Dishes positioned below perch level.
- Toys: scaled to bird size, no frayed fiber toys left unmonitored, no toys with loose parts small enough to swallow.
- Placement indoors: away from kitchen fumes, direct window sun exposure for more than a few hours, and any aerosol spray areas.
- Placement outdoors: one solid side facing prevailing wind, sheltered from rain and direct midday sun, secured so it cannot tip.
- Legal check: if housing wild or migratory birds, confirm federal and state permit requirements before use.
Once you've run through that list and everything checks out, you've got a cage craft that's genuinely safe and functional, not just good-looking. The build itself takes a weekend at most, and once you've made one you'll have a system you can repeat, scale, or adapt for different birds or purposes. Start with the size that matches your bird, get the materials right on the first try, and the rest follows naturally.
FAQ
Can I use galvanized wire mesh if I scrub it well with vinegar?
If you have galvanized wire, do not rely on vinegar scrubbing as a final fix. Zinc residues can still remain inside crevices and along cut edges where birds preen or chew. The safest move is to replace the galvanized mesh with stainless steel or fully cured, chip-free powder-coated wire, or swap only the mesh panels and keep the rest of the frame.
How long should I let sealant or paint cure before a bird can use the cage?
A good rule is to avoid any finish that can off-gas, including many “quick dry” products. Even with a water-based sealant, you should cure it for the full label time, then air the cage in a ventilated area with the door open for several additional days before introducing a bird. If you smell strong odor after curing, keep airing out or redo the finish.
How can I keep my DIY cage door from being opened by smart birds?
Yes, but do it in a way that doesn’t create an escape or chew risk. The safest approach is using a latching method that requires two separate actions (for example, push-and-lift) and adding a secondary safety lock in addition to the primary latch. Also verify there is no door sag over time by checking alignment after assembly and again after the first week of use.
What household locations are unsafe for a bird cage, even if I avoid aerosols?
If the cage is for a pet bird, avoid placing it near areas where fumes collect. This includes kitchens, garages with vehicle exhaust or solvent use, near scented candles or essential oil diffusers, and close to any aerosol cleaning you might use. Even if the cleaning is “not in the same room,” airborne particles can still reach the cage.
Are staples and wire ties enough, or do I need to worry about other fasteners?
Clamps, hooks, and zip ties are often overlooked hazards because birds can chew them, or the ends can snag skin and feathers. If you use ties to hold mesh, trim ends flush and cover any protrusions so nothing points inward. For long-term safety, replace temporary fasteners with J-clips, properly secured wire ties, or a permanent fastening method.
What’s the best lining material for a pull-out tray, and what should I avoid?
For the removable tray, use materials you can remove and replace or wash without leaving residues. Newspaper and paper liners work well, but avoid inks that smear or transfer. If you use a reusable liner, make sure it is fully washable, non-toxic, and can be dried thoroughly so it does not develop odor or mold.
How should I position the cage outdoors to manage wind and humidity?
For outdoor use, protect the cage from weather without creating hidden ventilation problems. Elevating the cage helps with moisture, but you should also plan for wind. Put the solid wall toward prevailing wind when possible, and ensure at least some sides have open airflow through mesh so heat and humidity do not build up in stagnant pockets.
Can I use a fan to speed up drying after cleaning or finishing?
Don’t use a fan for drying or for “air movement.” Instead, rely on passive airflow through the mesh and keep the cage away from HVAC vents or direct drafts. If you need to address odors from cleaning, allow full air drying in a separate location until there is no smell, then move the cage back.
How do I choose perch size and placement to avoid foot problems?
To size perches for foot health, make sure the birds can comfortably grip without the toes curling tightly around the bar. Use different diameters and textures, and remove perches if you see rubbing or redness on feet. Also confirm perch placement is never directly above food or water dishes to prevent droppings from contaminating them.
When should I use a play/enrichment frame versus a fully enclosed housing cage?
Between a play/enrichment frame and a fully enclosed housing cage, the key difference is escape control and safety when unsupervised. A play structure is typically safer only during supervision, while the housing cage should include secure latching, protected corners, and consistent mesh spacing for that bird size.
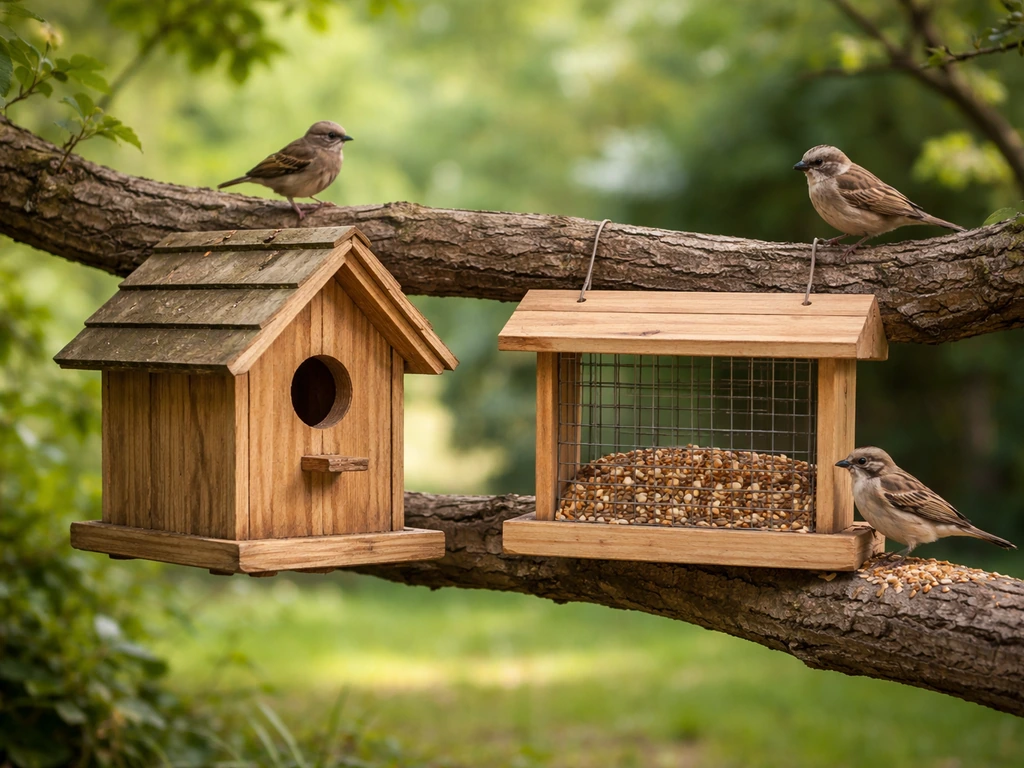
Step-by-step guide to make a DIY birdhouse, feeder, or enrichment setup with correct sizes, safe materials, and placemen
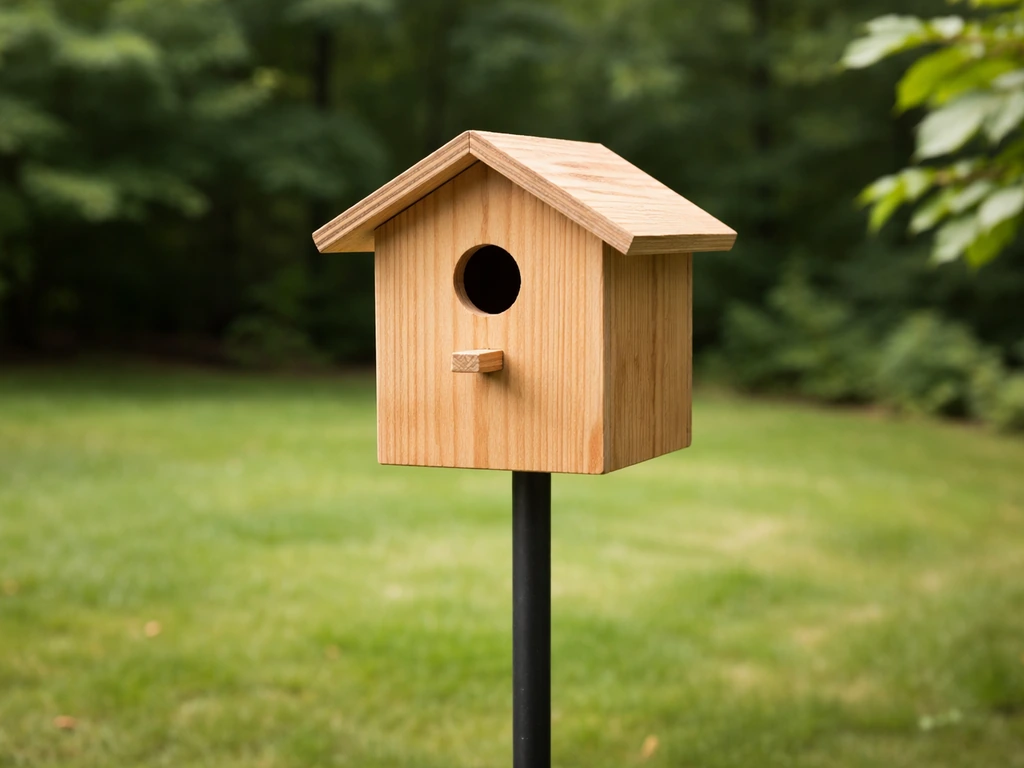
Step-by-step DIY birdhouse build and placement guide with safe materials, predator protection, and maintenance tips.
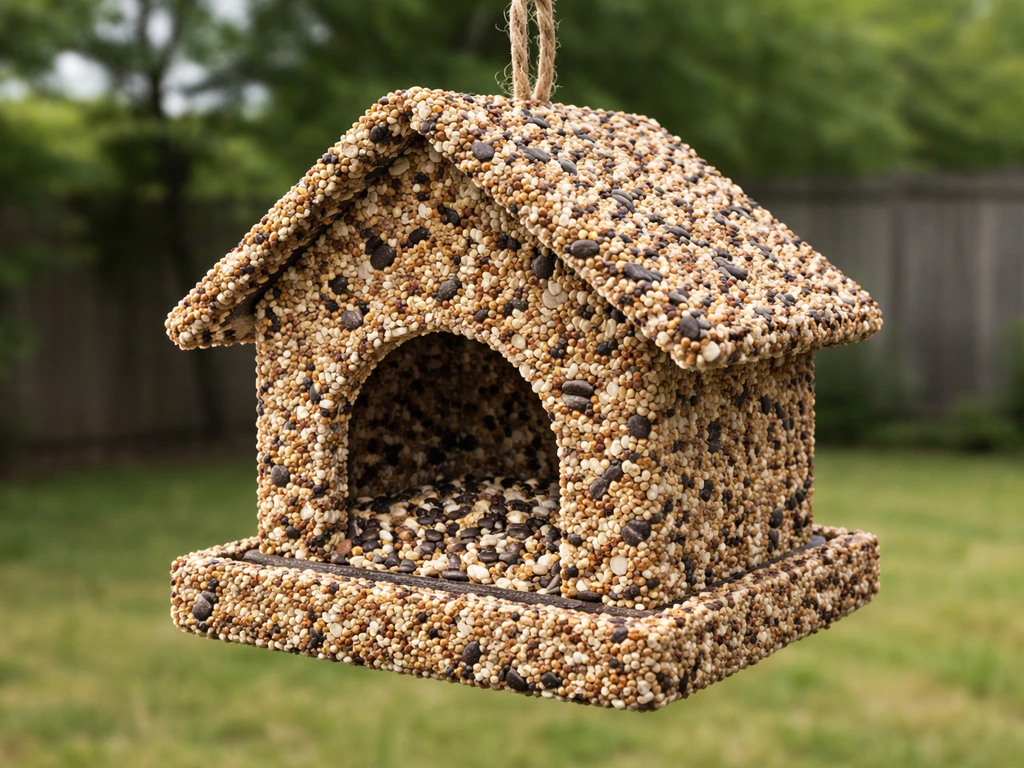
Step-by-step DIY bird seed covered birdhouse feeder with parts list, construction, placement, and maintenance tips.