The most satisfying DIY bird project you can build in a weekend is a nest box or birdhouse sized for a specific species in your backyard. If you would rather build a bird for display than a nesting home, the same basic woodworking and safe finishes approach can help you figure out how to make a bird at home. Pick the right entrance hole diameter, add a few ventilation and drainage holes, skip any toxic finishes, mount it at the right height with a predator guard, and local birds will find it within a season. That is the whole job. Everything below just makes sure you do each of those steps correctly the first time.
How to Make a DIY Birdhouse, Feeder, or Enrichment
Marcus Thornton
27 May 2026
Pick your project type before you cut a single board
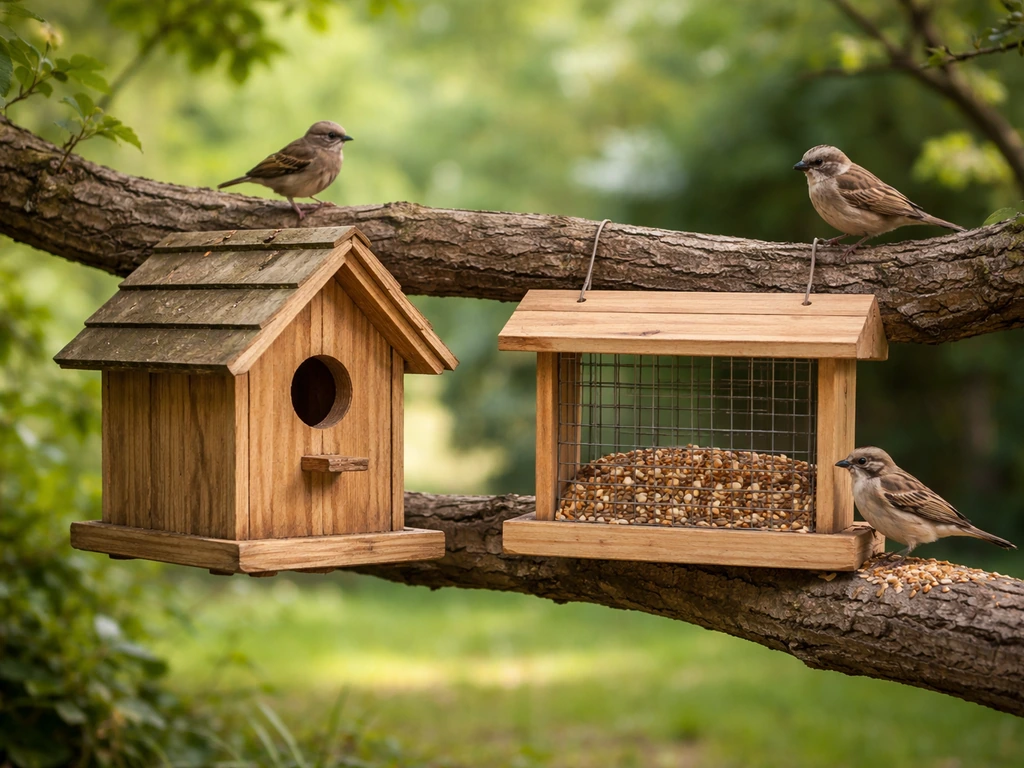
The phrase 'DIY bird project' covers a lot of ground, so the first real decision is which structure you actually want to build. Get this right and the rest of the project flows naturally. Get it wrong and you end up with a beautiful box that no bird ever uses.
- Birdhouse or nest box: A fully enclosed box with a single entrance hole designed to mimic a natural tree cavity. This is the best starting project for beginners and the most likely to attract cavity-nesting species like bluebirds, chickadees, wrens, and nuthatches.
- Open nesting platform or shelf: A three-sided or partially open structure for robins, phoebes, and barn swallows that prefer a ledge rather than a cavity. Simpler to build but placement matters more.
- Bird feeder: A seed, suet, or nectar station. Great for attracting birds year-round, but it does not provide shelter or nesting space. If your goal is to support breeding birds, a nest box delivers far more.
- Enrichment structure or perch: Swings, ladders, hanging toys, or foliage frames are mainly relevant for pet birds or aviaries. If you want to support wild backyard birds, a nest box or feeder will do more good.
- Bird cage craft or decorative structure: If you are after a craft project for the garden rather than a functional wildlife structure, that is a different direction entirely and one worth exploring separately.
For most people reading this, a nest box for a small native cavity nester is the best call. It is the right size to build in a single afternoon, uses minimal materials, and actually improves local bird populations. That is what the rest of this guide focuses on, though the principles for feeders and platforms overlap significantly.
Design basics that actually matter
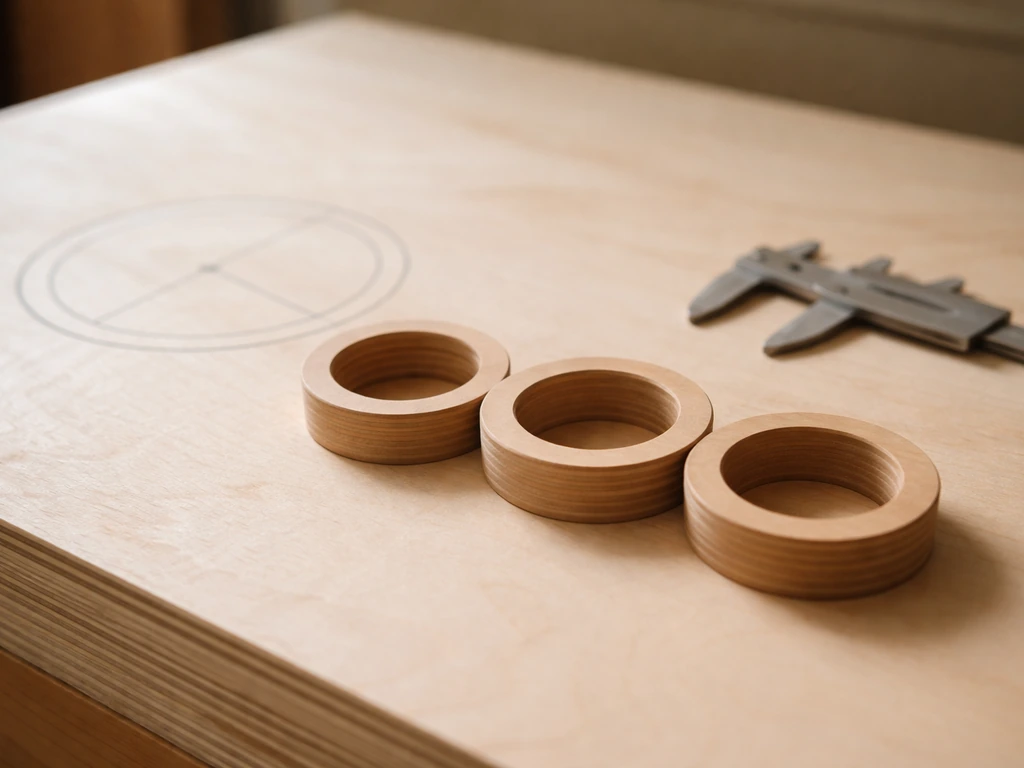
Before you start cutting, you need to know a few numbers. Birds are not flexible about these. A bluebird will not squeeze into a hole sized for a wren, and a hole too large invites starlings and house sparrows that will evict or kill the birds you are trying to help. Ventilation and drainage holes seem like optional extras until you open a box in June and find a nest flooded or overheated. Do not skip them.
Entrance hole sizes for common backyard species
| Species | Hole Diameter | Floor Size | Box Depth (floor to hole) | Mounting Height |
|---|---|---|---|---|
| Eastern or Western Bluebird | 1.5 inches | 5 x 5 inches | 6–10 inches | 5 feet |
| Carolina or Black-capped Chickadee | 1.125 inches | 4 x 4 inches | 8–10 inches | 5–15 feet |
| House Wren | 1.25 inches | 4 x 4 inches | 6–8 inches | 5–10 feet |
| White-breasted Nuthatch | 1.25 inches | 4 x 4 inches | 8–10 inches | 12–20 feet |
| Tree Swallow | 1.5 inches | 5 x 5 inches | 6–8 inches | 5–10 feet |
| Downy Woodpecker | 1.25 inches | 4 x 4 inches | 9–12 inches | 8–20 feet |
Ventilation, drainage, and interior roughness
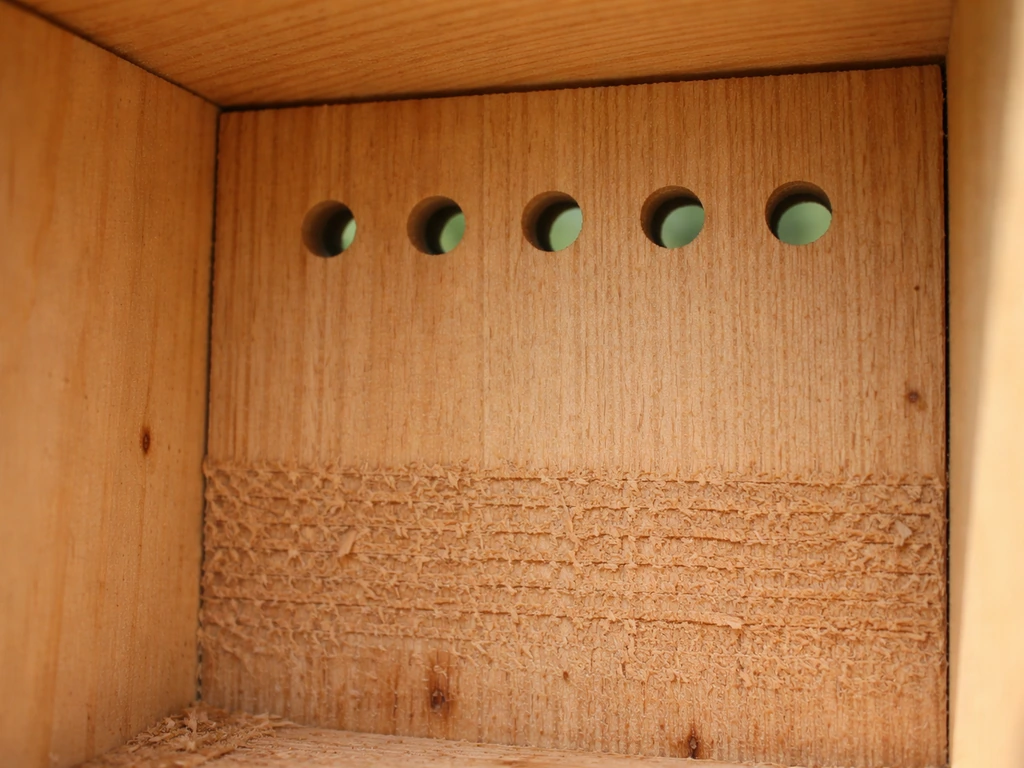
Drill four ventilation holes, each about 0.25 inches in diameter, near the top of each side panel. These let heat escape on hot days, which can be genuinely life-saving for nestlings. In the floor, drill four drainage holes of the same size in the corners so rainwater that gets in can drain out rather than soaking the nest material. NSIS species tips for nest boxes also describe where to drill ventilation holes near the top of the side panels and drainage holes in the floor to manage heat and water ventilation and drainage holes. One more thing: rough up or score the inside front wall of the box just below the entrance hole with a chisel or coarse saw blade. This gives fledglings something to grip when climbing out. A smooth interior face is one of the most common beginner mistakes I made on my first boxes.
Predator protection built into the design
The entrance hole should be at least 1.75 inches from the outer face of the front panel to the box interior. This depth makes it harder for raccoons and cats to reach inside and grab eggs or nestlings. Some builders add a wooden block or 'portal extender' around the hole to increase this depth to 3 inches or more. One important note from NABS (the North American Bluebird Society): do not use hardware cloth around or over the entrance hole as a grip surface. It looks like a good predator deterrent but birds' feet can get caught in it. A smooth predator guard mounted on the post below the box is the better solution.
Materials and tools you actually need
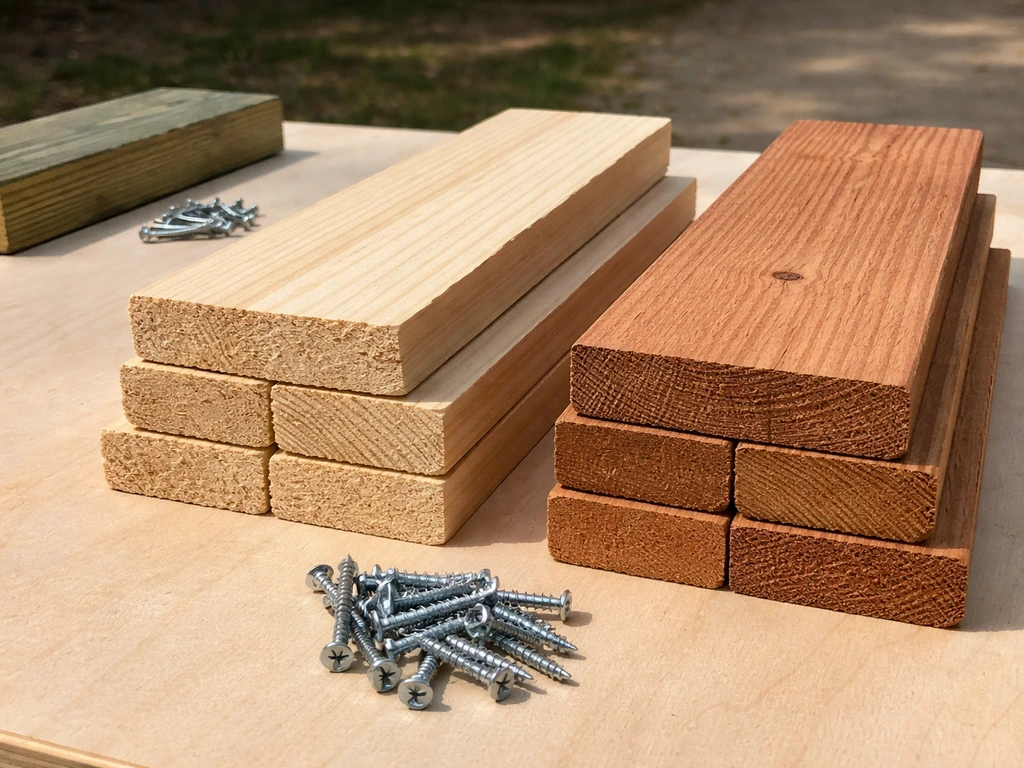
You do not need a full workshop for this. My first nest box was built with a handsaw, a drill, a tape measure, and lumber I pulled from a pallet. Here is what works and what to avoid.
Safe wood choices
Untreated pine (at least three-quarters of an inch thick) is the easiest to find and work with. Cedar and redwood are naturally rot-resistant and will last far longer outdoors without any finish. Exterior-grade plywood works for the floor and roof panels but avoid anything with strong adhesive smells, which can linger. Never use treated lumber inside the box. The chemicals used in pressure-treated wood are toxic to birds. If someone gives you a pile of old fence boards or barn wood, that is perfect. Weathered wood is already dried out and has no off-gassing issues. Reclaimed pallets made from heat-treated (not chemically treated) wood also work fine, though they take more time to break down and mill to usable pieces.
Finishes: what is safe and what to skip
The exterior of the box can be painted or stained in a neutral or natural earth tone. Light gray, tan, or brown help the box blend in and reduce solar heat gain. Use water-based exterior latex paint and let it cure for several days before putting the box up. Never paint or stain the interior of the box, the entrance hole area, or the floor. Those surfaces should stay bare wood. Oil-based paints, creosote stains, and any finish with strong solvents are off-limits. If you want to protect the wood without paint, a thin coat of raw linseed oil on the exterior only (never inside) is a safe option.
Tools list
- Tape measure and pencil
- Handsaw or circular saw for straight cuts
- Drill with bits: 1.5-inch or appropriate-diameter spade or Forstner bit for the entrance hole, plus small bits for ventilation and drainage holes
- Hammer and galvanized nails, or a drill with exterior screws (screws make clean-out much easier)
- Sandpaper (80-grit is plenty)
- Speed square or framing square to check corners
- Optional: jigsaw for decorative roof shapes, though a flat or single-pitch roof is just as functional
Step-by-step build: a standard bluebird nest box
This plan builds a box for bluebirds or tree swallows using a standard six-inch-wide board. The finished box has a hinged or pivoting side panel for easy clean-out, a sloped roof to shed rain, ventilation and drainage holes, and a recessed floor that sits up inside the walls to help drain and insulate the nest. If you are building for a different species, swap in the dimensions from the table above and the rest of the process is identical.
Step 1: Cut your pieces
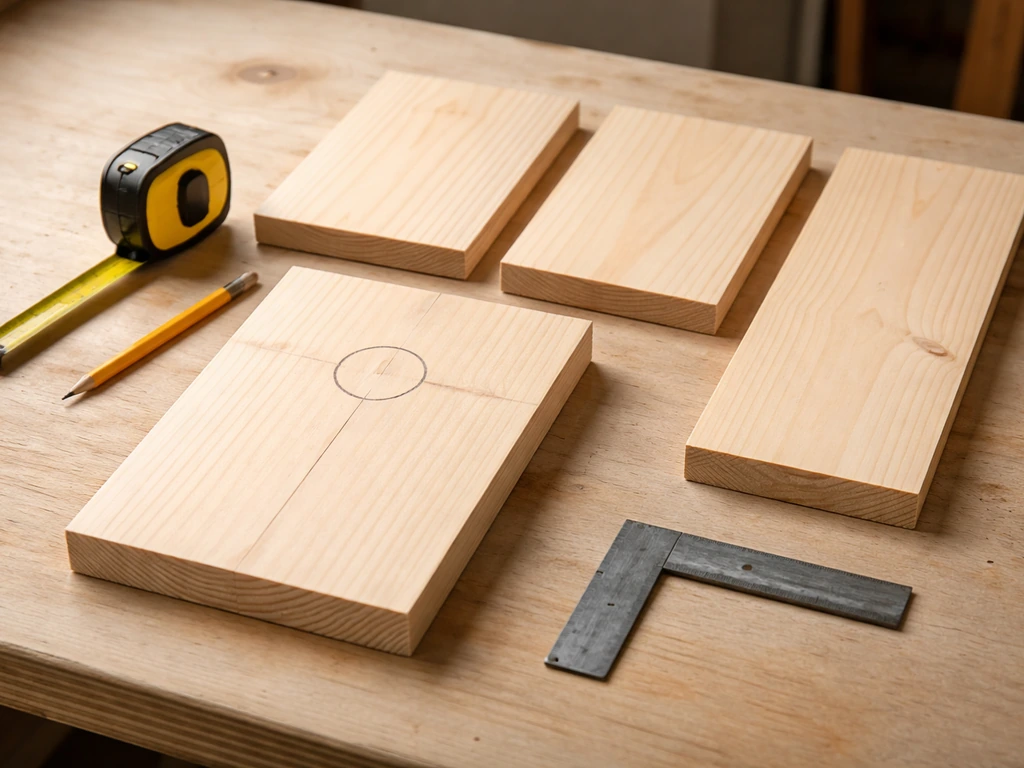
From a single six-inch-wide, one-inch-thick (nominal) board, cut the following pieces. The front panel is 9.5 inches tall. The back panel is 14 inches tall, which gives you extra length for mounting to a post. The two side panels are 12 inches tall with the top edge cut at a 10-to-15-degree angle so the roof slopes forward. The floor is 4.5 by 4.5 inches (slightly smaller than the interior width so it sits recessed about a quarter inch up from the bottom edge of the walls). The roof panel is 6 by 8 inches, sized to overhang the front by an inch.
Step 2: Drill all holes before assembly
It is much easier to drill while the pieces are lying flat. On the front panel, measure and mark the center of the entrance hole 7 inches up from the bottom edge and drill with your 1.5-inch spade bit. Drill four ventilation holes (0.25 inch) near the top of each side panel. Drill four drainage holes (0.25 inch) in the corners of the floor panel. On the inside face of the front panel, score a series of horizontal grooves with a chisel or the corner of your saw blade between the entrance hole and the floor. This is the fledgling ladder.
Step 3: Assemble the box
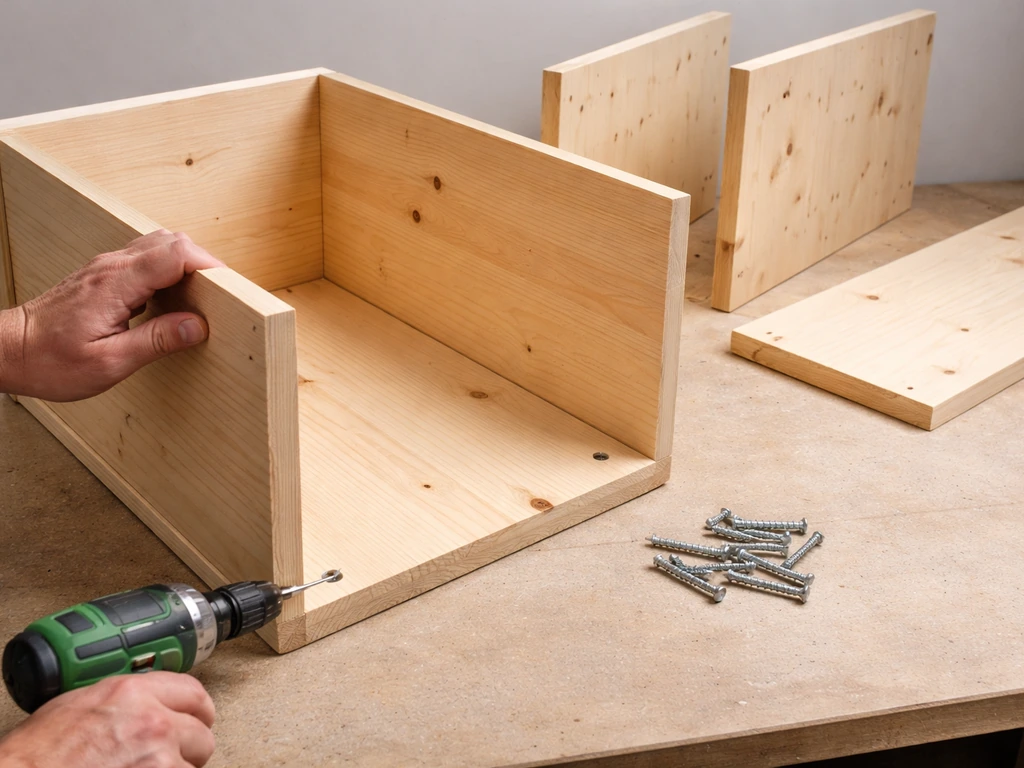
Attach the floor to the back panel first, then bring in the two side panels, and finally the front panel. Use galvanized screws rather than nails if you can. Pre-drill pilot holes to avoid splitting the wood, especially near edges. Instead of screwing one side panel permanently, attach it at the top with two screws that let it pivot outward for clean-out access. One screw at the bottom of that side panel (or a small hook-and-eye latch) keeps it closed during nesting season. This hinged side is the feature I wish I had on my very first box. Cleaning out old nests between broods matters for bird health and occupancy rates.
Step 4: Add the roof
Attach the roof panel to the top of the back panel with two screws. The slope should direct water away from the entrance hole. Make sure the roof overhangs the front by at least an inch to help keep rain out of the hole. If you want extra weather protection, add a thin strip of rubber door-seal foam under the back edge of the roof where it meets the back panel.
Step 5: Mount the box
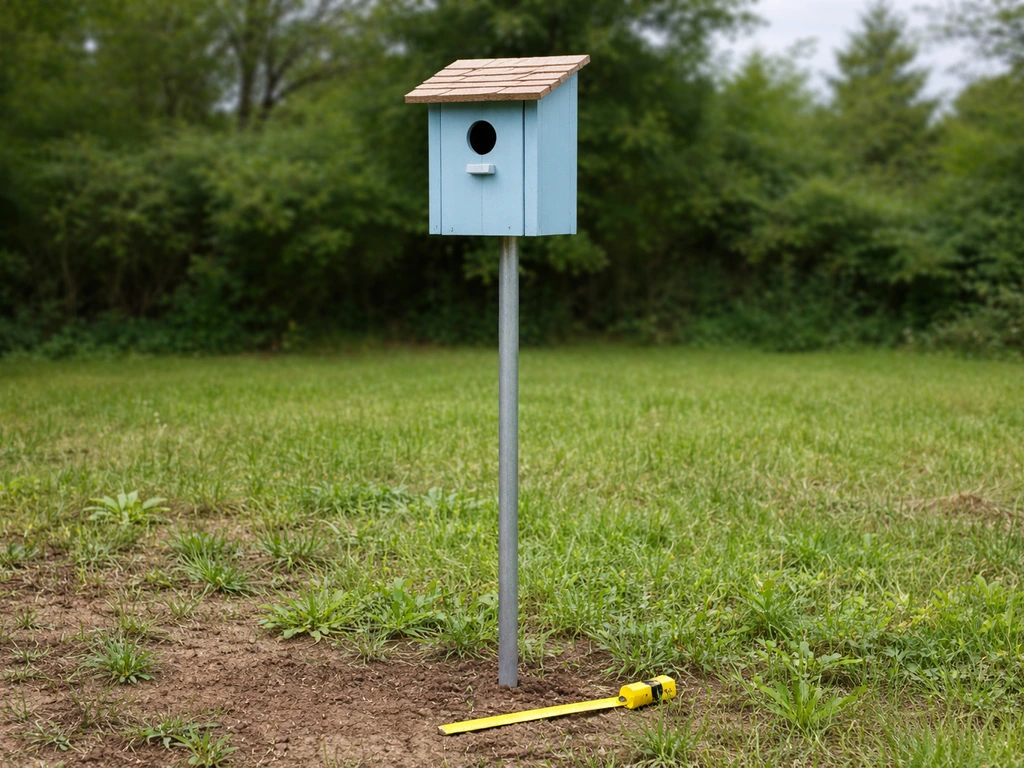
Connecticut DEEP and the USDA Forest Service both recommend mounting bluebird nest boxes at 5 feet above ground. A galvanized metal pipe or a 7-to-8-foot metal garden stake pushed into the ground works well and is harder for predators to climb than wood posts. Attach the extended back panel to the post with two screws or a pair of pipe clamps. If you are using a wood post, add a metal predator baffle (a cone or stovepipe guard) below the box to keep raccoons and snakes from reaching the entrance.
Getting birds to actually use your box
Building a good box is half the job. Placement, timing, and a little maintenance through the season determine whether birds find and use it.
Placement and spacing
Bluebirds and tree swallows prefer open areas with low ground cover and a clear flight path to the entrance hole. Place the box in a yard, meadow edge, or field rather than dense shrubs. Face the entrance hole away from prevailing winds, ideally east or southeast in most of North America. If you are installing multiple boxes for bluebirds, space them at least 100 yards apart. If you want to attract both bluebirds and tree swallows, pair two boxes about 15 to 20 feet apart. The two species tolerate each other as neighbors but will fight over a single box. Wrens and chickadees accept boxes closer to woodland edges and do not need as much open space.
Timing: when to put boxes up
Put boxes up in late winter, ideally February or early March in most regions. Bluebirds scout nest sites early and will claim a good box before migrants arrive. That said, birds will use a box installed in spring or even early summer for a second or third brood, so there is no bad time to put one up. If you miss spring entirely, clean out the box, leave it up through fall, and you will be ready for next season.
In-season monitoring and clean-out
Check the box every week or two during nesting season. If you see a wren adding sticks to an empty box to deter other birds (a classic wren move), remove the sticks. Once eggs are present, minimize disturbance. After each brood fledges, remove the old nest material through the clean-out door. Fresh nests are built on clean floors, and removing old material also reduces parasites. In late fall, leave the box open or add some dried moss or straw. Small birds like chickadees and nuthatches roost in boxes on cold nights, and a little insulating material helps.
Seasonal adjustments
In very hot climates, orient the entrance hole north or east rather than south or west to reduce afternoon heat buildup. In cold northern regions, you can temporarily block ventilation holes with removable foam plugs in deep winter to help roosting birds retain heat, then remove them before spring nesting begins. If squirrels or woodpeckers are enlarging the entrance hole, add a metal hole guard plate (available at hardware stores or cut from aluminum flashing) around the opening.
Where to go from here
Once you have your first nest box up and occupied, you will want to keep building. If you want to try something different after your nest box, you can also learn how to make a bird cage craft for a decorative, kid-friendly project. A bird seed covered birdhouse adds a decorative and functional twist on the basic design. If you want to make your installed box look more like part of the garden, learning how to decorate a birdhouse opens up a lot of creative options without compromising the functional specs. You can also branch out into making bird decorations and garden art that complement the structures you have already built. If you want a creative project beyond nest boxes, learn how to make bird decorations that are safe for local birds making bird decorations. The skills transfer quickly, and every additional structure you add increases the habitat value of your backyard for local birds.
FAQ
When you say “how to make diy bird,” do you mean making a birdhouse for real birds or a bird craft for display?
If your goal is a living bird, a nest box or feeder is the safe DIY approach, but you cannot legally or ethically “make” wild birds at home. If you mean a bird-shaped wooden display, you still want the same safety rules (non-toxic materials, no sharp edges, and stable mounting) to prevent injury and weather damage.
Can I add hardware cloth around the entrance hole to help birds grip and block predators?
Avoid any “grip” material around the entrance like mesh, hardware cloth, or screen. Even when it seems like predator deterrence, birds feet can snag and injure them. Use a smooth metal predator guard on the post instead, and keep the entrance opening sized for the target species.
What fasteners and materials are safest for a DIY birdhouse?
Treat “safety” as two separate issues, wood toxicity and hardware safety. Use untreated or naturally rot-resistant boards, and only galvanized or stainless hardware. Do not use screws or nails that are already rusting, because corrosion can stain the box interior and create loose, sharp bits.
Can I paint or stain the inside to improve the look or protect the wood?
If you are using exterior plywood, seal-free bare interior faces are best. For the exterior, use water-based exterior latex in an earth tone and keep paint or stain off the interior, the floor, and the entrance area. Also, let coatings cure for several days so fumes do not linger when birds move in.
How can I choose the right entrance hole size if I am not sure which bird will use it?
Don’t share a box between species by guessing. Birds are strict about entrance size, and a hole that is too large can invite aggressive competitors. If you are unsure of local cavity nesters, measure the entrance opening to match the dimensions in your species table before drilling, then commit to that plan.
What is the best way to make a clean-out door for a DIY birdhouse?
Yes, but it should be removable without fully opening the whole box. A hinged or pivoting side panel is the easiest clean-out method, and you should remove old nesting material after each brood. Clean-out access matters because parasites build up when nests stay for multiple seasons.
How high should I mount a DIY nest box, and does mounting material matter?
Mounting height depends on species and your local predator pressure, but a common baseline for bluebirds is about 5 feet above ground. Use a metal pipe or metal stake when possible, because predators often climb or chew wood posts more easily than smooth metal surfaces.
Can I add insulation or bedding inside the nest box to keep birds warm?
During nesting season, do not line the interior with cushions, felt, or thick insulation. If you add insulation for roosting in cold weather, use dry, natural material like dried moss or straw in late fall only, and avoid anything that holds moisture or produces strong odor.
What should I do if another bird is trying to take over the box or block the entrance?
Place the entrance where birds have an open flight path, then minimize disturbance near the entry. If you see a wren adding sticks to empty boxes to deter others, remove the sticks promptly. Once eggs are present, check less often and avoid reaching inside.
Can I reduce ventilation in winter to help birds roost?
In deep winter in cold climates, you can temporarily plug ventilation holes with removable foam to retain heat for roosting birds. Make sure you remove the plugs before nesting begins in spring, because reduced airflow can overheat and trap moisture.
My box opening is getting chewed or enlarged, what is the fix?
If an animal is enlarging the entrance, add a metal hole guard plate around the opening. Also reassess the predator baffle or guard on the post, because entrance guards and predator barriers work together, they are not interchangeable.
How close can I place multiple DIY nest boxes without causing conflicts?
Spacing affects occupancy when you are targeting territorial species like bluebirds. If you install multiple bluebird boxes, keep them about 100 yards apart, and if you are pairing bluebirds and tree swallows use about 15 to 20 feet between the two boxes because they may fight over a single box.
Next Articles
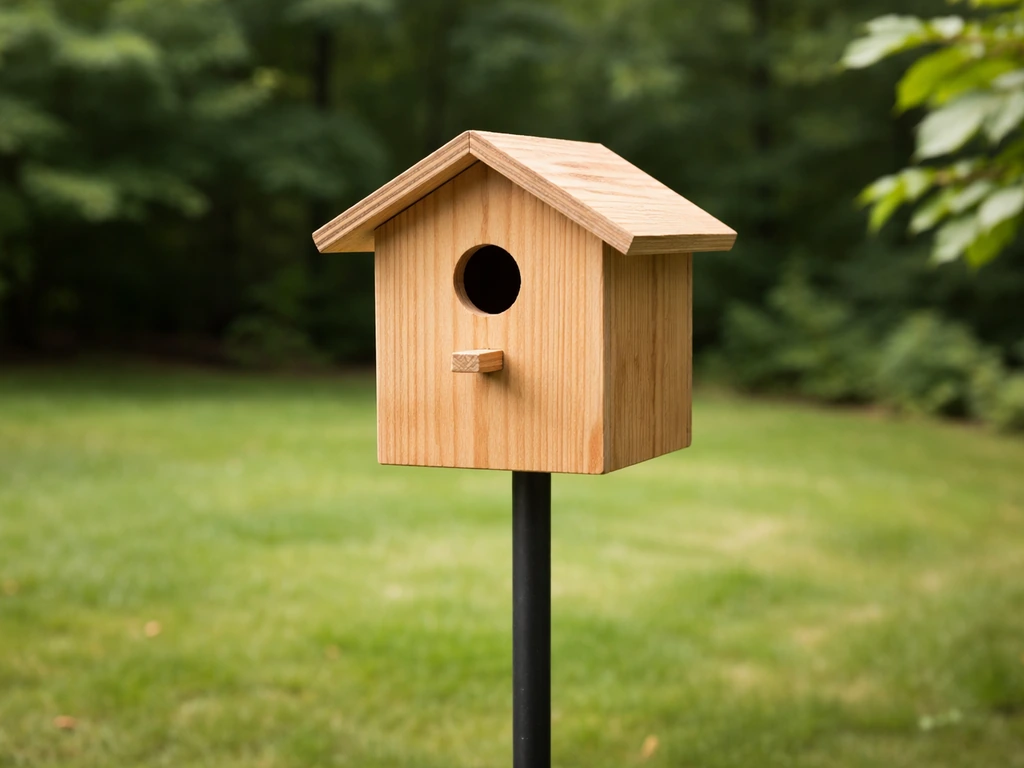
How to Make a Bird at Home: DIY Birdhouse Setup
Step-by-step DIY birdhouse build and placement guide with safe materials, predator protection, and maintenance tips.
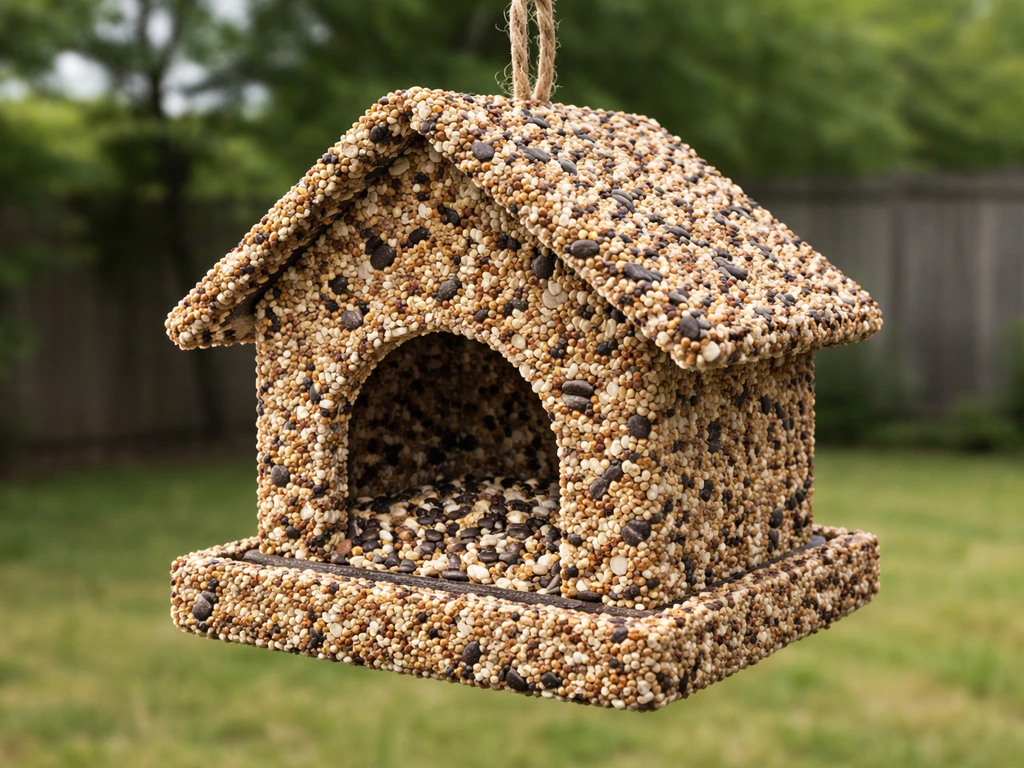
How to Make a Bird Seed Covered Birdhouse Feeder
Step-by-step DIY bird seed covered birdhouse feeder with parts list, construction, placement, and maintenance tips.
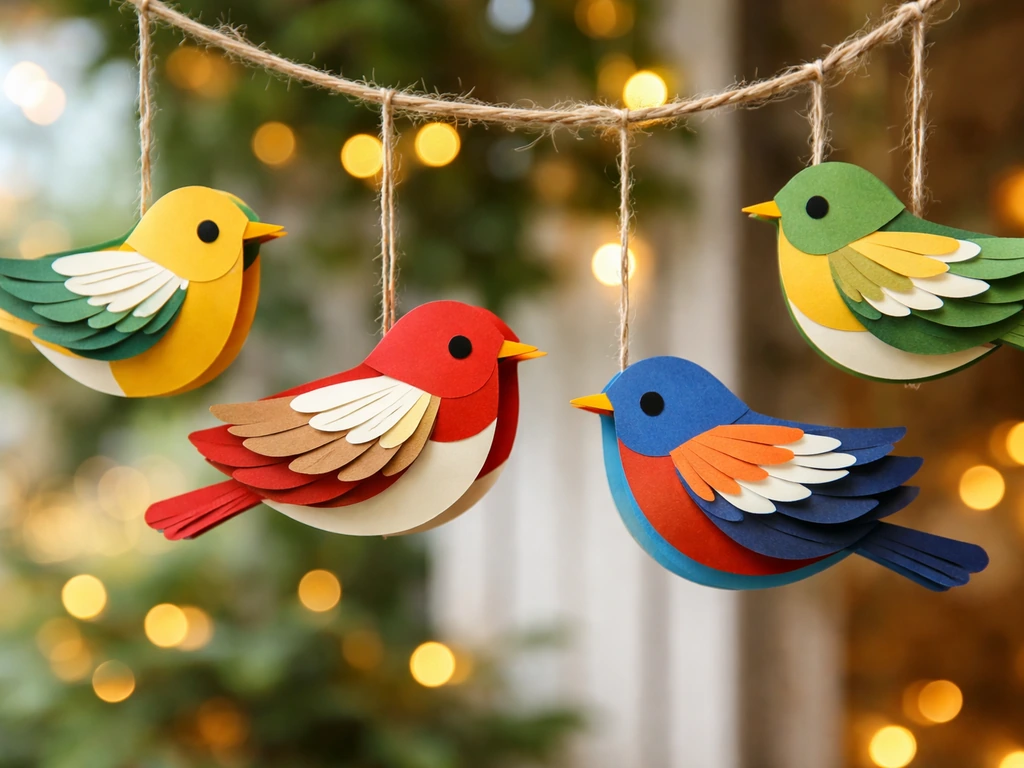
How to Make Bird Decorations: Paper Birds and Ornaments
Step-by-step guide to make paper bird ornaments and non-paper Christmas bird decorations with safe, outdoor-ready tips.