You can absolutely make a working, bird-safe birdhouse from PVC pipe, and it holds up better in wet weather than wood does. If you are looking for an easier craft-style option, you can also make a bird house with ice cream sticks by using non-toxic glue and providing ventilation and drainage how to make bird house with ice cream sticks.
How to Make Bird Houses Out of PVC Pipe: Step by Step

Marcus Thornton
22 May 2026
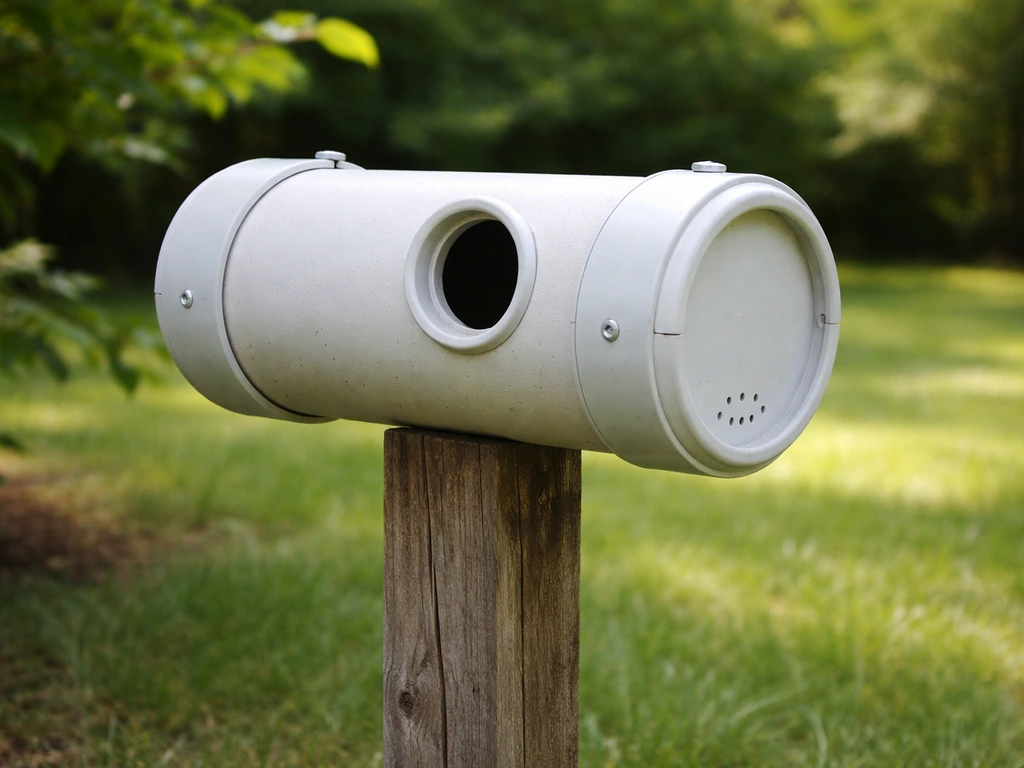
The basic idea is this: use Schedule 40 PVC pipe in the right diameter for your target species, cap both ends, drill an entrance hole and a few ventilation and drainage holes, mount it on a pole with a baffle, and you are done. The whole build takes an afternoon, costs under $15 in materials, and will last for years without rotting or warping. Here is exactly how to do it from start to finish.
Picking the right PVC type and pipe size for your target bird
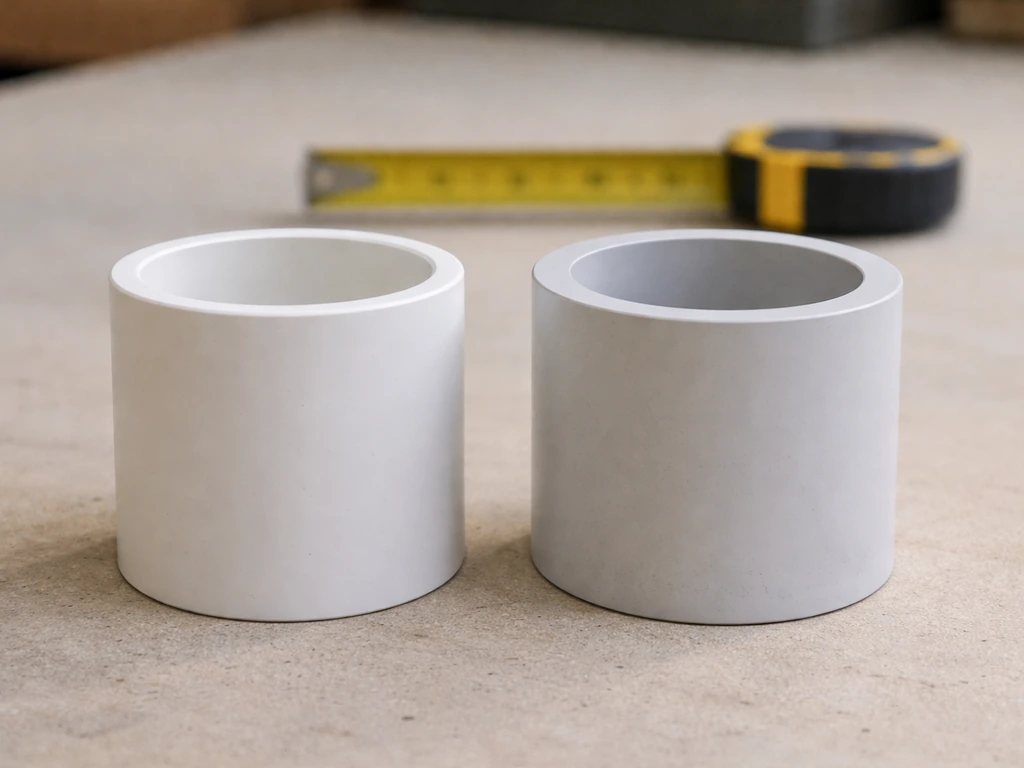
Not all PVC is the same, and the two things that matter most here are the pipe schedule and the diameter. Go with Schedule 40 PVC. It is the standard white plumbing pipe you find at any hardware store, it is thick-walled enough to be structurally stable when mounted, and it is not treated with any additives that could harm birds. Avoid thin-walled electrical conduit (PVC ENT or "smurf tube") and stay away from any pipe labeled for chemical or agricultural use, since those can have residual coatings you do not want near a nest.
Pipe diameter is what determines which birds will actually use the house. Cavity-nesting birds are surprisingly particular about interior space. Too wide and the nest feels exposed; too narrow and the bird simply will not enter. Here is a quick reference for the three most popular species to target with a PVC build:
| Species | Pipe Inner Diameter | Entrance Hole Diameter | Entrance Height from Floor | Minimum Pipe Length |
|---|---|---|---|---|
| Black-capped Chickadee | 3–4 inch | 1 1/8 inch | 7 inches | 10–12 inches |
| House Wren | 3–4 inch | 1 1/8 inch | 4–6 inches | 8–10 inches |
| Eastern Bluebird | 4 inch | 1 3/8 inch | 10 inches | 12–14 inches |
A 4-inch Schedule 40 pipe gives you enough interior room for bluebirds and works reasonably well for chickadees and wrens too, which makes it the most versatile starting point. If you are planning multiple houses for different species, buy a few feet of 3-inch pipe for wrens and chickadees alongside the 4-inch stock. For a single beginner project, start with 4-inch pipe and a bluebird or chickadee build.
Design basics: entrance hole, ventilation, drainage, and mounting plan
Before you cut anything, sketch out the four core design elements. Get these right and the rest of the build is just execution.
Entrance hole
The entrance hole diameter is the single most important spec in the whole build. It acts as a filter: the right size lets your target species in and keeps larger, competing birds out. Use the table above as your guide. Drill the hole using a hole saw or spade bit, and position it at the correct height above the floor of the tube. Do not add a perch below the entrance hole. Perches look nice but they give predators and invasive species like house sparrows an easier foothold, and bluebirds, wrens, and chickadees do not need them.
Ventilation
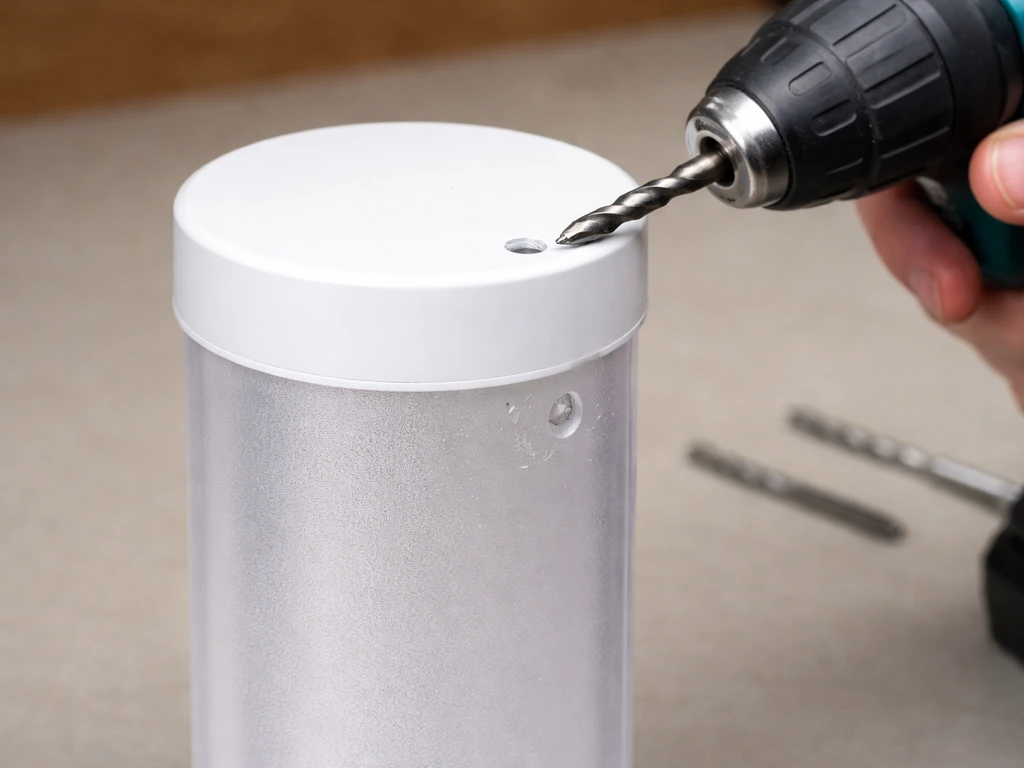
PVC does not breathe the way wood does, so you need to drill ventilation holes yourself. Drill 4 holes, each 1/4 inch in diameter, just below the top cap on opposite sides of the pipe. For a tube-style nest, drilling 3 to 12 small holes in this area gives adequate airflow without creating a drafty cavity that chills eggs. The goal is gentle cross-ventilation near the top so heat can escape on hot days without creating a wind tunnel at nest level.
Drainage
Drill 4 drainage holes in the bottom cap, each about 3/16 to 1/4 inch in diameter, spaced evenly around the cap. If any rain blows in through the entrance or condenses on the interior walls, it needs somewhere to go. A soggy nest means failed eggs and sick chicks. Drainage holes are non-negotiable.
Mounting plan
Decide before you build whether you are mounting the tube vertically on a dedicated pole, attaching it to a fence post, or strapping it to a tree. Each option changes how you attach the top cap and whether you need a flanged end fitting or just a slip cap. Pole mounting on a metal conduit or EMT pipe with a predator baffle below the house is the gold standard for safety and monitoring access. Plan this now so you do not drill mounting holes in an awkward spot after assembly.
Tools and materials checklist
Here is everything you need for a single PVC tube birdhouse. If you want a different DIY route, you can also learn how to make bird houses from pallets with the same attention to entrance size, ventilation, and safety. Most of this is available at any big-box hardware store, and you may already own several of the tools.
- 4-inch Schedule 40 PVC pipe, about 12–14 inches long (one piece per birdhouse)
- Two 4-inch PVC slip caps (one for top, one for bottom)
- PVC primer and cement (low-VOC preferred, used only for the permanent bottom cap)
- Hole saw or spade bit sized to your target species entrance hole (1 1/8 or 1 3/8 inch)
- Power drill
- 1/4-inch drill bit (for ventilation holes)
- 3/16-inch drill bit (for drainage holes)
- Hacksaw, hand miter saw, or power miter saw
- Deburring tool or utility knife
- Fine-grit sandpaper (120–220 grit)
- Tape measure and pencil
- Clamp or vise to hold pipe while cutting
- 1/2-inch or 3/4-inch EMT conduit or metal electrical pipe for mounting pole (optional but recommended)
- Stovepipe-style metal predator baffle (for pole mounting)
- Stainless steel or exterior-grade screws if using a non-cemented removable top cap
One note on tools: a power miter saw makes fast, perfectly square cuts and is ideal if you are building several houses at once. A hacksaw works fine for a single build but takes more effort and leaves a rougher edge that needs extra deburring. Either way, the deburring step is not optional.
Cutting and assembling PVC birdhouse pieces safely

This is the stage where most first-timers rush and regret it. Slow down here and the rest of the build is easy.
- Measure and mark your pipe length. Use a tape measure and a pencil or marker to mark your cut line all the way around the pipe circumference. A consistent line around the whole pipe helps you cut square.
- Clamp the pipe. Secure the pipe in a vise or use a clamp to hold it against a work surface. Cutting a free-rolling round pipe is how you get uneven cuts and nicked fingers.
- Cut cleanly. If using a hacksaw, use slow, steady strokes and follow the line. If using a miter saw, set the fence and let the blade do the work. Cut the pipe and both caps (caps are pre-formed, so you only cut the pipe body).
- Deburr every cut edge immediately. Use a deburring tool or the curved back edge of a utility knife blade to scrape around the inside and outside of every cut end. Remove all shavings and burrs. A sharp plastic edge inside the tube can injure a bird entering or exiting the nest.
- Sand the interior lightly. Run 120-grit sandpaper inside the pipe near the entrance hole area and along the first few inches of the interior. This gives birds a slightly textured surface to grip when climbing in and out, which smooth PVC does not naturally provide.
- Drill the entrance hole. Mark the center of the entrance hole at the correct height from what will be the bottom of the tube. Drill slowly with a hole saw or spade bit. Hold the pipe firmly. Clean up any plastic fray around the hole with sandpaper.
- Drill ventilation holes. Just below where the top cap will sit, drill 4 evenly spaced 1/4-inch holes around the circumference of the pipe.
- Drill drainage holes in the bottom cap. Mark and drill 4 evenly spaced 3/16-inch holes near the perimeter of the bottom cap.
- Dry-fit everything before cementing. Slide the bottom cap on, flip the tube right-side up, and press the top cap on. Check that the entrance hole is oriented correctly for your planned mounting direction.
- Cement the bottom cap permanently. Apply PVC primer to the pipe end and inside the cap, then apply cement and press the cap firmly onto the pipe. Twist slightly to spread the cement and hold for 30 seconds. Do this outdoors or in a well-ventilated space. Let it cure for at least 24 hours before handling.
- Leave the top cap removable. Instead of cementing the top cap, drill two small pilot holes through the cap rim and into the pipe wall and secure with stainless steel screws. This lets you open the house for cleaning every season without fighting a cemented joint.
One thing I learned the hard way: do not cement both caps before drilling your holes. Drill all your holes first, then cement the bottom. Drilling into a fully assembled tube is awkward and you will crack a cap. Ask me how I know.
Finishing for weatherproofing and bird safety
PVC is already weatherproof, which is one of the biggest advantages it has over wood. You do not need to paint or seal it to protect the material. That said, there are two finishing concerns worth addressing: UV degradation over many years, and temperature management inside the house.
If you want to paint the exterior, use only water-based latex paint in a light or natural color. Earth tones, tan, gray, or a dull green help the house blend into the environment and, critically, a light color reflects heat rather than absorbing it. Dark-colored PVC in direct sun can turn the interior into an oven. If you do paint, let the finished house air out for several weeks before mounting it. NestWatch recommends painting in fall so any residual fumes, even from low-VOC products, have the entire winter to dissipate before nesting season. Never use oil-based paint, spray lacquer, or any solvent-based finish on any surface that will be near a bird nest.
Do not apply any sealant or caulk to the interior of the tube. The inside should remain clean, uncoated PVC. Avoid pressure-treated wood components in the mounting hardware if you add any wooden elements, since pressure-treated wood contains toxic compounds. Stick with untreated wood, metal, or PVC for any parts that contact the house.
After cementing, give the assembly a full 24 hours of cure time indoors or in a shaded area before taking it outside. The solvent in PVC cement is volatile and smells strong; birds will not enter a house that still off-gasses. Letting it cure fully and then airing it out for another day or two in the open air is worth the patience.
Where to put it: placement tips that actually attract birds
You can build a perfect birdhouse and have it sit empty for years if the placement is wrong. These guidelines make a real difference.
Height
For bluebirds, mount the box between 3 and 6 feet off the ground. Bluebirds will actually nest anywhere from about 2 feet up to 50 feet, so height is more flexible than most people think, but lower heights in the 3 to 6-foot range make it easier for you to monitor and clean the box. Chickadees and wrens prefer 5 to 10 feet. If you mount too high, you lose easy access for maintenance.
Entrance orientation
Face the entrance hole away from prevailing winds and toward open space. For bluebirds, an east or north-facing entrance is preferred. The idea is to minimize rain blowing directly into the hole and to give the bird a clear flight path in and out of the entrance without nearby branches that predators can use as a launching point.
Spacing between boxes
If you are putting up multiple bluebird houses, keep them at least 300 feet apart and out of sight of each other. Bluebirds are territorial and will fight over boxes that are too close together, which wastes their energy during breeding season. Wrens and chickadees are somewhat less rigid about spacing but still benefit from at least 50 to 100 feet between boxes.
Predator protection
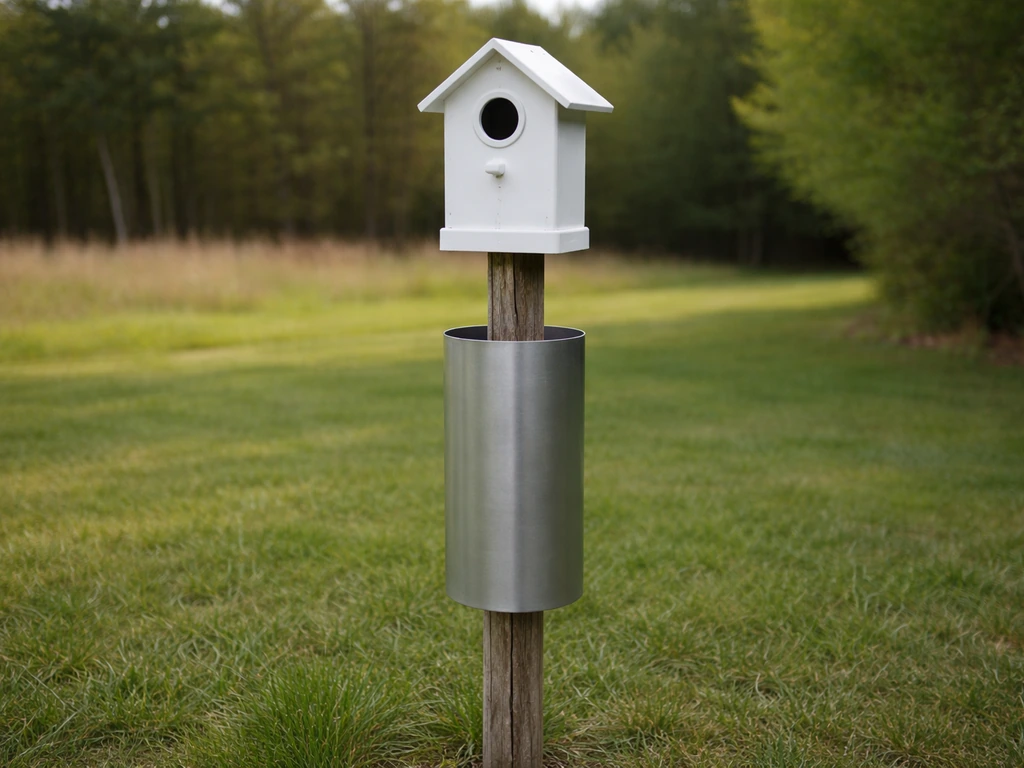
A metal stovepipe-style baffle mounted on the pole below the birdhouse is the single most effective predator deterrent you can add. It prevents raccoons, squirrels, cats, and snakes from climbing the pole to reach the house. A 4 to 5-inch diameter section of smooth pipe attached just below the nest box creates a physical barrier that climbing animals cannot grip. Mount the house on a smooth metal pole (EMT conduit works great) rather than on a wooden fence post or tree, since textured surfaces give predators easy climbing traction.
Habitat
Bluebirds want open fields with short grass nearby for hunting insects. Wrens are happy near shrubby edges and gardens. Chickadees prefer woodland edges with nearby trees. Match the placement to the habitat the species actually uses and you will see occupancy much faster than if you put the house in a generic backyard spot.
One important safety note about vertical pipes
Open vertical pipes with no cap or entrance hole control are genuinely dangerous for birds and other wildlife. An uncapped vertical pipe looks like a cavity to a bird and can become a trap. Always make sure every PVC pipe you put outside is fully capped on the top end, with only the intentional entrance hole as the opening. This applies to any leftover pipe pieces too. Cap them or discard them properly.
Troubleshooting, cleaning, and keeping the house in good shape
Condensation inside the tube
PVC does not absorb moisture, so condensation can pool inside if ventilation is insufficient. If you notice moisture inside the tube during monitoring, add one or two more ventilation holes just below the top cap. Make sure your drainage holes in the bottom cap are clear and not plugged with debris. A slight forward tilt of the mounting so the tube leans a degree or two toward the entrance can help water run toward the drainage holes rather than pooling at the back.
Cleaning between nesting attempts
Only clean the box when you are absolutely certain no active nesting is happening, meaning no eggs, no chicks, and no adult bird actively using the box. NestWatch says cleaning should be done when there is absolutely no sign of breeding activity, and if you are unsure, wait until another day. After each brood fledges, remove the old nest material immediately. Mites are common in cavity-nester nests and they will carry over to the next brood or even wait in the box for the next season if you leave old nesting material in place. Unscrew the top cap, remove the old nest, rinse the interior with hot water (no soap or chemicals), let it dry completely, and replace the cap.
End-of-season maintenance
At the end of each nesting season, do a full clean-out and inspection. Check that the entrance hole has not been enlarged by a woodpecker or chewed by squirrels. Check the cement joint at the bottom cap for any cracking or separation. Inspect the mounting hardware and make sure the house is still sitting plumb and stable. If you are in a region where house sparrows are a problem, remove the house entirely during winter so sparrows do not roost in it and claim it before your target species arrive in spring.
Algae or mold on the exterior
PVC in a shaded, damp spot can grow algae or surface mold on the outside. This does not usually affect the birds but it can degrade painted surfaces. Wipe the exterior down with a diluted white vinegar solution (one part vinegar, one part water) and rinse thoroughly. Do not use bleach or any commercial mold cleaner near an occupied box.
Repairing a cracked cap or cemented joint
If the cemented bottom cap separates, dry the joint completely, reapply primer and cement, and clamp or tape it firmly for the full cure period. For a cracked cap, the easiest fix is to replace it entirely since PVC caps are inexpensive. Do not try to patch a cracked cap with silicone or exterior caulk, as those materials can trap moisture and are difficult to keep bird-safe.
PVC vs. other DIY birdhouse materials
PVC is not the only repurposed or budget material that works for birdhouses. If you specifically want a coconut-shell birdhouse, look for a method that safely drills drainage holes and creates a weatherproof entrance without using harmful coatings. If you want a totally different material, you can also learn how to make a bird house out of wine corks and tailor the design to match your target birds.
Wood pallets, milk cartons, popsicle sticks, coconut shells, and wine corks all have their place in the DIY birdhouse world. If you want an alternative DIY approach, you can also learn how to make bird houses from pallets using simple tools and careful sanding for a bird-safe finish birdhouse world. If you prefer a simpler, craft-style project, you can also learn how to make a bird house out of popsicle sticks using basic supplies and easy steps.
But PVC has a specific set of advantages that make it stand out for certain situations: it does not rot, it handles repeated wet-dry cycles without warping, it is easy to clean, and it requires almost no maintenance year over year. The main trade-offs are that it needs external texturing or light sanding near the entrance for bird grip, it requires intentional ventilation since it does not breathe, and it can overheat in direct sun without a light-colored finish.
For a long-lasting, low-maintenance build that will survive multiple seasons in a wet climate, PVC is genuinely hard to beat.
Your next steps: what to buy and where to start
If you are ready to build your first PVC birdhouse, here is the fastest path from zero to a finished, mounted house: If you want a cheaper, temporary option, you can also learn how to make bird houses from milk cartons and use the same basic placement and safety rules.
- Pick your target species. Bluebird is a great first build because the dimensions are well-documented and the birds are highly motivated to use nest boxes.
- Buy one 10-foot length of 4-inch Schedule 40 PVC pipe (you will get several houses out of it), two 4-inch slip caps per house, and a small can of PVC primer and cement.
- Grab a 1 3/8-inch hole saw bit if you do not already have one.
- Cut your pipe to 12–14 inches, drill your entrance hole at 10 inches from the bottom, drill your ventilation and drainage holes, deburr everything, sand the entrance area, and cement the bottom cap.
- Let the assembly cure and air out for at least 48 hours.
- Mount on a smooth metal pole with a stovepipe baffle, at 3–6 feet height, facing east in an open area away from dense shrubs.
- Check the box weekly during nesting season and clean it out after each brood fledges.
That is genuinely the whole workflow. The materials cost less than a store-bought birdhouse, the build takes an afternoon, and the result is a box that will outlast almost anything made of wood. Start with one bluebird tube, get comfortable with the process, and then branch out to multiple houses for different species or try building a small bluebird trail. Once you have one under your belt, the second one takes about half the time.
FAQ
Can I use PVC scraps or cut pieces instead of buying a full length of pipe?
Yes, but only if you size it correctly and keep it bird-safe. PVC birdhouses need an entrance sized for the target species and must have ventilation near the top and drainage in the bottom cap. If you shrink the pipe too far or skip drainage, you increase the odds of rejection due to poor airflow or pooled moisture.
Is all PVC okay for birdhouses, or do I need to stick to Schedule 40?
Avoid anything other than a true Schedule 40 product. Thick-walled Schedule 40 is stable enough for a pole-mounted build and is less likely to have residues from labeling intended for chemicals. If you are unsure what any section is labeled as, do not use it inside the nest cavity or close to the entrance.
Will birds be able to land and enter if PVC is smooth?
Do a quick grip check at the entrance. PVC is slippery by default, so after you drill the entrance, lightly texturing the entrance rim or sanding a narrow band just around the hole can help birds land and enter without you adding a perch. Keep any roughening confined near the opening, do not coat the interior, and always deburr so no sharp edges remain.
How long should I wait after cementing before putting the birdhouse outside?
If you see any smoke-like smell or strong solvent odor from the PVC cement, it is not ready. Let the completed house cure indoors or in shade for at least 24 hours, then air it out outdoors for an additional day or two before mounting, ideally when temperatures are mild and there is good airflow.
What should I do if I find moisture inside the PVC birdhouse?
Yes, you can get condensation, especially if the ventilation hole placement is too low or blocked. If you find moisture pooling during monitoring, add one or two more small ventilation holes just under the top cap, confirm drainage holes are clear, and consider a slight tilt so water runs toward the drain points instead of collecting at the back.
Can I seal or caulk the interior to make it more waterproof?
Not for the nest cavity. Do not add caulk or sealant inside the tube because it traps moisture and residues. If you want to improve weather resistance, confine sealing to exterior joints and only if the product is fully cured and kept away from the interior, but the best approach is to rely on properly cemented PVC joints and keep the inside uncoated.
Is it okay to paint the PVC, and will dark colors overheat the nest?
Yes, and it is a safety and comfort issue. Light colors reflect heat better, dark colors can make the interior temperature high in direct sun, and any painted house should air out fully before mounting. If you paint, also avoid covering vent holes or the drainage areas, and keep the paint application thin and dry.
Can I use pressure-treated wood for the mounting hardware?
Use them carefully. Wood mounting pieces can be okay if they are untreated, but pressure-treated wood contains compounds you do not want anywhere near the nest cavity. If you include any wood, keep it external only, use untreated stock, and make sure it cannot contact or shed debris into the tube.
What is the safest mounting setup for monitoring and predator control?
For the best safety and use, mount it so the house can be opened or accessed without fighting the pole hardware. A smooth metal pole with a predator baffle is ideal for safety, but you should also plan a monitoring path that lets you remove the top cap without bumping the entrance or stressing nesting birds.
When is the right time to clean a PVC birdhouse, and can I clean it during the nesting season?
If it is occupied, do not. For cleanouts, wait until there are no eggs, chicks, or actively using adults. After fledging, remove old nesting material promptly, rinse the interior with hot water only, dry completely, and only then reassemble.
What if my birds never use the PVC birdhouse?
Birds may not use a house if the entrance is off by even a small amount. Measure the entrance hole diameter after drilling, deburr the opening, and confirm you selected the right interior space for the target species. If the hole is too large, you may get competitors and predators, and if it is too small, your target birds may simply refuse to enter.
How do I fix entrance damage and reduce repeated vandalism by other animals?
If you consistently find woodpecker or squirrel damage at the entrance over time, strengthen the area. The practical fix is usually replacement or adding birdhouse-safe protection that does not reduce ventilation or trap moisture. Also do an end-of-season inspection and consider removing during winter if house sparrows are a problem in your area to prevent roosting.
Next Articles
How to Make Bird Houses From Pallets: Step by Step Guide
Step-by-step pallet birdhouse DIY: safe wood checks, right hole specs, build measurements, weatherproofing, predator gua
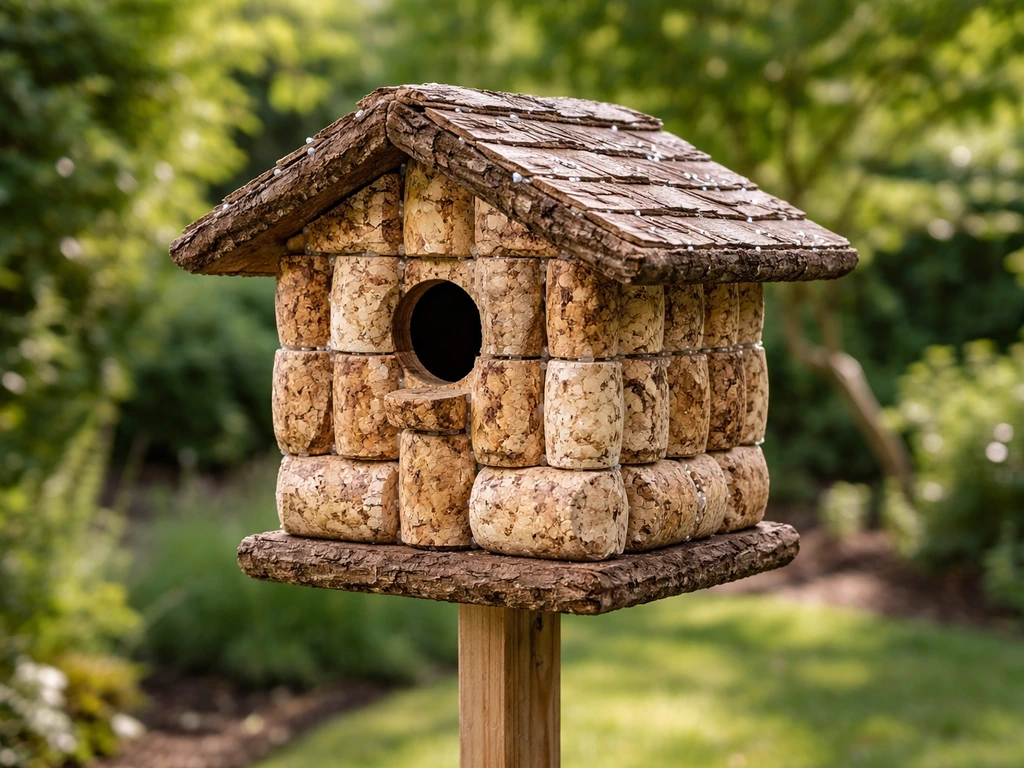
How to Make a Bird House Out of Wine Corks: DIY Guide
Step-by-step DIY wine cork bird house with bird-safe design, secure assembly, waterproofing, and placement plus care tip
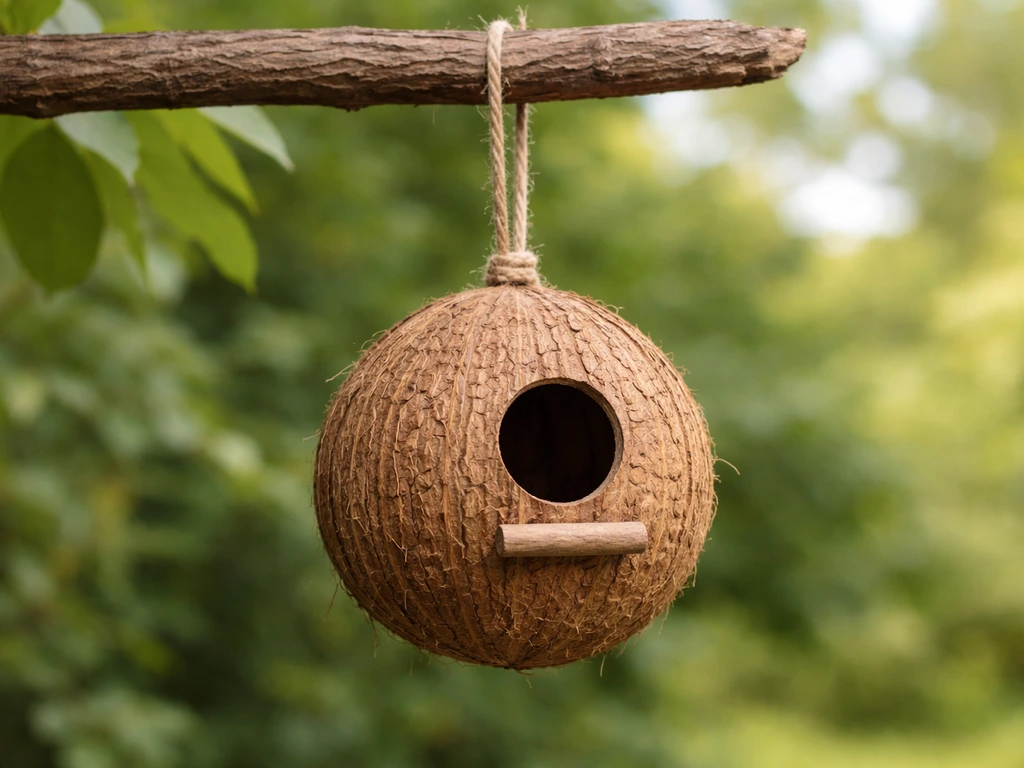
How to Make a Bird House With a Coconut Shell
Step-by-step guide to make a coconut-shell bird house, with cleaning, entry size, drainage, mounting, and safety tips.