Yes, you can build a sparrow bird house this weekend with basic tools and a single board of lumber. The key is getting three things right: the interior floor size, the entry hole diameter, and the mounting height. Nail those, and sparrows will find the box on their own. Get them wrong, and the box sits empty or gets taken over by something you weren't expecting. This guide walks you through everything from cutting your first board to troubleshooting an unoccupied box.
How to Build a Sparrow Bird House Step by Step

Marcus Thornton
13 Apr 2026
What sparrows actually need from a nest box
House sparrows are cavity nesters, meaning they're looking for a small enclosed space to build a nest and raise chicks. In the wild they'd use a hollow in a tree, a gap in a wall, or a crack in a building. They've lived alongside humans for so long that they're genuinely comfortable with activity, noise, and proximity to structures. Unlike a lot of backyard birds, sparrows don't need you to hide the box in a quiet corner of the yard. They actually do better when it's near a building, fence, or garden shed.
Their habitat preference is almost the opposite of forest birds. House sparrows thrive in agricultural, suburban, and urban environments, and they actively avoid woodlands, forests, grasslands, and deserts. That means your backyard, your patio overhang, or the side of your garage is exactly where they want to be. If you've got a feeder nearby, even better.
One honest note before we dig in: house sparrows are a non-native, introduced species in North America, and many bird enthusiasts (including Cornell and Audubon) discourage providing boxes specifically for them because they aggressively compete with native birds like bluebirds and tree swallows for nesting cavities. If attracting native birds is also on your list, consider reading up on how to build a swallow bird house so you understand the tension between the two species and can plan your yard accordingly. That said, if sparrows are your target bird, or you're building for a school project, rental property, or just want to observe nesting behavior up close, this guide has everything you need.
Placement basics before you even cut a board
Placement determines whether sparrows move in more than almost any other factor. Mount the box between 6 and 12 feet above the ground. That range covers everything from a fence post to a low eave. Anything under 5 feet puts the nest at cat and raccoon height, and anything above 15 feet makes cleaning and monitoring more of a project than it needs to be.
Face the entrance hole away from the direction of prevailing winds in your area. In most of the US that means orienting toward the east or southeast, which also catches morning sun and keeps the box warmer during cold snaps in early spring when sparrows start scouting. Avoid placing the box somewhere it bakes in full afternoon sun all day, especially in warmer climates, since interior temperatures can get dangerous for eggs and chicks.
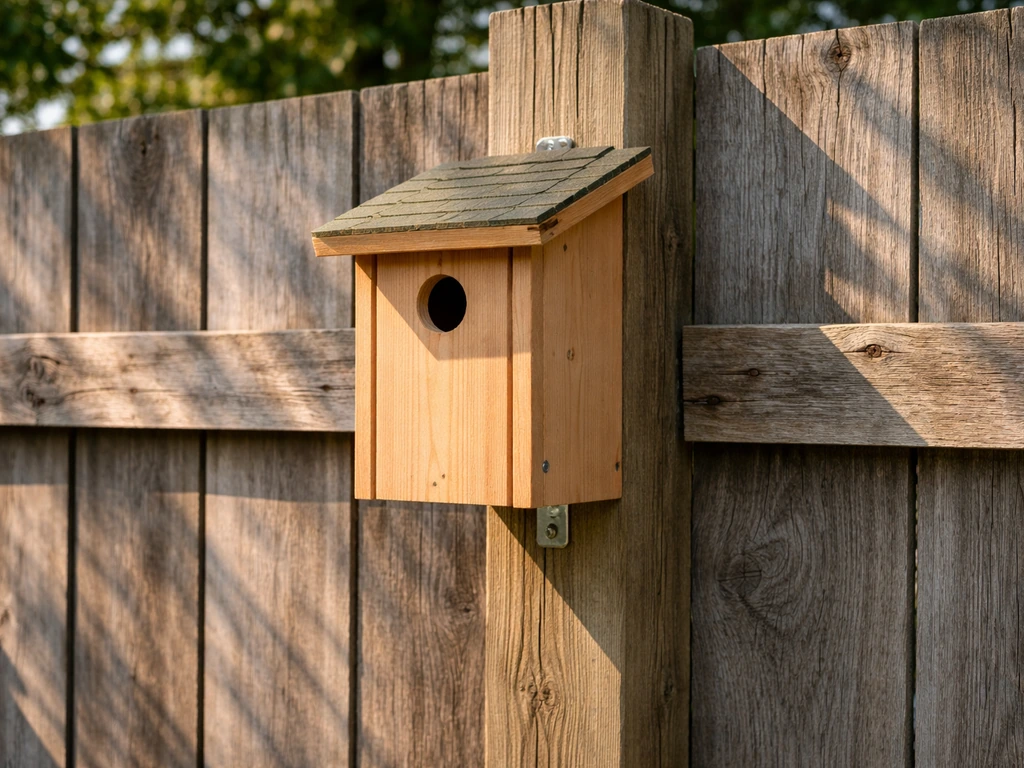
Sparrows prefer sites within about 100 feet of human structures, so don't overthink it. The side of a shed, a wooden fence post, or a tree at the edge of a lawn all work well. Give the box some open space in front of the entrance so birds can approach and land without fighting through dense branches.
Dimensions, design type, and entry hole specs
This is where most DIY birdhouses fail, and it's almost always the entry hole. The hole size is the single most important measurement because it determines who can get inside. Too large and starlings move in. Too small and nobody does.
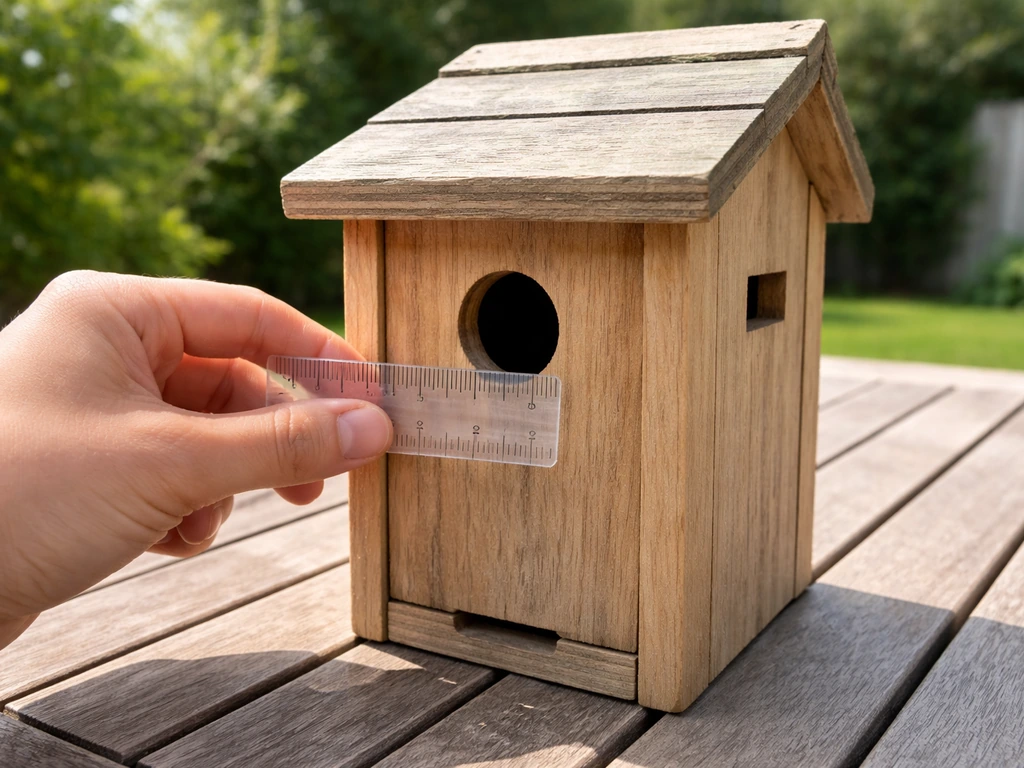
For house sparrows, the entry hole diameter should be between 1.25 and 1.75 inches. A 1.5-inch hole is the most commonly recommended size and works well as your default. The center of that hole should be placed 6 to 7 inches above the floor of the box. That gap between the floor and the hole is important because it gives chicks enough depth to stay safely inside before they're ready to fledge, and it makes the nest harder for a predator's paw to reach down and grab.
For the interior, aim for a floor that's 4x4 to 5x5 inches. That's enough room for a nest and a clutch of eggs but not so large that the bird feels exposed. The interior height (the side walls) should run 9 to 12 inches. Here's a full spec reference:
| Measurement | Recommended Range | Best Starting Point |
|---|---|---|
| Floor size | 4x4 to 5x5 inches | 4x4 inches |
| Interior height (sides) | 9 to 12 inches | 10 inches |
| Entry hole diameter | 1.25 to 1.75 inches | 1.5 inches |
| Hole height above floor | 6 to 7 inches | 6.5 inches |
| Mounting height | 6 to 12 feet | 8 feet |
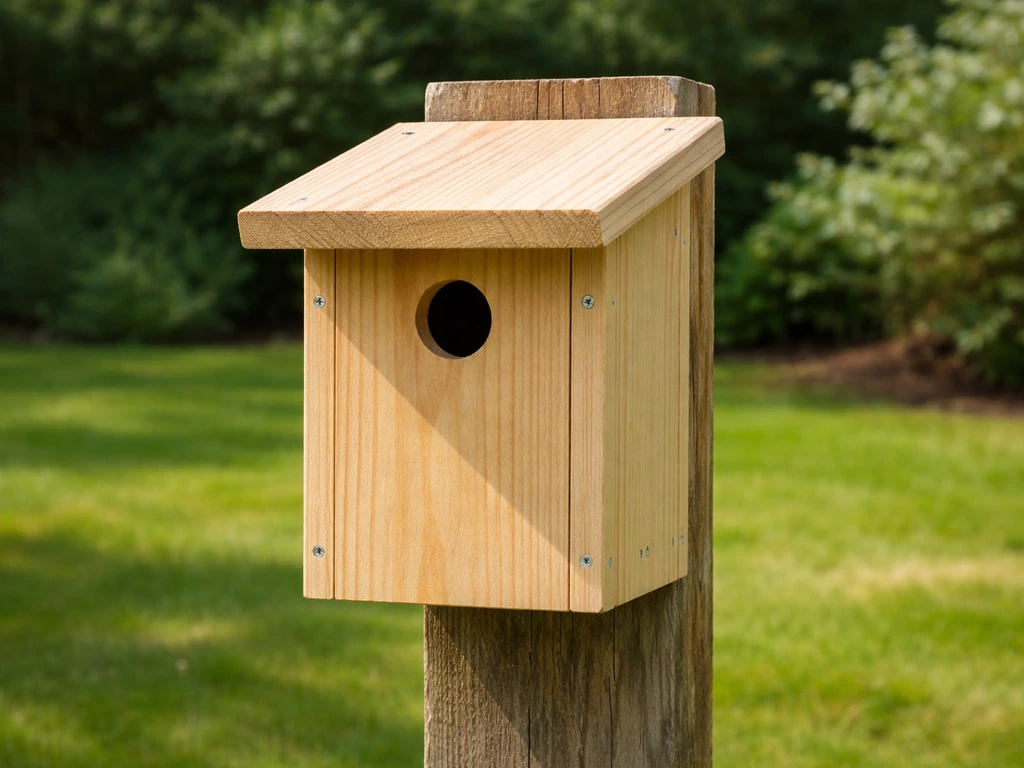
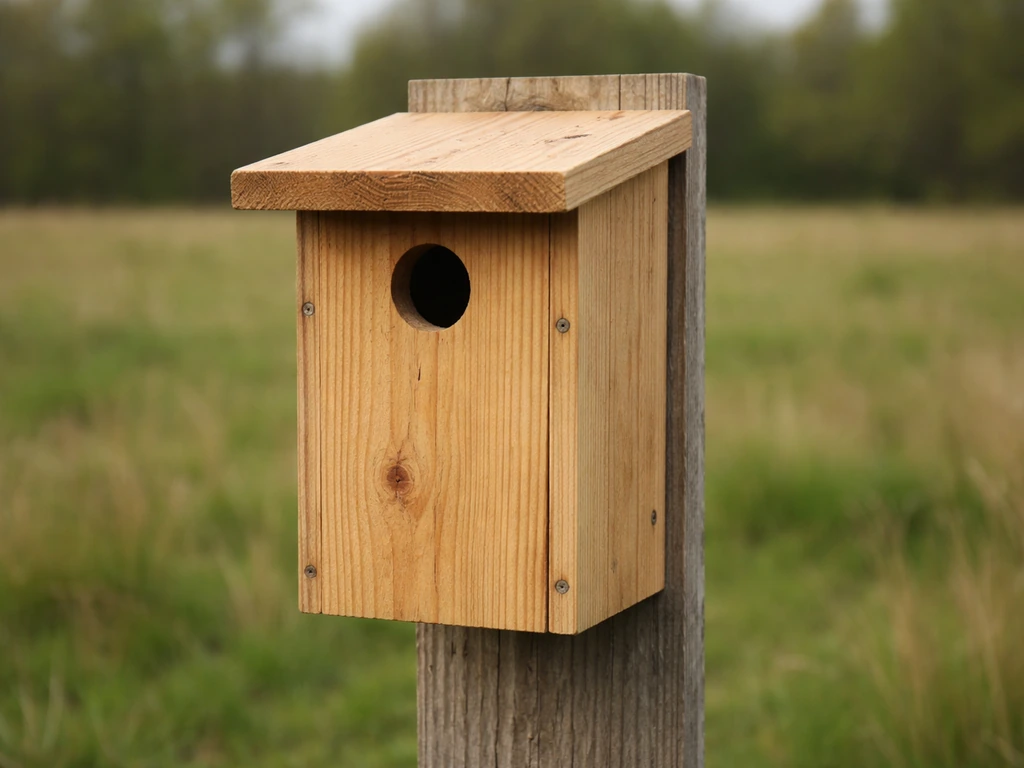
Design-wise, a simple four-sided box with a sloped roof is the easiest build for beginners and one of the most effective designs in practice. You don't need a fancy decorative front or a complex shape. A sloped roof that overhangs the entrance by at least 1 to 2 inches keeps rain out and shades the hole during hot afternoons. One hinged or removable side panel (more on that in the build steps) is worth adding because it makes seasonal cleaning much easier.
If you've built for other species before and want to compare requirements, the specs for sparrows sit in an interesting middle ground. They need a noticeably larger hole than something like a chickadee but a smaller, more enclosed box than a bird like a dove. If you're curious how those stack up, it's worth glancing at guides like how to build a chickadee bird house or how to build a dove bird house to see the differences in floor area and hole diameter at a glance.
Materials and tools you'll actually need
Wood choices
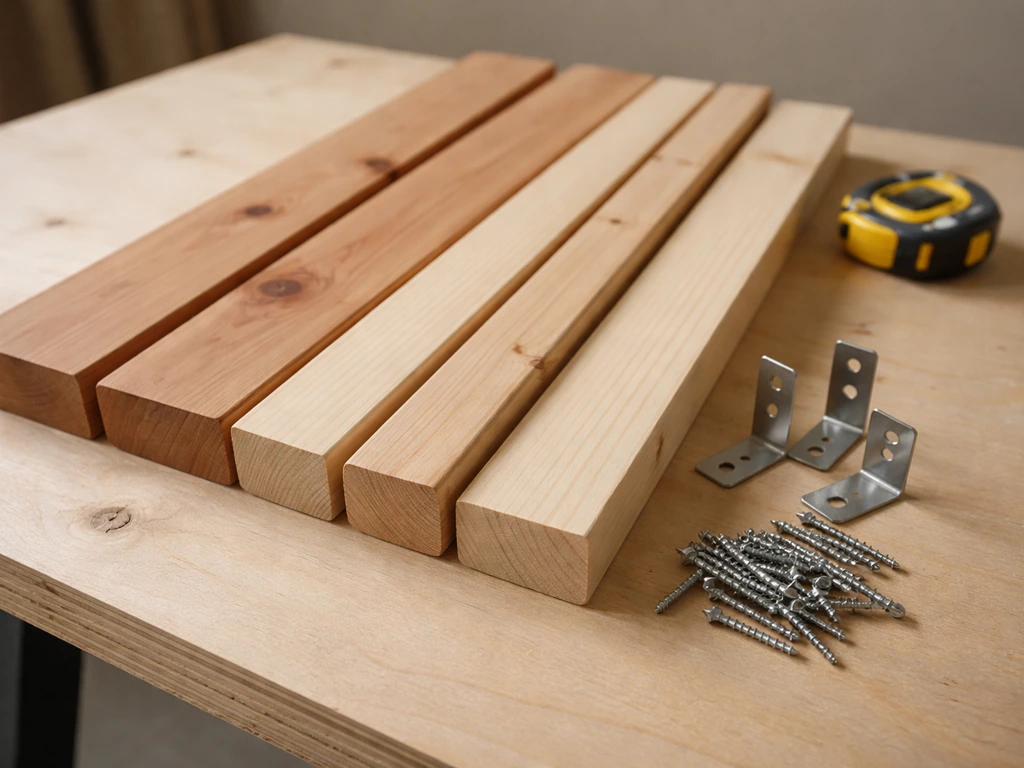
Use untreated, unpainted wood. Treated lumber contains chemicals that can off-gas inside the box and harm eggs and chicks. The best options are cedar, white pine, and yellow pine because they're rot-resistant and hold up through multiple seasons without warping badly. Cedar is the top pick if you want the box to last 10 or more years. White pine is cheaper and still performs well. Avoid plywood for the main panels if you can since the edges swell and delaminate after a couple of wet seasons, but a single piece of 3/4-inch thick dimensional lumber is perfect.
One board of 1x6 pine (which actually measures 3/4 inch thick by 5.5 inches wide) and one shorter piece of 1x8 for the roof panel is all you need for a basic sparrow box. You can get both from a single 6-foot length of 1x8 with careful cutting. Repurposed fence boards and pallet wood also work great as long as they aren't pressure-treated or painted with anything that's not water-based and non-toxic.
Tools list
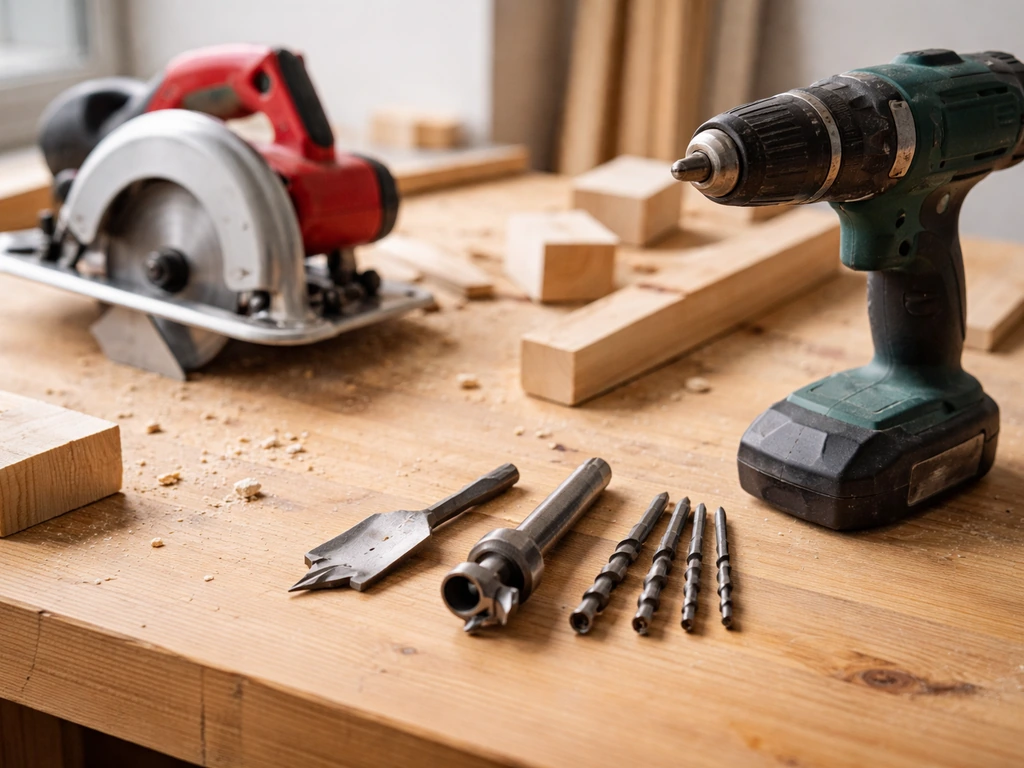
- Circular saw or handsaw (for cutting panels)
- Drill with standard bits and a 1.5-inch spade or Forstner bit (for the entry hole)
- 3/8-inch and 1/4-inch drill bits (for drainage and ventilation holes)
- Hammer or nail gun (16-gauge finishing nails work well)
- Exterior wood screws, 1.5-inch and 2-inch lengths
- Measuring tape and pencil
- Sandpaper, 80-grit and 120-grit
- Speed square or combination square
- Optional: pocket hole jig for cleaner joinery
If you don't own a spade bit, a 1.5-inch hole saw works just as well and tends to leave a cleaner edge. No hole saw? Many hardware stores will drill the entry hole for you if you ask nicely and bring your panel. Don't let missing one tool stop the whole project.
Step-by-step build instructions
Cut list
All dimensions use 3/4-inch thick lumber. Cut these pieces from your 1x6 and 1x8 boards:
| Panel | Width | Length | Quantity |
|---|---|---|---|
| Front | 5.5 inches | 11 inches | 1 |
| Back | 5.5 inches | 13 inches | 1 (extra length for mounting) |
| Two sides | 5.5 inches | 10 inches each | 2 |
| Floor | 4 inches | 4 inches | 1 |
| Roof | 7 inches | 7 inches | 1 |
Cut the top edge of the two side panels at a slight angle (about 5 to 10 degrees) so the roof sits with a forward slope. This keeps rainwater running off the front rather than pooling at the back seam. It sounds fussy but it genuinely extends the life of the box by years.
Assembly order
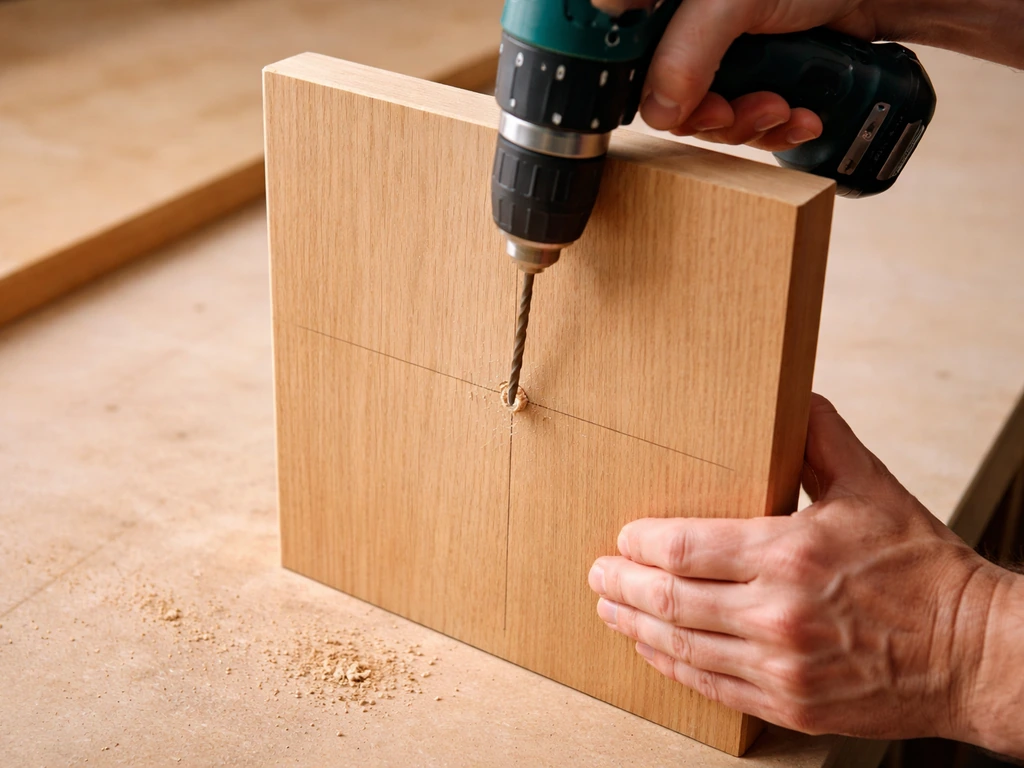
- Drill the entry hole in the front panel first, before assembly. Mark the center of the hole 6.5 inches from the bottom edge of the front panel and centered left to right. Drill your 1.5-inch hole with the spade or Forstner bit. Sand the inside edge of the hole smooth so it doesn't snag feathers.
- Cut or sand a rough texture on the inside face of the front panel below the entry hole. Sparrow chicks need grip to climb up and out when they fledge. A few horizontal grooves scored with a chisel or coarse sandpaper do the job.
- Attach the two side panels to the back panel using 2-inch screws. Pre-drill your screw holes to avoid splitting the wood. Keep the bottom edges flush.
- Drop the floor panel into the bottom of the box. The floor should fit snugly inside the four walls rather than underneath them. This keeps rain from wicking up along the bottom seam. Before you attach it, drill four drainage holes in the floor using a 3/8-inch bit, one near each corner.
- Attach the front panel. If you want a removable front for cleaning access, fasten it with two screws at the top (acting as a pivot) and one removable screw or a small barrel bolt at the bottom. This is the single best feature you can add to any nest box.
- Attach the roof panel so it overhangs the front by at least 1.5 inches. Use two screws through the top of the back panel and one screw angled through each side. Apply a thin bead of exterior wood glue along the top edges before fastening for extra weather resistance.
- Sand all outside edges and any rough patches. You're done with the main build.
Ventilation, drainage, weatherproofing, and cleaning access
Ventilation and drainage aren't optional extras, they're what keep chicks alive during summer heat waves and wet springs. Drill two 5/8-inch diameter ventilation holes on each side panel near the top, just below the roofline. That gives you four total and creates a cross-draft that moves hot air out without creating a wind tunnel at nest level. For drainage, the four 3/8-inch holes in the floor corners you already drilled are a solid baseline. Some builders prefer cutting the corners of the floor panel at 45 degrees instead of drilling holes, which works just as well and is harder to clog with nesting material.
For weatherproofing the exterior, the best option is two coats of exterior linseed oil or teak oil on all outside surfaces. This soaks into the wood and protects it without creating a film that can trap moisture. If you want to paint the exterior, use a light color (off-white, tan, or pale gray) to reflect heat rather than absorb it. Never paint or stain the interior, the floor, or within an inch of the entry hole. If you're building in a very hot climate, a light exterior finish can make a real difference in interior temperature.
The removable front panel is your cleaning access point. If you didn't build that in during assembly, cut one side panel free and re-attach it with two pivot screws at the top and a single removable screw at the bottom. Once a year, in fall, that panel swings open and you can clear out the old nest completely. This matters more than most people realize: old nests harbor mites, bacteria, and blowfly larvae that can kill the next clutch of chicks before they fledge.
The design principles here are similar across most small cavity-nesting species. If you later want to branch out and make a finch bird house, you'll find the ventilation and drainage specs carry over almost identically, with the main changes being hole size and interior depth.
Mounting, maintenance, and fixing a box nobody's using
How to mount it right
The easiest mounting method is screwing the extended back panel directly to a wooden post, fence board, or tree. The back panel you cut 13 inches long gives you 2 to 3 inches above and below the box itself for screw placement without going through the interior. Use two 3-inch exterior screws and make sure the box is level side to side but tilted very slightly forward (just a degree or two) so any water that gets in runs out the drainage holes rather than pooling at the back.
If you're mounting to a metal post or a smooth surface, use a keyhole hanger bracket or a pair of hose clamps. Avoid wire or rope hanging mounts for sparrow boxes because they swing in the wind and sparrows strongly prefer stable, fixed sites.
Add a predator guard if cats, raccoons, or squirrels are active in your yard. The simplest option is a 4-inch deep wooden block with a 1.5-inch hole drilled through it, mounted over the entry hole like an extension tunnel. This prevents a raccoon from reaching its paw through the hole and pulling out eggs or chicks. Sheet metal hole guards (a metal plate with a drilled hole that matches your entry hole diameter) also work and are available at most wild bird stores.
Seasonal maintenance schedule
Clean the box once a year, in fall after the last brood has fledged and before cold weather sets in. Open the panel, remove all old nesting material, and scrub the interior with a stiff brush and a dilute bleach solution (one part bleach to nine parts water). Let it dry completely before closing it back up. If the box had a bad infestation of mites or blowfly larvae during the season, do a second cleaning in early spring before sparrows start scouting again, around late February or early March in most parts of the US.
Check the hardware every fall too. Tighten any screws that have worked loose, reapply exterior oil if the wood looks dry and gray, and make sure the roof overhang hasn't pulled away from the back seam. A box that's physically sound is far more likely to get occupied the following spring.
Why sparrows aren't moving in (and how to fix it)
If your box sits empty through a full spring and summer, run through this checklist before assuming the location is bad:
- Entry hole size: A hole that's too small (under 1.25 inches) will exclude sparrows. Drill it out to 1.5 inches and give it another season.
- Mounting height: Under 5 feet is too low and birds sense the predator risk. Remount at 8 feet if possible.
- Location: Is the box more than 100 feet from any structure or food source? Sparrows won't commute far from human activity. Move it closer to the house or a fence line.
- Hole obstruction: Check that nothing is blocking the entry, overgrown vines, a large branch, or debris caught on the front panel.
- Interior smell: New wood with strong finishes or stains can deter birds for a full season. If you applied anything to the interior, sand it down and leave the box open to air out over winter.
- Competition from other boxes: If you have multiple boxes within 15 feet of each other, birds may avoid the area entirely due to perceived crowding. Space boxes at least 25 to 30 feet apart.
- Time of year: Sparrows start scouting in late winter and early spring. A box installed in July won't likely get used until the following year.
One thing worth knowing about house sparrows specifically: they're famously competitive. They will displace other species from nest boxes, which is exactly why placing sparrow boxes away from boxes intended for native birds is standard advice from Cornell and others. The same competitive drive means if sparrows are present in your neighborhood and the box specs are right, occupancy usually happens within one to two seasons. They aren't picky about appearance, only about fit.
If you're building a sparrow box partly as a gateway into nest box projects generally, it's a great starting point. The same construction skills translate directly when you move on to other species. You might find yourself wanting to build a chimney swift bird house next, or tackle something bigger like building an oriole bird house. Each species has its own quirks, but once you understand how hole size, interior depth, and placement work together, you're thinking like a nest box builder, not just following a pattern.
Sparrows are resilient, opportunistic, and genuinely fun to watch raise a family. Build this box right, put it up at the right height, and you'll likely have tenants within a season or two. The whole project takes about two hours and costs under $20 in materials. That's a pretty good return for a Saturday morning at the workbench.
And if you get the bug for more species-specific builds after this one, there are plenty of directions to go. A starling bird house needs a larger entry hole and more interior space, while something like a chickadee box goes in the opposite direction with a much tighter 1.125-inch hole. Every species teaches you something new about how birds relate to space, safety, and shelter.
FAQ
How can I place a sparrow bird house without harming chances for native birds?
If you want to minimize pressure from house sparrows, place any sparrow box at least several hundred feet away from nest boxes intended for native cavity nesters. Also avoid clustering multiple sparrow boxes together, since higher density can increase aggression toward other species nearby.
Can I use the same design if I scale it down a little? (For example, shorter or narrower.)
Yes, you can build it smaller for a school project, but do not go below the entry hole range or the interior depth range. Sparrows often reject boxes where the entrance is too tight or where there is not enough wall depth for the nest to sit safely behind the hole.
What if I already used stained or treated wood for the panels? Is it still usable?
Skip treated lumber and skip interior paint or stain entirely. Even “non-toxic” finishes can off-gas, and residue near the entry can deter nesting. If you already used stained wood, don’t mount it until the finish has fully cured outdoors for several weeks.
Does mount height or sun exposure change in hot or cold climates?
In colder regions, mount it on the early side of the recommended range (closer to 6 to 8 feet) if you plan to monitor less during winter, but keep it out of reach of cats and raccoons. In very hot climates, prioritize stronger morning sun but avoid afternoon heat exposure, since overheating is a bigger risk than cold for the nesting period.
How much space needs to be in front of the entrance hole for sparrows to actually land and enter?
For sparrows, a more open approach area matters more than heavy hiding. However, if the front is blocked by dense shrubs or a solid fence right at the entry, sparrows may use it less. Aim for a clear flight path and a landing space within a few feet of the opening.
How do I tell if I need more than one cleaning per year?
Yes. If a box is used, mites and blowfly larvae can return even if you cleaned once. A second early-spring cleaning is especially important if you saw birds leaving suddenly, dead chicks, or lots of debris around the entry last season.
What signs mean my sparrow house is letting in too much moisture?
Use ventilation and drainage, and keep wood grain oriented so water can escape. If you notice sagging, standing water after rain, or warping roof seams, correct it immediately, since a wet floor and trapped humidity can quickly ruin a clutch even when the hole size is perfect.
How much should the box tilt forward for drainage, and how can I confirm it’s correct?
A slightly forward tilt helps drainage, but too much tilt can create an uneven nest platform. Keep it to just a degree or two, check with a level during mounting, then confirm the roof overhang still covers the entry consistently from rain angles.
When should I install the sparrow bird house so I do not miss early nesting?
Sparrows can start scouting and nest-building before typical “bird watching” season begins. If you want to be proactive, mount and confirm fit by late winter, especially around late February or early March in many areas, so birds find it quickly.
Is a hinged or removable front panel okay for sparrows, or will it reduce occupancy?
Yes, but be consistent with your entry hole spec and your ventilation approach. A hinge or removable side panel is helpful for you, not for the birds, so ensure it closes tightly and there are no gaps at the edges where light or drafts can reach the nest.
What are the top reasons a sparrow house stays empty even if the build dimensions look right?
If the box sits empty for one season, first re-check the fit specs (entry diameter, floor depth, hole height) and confirm the box is within the 6 to 12 foot range. Then verify the entrance faces away from prevailing wind and that the opening has an unobstructed approach path.
What should I do if I think another species is using the box instead of sparrows?
If starlings show up, the most common cause is an entry hole larger than the sparrow range. Adjusting only by “eyeballing” is risky, so measure with calipers or a hole gauge and correct the entry size if needed.
Next Articles

How to Build a Dove Bird House Step by Step
Step-by-step DIY instructions, cut list, and placement tips to build a safe dove bird house that attracts nesting pairs.
How to Build a Swallow Bird House for Barn and Tree Swallows
Step-by-step DIY plans to build barn and tree swallow bird houses, with entry size, mounting, and care tips.
How to Make a Blue Jay Bird House Step by Step
Step-by-step DIY blue jay bird house build with exact hole size, dimensions, materials, assembly, and placement tips.