You can safely dye wood for bird toys by using non-toxic, EN 71-3 compliant dyes or food-coloring-based toymaker's dyes, prepping your wood thoroughly before any color goes on, and then sealing with a food-safe, fully cured finish like a plant-oil/wax product or a zero-VOC oil. The key is knowing which dyes and finishes have been tested for chew-contact safety, doing a test patch every single time, and waiting out the full cure before your birds ever touch the piece. For a complete start-to-finish guide on building budgie toys, you can follow this overview on how to make bird toys for budgies.
How to Dye Wood for Bird Toys Safely Step by Step

Marcus Thornton
27 May 2026
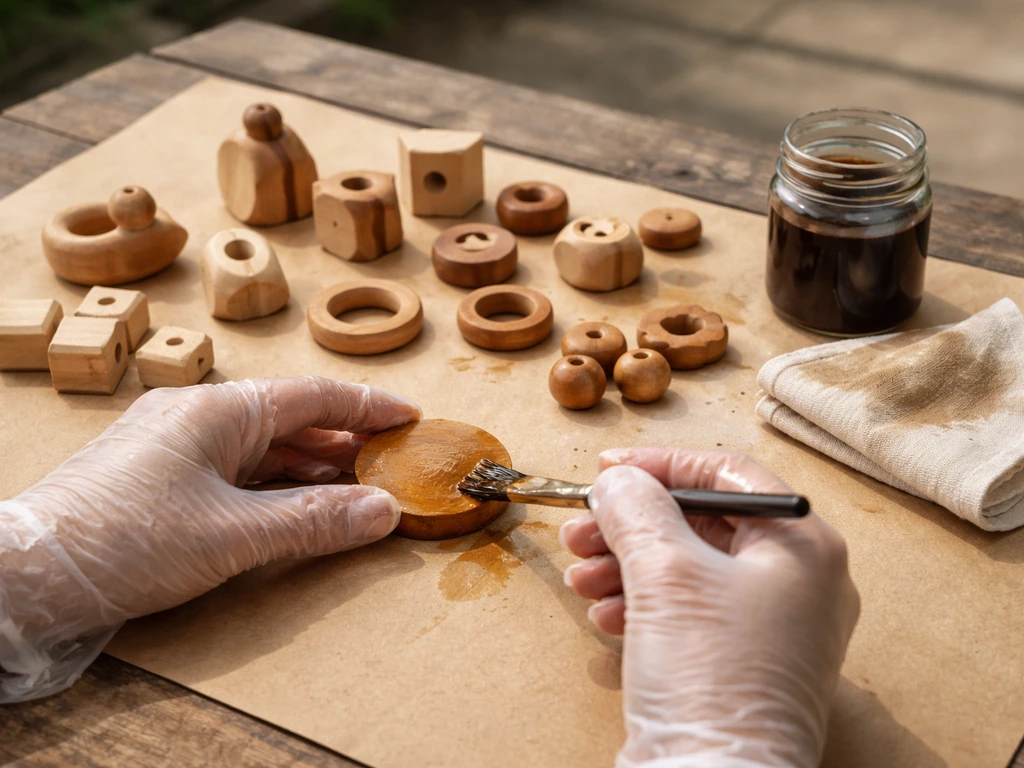
Choosing safe, non-toxic dyes and finishes for bird toys
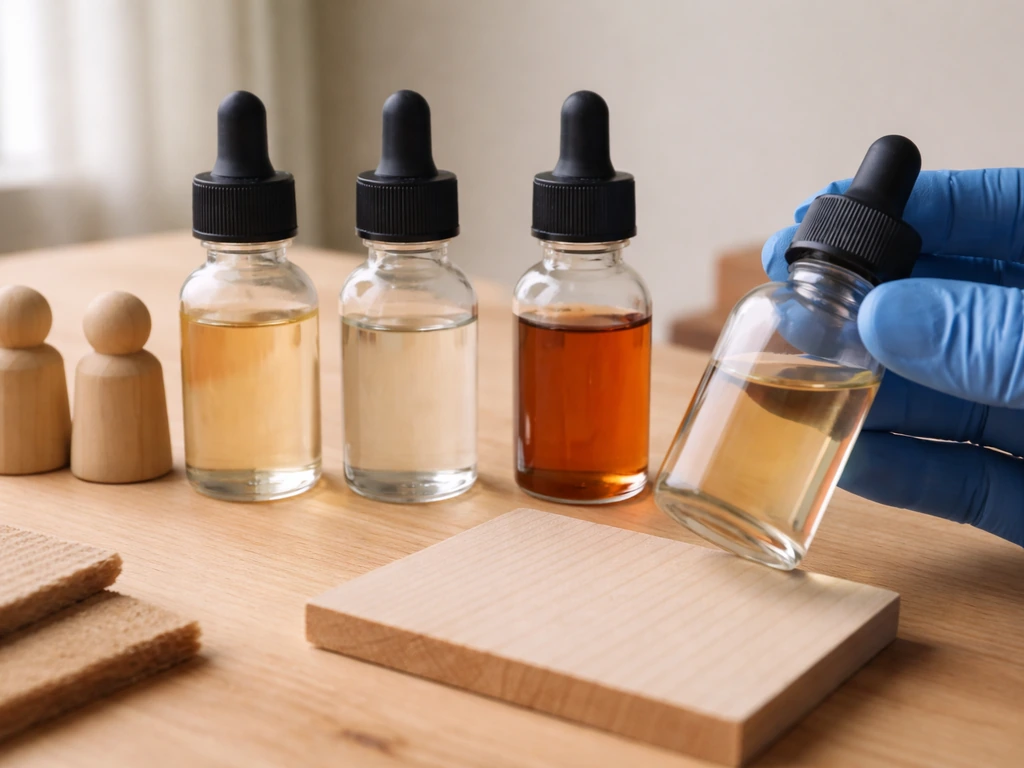
This is the most important decision you make in the whole project. Birds chew. They chew aggressively, and whatever is on the surface of that wood is going into their mouths. That means you cannot just grab any craft store stain and call it a day.
The framework I use is to look for dyes and finishes that meet EN 71-3, the toy safety standard that specifically tests for migration of hazardous elements (like heavy metals) from coatings and materials. Products certified to EN 71-3 have been verified to not leach dangerous amounts of regulated elements when a toy is mouthed or chewed.
Osmo Wood Wax Finish and Osmo Polyx hardwax oil both reference EN 71-3 and DIN 53160 compliance, and they're built from plant oils and waxes rather than synthetic resins. That's a combination I trust for bird toys. TotalBoat Wood Honey is another option worth knowing: it's marketed as food-safe for wooden children's toys, lists a VOC content of 0 g/L, and cures fully in 5 to 7 days.
Liberon Palette Wood Dye is a water-based dye that's EN 71-3 approved and applies uniformly on both large and small surfaces, making it a solid choice for adding color before you seal.
On the dye side, toymaker's dyes made from food-coloring bases are specifically formulated for this kind of application. Highland Woodworking describes them as bright, approved for toy-making, and suitable for use under toy-safe finishes. They're not always easy to find locally, but they're worth ordering online because you get both the color vibrancy and the peace of mind.
Here's what to avoid: any stain or dye that doesn't disclose its chemistry, anything solvent-heavy (especially products with aromatic solvents or high VOC content), epoxy coatings (West System's own safety docs warn about sensitization risks and incomplete cure hazards), and any generic 'universal colorant' where the organic dye chemistry is unknown. Sloe Wood's guide on wooden toy safety makes this point well: some dye-based colorants contain organic chemicals that are restricted under toy safety regulations, so if you cannot find EN 71-3 or equivalent documentation for a product, don't use it on bird toys. ASTM F963, the U.S. toy safety standard, is another useful reference when you're evaluating whether a product was designed with chew-contact in mind.
| Product | Type | Key Safety Credential | Notes |
|---|---|---|---|
| Liberon Palette Wood Dye | Water-based dye | EN 71-3 Approved | Quick, uniform coverage; use compatible water-based topcoat carefully |
| Toymaker's dyes (food-coloring base) | Water-soluble dye | Food-coloring derived | Bright colors; best under a certified toy-safe sealer |
| Osmo Wood Wax Finish | Oil/wax finish | EN 71-3, DIN 53160 | Plant-based; full cure 2-3 weeks; 10-12 hr dry between coats |
| TotalBoat Wood Honey | Oil finish | Food-safe, 0 g/L VOC | 5-7 day full cure; excellent for chew-contact surfaces |
| Standard hardware store stains | Varies | Not toy-rated | Avoid; VOC and heavy metal content often undisclosed |
Wood prep: drying, sanding, cleaning, and stain testing
Bad prep is the number one reason bird toy dyeing projects come out patchy, blotchy, or uneven. I've ruined more than a few pieces by rushing this stage, and it's honestly the most preventable mistake in the whole process.
Start with dry wood. Armstrong-Clark is direct about this: never apply stain or dye to wood that's too wet. If you're working with freshly cut or washed wood, let it dry completely before you do anything else. For outdoor pieces, the surface must also be free of dust, dirt, mold, mildew, pollen, and mill glaze before any dye touches it. A light wipe-down with a clean, damp cloth (not soaking wet) followed by full air drying is enough for most workshop wood.
Sanding comes next, and consistency matters more than most people realize. Kreg's staining guides point out that if you sand different parts of the same piece to different grits (say, 100 on one face and 180 on another), the dye will absorb unevenly and you'll see visible color differences. Pick a grit and stick with it across the whole piece. For face grain, 180 grit is a reliable finishing sand. For end grain, which absorbs dye much faster and darker than face grain, go finer: 220 grit helps slow down that over-absorption. Always sand with the grain, not across it.
After sanding, wipe off all dust with a tack cloth or a slightly damp rag. Let the wood dry again completely. Then do a test spot. Minwax's guidance is simple and right: always test your dye on an inconspicuous area of the actual piece (or a scrap of the same wood species) before committing to the full surface. Color looks very different on pine versus oak versus balsa, and the test takes five minutes but saves the whole project. Let your test spot dry fully before judging it, because wet dye always looks darker than the dried result.
If your wood species is known to be blotch-prone (pine, cherry, and birch are the usual suspects), apply a washcoat first. A washcoat is a thinned layer of finish that partially seals the surface and evens out absorption before the dye goes on. Wood Magazine recommends this approach specifically to prevent spongy, uneven areas from grabbing too much color. Thin your sealer to about 10 to 20 percent concentration, brush it on, let it dry, do a light 220-grit pass, wipe clean, and then apply your dye.
Step-by-step dyeing methods: wipe-on, brush, soak, and spray
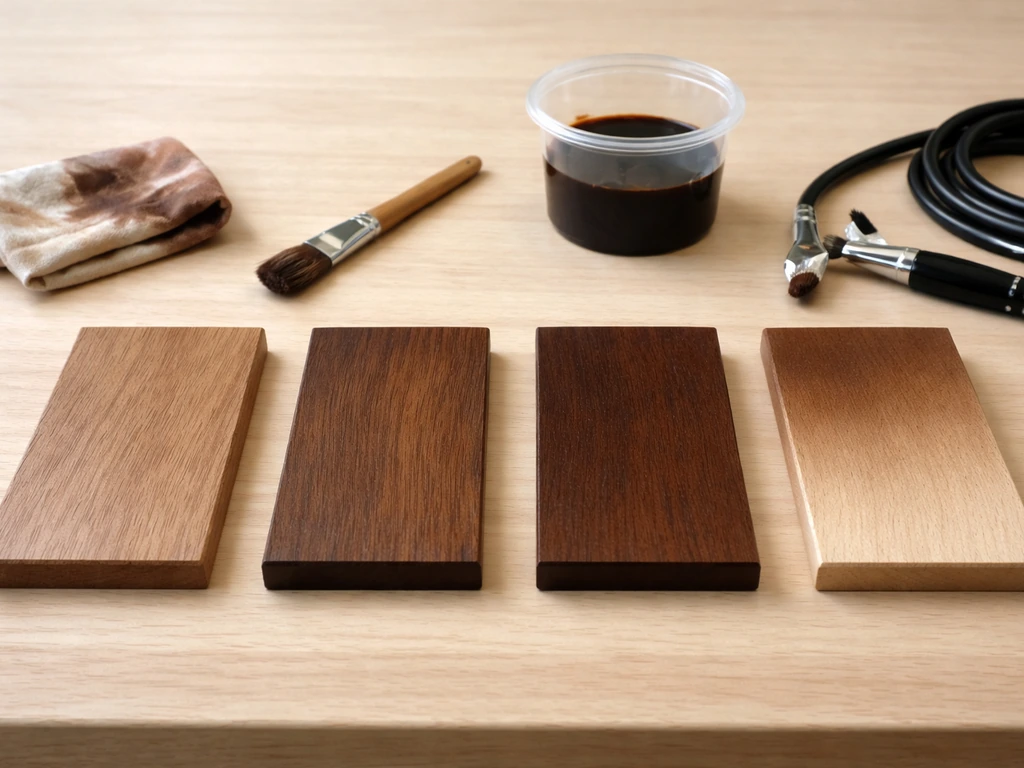
There's no single right method here. The best approach depends on the size of the toy pieces, the color depth you want, and what tools you have available. Here's how each method works in practice.
Wipe-on method
This is the most beginner-friendly approach and the one I default to for most small toy parts. Dampen a lint-free cloth or foam applicator with your dye, then wipe it onto the wood surface using long strokes that follow the grain. Work in sections on larger pieces so the dye doesn't dry at the edges before you can blend it. Wipe off any excess immediately with a clean cloth, because pooling dye dries darker and creates blotches. One coat gives a lighter, more natural look. Two or three thin coats build richer color without the patchiness that comes from trying to push one heavy coat too dark.
Brush application
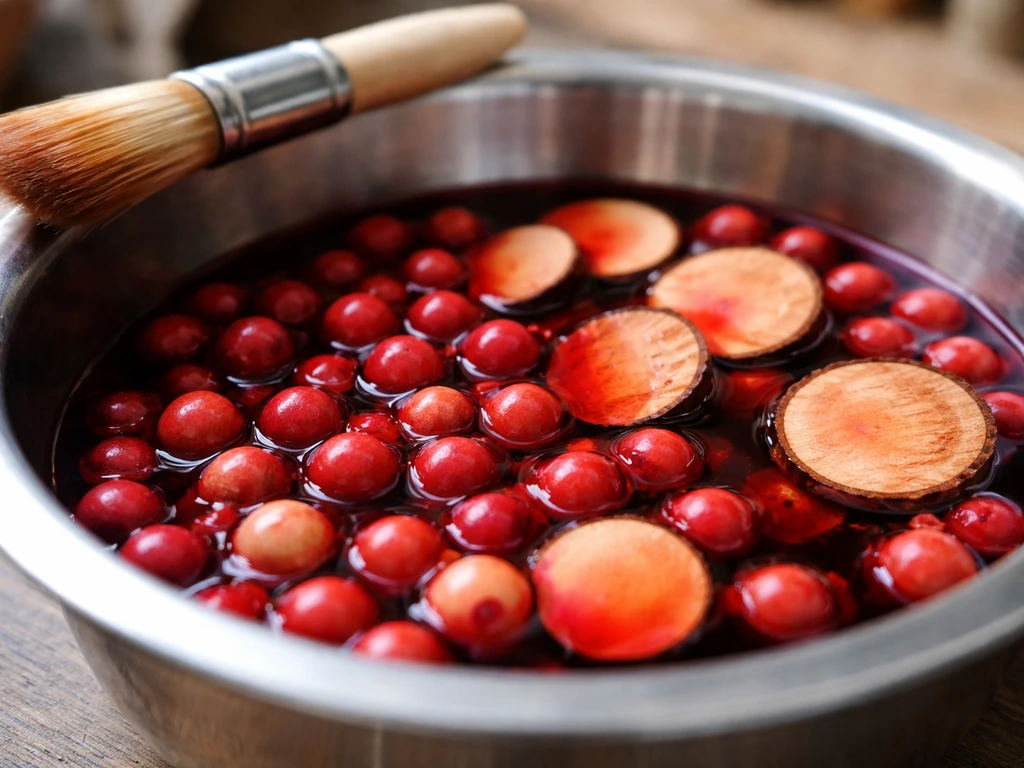
A soft bristle brush gives you more control over where the dye goes, which is useful for pieces with carved details, drilled holes, or textured surfaces. Use a quality brush so you don't leave bristle marks. Work quickly and keep a wet edge to avoid lap marks where one section dries before you blend the next. Brush application tends to deposit slightly more dye than wiping, so your color will be a bit more saturated per coat. Wipe away excess the same way you would with the cloth method.
Soak method
For small wood beads, thin slices, or toy pieces where you want uniform, saturated color all the way through, soaking works really well. Mix your dye solution in a glass or stainless steel container (not plastic, which can stain and absorb the dye), submerge the pieces, and let them sit for anywhere from 5 minutes to an hour depending on how deep you want the color. Shorter soak equals lighter color. Pull them out with tongs, shake off excess, and lay them on a wire rack to dry. Because the dye penetrates deeply with this method, blotching is less of an issue, but end grain pieces will still absorb faster, so check them earlier.
Spray application
Spraying with a small airbrush or pump sprayer gives you the most even coverage on complex shapes, but it adds the complication of overspray and the need for a ventilated workspace. For bird toys, I only recommend spray application if you're using a water-based dye (lower VOC than solvent-based alternatives), you have good ventilation, and you're doing a batch of pieces that justifies the setup time. Spray in thin passes, let each pass tack up for a minute before the next, and always keep the spray moving so you don't pool dye in one spot. Wear eye protection and a respirator even with water-based products.
Sealing and curing for bird safety
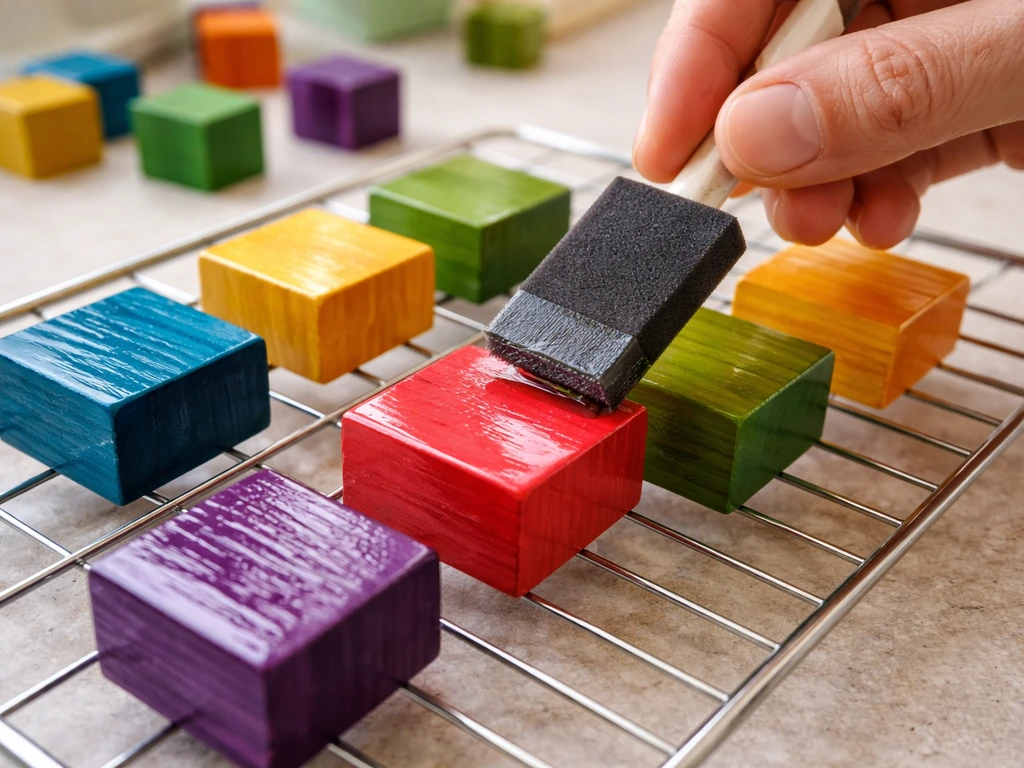
The sealer is what stands between the dye and your bird's beak, so this stage is non-negotiable. If you want a fuller, start-to-finish walkthrough, see how to make safe bird toys for the full process from selecting materials to sealing and curing. Even if you use a perfectly safe dye, an uncured or wrong-chemistry sealer can be toxic. The two products I'd steer most readers toward are Osmo Wood Wax Finish and TotalBoat Wood Honey, both for the reasons already mentioned: verified safety credentials, zero or very low VOC, and real cure time documentation.
Apply your sealer in thin coats. With Osmo products, the official guidance is one thin coat, let it dry 10 to 12 hours, then a second thin coat. Applying it too thickly leads to slower drying, odor problems, and incomplete curing.
Osmo’s Wood Wax Finish guidance also notes that applying too generously with insufficient ventilation can delay drying and odor release, signaling incomplete off-gassing Osmo Wood Wax Finish guidance warns that applying too thickly can slow drying, cause odor, and lead to incomplete curing if ventilation is insufficient. The surface will feel dry long before it's actually safe, which is the trap most people fall into.
Osmo Wood Wax Finish reaches full cure in 2 to 3 weeks. TotalBoat Wood Honey needs 5 to 7 days for full cure. Don't rush it. The toy should not be given to a bird until the cure window is fully complete, because residual uncured chemistry in an oil or wax finish is exactly the kind of thing that causes problems when birds chew.
One compatibility note: if you used Liberon Palette Wood Dye as your colorant, take care when applying water-based finishes over it. Liberon's own documentation calls this out. A water-based topcoat can reactivate the water-soluble dye underneath and cause it to lift or bleed into the sealer. Do a compatibility test on scrap first, or use an oil-based sealer like Osmo (which is oil/wax, not water-based) to avoid this entirely.
After the full cure, do a simple fingernail test: press your nail firmly into the finish on a scrap piece. If it leaves a clear dent, the finish hasn't fully hardened yet. If the surface feels hard and the nail skates across it, you're good. Store finished pieces in a clean, dry place while they cure to avoid dust or contamination embedding in the soft surface.
Best colors and finishes for durability in outdoor use
If your bird toys are going outside, UV exposure and moisture are your main enemies. Dyes fade faster than pigmented stains outdoors because dye molecules are smaller and penetrate the wood rather than sitting on top, which makes them more vulnerable to photodegradation. To extend color life, apply a UV-resistant topcoat over your dye layer. Osmo's exterior-rated oil finishes include UV stabilizers and hold up well against seasonal moisture cycles.
Earthy, medium-value colors (warm browns, forest greens, muted oranges, and natural tans) tend to age more gracefully outdoors than very bright or saturated hues, which fade visibly. That's partly a UV sensitivity issue with certain dye chemistries, and partly just the nature of bright pigments in sunlight. If you want bold colors, use them on toys that live primarily indoors or in a covered aviary, and save more neutral tones for fully exposed outdoor pieces.
For the most durable outdoor setup, the combination that works best is: toymaker's dye or EN 71-3 water-based dye for color, fully dried and lightly sanded between coats, followed by two thin coats of an oil/wax exterior finish with UV protection, and then a full outdoor cure of at least 2 to 3 weeks before the piece sees rain or direct sun. Pieces that are going to hang in a wet environment (like a rain-exposed bird feeder station) should also have their end grain sealed extra thoroughly, since end grain is the primary moisture entry point.
Avoiding common mistakes
A few problems come up again and again with dyed bird toys, and most of them are completely preventable once you know to watch for them.
- Blotchy absorption: Usually caused by inconsistent sanding, wet wood, or skipping the washcoat on blotch-prone species. Sand evenly to the same grit across the whole piece, let wood dry completely, and use a washcoat on pine, cherry, or birch.
- Dye bleeding into the sealer: Happens when you apply a water-based topcoat over a water-soluble dye before the dye has fully dried, or when the two products aren't compatible. Let the dye cure thoroughly before sealing, do a compatibility test on scrap, and consider using an oil-based sealer over water-based dyes.
- Uneven color from pooling: If you apply too much dye at once and don't wipe off the excess promptly, it dries in pools that look darker and glossier than the rest of the surface. Always wipe off excess immediately and build color with multiple thin coats.
- Insufficient curing before bird contact: The finish feels dry in 24 hours but isn't safe for chewing for days or weeks. Stick to the manufacturer's cure time, not the dry-to-touch time. Osmo products need 2 to 3 weeks for full cure.
- Using incompatible products: Layering a water-based dye under a water-based finish without checking compatibility, or mixing oil and water-based products in the same coat, causes adhesion failure, lifting, and cloudiness. Always test compatibility on a scrap piece first.
- Contamination from sanding residue: Sanding dust left in the grain absorbs dye differently than clean wood and creates speckling. Wipe down thoroughly with a tack cloth after every sanding step.
- Over-relying on darker color to hide mistakes: Minwax specifically warns against letting excess stain dry on the surface to try to build a darker color that way. It changes the finish behavior and doesn't produce even results. If you want a darker shade, use a stronger dye concentration or add a coat, not leftover pooled dye.
Cleanup, tools, and maintenance for dyed bird toys
The good news about working with water-based dyes is that cleanup is straightforward: warm water and soap cleans brushes, applicators, and containers immediately after use. Don't let water-based dye dry on your tools because once it sets it's much harder to remove. Glass and stainless steel containers clean up easily. Avoid using the same plastic containers for food prep after they've held dye, even water-based dye.
Here's the basic tools and materials list you need to get through this project from start to finish:
- EN 71-3 rated wood dye (Liberon Palette, toymaker's food-coloring dye, or equivalent)
- Food-safe or toy-safe sealer (Osmo Wood Wax Finish, TotalBoat Wood Honey, or equivalent)
- Sandpaper in 180 grit (face grain) and 220 grit (end grain and final smoothing)
- Tack cloth or lint-free rags for dust removal
- Lint-free applicator cloths or quality soft-bristle brush
- Glass or stainless steel containers for soak dyeing
- Wire rack for drying pieces
- Tongs for soak method
- Respirator and nitrile gloves (for both dyeing and sealing stages)
- Test scrap of the same wood species you're dyeing
For ongoing maintenance, dyed and sealed bird toys do wear over time, especially if they're outside. Check them every few months for surface wear, cracking, or dye fading. If the sealed surface has worn through to bare wood, take the toy back inside, clean it, lightly sand with 220 grit, and apply a fresh thin coat of sealer. Let it cure fully before returning it to the birds. If the toy shows any signs of rot, splitting, or embedded mold, retire it and make a new one. No amount of resealing saves structurally compromised wood.
If you're building a larger set of toys and want to save time, batch your dyeing and sealing in one session. Dye all the pieces, let them dry overnight, do a light 220-grit pass, seal in one batch, and then set everything on a wire rack for the full cure window. It's much more efficient than doing one piece at a time and you'll get more consistent color across the set.
That kind of batch workflow connects naturally to broader DIY bird toy projects, whether you're making foraging puzzles, hanging perches, or chew blocks. If you are looking for more ideas, there are also bird toys you can make at home that use the same safe, chew-tested approach DIY bird toy projects.
If you're looking for more step-by-step ideas, this do it yourself bird toys guide can help you plan your next batch from start to finish DIY bird toys. Getting the dyeing and sealing process right is the foundation that makes all of those pieces look great and stay safe for the birds using them. If you want to use this guidance for an easy craft, these same dyeing and sealing steps apply to popsicle stick bird toys too.
If you want to scale this into a full DIY project, start by planning specific bird toys to make and then choose dye and sealing steps that keep each toy chew-safe DIY bird toy projects. If you're also wondering how to make bird toys from start to finish, treat safe dyeing and curing as the core step before you assemble any parts dyeing and sealing process.
FAQ
Can I dye and then assemble the bird toy right away, or do I need to wait for full curing?
Yes, but only if the product is explicitly chew-contact safe and fully cured after dyeing. Avoid “sealer-as-you-go” shortcuts where you dye and immediately handle or assemble, because unfinished finish can smear into joints and get concentrated in chew areas. For bird toys, do the fingernail dent test on a scrap, then wait the full cure window before any assembly (especially for threaded pieces, dowels, or parts that birds can reach from multiple angles).
What’s the safest way to choose a sealer if I’m not using the specific finishes mentioned (Osmo or TotalBoat)?
If you used an EN 71-3 compliant dye, the main risk is usually the topcoat, not the colorant. Look for a finish that is listed as zero or very low VOC and has a documented full cure time, then apply in thin coats so the surface hardens before the next layer. Even a safe finish can fail if you apply it too thickly, because uncured material can remain trapped underneath and transfer to the beak during chewing.
My dye looks like it’s lifting or bleeding under the sealer, what should I do?
If you notice bleeding or lifting after the first sealer coat, stop and let the piece dry completely, then reassess compatibility. This most commonly happens with water-based topcoats over water-soluble dyes, so switch strategies: either use an oil/wax sealer system over that dye, or switch to a topcoat specifically compatible with water-based dye layers. Always do a scrap test, because the same dye can behave differently on different wood species or grits.
What if the finish still feels tacky after the cure time?
If the finish hasn’t fully cured, you can often fix it by leaving the toy alone longer, but you should not “re-dye” or apply extra sealer immediately. Wait until the full cure period is complete, then re-check with the fingernail test. If the surface still feels soft or leaves dents after the stated cure time, remove and start over, because trapped uncured chemistry is hard to reliably fix without stripping.
How can I prevent blotches when dyeing pine, cherry, or birch?
For bleed-resistant results, prioritize compatibility and control absorption. Use consistent sanding across the whole piece, wipe dust thoroughly, and apply thin coats with enough time between coats. If the wood is blotch-prone, a properly thinned washcoat helps, and soaking dyes tends to create more uniform color but can still darken end grain quickly, so check end-grain pieces earlier in the soak.
What’s the right way to clean up dye tools and containers, and can I reuse plastic containers?
Warm, soapy water is generally fine for cleaning water-based dye off hands and tools, but do not try to “wash out” a cured dye or finish once it’s hardened on the toy. For tools, clean right away before dye sets. If you must salvage something where dye dried on equipment, soak and scrub the tool, then rinse well, because leftover dye residue can contaminate the next batch or stain plastic storage containers.
Is end grain dyeing different for bird toys?
Yes, but treat end grain as a different material. It absorbs dye faster and can look significantly darker, then it becomes the main pathway for moisture if not sealed thoroughly. Use a finer sanding grit on end grain (as you already planned), apply dye earlier or with shorter exposure (especially for soaking), and seal the end grain with extra attention, including thin additional coats if the surface stays porous.
How should I adjust dye and sealing if the toys will be outdoors?
For indoors, color usually lasts longer because you avoid UV and rain cycles. For outdoor use, choose medium earthy colors when possible, and add a UV-stabilized exterior finish layer. Also ensure a full outdoor cure time before exposure, because even a short delay can let early rain or sun accelerate fading and affect finish hardness.
What areas tend to fail first on dyed bird toys (edges, holes, seams), and how do I check?
Avoid using dyed wood as chew-only hardware parts if the bird can access bare spots at edges, drilled holes, or seam lines. Add sealing coverage specifically to those “access points” and do a second fingernail dent test on the edges after cure. If you have any places where dye was not fully covered or finish looks thin, touch up with a thin additional coat and re-cure rather than leaving a vulnerable spot.
Do I need extra precautions for very aggressive chewers or small birds like budgies?
Yes. If your bird is a chewer or you’re making toys for smaller species that can bite through more aggressively, prioritize a longer cure window and thicker safety margin in practice. Do not rely solely on “dry to the touch,” use the dent test and cure-time documentation, then observe the toy for a few days for any surface softening, color transfer, or strong odor.
Next Articles
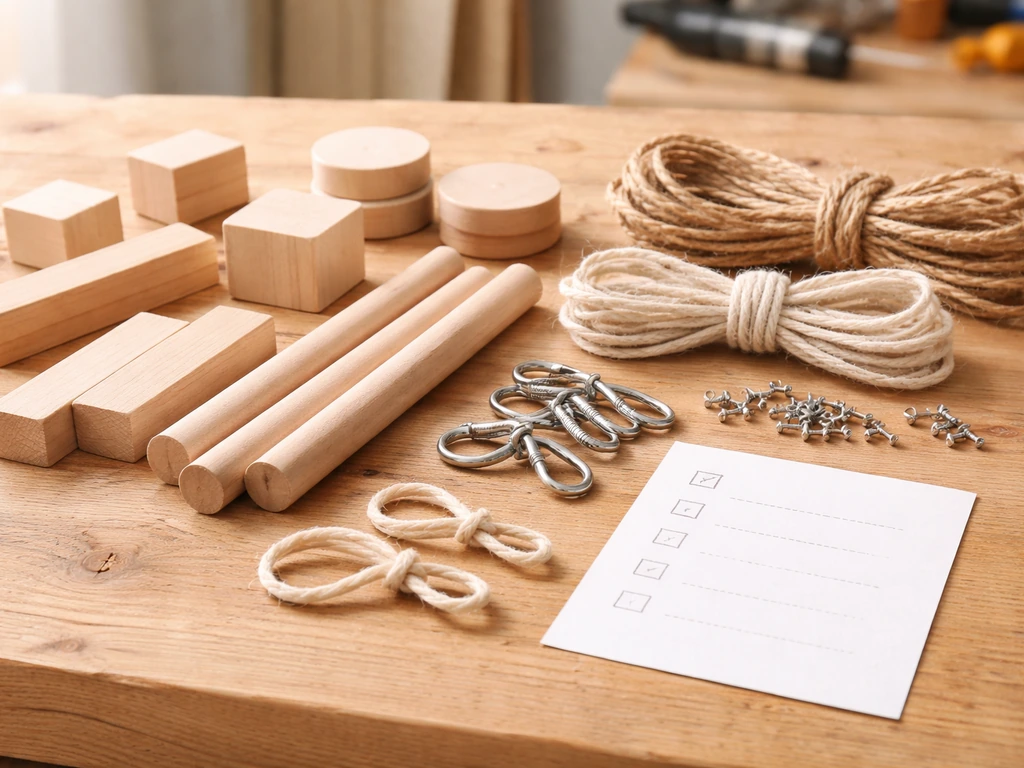
How to Make Safe Bird Toys: DIY Safety Checklist
DIY guide to make safe bird toys with material rules, hazard checks, testing, maintenance, and beginner-friendly builds.
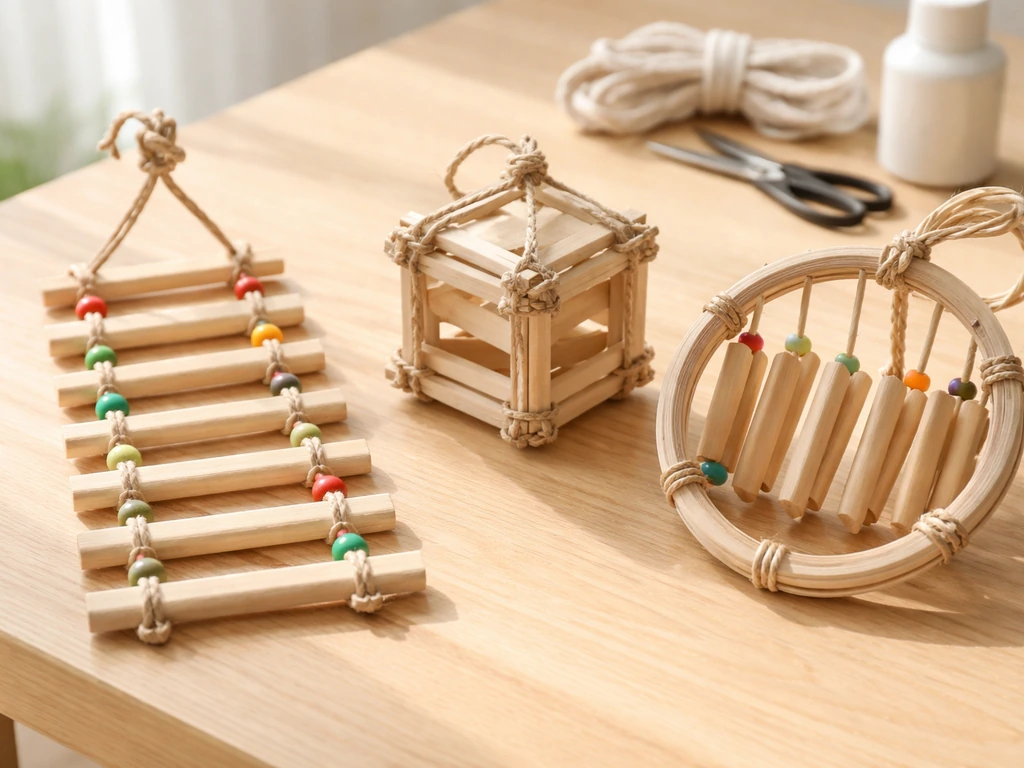
How to Make Bird Toys With Popsicle Sticks Safely
Beginner DIY guide to safely build bird toys from popsicle sticks with step-by-step designs, materials, safe fixes, and
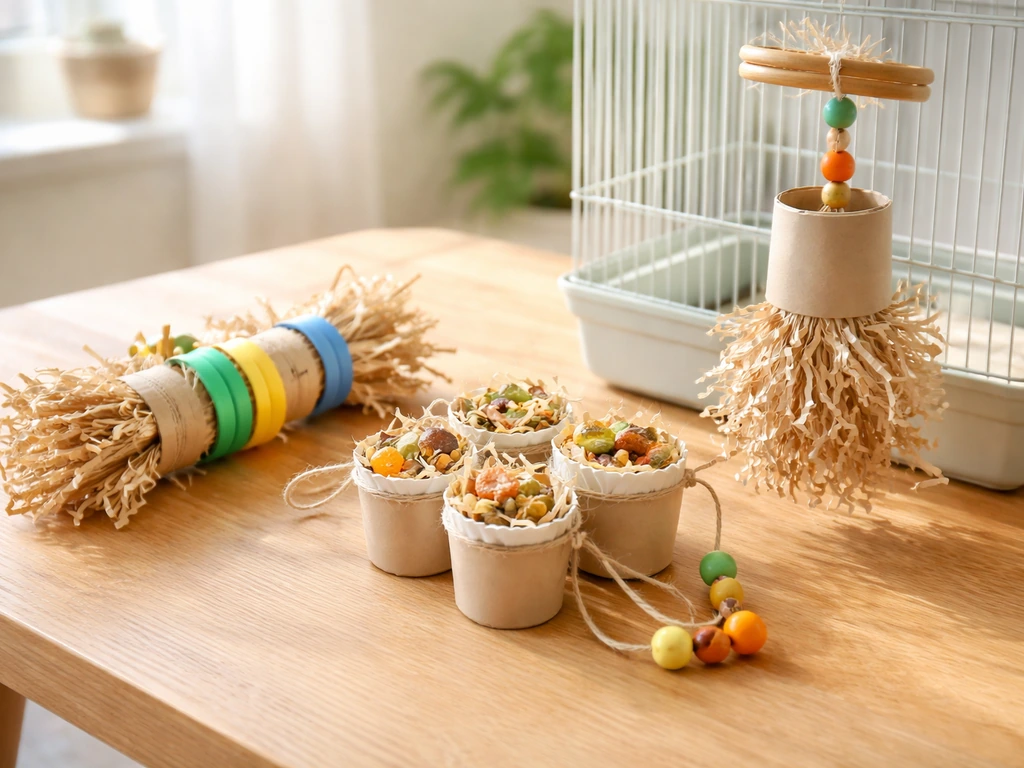
Bird Toys You Can Make at Home: DIY Ideas and Safety
DIY bird toys you can make at home with step-by-step builds, safe materials, and safety checks for enrichment.