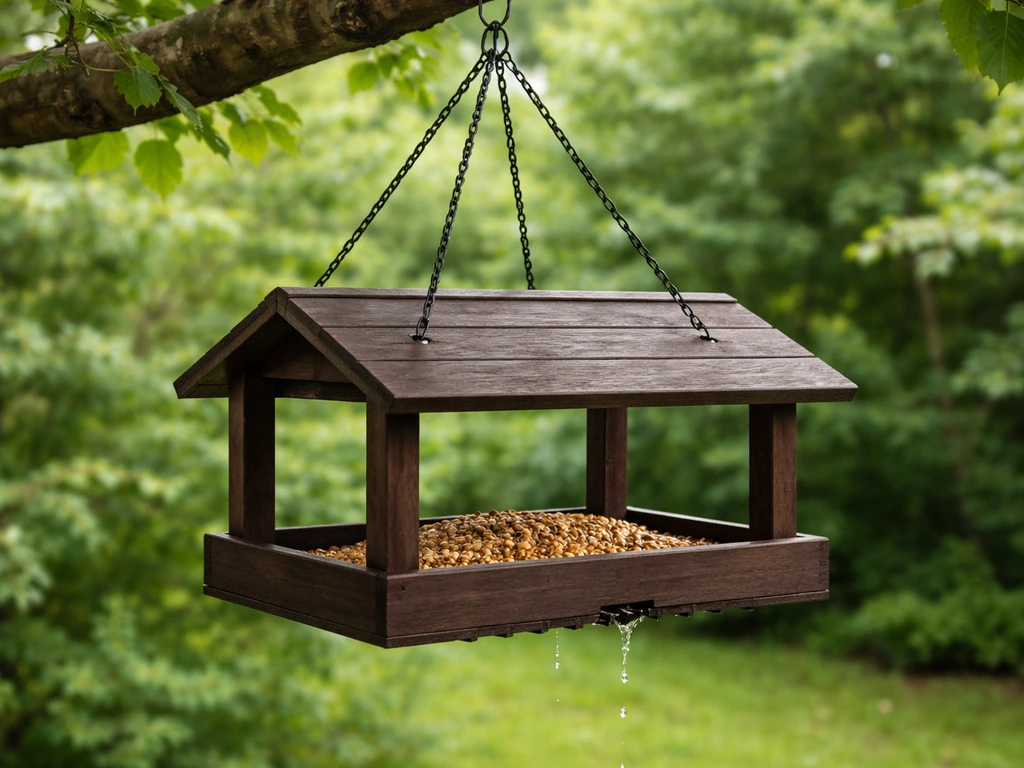
A hanging bird table is one of the most satisfying feeders you can build because it takes about an afternoon, costs almost nothing if you use scrap wood, and works for a genuinely wide range of birds. To make a simple bird table, follow the steps in this guide to cut, drill, assemble, and weatherproof a hanging tray. The basic build is a flat tray with low retaining edges, drainage holes, and three or four attachment points so you can suspend it from a branch, hook, or bracket. Get those fundamentals right and you'll have a feeder that lasts years, stays clean, and keeps birds coming back.
How to Make a Hanging Bird Table: Step-by-Step DIY
Marcus Thornton
30 May 2026
Choosing the right bird table style and target birds
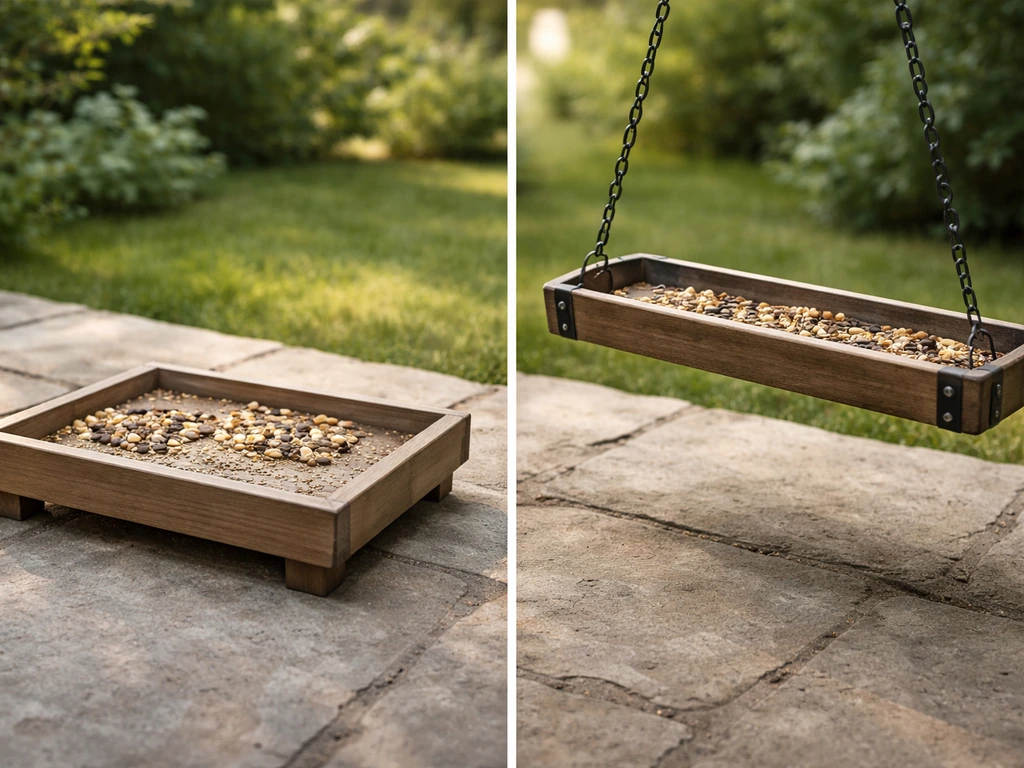
Before you pick up a saw, it's worth deciding what kind of hanging table you actually want, because there are a few variations and they suit different birds. The simplest version is a flat open platform, basically a rectangular tray that hangs level. Because it has no feeding ports or tubes, it welcomes a much wider variety of species than a tube feeder does. Robins, thrushes, dunnocks, sparrows, finches, starlings, and even corvids will all land on an open tray. If your goal is to attract smaller birds specifically, you can add a low roof or partial walls to discourage larger visitors. If you want the right shape for your target, focus on a low-roof or partial walls so the table feels safe for small birds smaller birds. A trough-style table adds side walls about 1.5 to 2 inches high, which keeps food from blowing off and gives timid birds a little more cover while feeding.
If you're primarily feeding ground-feeders like dunnocks that get nervous on elevated platforms, go lower and wider. If you want finches and tits, a smaller compact tray hung higher up in tree cover will feel safer to them. A hanging design is especially useful if cats are a concern in your garden, since you can position it well out of reach. If you want to go further, follow a detailed guide specifically focused on how to make a cat-proof bird table cats are a concern. If predator-proofing is a real priority, that topic goes deeper in a separate guide dedicated to cat-proof bird tables.
Materials and tools (reused vs store-bought)
You genuinely don't need to buy much for this. I've built hanging tables from old fence boards, pallet wood, and offcuts from other projects, and they've outlasted some store-bought feeders. The key is picking wood that's untreated or treated only with bird-safe finish, because pressure-treated lumber can leach chemicals that harm birds. Rough-sawn softwood like pine or cedar is ideal. Cedar is the best choice if you can get it because it's naturally rot-resistant. Pine is fine and usually free from a scrap pile, just expect to weatherproof it more thoroughly.
Here's what you'll need for a standard hanging tray table roughly 12 inches by 10 inches:
- One piece of 12" x 10" board (around 3/4" thick) for the base — this can be cut from an offcut or pallet plank
- Four strips of wood approximately 1" x 1.5" x 10-12" for the retaining edges (staple these around the perimeter, leaving gaps at corners for drainage)
- A length of stainless steel chain or weather-rated cord (paracord or braided nylon works well) — roughly 5 to 6 feet total
- Four small eye screws or screw-in hooks, one per corner of the tray
- A single larger hook or swivel clip at the top to connect all four chains to one hanging point
- Wood screws (1.25" or 1.5" stainless or zinc-plated), wood glue, and sandpaper
- A drill with a small bit for drainage holes and pilot holes for the eye screws
- Exterior wood sealant or linseed oil for weatherproofing
Tools needed: a saw (hand saw or jigsaw is fine), a drill, a tape measure, sandpaper, and a brush for sealant. If you don't have a saw, most DIY stores will cut wood to size for free or a small fee. You can also ask a neighbor or local makerspace. This is genuinely an approachable beginner project and you won't need power tools beyond a basic drill. With beginner simple bird house plans, you can keep the same approachable mindset and adapt the design to a sturdy box style too.
Step-by-step build plan for a hanging bird table
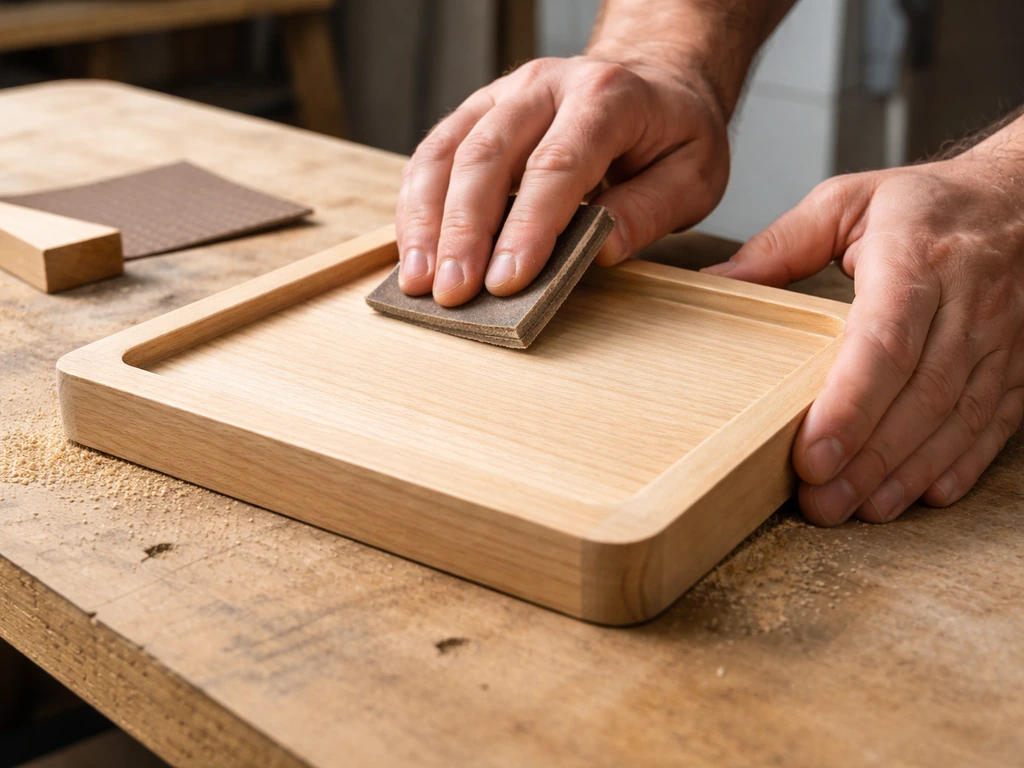
- Cut your base board to size. A 12" x 10" tray is a good starting point — big enough to hold food but light enough to hang stably. Sand all edges smooth so there are no splinters that could snag feathers.
- Drill drainage holes in the base. Four to six holes about 8mm wide spaced evenly across the base are enough to stop water pooling after rain. This is the step most beginners skip and then regret when their food goes moldy in 24 hours.
- Attach the retaining edge strips around the perimeter. Glue and screw them to the top face of the base, leaving a gap of about 1 inch at each corner. Those corner gaps are your secondary drainage channels and make sweeping the tray clean much easier. The retaining edge only needs to be around 1 to 1.5 inches tall — enough to keep seed from blowing off without trapping water.
- Sand everything down again, focusing on the inside of the tray and the top edges of the retaining strips. Any rough edge is a potential injury point for small birds.
- Drill pilot holes at each corner of the tray, slightly inward from the edge so the wood doesn't split. Screw in your four eye hooks. Make sure they are screwed in fully and sit flush so nothing protrudes inside the tray.
- Cut your chain or cord into four equal lengths — around 12 to 15 inches each. Attach one length to each eye hook. Gather the four lengths together at the top and connect them to your central swivel hook or carabiner clip. This spreads the load evenly and keeps the tray hanging level.
- Test the tray indoors by hanging it from a finger or hook and checking that it sits level. If one corner dips, adjust the cord length on that corner until the tray hangs flat. A tilted tray spills food and discourages birds from landing.
- Apply your weatherproofing finish (see the next section) before taking it outside for the first time.
If you want a trough-style variation, simply increase your retaining edge height to about 2 inches and skip the corner drainage gaps, replacing them with small drilled holes along the bottom edge of each side strip instead. This holds more food and is useful in exposed gardens where wind is a problem.
Finishing, weatherproofing, and predator-resistant mounting
Weatherproofing is what separates a feeder that lasts one winter from one that's still going five years later. Raw pine will swell, crack, and grow mold quickly. Apply at least two coats of exterior-grade linseed oil or a non-toxic wood sealant to all surfaces, including the underside and the edges. Let each coat dry fully (usually 24 hours) before applying the next. Avoid wood stains or varnishes that contain fungicides, insecticides, or heavy-metal pigments, these are marketed for garden furniture but are not safe for birds that peck directly at the surface.
Cedar doesn't strictly need treatment but benefits from a single oil coat to slow weathering. Pine needs two to three coats minimum, plus an annual top-up in spring. If you used pallet wood, check the markings on the pallet first, pallets stamped 'MB' have been treated with methyl bromide, which is toxic. Only use pallets stamped 'HT' (heat treated) or 'DB' (debarked).
For predator resistance, the hanging setup itself is your best defense. You can also improve overall security by using a sturdy hanging setup and adding predator-deterring measures secure a bird table. A squirrel baffle installed above the feeder on the hanging line makes a significant difference if you're dealing with squirrels. Position the baffle so the bottom of the feeder hangs at least 4 to 5 feet off the ground. If hanging from a tree branch, use a baffle that wraps around the line above the feeder rather than relying on the branch angle alone. Use stainless steel or heavy-gauge galvanised chain rather than thin cord when squirrels are present, because they will chew through rope. For the hardware connecting chain to eye hooks, use closed rings rather than open S-hooks that can work loose over time.
Hanging setup and placement (height, distance, shelter)
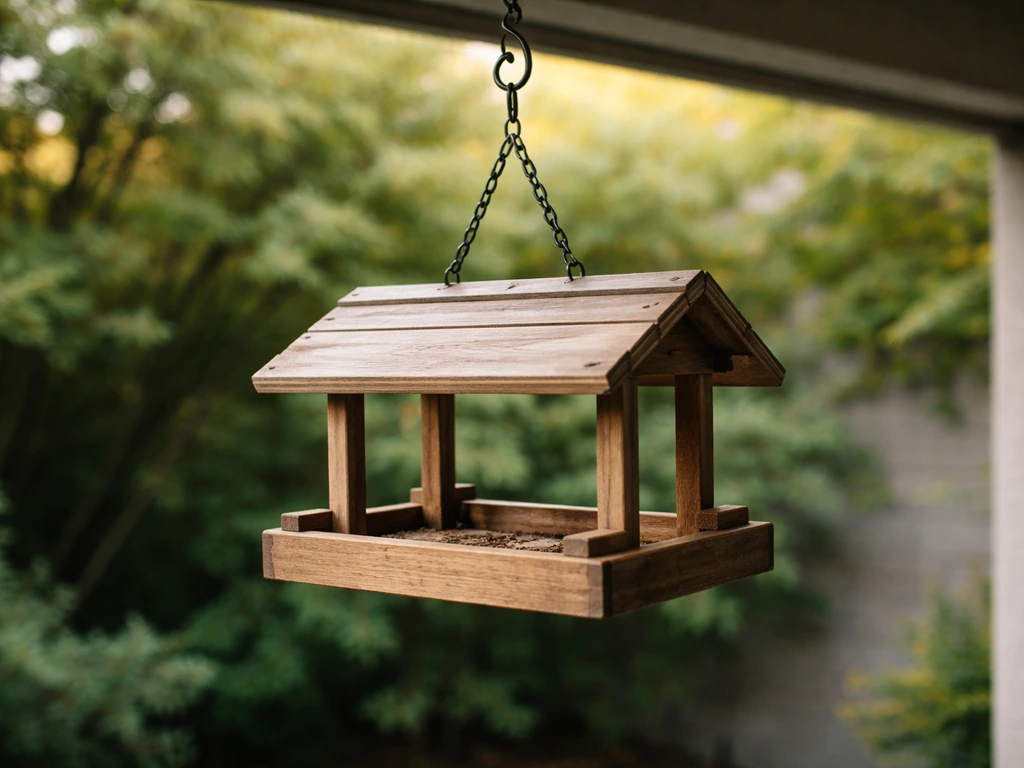
Where you hang the table matters almost as much as how you build it. The sweet spot for most garden birds is around 5 to 6 feet off the ground, high enough that cats can't reach it, low enough that you can actually refill it comfortably without a stepladder every time. If you're primarily targeting smaller birds like finches and tits, hanging higher in tree cover (7 to 8 feet) closer to branches feels more natural to them.
Position the table near shrubs or tree cover, but not right against dense branches where cats could jump across. A clearance of about 4 to 5 feet between the hanging table and any climbable surface is a reasonable buffer. Birds need nearby perches to fly to when they feel threatened, so within 6 to 10 feet of a shrub or small tree is ideal, they'll use it as a staging post before landing to feed.
Window collisions are a real hazard and worth thinking through before you decide on a final position. The risk is highest when blank" rel="noopener noreferrer">feeders are placed roughly 3 to 30 feet from a window, because birds that flush from the feeder have enough room to build speed before hitting the glass. To reduce that risk, either hang the table very close to a window (blank" rel="noopener noreferrer">within 3 feet, so birds can't build speed) or place it more than 30 feet away. That's a counterintuitive rule, but it's well-supported and genuinely worth following.
Avoid hanging in a position that's fully exposed to prevailing wind, especially if you're in a wet climate. A south or southeast-facing spot with some natural windbreak behind it keeps food dry longer and makes the feeding experience more comfortable for birds in cold weather.
Feeding safety and maintenance (cleaning, refill, rot/mold prevention)
An open platform table needs more regular maintenance than a closed hopper feeder because food is directly exposed to rain, bird droppings, and temperature swings. The drainage holes you drilled help a lot, but you still need to stay on top of cleaning to prevent disease spreading between birds.
A good baseline is to clean the tray every two weeks, and to increase that to once a week during hot or humid weather when food spoils faster. When you clean it, don't just wipe it down. Take it down, remove all old food and debris, scrub the surface with a stiff brush, then soak the tray for about 15 minutes in a solution of 1 part bleach to 9 parts water. Rinse it thoroughly afterward and let it dry completely before refilling. Putting wet food on a damp tray is one of the fastest ways to grow mold. If you'd rather avoid bleach, a diluted white vinegar solution works as a lighter-duty alternative, though it's less effective against tougher pathogens.
If you see black mold on the tray or the food looks clumped, cloudy, or slimy, don't just remove the bad food and top it up. Take the whole tray down, discard everything, and do a full clean before putting fresh food out. Diseased food can spread illness rapidly through a local bird population, and that's worth taking seriously.
Stick to food appropriate for an open tray: mixed seed, sunflower hearts, chopped peanuts, suet pellets, and mealworms all work well. Avoid whole peanuts on open trays during nesting season (late spring through summer) because parent birds may carry them to chicks that can choke on them. Avoid bread, salty food, and anything with artificial flavoring or sweeteners.
Every few months, inspect the eye hooks and hanging hardware for rust or looseness. A rusted eye hook that pulls free can drop the whole tray, which is a waste of food and a hazard to birds below. Tighten anything that has shifted, and replace any corroded hardware straight away. Each spring, give the wood a fresh coat of linseed oil and check for soft spots that might indicate rot taking hold. Catching rot early means you can sand it back and reseal rather than rebuilding the whole table.
A few things worth knowing before you start
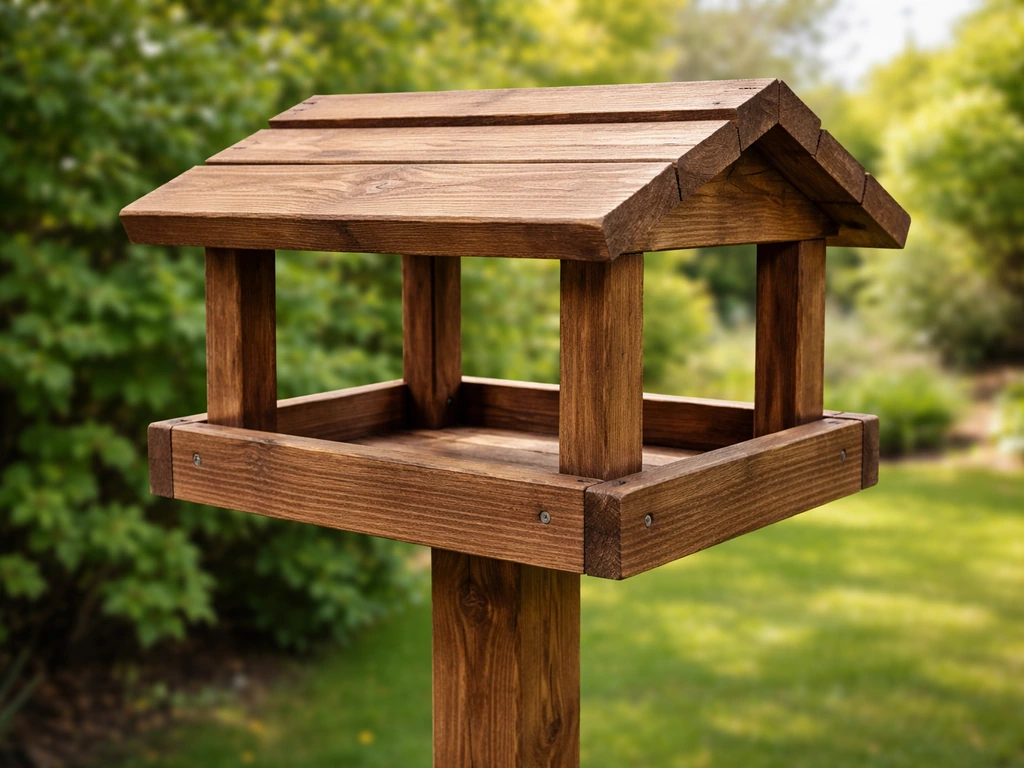
This build is deliberately kept simple so you can get something up in a day. But once you're comfortable with the basics, there are a lot of natural directions to take it. Adding a small roof turns it into a covered bird table, which protects food much better in wet climates. Sizing down the tray and using a closer-mesh retaining edge creates a table that works better for smaller birds specifically. If pigeons are colonising your feeder before smaller birds get a look in, that's a separate challenge worth addressing with design changes aimed at discouraging larger birds without excluding smaller ones. If pigeons are colonising your feeder, use design changes like pigeon-proofing to discourage them without excluding smaller birds discouraging larger birds. And if you've got scrap wood piling up, building a bird table from reclaimed materials rather than buying new timber is one of the most satisfying ways to use it up. The hanging version you just built is a great foundation to keep adapting as you learn what birds visit your garden and what works best for them.
FAQ
What height should I hang a bird table if I have both cats and squirrels?
Use a height that balances both concerns, aim for roughly 5 to 6 feet for cats, then add a squirrel baffle on the hanging line so it blocks access. Make the bottom of the feeder hang at least 4 to 5 feet off the ground even with the baffle installed, because squirrels will test any gap between the baffle and the tray.
Can I use pressure-treated wood to make a hanging bird table?
It’s best to avoid it. Pressure-treated lumber can leach chemicals that are not bird safe, especially when birds peck at exposed wood. Stick to untreated wood or timber finished with a bird-safe sealant.
How do I prevent cracking and swelling if I’m using pine and my garden gets heavy rain?
Sand and seal every surface before the first use, then apply at least two coats of exterior linseed oil or a non-toxic wood sealant. Pay extra attention to the underside and inner edges where water sits, and plan on reapplying a top-up coat each spring to keep the wood from drying and splitting.
Do I need drainage holes if I add a roof or weather cover?
Yes, but you can reduce how many you drill. Even with a roof, condensation, spilled seed, and droppings create moisture, and drainage gaps prevent standing water from turning into mold. If you use a covered design, still include a few holes low in the tray and keep the feeder removable for cleaning.
What’s the safest way to clean a hanging bird table without leaving residues that attract mold?
Take the tray down, remove all food and debris, scrub thoroughly, then soak for about 15 minutes in a 1 part bleach to 9 parts water solution. Rinse completely and let it dry fully before refilling, because damp trays speed up mold growth and can spread disease.
My tray keeps getting moldy quickly. What usually causes it?
The most common causes are incomplete drying after cleaning, food left too long in humid weather, and not keeping drainage clear. If you see black mold, clumped or slimy food, don’t just top up, do a full clean and discard everything before refilling.
How often should I refill and clean if temperatures are hot or humid?
Increase cleaning to about weekly during hot or humid periods, and remove spoiled seed sooner rather than waiting for the next scheduled clean. Open platforms spoil faster because rain and droppings sit directly on the feeding surface, even with good drainage.
What bait or food types work best on an open hanging tray?
Good options include mixed seed, sunflower hearts, chopped peanuts, suet pellets, and mealworms. If you use peanuts, skip whole peanuts during late spring through summer because adults can carry them to nestlings that may choke.
Are whole peanuts still okay on the tray outside nesting season?
They’re generally fine outside the nesting window, but chop larger pieces if you notice big seeds getting ignored or dropped. Also keep the tray cleaned more frequently when using peanuts, since oils and crumbs can foul quickly and encourage mold if food stays wet.
What should I use if I want predator resistance but don’t want to build a full enclosure?
Start with secure hanging hardware plus a squirrel baffle, since that often solves 80 percent of the problem without an enclosure. Avoid thin rope that squirrels can chew through, use stainless steel or heavy-gauge galvanised chain, and connect with closed rings instead of open S-hooks.
How can I reduce window strikes if my yard is small?
Use the distance rule: place the feeder within about 3 feet of the window so birds cannot build speed, or place it more than 30 feet away. If you cannot change location, choose the closest feasible option in one direction rather than positioning it somewhere in the 3 to 30 foot risk band.
Can I make the hanging bird table deeper or larger than 12 by 10 inches?
Yes, but keep weight in mind and ensure you still have 3 or 4 solid attachment points so it hangs level and doesn’t twist. For larger trays, consider using sturdier wood and longer drying times for sealant because more surface area means more moisture to seal before use.
How do I prevent the tray from falling if an eye hook loosens over time?
Inspect eye hooks and hanging hardware every few months for rust, looseness, and movement, then tighten or replace anything that shifts. Rusted hooks can pull free, so replace corroded hardware immediately rather than waiting until the next seasonal check.
What do I do if pigeons dominate the open tray?
If pigeons are taking over, switch the design rather than just changing food. Common fixes include adding pigeon-discouraging design changes like tighter retaining edges or a partial wall/roof arrangement that makes it harder for larger birds while still letting smaller birds access safely.
Can I hang the table from a tree branch instead of a bracket or hook?
It can work, but don’t rely on branch angle alone for predator control. If possible, attach using a setup that allows a baffle to wrap around the hanging line above the feeder, because squirrels can exploit slanted branches and gaps.
What’s a simple way to choose trough vs open platform for my yard?
Choose an open platform if you want maximum variety and you’re fine with more frequent cleaning. Choose the trough-style version if wind is blowing seed off or you want more cover for timid birds, by raising retaining edges and adding drainage or low holes for moisture control.
Next Articles
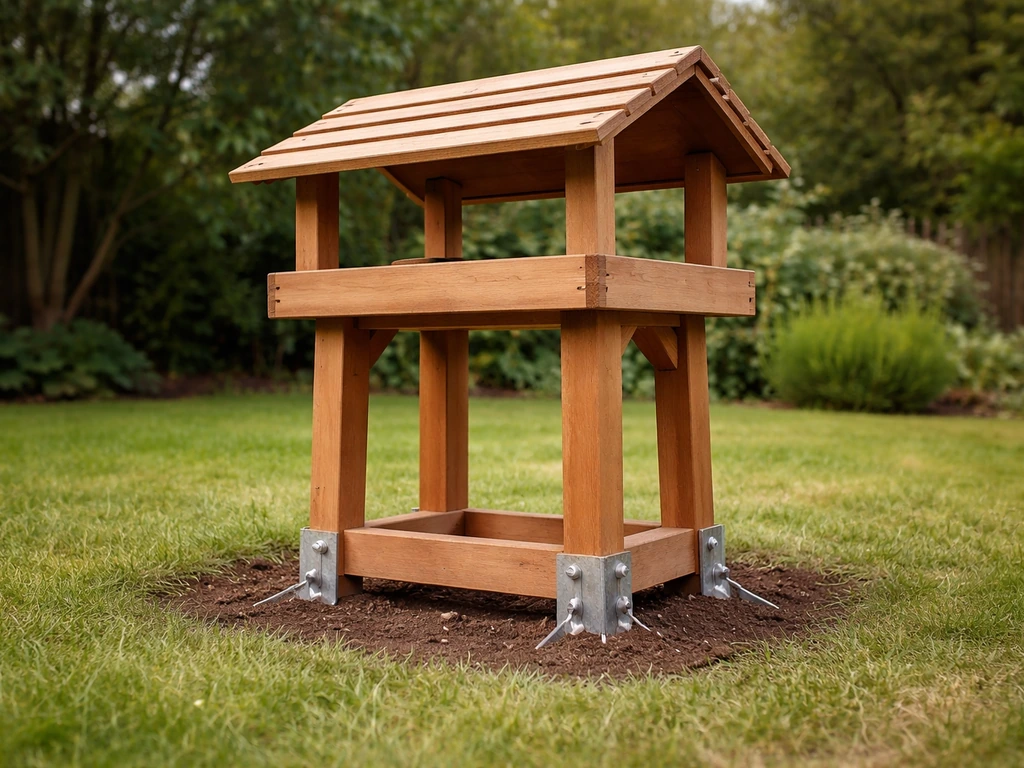
How to Secure a Bird Table to the Ground Step by Step
Step-by-step DIY guide to secure a bird table to the ground with the right anchors, tools, and stability checks.
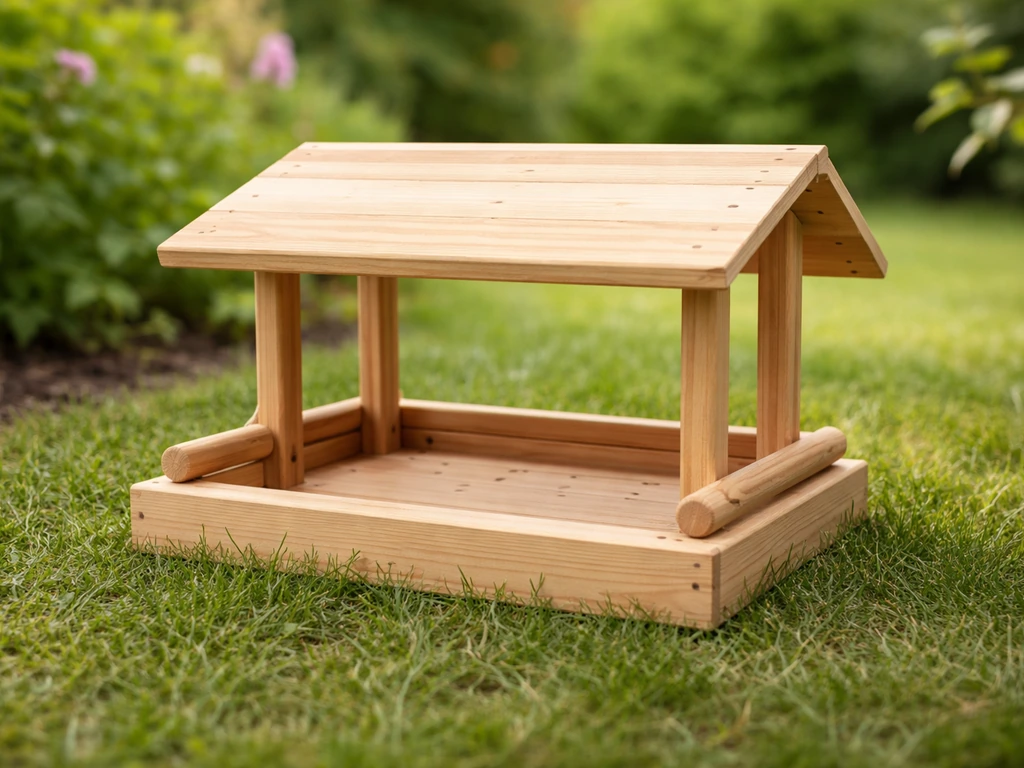
How to Make a Bird Table for Small Birds DIY Guide
Step-by-step plan to build a small-bird bird table with safe materials, correct sizing, shelter, drainage, and easy clea
How to Make a Bird Table Out of Scrap Wood
Step-by-step DIY bird table from scrap wood: cut list, assembly, weatherproofing, safety checks, and easy upgrades