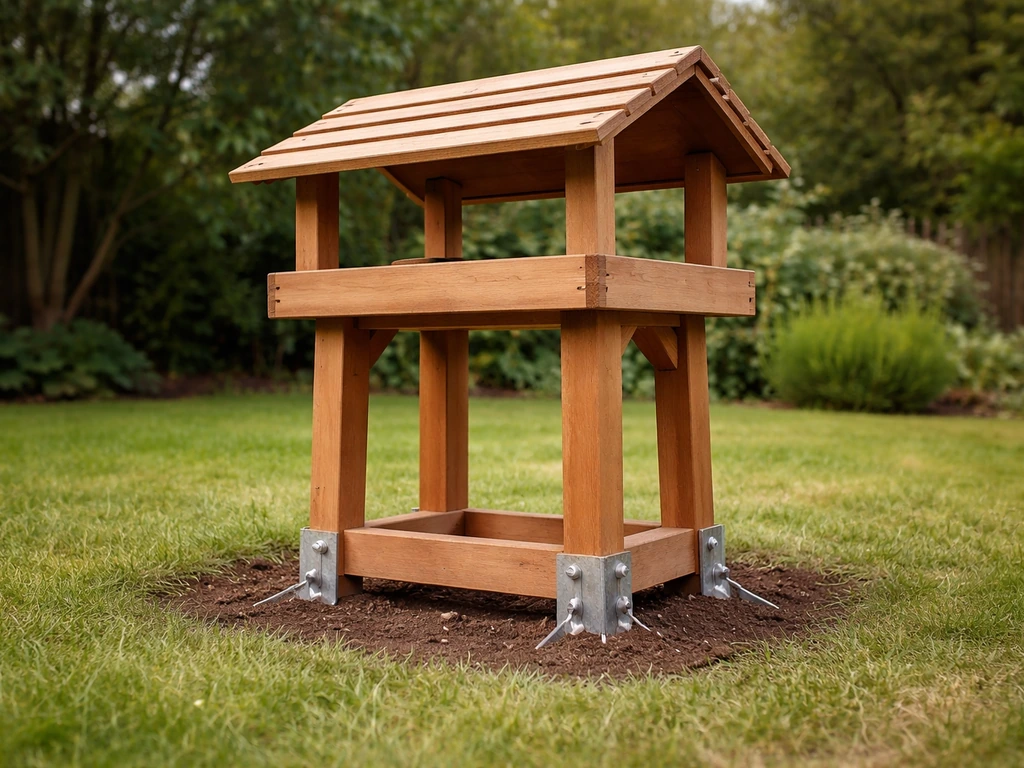
The most reliable way to secure a bird table is to match your anchoring method to your ground type: push-in anchoring pegs work well on lawns and soft soil, auger-style ground anchors give you serious holding power in open gardens, a concrete footing suits permanent wooden posts, and bolt-down base plates are your go-to on patios or paving. Get that match right and your table won't budge in a gale, a curious cat won't knock it flat, and it won't slowly lean and topple over winter. For specific cat-proofing strategies, focus on how to place and secure the table so cats cannot reach, launch, or push it over.
How to Secure a Bird Table to the Ground Step by Step
Marcus Thornton
29 May 2026
Why anchoring actually matters more than you'd think
A bird table that wobbles is a bird table that birds stop visiting. They're nervous feeders, and anything that rocks or shifts the moment a wood pigeon lands is going to send the smaller species packing. Beyond the wildlife angle, an unanchored table is a genuine safety hazard. A tall table post acts like a sail in wind, and the leverage at the base is enormous. I've seen an unanchored table tip over in a moderate autumn gust, scatter seed everywhere, and crack the platform on the way down. That's an afternoon of repair work you don't need.
There are four main threats to tackle: wind tipping the whole structure sideways, gradual lean as the ground softens in wet weather, pets or wildlife (especially cats and foxes) pushing against the post, and vibration wobble from birds landing repeatedly on one side. A solidly anchored table deals with all four at once, so it's worth spending an extra hour getting the installation right. Hanging bird table setups often need an anchored hanging system or additional stability so the stand stays secure in wind.
Check your site before you buy a single anchor
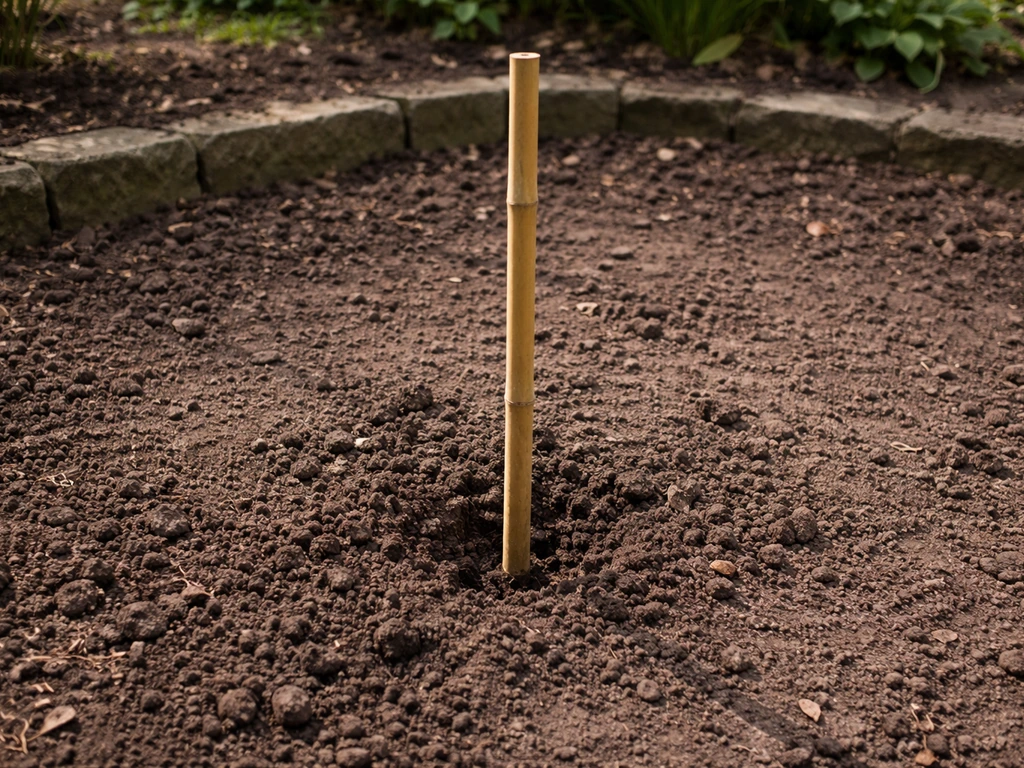
Walk out to where you want to put the table and do a quick site check. Push a garden cane into the ground. If it goes in easily to 30 cm or more, you have workable soil and most anchoring options are open to you. If you hit resistance quickly, you may have compacted clay, rubble, or you're on paving, and that narrows your choices. Note whether the spot is exposed to prevailing wind, because a sheltered corner needs a lot less anchoring than an open garden centre-piece.
Spacing matters too. The RSPB recommends keeping bird tables roughly 2 metres away from cover like hedges and fences so cats can't launch from them, but also not so exposed that birds feel vulnerable. Once you've settled on the spot, take a measurement of the post base diameter or leg spread if your table has four legs. You'll need this to size your pegs or base plate correctly. If your table sits on legs rather than a single post, measure the distance between the outer edges of the legs at ground level.
- Soft lawn or garden soil: push-in anchoring pegs or auger earth anchors are ideal
- Compacted clay or heavy soil: auger anchors with a bar for leverage, or a dug concrete footing
- Gravel or loose fill: auger anchors set at depth, or a concrete collar footing
- Paving slabs or concrete: bolt-down base plate with masonry anchors
- Decking: bolt-down base plate with structural deck screws or carriage bolts
Your anchoring options from simplest to most serious
You don't always need the nuclear option. Matching the anchor type to your actual conditions means you get a stable table without over-engineering it. Here's a rundown of the main methods.
Anchoring pegs (quickest, lawn and soil)
These are metal pegs, typically sold in sets of four, designed specifically for bird tables. Products like Gardman's anchoring pegs slot over the legs or base of your table and drive into the ground around them. You push them in by hand or with a rubber mallet until they're flush, and they physically cage the table in place. They're not the strongest option in very windy spots, but for a sheltered or semi-sheltered lawn position they do the job well and take about five minutes to fit.
Auger ground anchors (best all-rounder for soil)
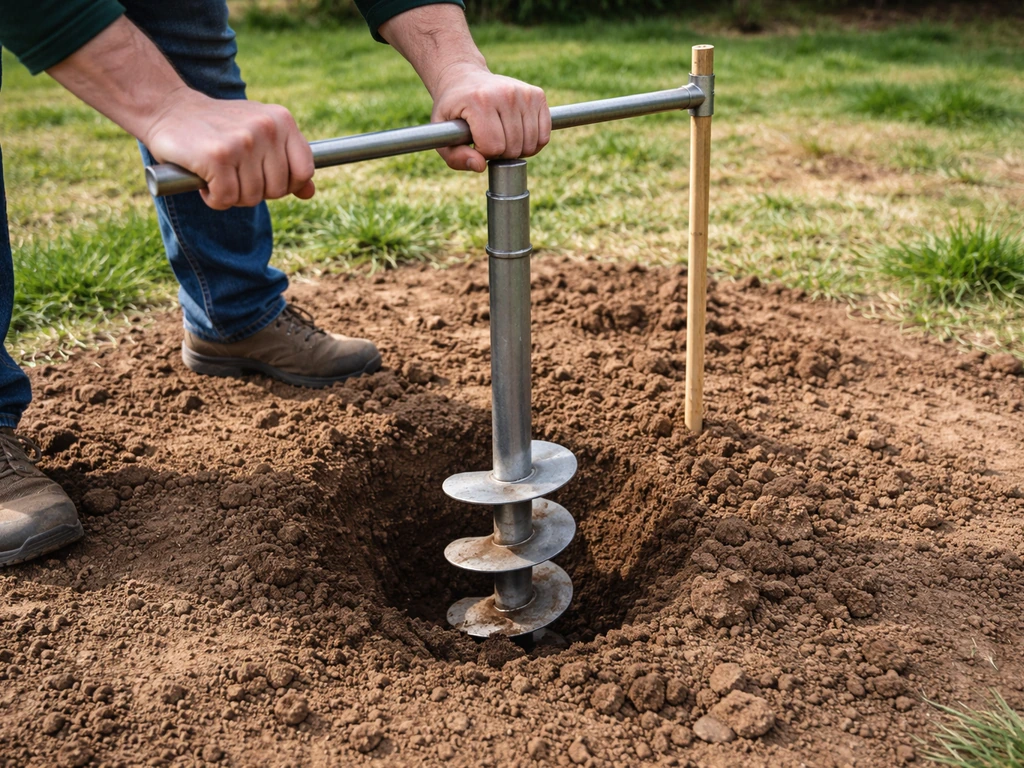
An auger anchor looks like a big corkscrew. You drive the helical shaft into the ground by rotating it, which gives much better holding power than a straight peg because it locks against the soil rather than just pressing on it. For a bird table post, you can either screw the anchor directly into the base of the post, or use an auger anchor with a ring or strap that attaches around the post. Aim for a minimum depth of around three times the diameter of the helix for solid performance in most garden soils. In a typical UK garden that means getting a standard auger anchor at least 30 to 40 cm into the ground.
Bolt-down base plates (patios, paving, decking)
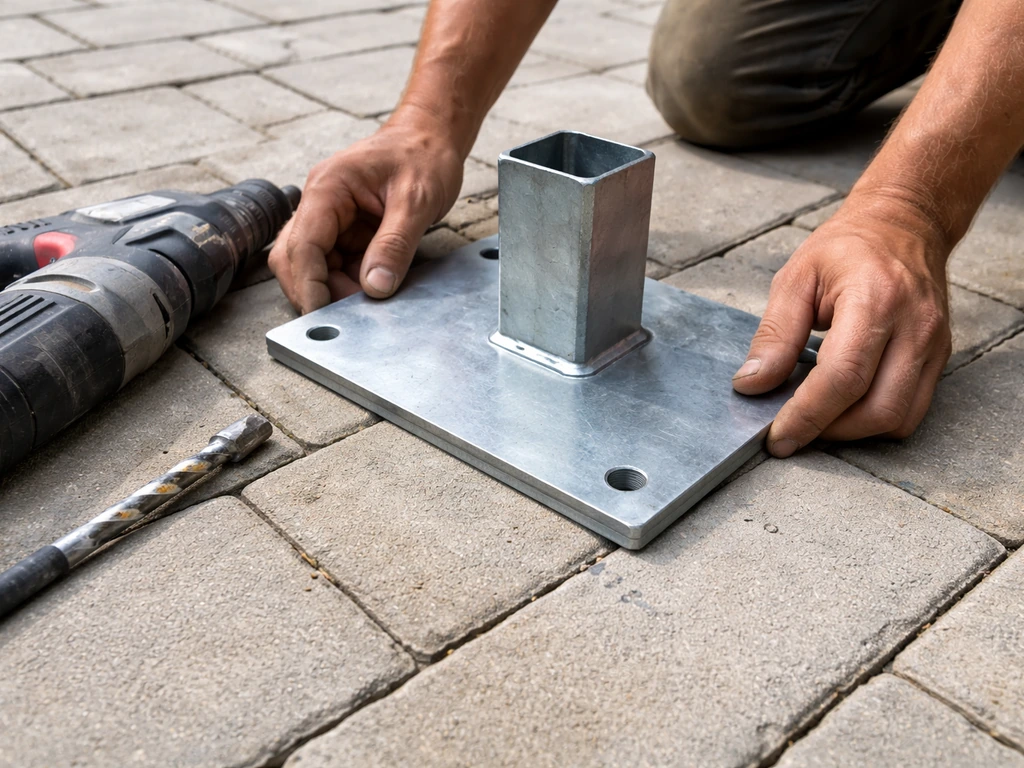
A base plate is a flat metal plate that bolts to a hard surface and has a socket or bracket to receive your table post. On paving or concrete, you drill into the surface and use masonry expansion anchors or chemical anchors to hold the plate down. On decking, structural screws or carriage bolts through the decking boards work well. The plate gives the post a wide, rigid foot so there's no pivot point. This is my preferred method for any patio bird table because it looks clean and it's absolutely rock solid.
Concrete footing (most permanent, post-in-ground)
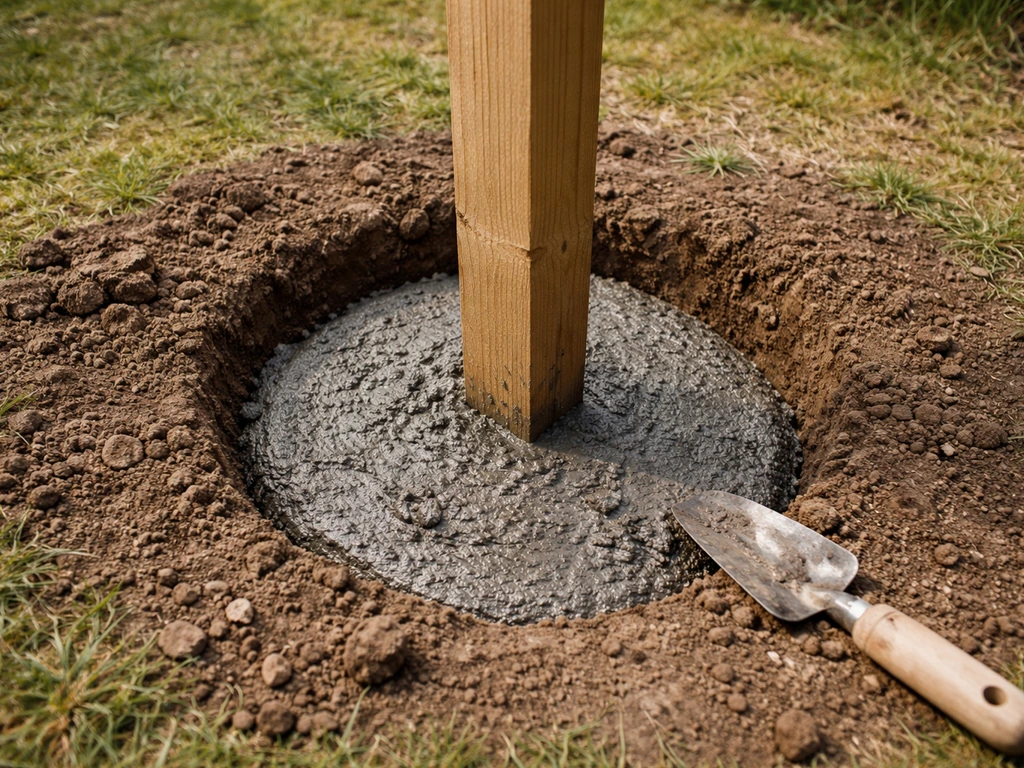
If you're building a bird table from scratch or fitting a new post, setting the base in concrete is the most durable option. Dig a hole, drop the post in, pack concrete around it, and let it cure. This is overkill for a lightweight feeding table in a sheltered spot but makes a lot of sense for a large, heavy bird table in an exposed garden, or anywhere you want a genuinely permanent installation.
Ground socket (removable but solid)
A ground socket is a steel sleeve that you drive into the soil first, then insert your post into it. NCBirdguy’s install guide for the ground socket method describes inserting the post into the ground socket, ensuring it is fully seated, and then screwing the socket until it is flush with the ground. You tighten a screw on the socket to clamp the post in place once it's fully seated. This is a great middle ground: more secure than simple pegs, easier to remove than concrete, and works well on lawn or soft soil. It's worth keeping this option in mind if you ever want to move the table seasonally.
| Method | Best ground type | Tools needed | Ease | Holding power |
|---|---|---|---|---|
| Anchoring pegs | Lawn, soft soil | Rubber mallet | Very easy | Moderate |
| Auger ground anchor | Most garden soils | Bar for leverage | Easy | Good to very good |
| Bolt-down base plate | Paving, concrete, decking | Drill, masonry bit | Moderate | Excellent |
| Concrete footing | Soil, any | Spade, mixing tub | Moderate | Excellent |
| Ground socket | Lawn, soft to firm soil | Rubber mallet, screwdriver | Easy | Good |
Step-by-step installation for each method
Installing anchoring pegs
- Position the bird table exactly where you want it and check it's level using a small spirit level on the platform.
- Place one peg at each leg or corner of the base, with the peg's loop or bracket sitting over the leg.
- Push each peg into the ground by hand as far as it will go, then use a rubber mallet to drive it flush with the ground surface.
- Try rocking the table firmly in all four directions. There should be no significant movement. If there is, drive the pegs deeper.
- Check the level again after tapping in, since pegging can shift things slightly.
Installing an auger ground anchor
- Mark the centre point of your installation with a cane.
- Place the tip of the auger at the mark and begin rotating clockwise, applying downward pressure. Use a steel bar through the handle loop for leverage if the soil is firm.
- Drive the anchor to a depth of at least 30 to 40 cm, making sure the helix is fully below the surface.
- If using a strap or ring type, loop it around the post and attach it to the anchor head. If using a direct-screw type, thread the anchor into the drilled base of the post.
- Check the post is vertical before fully tightening. Adjust by applying lateral pressure while the anchor is still slightly loose.
- Test by pushing firmly on the post in all directions. There should be no lift or lean.
Installing a bolt-down base plate on paving or concrete
- Position the base plate where you want the post to sit. Mark through the plate's bolt holes onto the surface using a marker or punch.
- Move the plate and drill the marked holes with a masonry bit sized to your expansion anchors. For most bird-table plates, M8 or M10 anchors are adequate. Drill to the recommended embedment depth for your anchor size, typically 60 to 80 mm for M8.
- Clear dust from the holes with a puff of air or a brush. Insert the expansion anchors.
- Reposition the plate over the holes, drop in the bolts, fit a flat washer and a lock washer on each bolt, and tighten to hand-tight first.
- Check the plate is square and in exactly the right position, then torque up all bolts fully.
- Insert the post into the plate socket and tighten the clamping bolt or screws. Check vertical with a spirit level.
- Give the post a firm lateral push test before loading the table platform.
Setting a post in concrete
- Dig a hole at least 40 to 50 cm deep and roughly three times the post diameter in width. For a standard 50 mm bird-table post, aim for a hole about 150 mm across.
- Pour a 50 mm layer of gravel into the base of the hole for drainage.
- Lower the post into the hole and prop it temporarily with offcuts or a bag of grit to hold it upright.
- Mix a stiff batch of postcrete or standard concrete and pour it around the post, tamping down with a stick to remove air pockets.
- Check the post is exactly vertical using a spirit level on two adjacent faces. Adjust while the mix is still workable.
- Mound the concrete very slightly above ground level and slope it away from the post so rainwater drains away rather than pooling at the base.
- Leave to cure for at least 24 to 48 hours before attaching the bird-table platform and loading with feeders.
Installing a ground socket
- Drive the ground socket into the soil at your chosen spot using a rubber mallet or a post driver. Many sockets have a removable internal block to protect the socket during driving.
- Drive until the top of the socket is flush with the ground.
- Remove the protective block if fitted.
- Insert the post fully into the socket.
- Tighten the clamping screw on the socket until snug against the post.
- Check vertical and adjust by loosening the screw slightly, repositioning, and retightening.
Hardware to use and what to avoid
The hardware you choose matters a lot outdoors. Cheap zinc-plated screws and bolts will rust within one or two seasons in a UK garden, leaving orange streaks down your post and, eventually, a failed joint. Stainless steel is the right choice for anything load-bearing on an outdoor structure. Specifically, 18-8 or A2 grade stainless steel screws, bolts, and washers are widely available, genuinely corrosion-resistant, and strong enough for this job. Use a flat washer and a lock washer on every nut-and-bolt connection to stop vibration from birds landing and the wind from working things loose over time.
For ground anchors and pegs, look for hot-dip galvanised steel as a minimum, or stainless if you can find it. Galvanised anchors will last many years in most soils. For screws going into wood (like lag screws attaching a base plate to a wooden post), stainless steel lag screws are the gold standard. If you're on a budget, exterior-grade coated deck screws are acceptable for secondary fastenings, but not for the main structural connection.
- Use: A2 or 18-8 stainless steel bolts, screws, and washers for all load-bearing connections
- Use: Hot-dip galvanised steel for ground pegs and auger anchors
- Use: Stainless lag screws for attaching metal plates to wooden posts
- Use: Flat washer plus lock washer on every bolt connection
- Use: Masonry expansion anchors (not just raw screws) when bolting into concrete or paving
- Avoid: Standard zinc-plated or bright zinc hardware in outdoor soil contact
- Avoid: Wood screws alone for any base plate or anchor connection that takes lateral load
- Avoid: Galvanised bolts in contact with treated timber that uses copper-based preservatives, as this combination can corrode faster than expected
Testing stability, weatherproofing, and keeping things solid long term
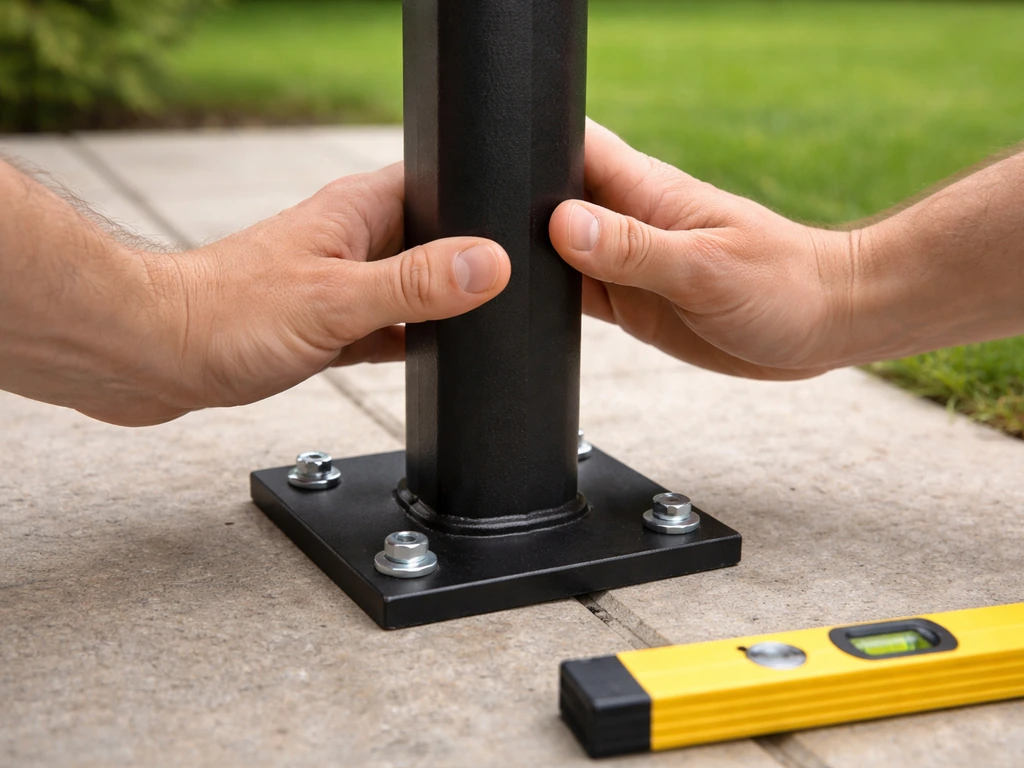
Once your anchoring is done, do a proper stability test before you start attracting birds. Push firmly on the post from four directions and try to lift from the underside of the platform. You're looking for zero rocking and zero lift. If anything moves more than a few millimetres under a firm hand push, the anchoring isn't adequate for wind loading. Go back and either drive anchors deeper, add a second anchor, or switch to a stronger method.
For the table itself, make sure the platform is screwed (not just nailed) to the post top, and that any roof structure is similarly fastened. A loose roof acts like a kite. If your table is unfinished timber, a coat of exterior wood preservative on the post, especially the section near and just below ground level, will significantly extend its life. The ground-level zone is where rot starts. Apply preservative annually to that section and to any cut end grain.
Run a quick inspection every six months or so. Check that bolts are still tight (thermal cycling and vibration from birds will work them loose gradually), that there's no new lean developing, and that any wood at ground level isn't showing soft spots. Poke the post base with a screwdriver: solid wood resists the point, rotting wood gives way. If you catch early rot, treat it with a consolidant and reapply preservative. If it's advanced, replace the post before the table fails in a storm.
When the obvious approach won't work: soft ground, uneven surfaces, and no drilling
Very soft or waterlogged ground
Soft or boggy ground is a real problem because pegs and standard stakes have almost nothing to grip. The fix is to go deeper and wider. Use a longer auger anchor (at least 60 cm if you can find one) and drive it to full depth. If the soil is genuinely too soft for any direct anchor, consider relocating to firmer ground or setting a concrete collar footing: dig down to where the soil is more solid, set a concrete pad, and embed a ground socket or base plate into the wet concrete before it sets. This gives you a stable foundation even where the surface layer is soft.
Uneven or sloping ground
On a slope, don't try to drive anchors straight in at an angle. Instead, level a small pad area first using compacted gravel or a single paving slab set into the ground, then mount your base plate or ground socket on that level surface. If you're setting a post in concrete on a slope, the concrete footing itself can be cast level regardless of the slope angle, which makes getting a vertical post much easier.
Can't drill into paving or concrete
If you're renting, working around utilities under slabs, or simply don't have a hammer drill, you still have options. The first is to relocate to a lawn or border area where you can use soil-based anchoring. The second is a weighted ballast base: some bird-table posts are designed to sit in a heavy cast-iron or concrete base that provides stability through mass alone.
If you go this route, the base needs to be genuinely heavy (at least 5 to 10 kg for a typical garden table in an open position) and the post must have a low centre of gravity. The third option, for temporary or emergency situations, is tying the post to a fixed structure with rope, bungee cord, or strapping to prevent toppling.
For pigeon proofing, make sure the post cannot be jostled and the platform cannot rock, then secure any roof or feeder parts so pigeons cannot exploit gaps pigeon proof bird table. This isn't elegant, but it works as a stop-gap and Bird Barn acknowledge it as a viable contingency when conventional anchoring isn't possible.
Rented gardens and no-damage situations
If you genuinely can't make any permanent fixings, a ground socket on a lawn is completely reversible: pull it out, fill the small hole, done. Alternatively, a large terracotta or stone pot filled with concrete with the post set into it is a surprisingly effective, fully moveable solution. Use a 30 to 35 cm diameter pot and fill it two-thirds deep with concrete. Once cured, it's heavy enough to resist tipping in most conditions and you can move it across a patio or lawn without leaving a trace.
What to do next
Once your table is anchored and passes the hand-push stability test, you're ready to set it up for birds. Make sure the platform has drainage gaps so standing water doesn't accumulate and the surface stays hygienic. If you're planning to add a roof (which is well worth doing to keep seed dry and extend the table's life), make sure it's fastened down with the same corrosion-resistant hardware you used for the anchoring. A wobbly roof on a stable post is just as off-putting to feeding birds as a wobbly post.
If you built or are planning to build the table yourself, the anchoring method you choose can actually influence your design choices around post diameter, base width, and whether you build in a leg-spreader batten near the ground.
If you built or are planning to build the table yourself, the anchoring method you choose can actually influence your design choices around post diameter, base width, and whether you build in a leg-spreader batten near the ground, so it is worth checking how to make a bird table for small birds before you finalize the build.
When you make a bird table out of scrap wood, plan your anchoring choice from the start so the finished table stays steady in wind and weather how to make a bird table out of scrap wood. A wider stance at the base reduces the lateral load on your anchor, which means lighter anchoring can do the same job.
It's worth thinking about that geometry before you finalize any build, whether you're working from a simple set of plans or adapting your own design. If you want beginner simple bird house plans, focus on choosing an anchoring method that matches your site so the finished project stays steady simple set of plans.
FAQ
Do I need to anchor a bird table if it is small and sheltered?
If it is truly sheltered (behind a wall or dense hedge) you may get away with pegs, but you still need at least a stability anchor. Unanchored tables can rock when multiple birds land on one side, which discourages feeding and can crack the platform over time. A quick check is to look for any lift or rotation after a firm push from two opposite directions.
What if my ground is partly paving and partly lawn, can I mix anchoring methods?
Yes, but anchor type should suit the surface it is biting into. For example, use base plates only when they can be drilled and fixed into paving or concrete, and use pegs or augers only where they go into soil. Avoid attaching a base plate to soft subsoil under paving or set into mortar, because the plate can loosen as the bedding shifts.
How deep is deep enough for an auger anchor in hard clay?
In hard clay, prioritize depth and helix bite over guessing from a label. If you can only reach shallow depth because the auger stalls, either switch to a longer anchor or add a strap or ring to distribute load to the post base. Also recheck after your first heavy rain, because clay can change how it grips depending on moisture.
Can I secure a bird table using screws through the base into decking or boards?
It can work, but only if the anchoring goes into structure, not just the deck boards. Use carriage bolts through boards with proper backing, or use structural screws that bite into joists. If you bolt only to thin decking, the hardware can pull out and the post will still have a pivot point, leading to wobble.
What should I do if my post wobbles even after anchoring?
First confirm the table is assembled tightly: platform bolts must be through-screwed, and the roof frame should also be rigidly fixed. If the post still moves, the issue is usually insufficient holding depth or too few anchor points, especially on one-leg or narrow-base designs. Add a second anchor per side or increase anchor depth before altering the table structure.
Should I use lock washers and flat washers on every outdoor connection?
Use them on any connection that experiences vibration (post-to-platform, post-to-base plate, roof bracing). They help prevent gradual loosening from wind-induced oscillation and repeated bird landings. If you are using stainless hardware, match washers to suit, because mixing metals that seize together can make future adjustments difficult.
Can I relocate a ground socket or ground anchor seasonally?
A ground socket is designed for reversibility, so it is a good choice if you move the table. However, if the socket has been in place for multiple seasons, the soil can compact around it and removal may require twisting rather than pulling. Recheck stability after reinstalling, since ground moisture and compaction can change from one month to the next.
Is a ballast-only cast base safe in strong wind?
It can be, but only if the base is genuinely heavy and the post has a low centre of gravity. If the base is too light for an exposed location, the table can still tip because wind creates torque at the ground. A practical test is the same as for anchored setups, push firmly from four directions and confirm there is no lift or rotation.
How do I stop wobble caused by birds landing in one spot?
Reduce the pivot point at the base and increase stiffness through the platform-to-post connection. Ensure the platform is screwed (not just nailed) and that any leg spreader or lower battens are tight if your design includes them. Also consider adding a roof support that cannot flex, because a loose roof can amplify vibration.
What’s the best temporary solution if I cannot drill or drive anchors?
If you cannot fix into ground or hard surfaces, use a heavy ballast base if your table is compatible, or tie it to a fixed structure. Temporary strapping should prevent toppling and also stop rocking at the platform, but you must still secure the roof and feeder parts so they cannot be jostled or accessed. Treat it as a stop-gap, schedule a proper anchoring solution as soon as possible.
How often should I re-tighten outdoor bird table hardware?
Check at least every six months, and do a quick post-check after the first winter storms. Weather cycling plus vibration can loosen fittings gradually, especially where wood meets metal. If you ever spot any fresh lean or a gap opening at a joint, tighten immediately and inspect the post base for early rot.
Will untreated wood at ground level still be usable if the table is anchored well?
Anchoring prevents tipping, but it does not prevent rot. Wood in the ground-level zone is where failure often starts first, and rot can turn a once-stable post into a weak, wobbling one. Use exterior preservative on the post, including cut ends and the section just below or near ground level, and reapply annually.
How can I choose anchor method for a sloped garden?
On a slope, do not drive pegs or anchors at a steep angle, because you reduce effective bite and encourage rocking. Level a small base area with compacted gravel or a paving slab, then mount the base plate or ground socket onto that level surface. If casting concrete, cast the footing level so the post sits vertical regardless of slope angle.
Next Articles
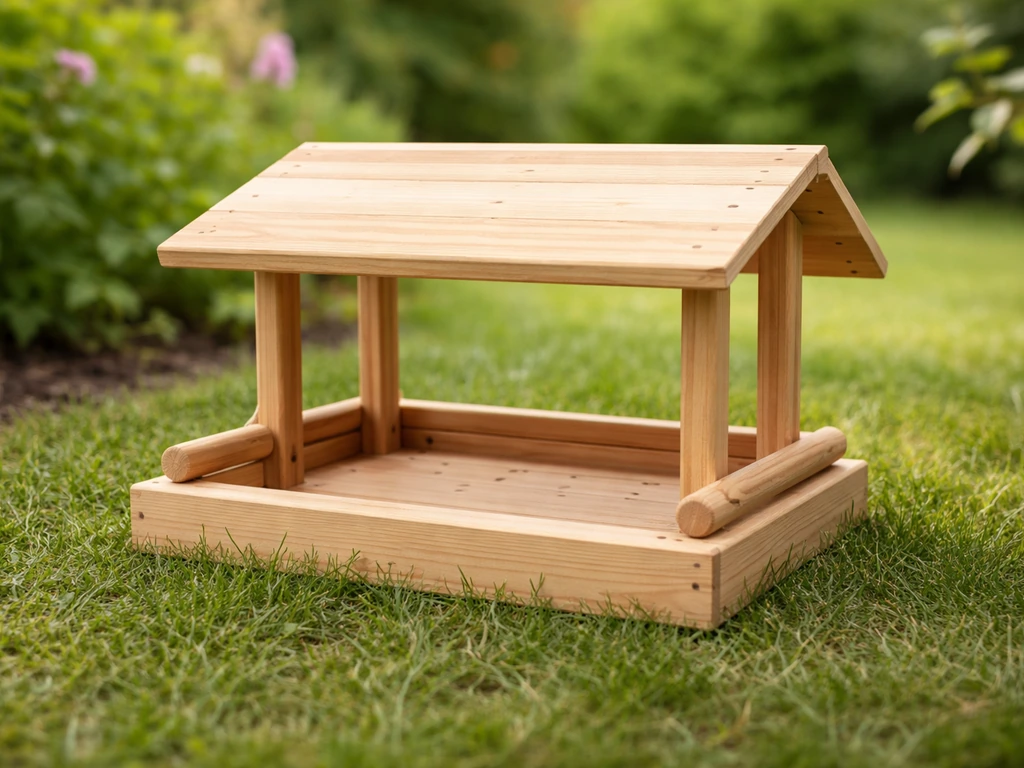
How to Make a Bird Table for Small Birds DIY Guide
Step-by-step plan to build a small-bird bird table with safe materials, correct sizing, shelter, drainage, and easy clea
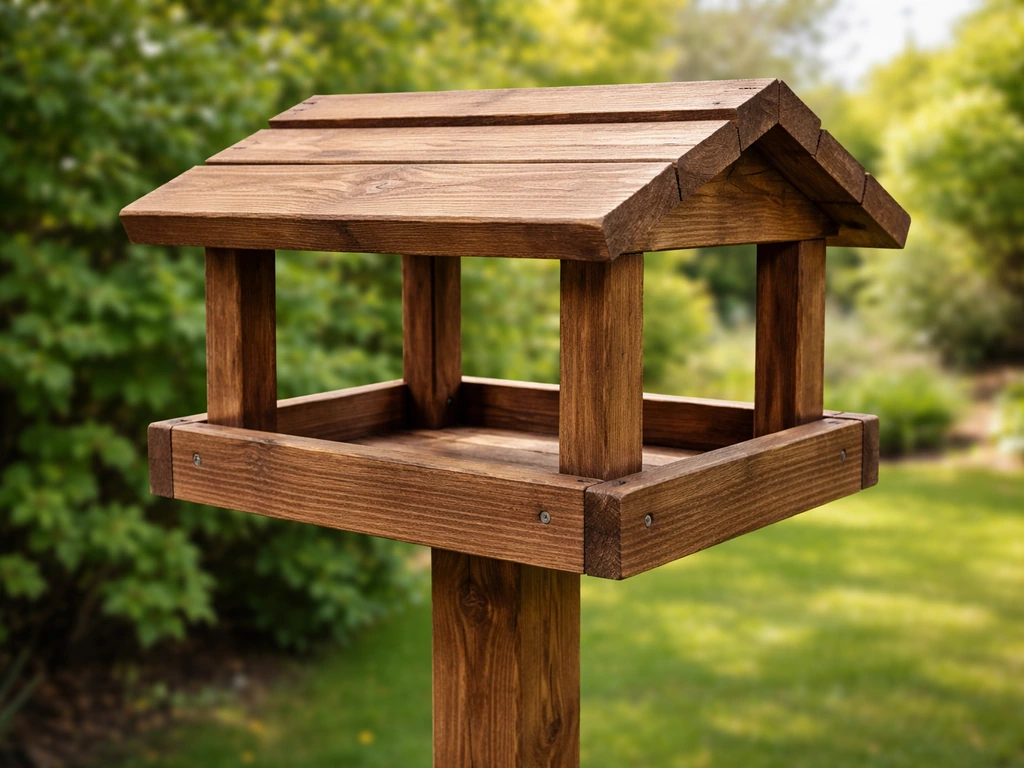
How to Make a Bird Table Out of Scrap Wood
Step-by-step DIY bird table from scrap wood: cut list, assembly, weatherproofing, safety checks, and easy upgrades
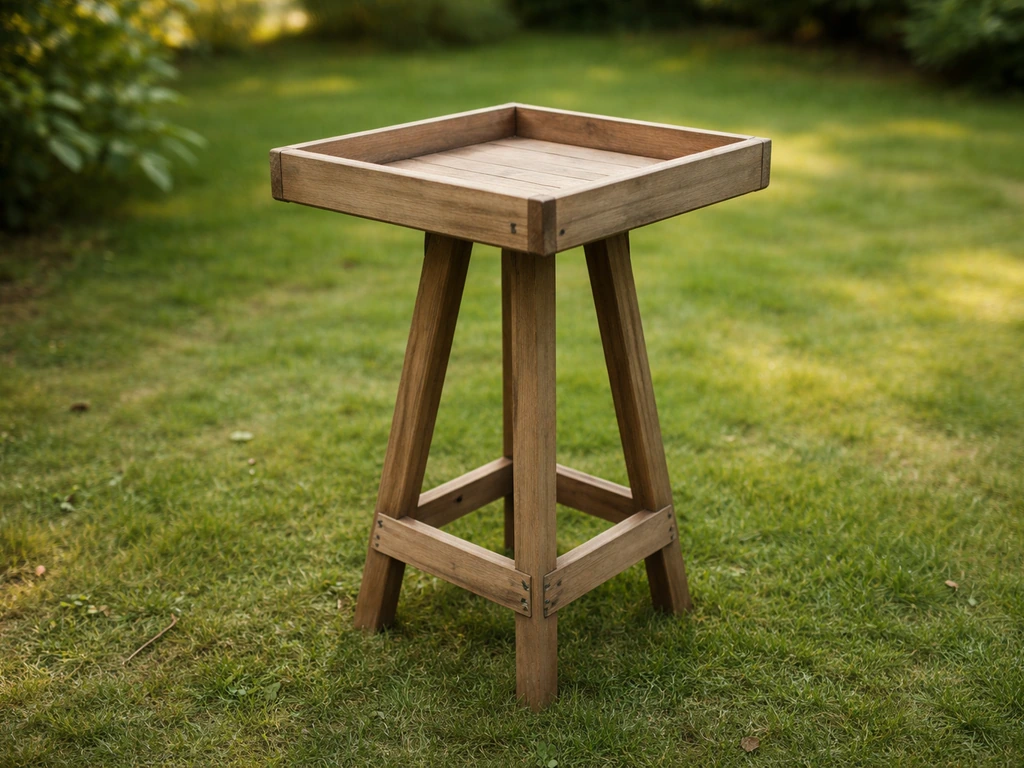
How to Make a Simple Bird Table: Plans, Dimensions, Build
Step-by-step plans for a stable outdoor bird table: dimensions, frame build, weatherproofing, setup tips, and wobble fix