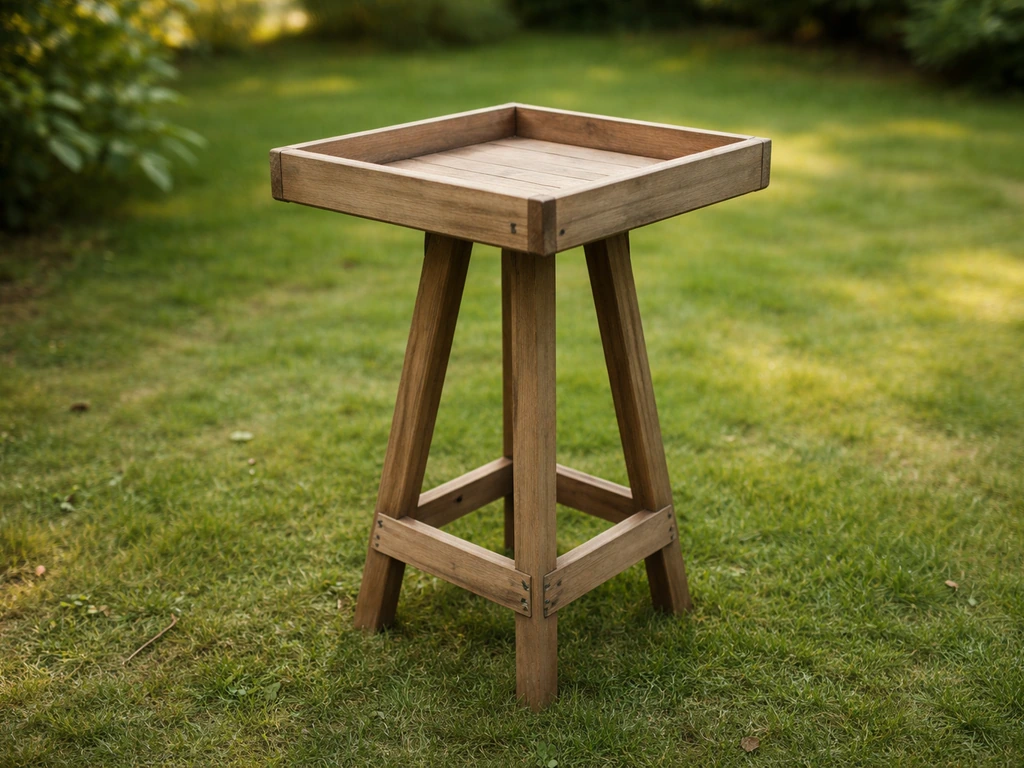
You can build a solid, weatherproof bird table in an afternoon using a few lengths of timber, basic screws, and tools you probably already own. The core idea is simple: a flat raised platform gives birds a stable place to feed, and a sturdy post or leg assembly keeps it off the ground and out of a cat's easy reach. This guide walks you through every step, from picking a style and sketching out dimensions to driving the last screw and filling the tray with seed.
How to Make a Simple Bird Table: Plans, Dimensions, Build

Marcus Thornton
16 Apr 2026
Picking the right style and a smart spot in your yard
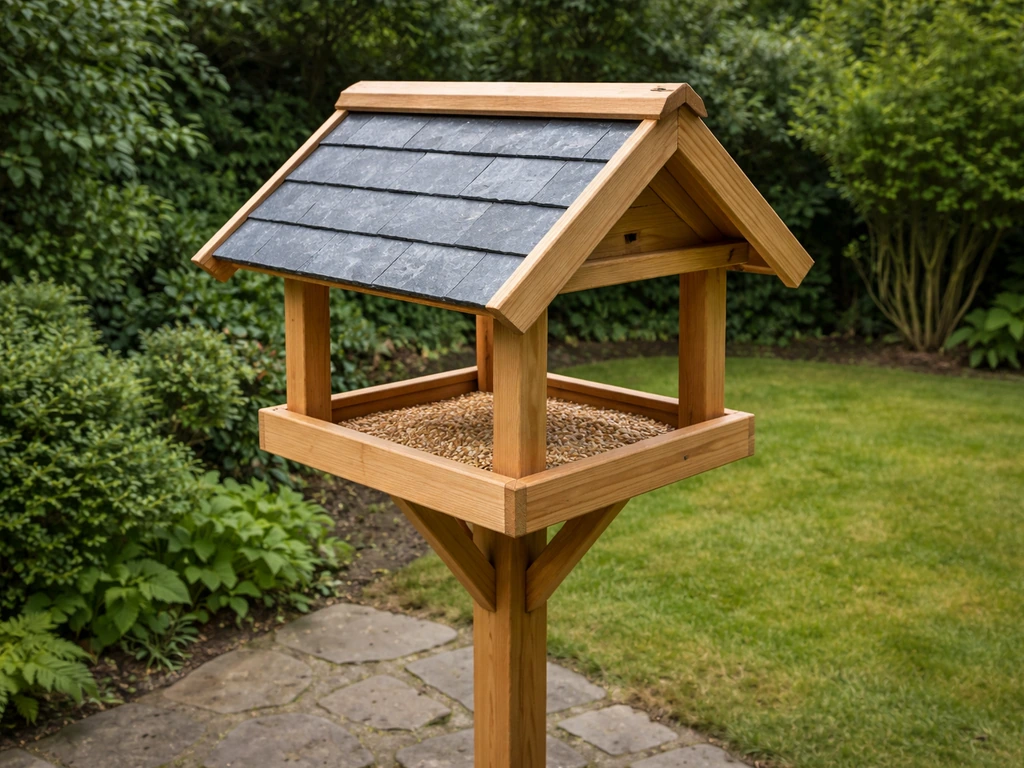
Before you cut anything, decide on two things: what style of table you want and where it's going to live. A simple open platform is the easiest build and attracts the widest range of birds. A roofed version takes a couple of extra hours but keeps seed dry in wet weather. If you want to go down that road later, there's a dedicated guide on how to build a bird table with roof that covers the extra framing and ridge work in detail. For a first build, starting open and adding a roof later is a perfectly reasonable plan.
Placement matters more than most beginners expect. Position the table 10 to 15 feet from shrubs or hedges so birds have somewhere nearby to retreat to but predators can't use the cover to launch a direct ambush. Keep it at least 12 feet from dense ground cover like long grass or thick flower beds, which are favourite hiding spots for cats. If your yard is visited by cats regularly, check out the tips on how to make a cat proof bird table for extra deterrent ideas you can build in from the start.
Height also plays into predator avoidance and which species show up. Aiming for a post height that puts the table surface around 4 to 5 feet off the ground is a practical sweet spot for most backyards. For squirrel control, the widely used 5-7-9 rule is worth remembering: 5 feet off the ground, 7 feet from structures like fences or decks, and 9 feet from overhanging branches. None of those numbers need to be exact, but getting close to all three makes a real difference.
Finally, think about your windows. Birds that are startled from a feeder can fly into glass. The safest zones are either blank" rel="noopener noreferrer">within 3 feet of a window (not enough speed to cause injury) or further than about 30 feet away. USGS notes that simple, inexpensive ways to blank" rel="noopener noreferrer">make windows more visible can help prevent bird collisions. Anywhere in between is the collision risk zone, so try to avoid parking your new table in that middle range if possible.
Dimensions and a basic design you can sketch in five minutes
A bird table doesn't need precise architectural plans. What you need is a tray big enough to hold food without overcrowding, raised edges to stop seed rolling off, drainage gaps so water doesn't pool, and a post that won't wobble. Here's the simple layout I use for a beginner build.
For the tray, aim for roughly 18 to 24 inches long and 12 to 15 inches wide. That's generous enough for several birds at once but still manageable to cut from a single piece of timber. Commercial platform feeders often run around 19. 5 by 12 inches, which confirms that size range works well in practice.
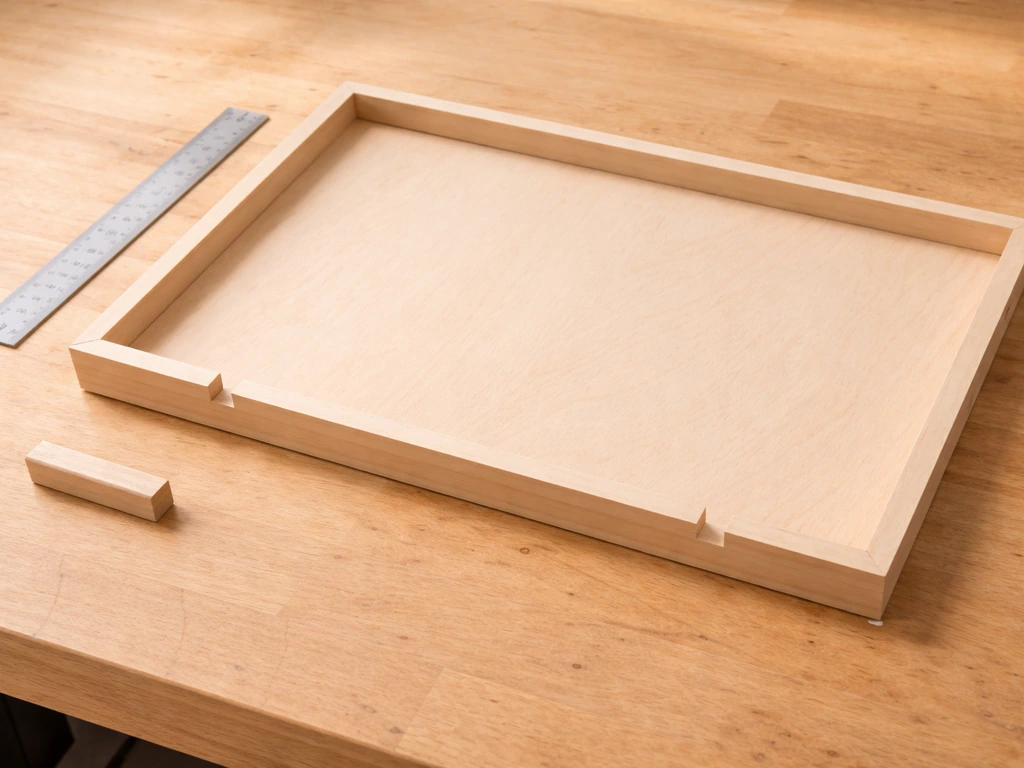
Keep your tray board at 12 to 18mm thick (around half an inch to three-quarters) so it doesn't flex or split when wet. Add a shallow lip around the edges, about 15 to 20mm tall, made from thin strip timber. Leave a small gap of about 10mm at each corner of the lip so rainwater drains freely.
OSU extension guidance highlights exactly these two features, raised edges and good drainage, as the things that separate a table that stays usable from one that rots and becomes a puddle.
For the post, a standard 1.5 to 2 inch square timber stake or fence post works well. Cut it to around 5.5 feet so once it's sunk or secured in the ground, the tray sits at roughly 4 to 5 feet high. If you're making a smaller table specifically designed to attract smaller species, it's worth reading about how to make a bird table for small birds, which covers tray sizing and perch spacing tailored to finches and tits.
| Component | Recommended Size | Material |
|---|---|---|
| Tray board | 18–24 in. x 12–15 in., 12–18mm thick | Exterior plywood or rough-sawn cedar |
| Tray lip/edging | 15–20mm tall, leaving 10mm corner gaps | Thin softwood strip or moulding |
| Central post | 5.5 ft total, ~4–5 ft above ground | 2x2 in. or 1.5x1.5 in. timber stake |
| Cross brace | Cut to fit inside the post-to-tray frame | Same timber as post |
| Fasteners | 1.5–2 in. screws throughout | Stainless steel or aluminum |
What to build it from, and keeping costs down
Cedar is the gold standard for outdoor bird projects because it naturally resists rot and insects without any treatment. Rough-sawn cedar from a timber yard is usually cheaper than planed finish-grade boards, and the rougher texture gives birds better grip. If cedar isn't available or feels pricey, exterior-grade plywood works fine for the tray. Avoid treated timber (CCA or pressure-treated wood) for any surface birds will touch directly, as the preservatives can be harmful.
Reclaimed pallet wood is a genuinely good option for the tray and lip pieces, as long as the pallet isn't stamped MB (methyl bromide treated). For more ideas on sourcing repurposed timber, there's a full breakdown in this guide on how to make a bird table out of scrap wood.
For fasteners, use stainless steel or aluminum screws throughout. This is a detail a lot of beginners skip, but regular steel screws corrode fast in outdoor use, especially with cedar, and that corrosion stains and weakens the wood over time. Stainless or aluminum costs a little more up front and saves you real headaches later. Wood Magazine makes exactly this point about corrosion resistance being the deciding factor for outdoor timber projects.
Here's a realistic materials list and rough cost for a basic build:
- 1 piece of cedar or exterior plywood for the tray (around $8–12 if bought new, free if reclaimed)
- Thin timber strip for the lip edging (around $3–5 for a short length)
- 1 fence post or 2x2 timber, 6 ft length (around $5–8 new)
- Stainless steel screws, 1.5–2 in., one small box (around $6–8)
- Wood preservative or outdoor finish (linseed oil or water-based exterior varnish), around $5–10
- Optional: a short length of timber for a cross brace (usually cut from offcuts)
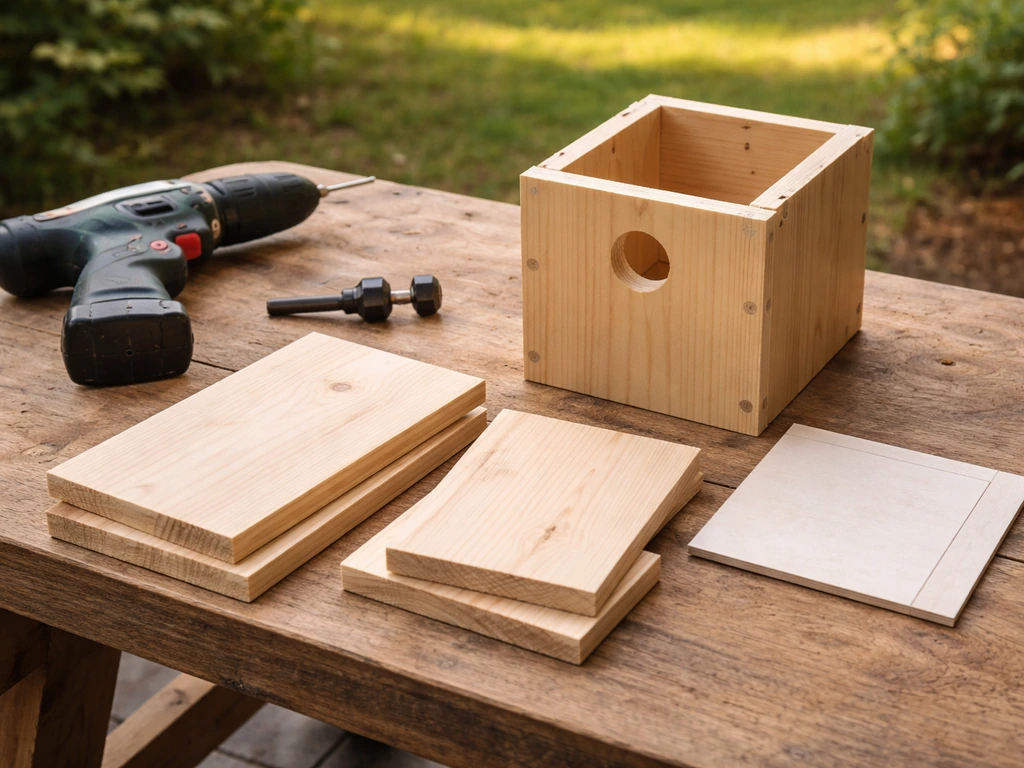
Total budget: comfortably under $30 for a new-materials build, and close to free if you're working from scrap. The tools you need are a hand saw or circular saw, a drill and driver, a tape measure, a square, sandpaper (80 and 120 grit), and a pencil. No specialist gear required.
Building the table, step by step
Work through these steps in order and you'll have a finished table in two to four hours, depending on how much you've prepped your materials.
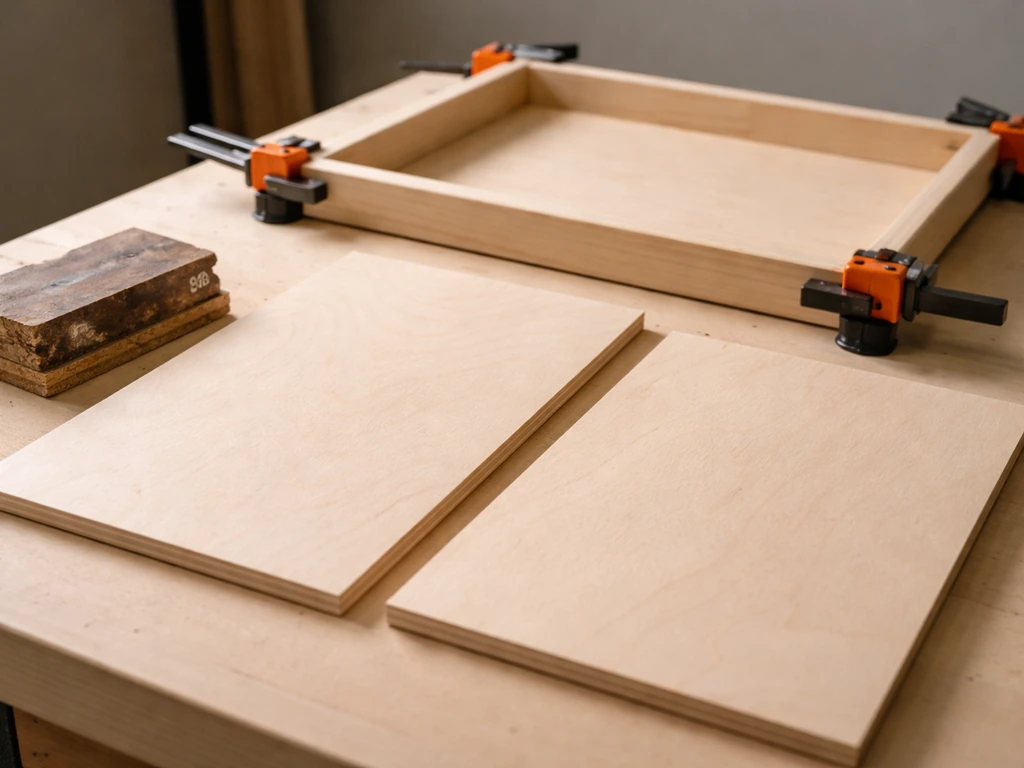
- Cut the tray board to your chosen dimensions (18–24 in. x 12–15 in.). Sand the top surface with 80-grit paper, then 120-grit so there are no splinters for birds to catch their feet on.
- Cut four lengths of the lip edging strip to frame the tray perimeter. Mitre the corners at 45 degrees if you want a cleaner look, or butt-join them if you want to keep it simple. Either works fine structurally.
- Drill a pilot hole at each end of the lip strips before screwing them down. This stops the thin timber splitting. Use 1.5-inch stainless screws and keep them at least 15mm from the ends of each strip. Leave a 10mm gap at each corner to create drainage holes at the lowest points of the tray.
- Attach the tray to the top of the post. The cleanest method is to drill up through the top of the post into the tray from below, using two or three screws at angles (toe-screwing). Alternatively, cut a small square mounting plate from offcut timber, screw it to the post top, then screw the tray down onto the plate from above. The plate gives more surface area and a stronger joint.
- Add a cross brace between the post and the underside of the tray for rigidity. Measure across the inside of the post-to-tray frame and cut a brace to fit snugly, then screw it in. This single piece makes a surprising difference to how much the table resists sideways wobble.
- Sand all cut edges and any rough spots on the post. Pay particular attention to the top edges of the tray lip and the top surface of the tray itself.
- Apply your outdoor finish. Two coats of raw linseed oil soaked into the wood works well and is completely bird-safe once dry. Water-based exterior varnish is another option. Let the finish cure fully before putting food out, usually 24–48 hours for linseed oil and 4–6 hours between coats for varnish.
One mistake I made on my first build was skipping the cross brace and relying on the tray-to-post joint alone. The table wobbled noticeably in wind and eventually the joint opened up. Adding a brace took ten minutes and completely solved it. Don't skip it.
Getting the stand stable and weather-ready
A freestanding bird table needs to be secured properly or it will tip over in wind, scare birds, and potentially get damaged. You have three main options for the post base: sink it into the ground, use a ground spike anchor, or mount it on a heavy timber foot frame. Sinking it 12 to 18 inches into the ground and packing the hole with gravel or concrete is the most stable method, but it's permanent. A metal ground spike is faster to install and still very solid. A timber foot frame (two crossed base boards screwed to the bottom of the post) works for patios or hard surfaces where you can't dig.
Whatever method you use, test the table for wobble before you put food out. Push it sideways at the tray level. It should feel firm. If it moves, either tighten the cross brace, add a second brace on the other axis, or pack the ground hole more tightly. For a full breakdown of fixing and anchoring methods for different surfaces and situations, the article on how to secure a bird table covers all the practical options in much more depth.
For weather-proofing, the finish you apply during the build is your first line of defence. But the design choices matter just as much. Keep the tray's wood grain running lengthwise so water sheds more easily. Make sure the drainage gaps in the tray corners are genuinely clear, not partially blocked by dried seed or debris. If you used exterior plywood, check the edge grain periodically because plywood's layers can delaminate if they stay wet. Running a thin bead of exterior wood glue or caulk along exposed edge grain after finishing helps seal those layers. Avoid painting the tray surface with gloss paint because it becomes slippery when wet and birds struggle to grip it.
Setting it up so birds actually want to use it
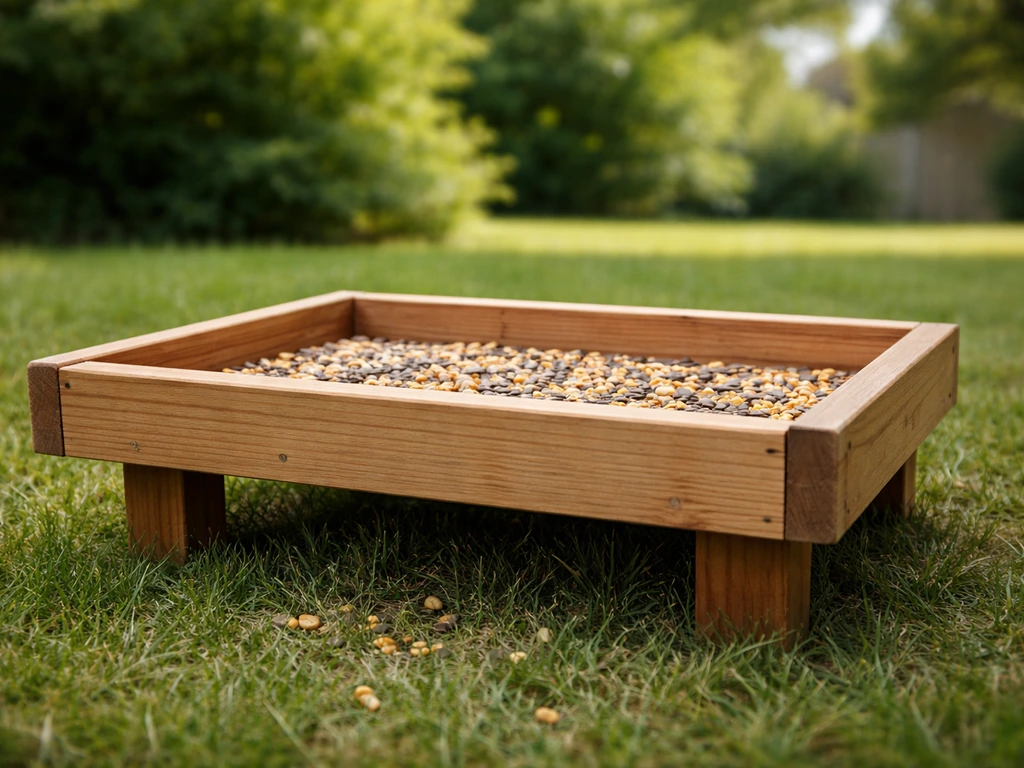
A platform feeder works for a wide range of species precisely because it's open and accessible. Robins, blackbirds, thrushes, sparrows, starlings, and doves all use open tables happily. If you want to encourage smaller birds like finches and blue tits while making life harder for pigeons and larger birds, adding a simple baffle or adjusting perch spacing can help. There's a detailed guide on how to make a bird table pigeon proof if that's a concern in your yard.
When you first put the table out, sprinkle a small amount of mixed seed, sunflower hearts, or mealworms on the tray and let birds find it at their own pace. It can take a few days to a couple of weeks for birds to start visiting a new structure, especially if there are no other established feeders nearby. Placing the table near an existing shrub or tree gives birds a staging post to check it out from before they commit to landing.
Cleaning the tray is non-negotiable. Old wet seed goes mouldy fast and can spread disease. Once a week, scrape the tray clear, brush it down, and rinse with water. Every two to four weeks, do a proper disinfection soak using a 10% bleach solution (1 part bleach to 9 parts water), let it soak for about 10 minutes, then rinse thoroughly and allow to dry completely before refilling.
That bleach ratio is effective against salmonella, which is a real risk at bird feeding stations. Some people prefer a more diluted mix (1 part bleach to 32 parts water) for routine cleaning, which is fine for general hygiene maintenance. The key with either approach is always to rinse and dry completely before putting food back out.
If you enjoy building this and want to try your hand at a more enclosed structure next, the same basic woodworking skills apply. Beginner simple bird house plans are a natural next step and use almost identical materials and tools.
Build videos, common problems, and quick fixes
Watching a bird table build video before you start is genuinely useful, especially if you're new to using a drill or cutting timber at angles. When searching for a walkthrough on YouTube or similar platforms, look for videos that show the full process from raw timber to installed table rather than just the glamour shots at the end.
The best ones show how the builder marks out and cuts the tray to size, how they attach the post, and how they actually test the table for wobble before finishing. If a video skips the stability testing step entirely, treat it with some scepticism. Also look for whether the builder mentions wood type and finish, since those details separate a table that lasts three years from one that rots in eighteen months.
Videos that show a hanging or wall-mounted version rather than a freestanding post table are covering a different project entirely. If a hanging design appeals to you, the how to make a hanging bird table guide covers that build specifically.
Here are the most common problems beginners run into, and how to fix them:
- Uneven or wobbly legs on a foot-frame base: This usually means the base boards aren't sitting flat on the ground or the cross-lap joint isn't flush. Plane or sand the base boards flat, or add rubber feet to the low corners to level it out.
- Post wobble even after securing: Check whether the cross brace is tight. If it is, add a second brace running in the opposite direction. For ground-sunk posts, pack extra gravel around the base and tamp it down firmly.
- Seed sitting in water on the tray surface: Your drainage gaps are probably blocked. Clear them with a skewer or small screwdriver after every clean. If the problem is structural, drill two or three small drainage holes (6–8mm) through the tray floor near the corners.
- Tray surface wearing or splintering after a season: Re-sand with 120-grit and apply a fresh coat of linseed oil or exterior varnish. This is a once-a-year job and takes about 20 minutes.
- Birds not visiting: Give it time first. If nothing's happened after two weeks, try moving the table closer to an existing hedge or shrub at the 10–15 foot range rather than out in the open. Also check whether a cat is regularly patrolling nearby as that alone will keep birds away.
FAQ
Do I need to pre-drill holes before screwing the tray to the post?
Yes, pre-drilling helps prevent splitting, especially with cedar and thin tray boards. Use a drill bit slightly smaller than the screw core, and keep pre-drill depth shallow so screws still bite fully.
How can I make the table last longer in heavy rain or snow?
Use cedar for the tray and keep the drainage gaps fully open, then seal only the end grain with exterior caulk or wood glue after assembly. Avoid fully sealing the underside, leaving a little ability for the timber to dry out between storms.
What should I do if the tray board starts to warp after a few weeks outside?
Warping usually means the board stayed wet for too long or got uneven moisture. Check that the tray grain runs lengthwise, confirm all corner drainage gaps are clear, and add a small brace or re-screw any loose fasteners to stop flex before it worsens.
Can I use treated lumber anywhere on the bird table?
Avoid treated timber on any area birds can touch directly, including the tray surface and raised lips. If you must use it for internal structural pieces, keep it out of reach and still prefer stainless or aluminum fasteners to limit staining and rot around joints.
How do I stop seed from collecting in the bottom and going mouldy?
If your design includes an open platform with drainage gaps, make sure water can escape and debris does not sit in the tray corners. During weekly cleaning, scrape right into each corner, then rinse and dry fully before refilling.
What is the safest way to clean without harming birds or lingering bleach smell?
After the bleach soak, rinse thoroughly with clean water, then let the tray dry completely before adding food. If you want the routine option, use the lighter dilution for maintenance, but reserve the stronger soak for visible mouldy spots.
How do I adjust the table height if I’m getting the wrong species or too many squirrels?
If squirrels are reaching it, raise the tray toward the higher end of the range and also follow the spacing idea from structures and overhanging branches (the 5-7-9 concept). If you’re mainly attracting larger birds, consider adjusting perch spacing or adding a simple baffle to discourage access.
Is a cross brace really necessary if the post is thick and the screws are strong?
A cross brace still matters because it prevents racking from wind loads. Relying only on the tray-to-post joint often leads to loosening over time, even with decent timber thickness and good fasteners.
What should I do if the table wobbles after anchoring?
Re-test after the first rain or two, because soil can settle. Tighten any brace connections, add a second brace on the other axis if needed, and for ground installs pack the hole more firmly with gravel or reinstall deeper if the base feels springy.
Can I mount the bird table on a deck railing or fence instead of a freestanding post?
You can, but it changes stability and predator access. If you cannot dig, use a heavy foot frame or a dedicated mount approach, then keep the feeding area away from where cats can climb and reach the tray from the side.
How do I place the table if I only have a window-facing yard and no shrubs nearby?
Since glass is a risk mid-range, try to set it either very close (within a few feet) so birds do not build speed, or further away (around 30 feet or more). If shrubs are limited, use a clear sightline for escape cover and avoid dense cover that cats can use as a jump point.
When should I refill after cleaning or when birds stop visiting?
Start with a small amount of food and wait. Birds may take days to a couple of weeks to return to a new structure, especially if it is isolated. Once visits begin, keep to a consistent schedule to reduce spooking.
Next Articles
How to Build a Bird Table With Roof: DIY Guide
Step-by-step DIY build for a roofed bird table, including slate roof fitting, waterproofing, drainage, and safe backyard

How to Make a Bird Table Pigeon Proof: DIY Fixes
Retrofit and build tips to stop pigeons landing and feeding on a bird table with baffles, guards, and clearances.
Beginner Simple Bird House Plans: Easy Build Guide
Beginner simple bird house plans with build-ready cuts, sizes, tools, and setup tips to attract backyard birds safely.