Build your lovebird a simple wooden nest box roughly 6 inches wide by 6 inches deep by 12 inches tall, with a 1.25 to 1.5 inch entrance hole placed 4 to 6 inches above the floor, and you have almost everything you need. If you want the full step-by-step for assembling it and choosing safe materials, follow the guidance on how to make love bird house. Line the inside with palm fronds, coconut fiber, or shredded paper strips, mount it high in the cage or aviary, and your pair will do most of the rest. That's the core of it. The details below make sure it's actually safe, the right temperature, and easy enough to clean that you'll keep up with it.
How to Make Lovebird Nest Boxes: Step-by-Step DIY

Marcus Thornton
23 May 2026
What a lovebird nest should actually look like
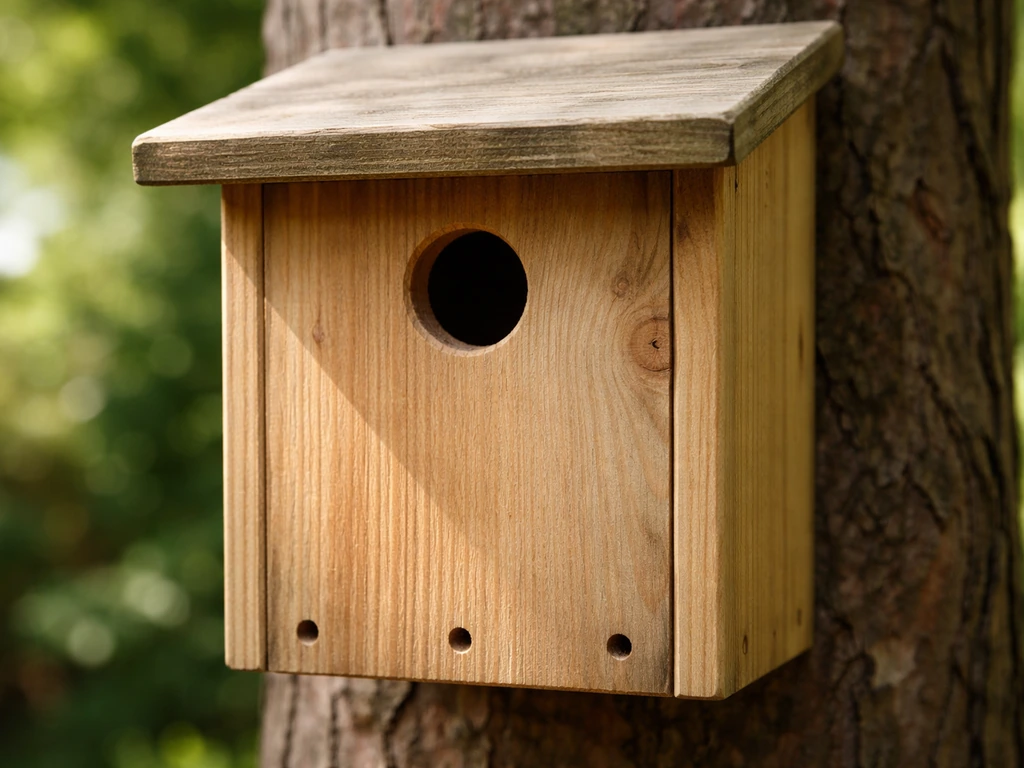
Lovebirds are cavity nesters, which means they want an enclosed box with one small entrance hole, not an open basket or platform. In the wild, species like the rosy-faced lovebird (Agapornis roseicollis) build a cup-shaped nest inside a tree hollow. Masked lovebirds (Agapornis personatus) and Fischer's lovebirds go a step further and build a domed or more structured nest within a cavity. Either way, your job is just to provide the cavity. The birds bring their own interior design skills.
In captivity, rosy-faced lovebirds can breed year-round, so you may need the nest box available for longer stretches than you'd expect. Other species tend to follow seasonal rhythms. Whichever species you keep, the box should feel dark, enclosed, and just big enough for the pair to move comfortably without being so roomy that it feels exposed. Think of it less like a bedroom and more like a snug burrow.
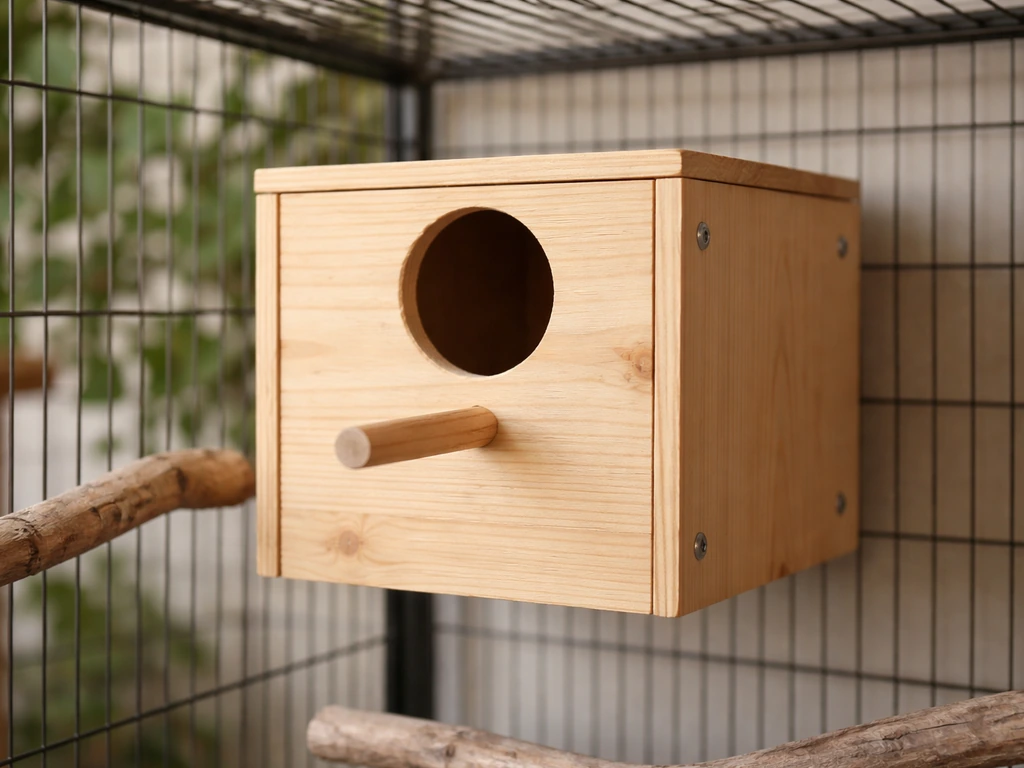
One thing that surprises a lot of first-time builders: lovebirds don't need a perch on the outside of the box. A perch gives predators (or cage-mates during aggressive moments) a foothold to harass the nesting birds. Skip it.
Picking the right materials and nailing the dimensions
Wood: what to use and what to avoid
Untreated, unpainted wood is the only way to go. Cedar, white pine, and yellow pine are all solid choices because they're rot-resistant and hold up to humidity inside a nest box. What you absolutely cannot use is treated lumber (the kind with chemical preservatives), OSB, MDF, or particleboard. Those materials off-gas compounds that are genuinely dangerous to birds, and they fall apart fast when they get wet. If you're repurposing scrap wood from a job site or workshop, double-check that it hasn't been pressure-treated or finished with any coating. Plain, rough, raw wood is exactly right.
If you're using glue at any joint, use a non-toxic wood glue and let it cure completely before introducing the birds. I've seen keepers rush this step and then wonder why their birds are agitated. Freshly glued wood has a smell that birds pick up on immediately.
Dimensions that actually work
| Measurement | Recommended Size | Notes |
|---|---|---|
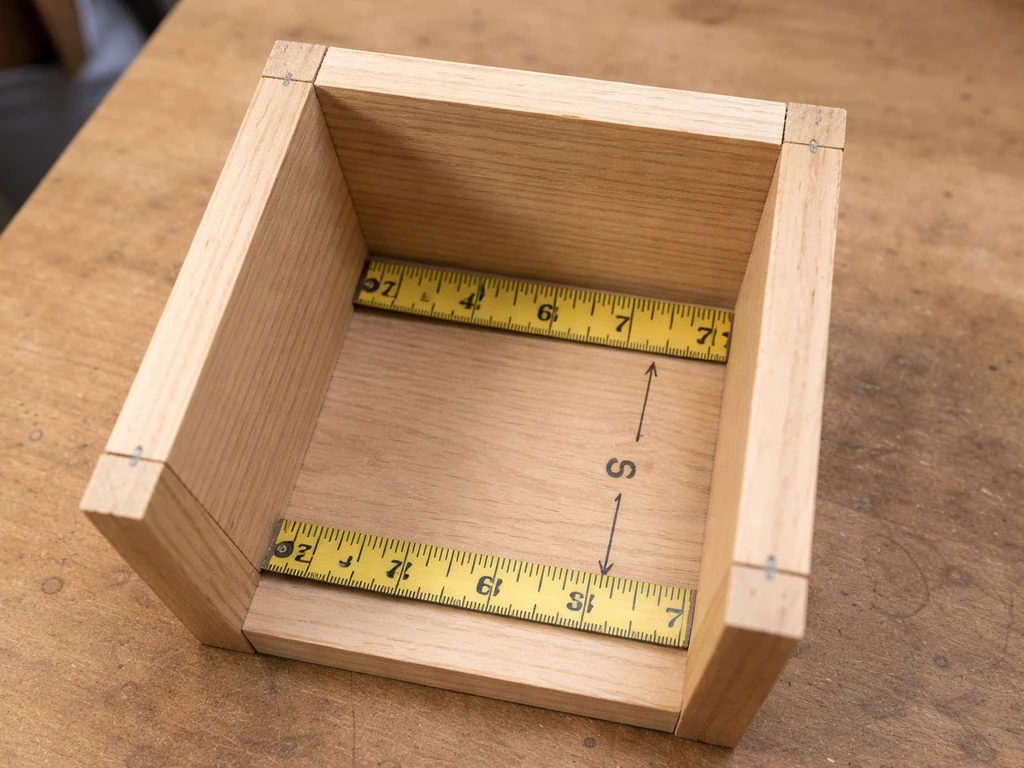
| Interior width | 6 inches | Enough room for the pair to turn around |
| Interior depth | 6 inches | Front to back; keeps the space snug |
| Interior height | 12 inches | Top to bottom; allows a good nesting cup area at the base |
| Entrance hole diameter | 1.25 to 1.5 inches | Sized for lovebirds; too large invites problems |
| Entrance hole height | 4 to 6 inches above floor | Keeps eggs/chicks safely below the opening |
| Wood thickness | 3/4 inch minimum | Thicker walls = better insulation and durability |
Some breeders use slightly larger boxes (around 7 inches wide by 10 to 12 inches deep) and report good results, especially when attaching a removable slide-out platform inside that separates the entrance area from the nesting cup below. That's a more advanced build, but the core 6x6x12 dimensions work well for most setups and are much easier to cut.
How to build the nest box: step by step
You don't need a fully equipped workshop for this. If you want the full sequence for building and placing it, see how to make a bird nest step by step as a related guide. For preschoolers, make it kid-friendly by using safe materials and focusing on the step-by-step tasks they can help with how to make a bird nest for preschoolers. If you want a walkthrough of how to make a nest for a bird, follow these steps for a safe, properly sized nest box step by step. If you want the complete process, follow these steps on how to build a bird nest box for lovebirds. A hand saw (or a circular saw if you have one), a drill with a 1.25 to 1.5 inch spade or hole-saw bit, sandpaper, screws or non-toxic wood glue, and a square foot or so of 3/4-inch pine is all you need. I've built these on a folding table in a one-bedroom apartment.
Step 1: Cut your pieces
From a single 1x8 pine board (which is actually about 3/4 inch thick and 7.25 inches wide in real life), cut the following pieces. You'll trim to exact 6-inch width as needed.
- Two side panels: 6 inches wide by 12 inches tall
- One back panel: 6 inches wide by 12 inches tall
- One front panel: 6 inches wide by 12 inches tall (this gets the entrance hole)
- One top panel: 6 inches wide by 6 inches deep
- One floor panel: 6 inches wide by 6 inches deep (this gets drainage holes)
Step 2: Drill the entrance hole
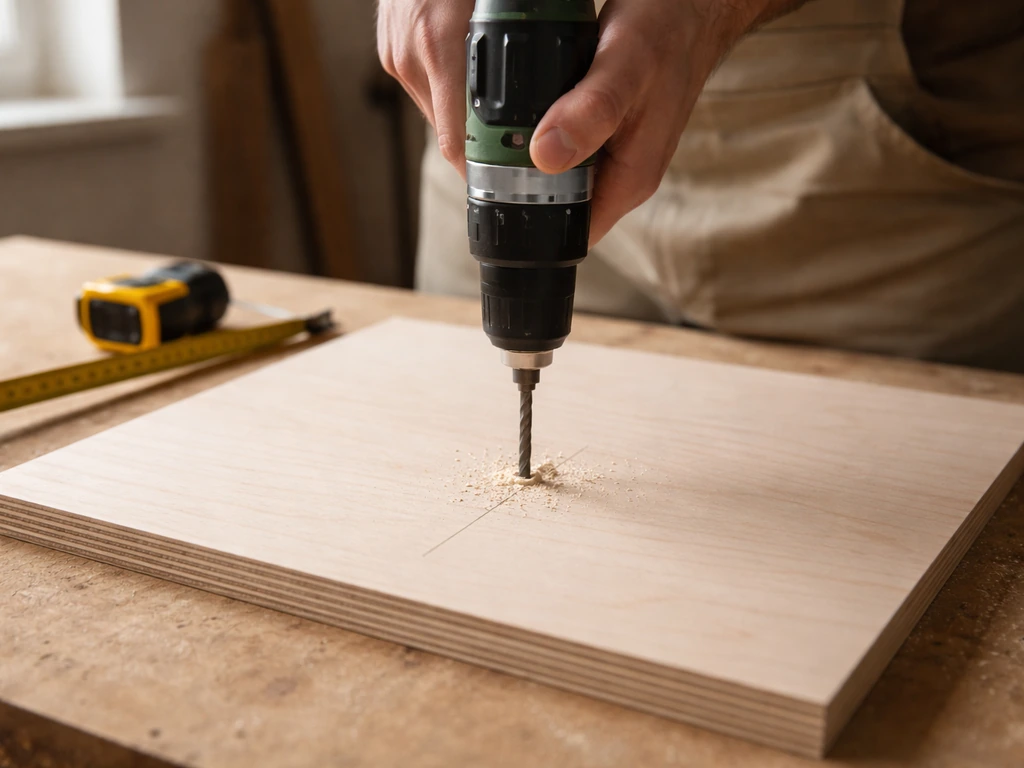
On your front panel, mark the center of the hole horizontally (3 inches from each side) and place it 4 to 6 inches up from the bottom edge. Drill with your 1.25 to 1.5 inch hole-saw bit. Sand the inside of the hole smooth so there are no splinters the birds could catch a toe or feather on. This is one of those small details that matters a lot more than it seems.
Step 3: Add ventilation holes
Drill four to six 1/4-inch holes near the top of each side panel, just below where the roof will sit. These let heat escape upward, which is critical. A sealed wooden box in a warm room or a sun-facing aviary can get dangerously hot, and heat stress can stop egg development or worse. Ventilation is not optional. If you're building in a particularly warm climate, consider adding a couple more holes or leaving a small gap at the back of the roof.
Step 4: Add drainage holes to the floor
Drill three to five 1/2-inch holes in the floor panel. Moisture from droppings and damp nesting material builds up fast, and standing moisture invites mold and bacteria. These holes let it drain out rather than accumulate.
Step 5: Assemble the box
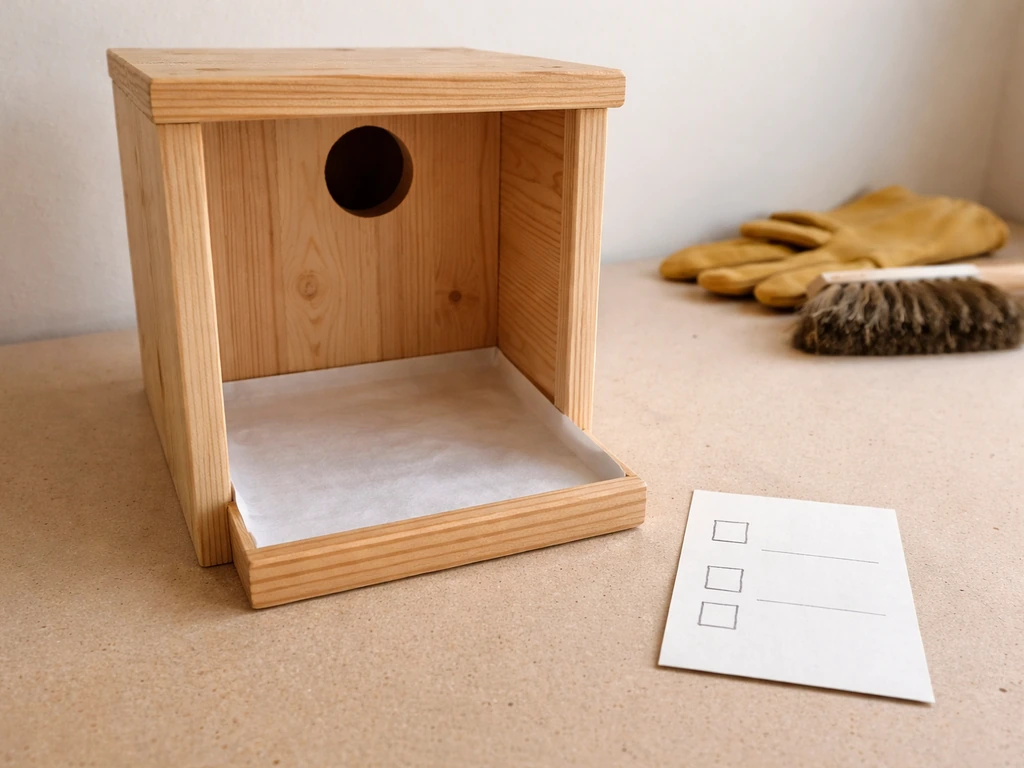
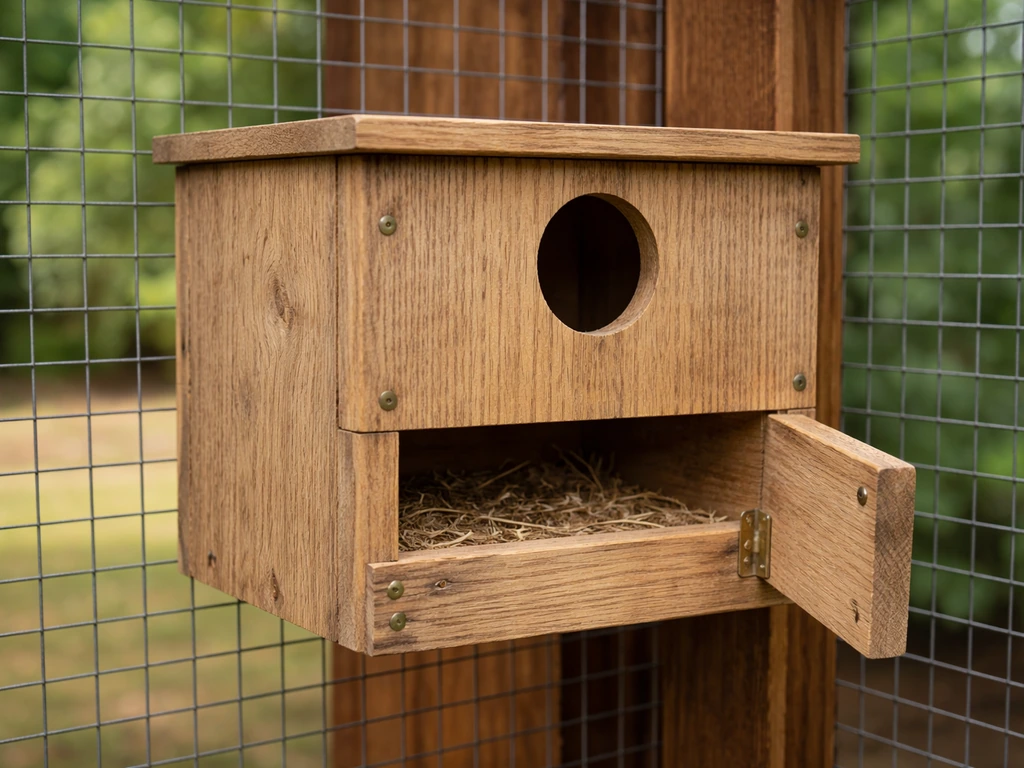
Assemble the sides, back, floor, and front using 1.5 inch wood screws (pre-drill pilot holes to avoid splitting) or non-toxic wood glue. Attach the roof last. Here's one design decision worth making now: hinge the roof or make one side panel removable with a single screw so you can open it for inspection and cleaning. A fully sealed box is almost impossible to monitor and clean properly, and you'll regret not adding access the first time you need to check on eggs or scrub the interior.
Step 6: Rough up the interior walls
Before the birds go anywhere near it, use a knife, chisel, or rough sandpaper to score the inside of the front panel, especially below the entrance hole. This gives the birds something to grip when they climb in and out. Smooth wood there is a common oversight that leads to scrambling birds and dropped eggs.
Where to put the nest box in a cage or aviary
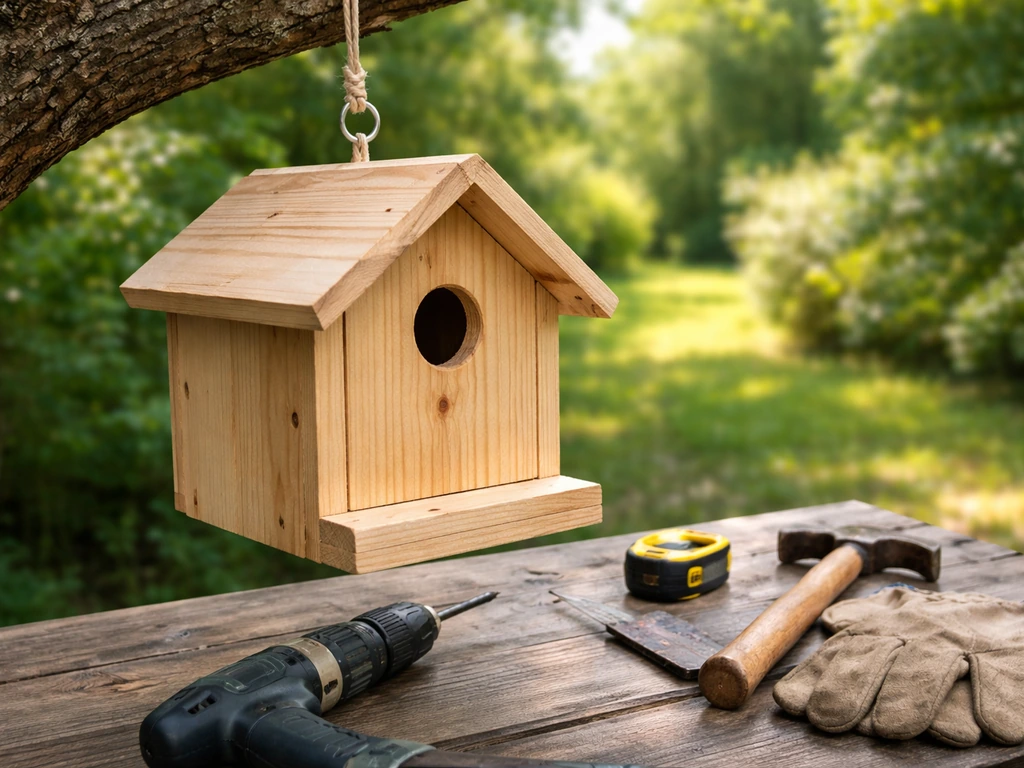
Mount the nest box as high as possible inside the enclosure. Lovebirds feel safer when the nest is elevated, and a low-mounted box will almost always be ignored or cause stress because the birds feel exposed. Attach it to the cage wire or aviary wall using cage clips, zip ties through the ventilation holes, or a simple bracket screwed into the back panel. The box should feel completely stable with zero wobble. A box that shifts when a bird lands on the outside is a box that won't get used.
Orient the entrance hole away from the main traffic area of the cage if you can. Birds want to enter and exit without feeling like they're being watched or ambushed. If you have multiple pairs in an aviary, give each pair their own box and space them well apart. Lovebirds are territorial about their nesting sites, and boxes mounted too close together cause constant fighting that shuts down breeding entirely.
Avoid mounting the box in direct sunlight, especially in warmer months. The wood will absorb heat, and even with ventilation holes, the interior can climb to dangerous temperatures. A shaded corner of the aviary or a position that gets morning light but afternoon shade is ideal.
Nest lining and nesting materials
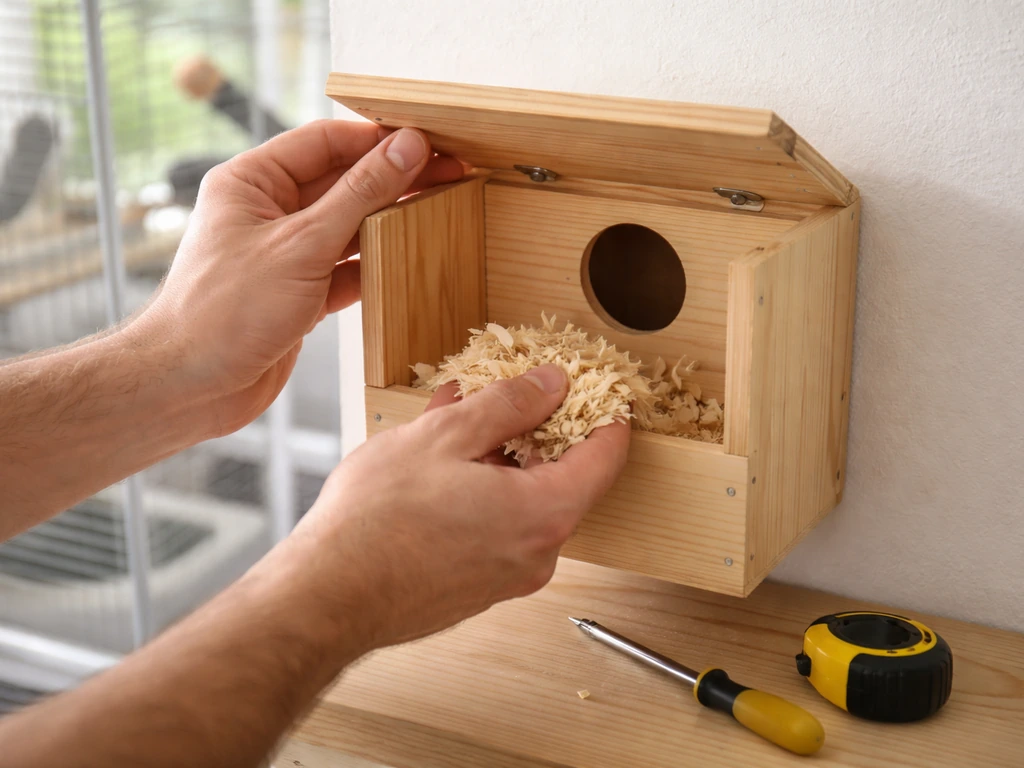
Lovebirds are unique in the parrot world because the females actively carry nesting material into the box, often tucking it under their feathers or in their beak. Bird nests made out of twigs are another style of nest many birds naturally create, so you can use this same idea of offering suitable nesting materials nearby. So your job is to provide appropriate material near the box and let them do the work. These same general nest-box safety and hygiene tips also apply when you’re learning how to make a parakeet bird nest. Don't pack the box full yourself; let the bird build her nest cup.
The best materials to offer are thin palm fronds or palm leaf strips, coconut fiber (sold as nesting material and widely used for lovebirds), and shredded paper strips (plain printer paper or newspaper with non-toxic ink, shredded into half-inch wide strips). Keep pieces under 6 inches long to prevent entanglement. Avoid anything with synthetic fibers, dyes, or chemical treatments.
Some keepers also place a thin layer of clean wood shavings at the bottom of the box before introducing nesting material. This is fine as long as the shavings are untreated and dust-free. Cedar shavings are sometimes recommended for their natural pest-deterrent properties, but some birds are sensitive to the oils, so plain pine shavings are the safer default. Avoid anything that's been scented or kiln-dried with chemical additives.
Cleaning schedule that you'll actually stick to
The moment chicks fledge (leave the box), remove the nest. Don't leave old nesting material sitting in the box between breeding cycles. It's packed with mites, bacteria, and droppings that create a genuinely hostile environment for the next clutch. Clean the interior by scraping out all old material, then scrub with a 10% bleach-to-water solution or a diluted white vinegar solution, rinse thoroughly, and let the box dry completely in the sun before putting it back. I wear gloves and a simple dust mask for this step, especially if the nest is heavily soiled.
Between clutches, do a quick visual check every week or two for any signs of mite activity (tiny moving specks, especially visible at night), moisture buildup, or structural issues. You don't need to open the box during active incubation unless something looks wrong, as repeated disturbance during that stage causes stress and can lead to egg abandonment.
Health, safety, and the mistakes people make
The entrance hole size matters more than you think
A hole that's too small stresses the birds every time they enter and can cause feather damage or injury. A hole that's too large makes the birds feel exposed and can allow cage-mates to reach in and harass the pair. Stay between 1.25 and 1.5 inches for standard lovebird species. If you make the hole slightly too small, you can sand or rasp it open. If you make it too large, you'll need to start again with a new front panel, which is why it's worth measuring twice.
Mites: the biggest ongoing threat
Bird mites are the most common health issue tied directly to nest box management. They thrive in the warm, organic-material-rich environment of a used nest. Cleaning between clutches (as described above) is your primary defense. If you find a serious infestation, removing and discarding the box may be the right call, because mites and their eggs embed in porous wood and are nearly impossible to fully eliminate from an infested box. A new box built from untreated wood is cheaper than a mite problem that spreads to your birds. Some aviculturists use a very diluted pyrethrin spray on the empty box (not with birds present) as a preventive measure, but consult your avian vet before using any chemical treatment near birds.
Heat stress is a silent killer
Poor ventilation combined with warm weather or direct sunlight can turn your nest box into an oven. High temperatures cause dehydration, stop egg development, and can be fatal to nestlings that can't regulate their own body temperature. If you're keeping birds in a space that regularly exceeds 90 to 100 degrees Fahrenheit during the day, add more ventilation holes, add a shade panel outside the box, or temporarily remove the box during the hottest weeks. Don't modify a box while active chicks are inside; the disturbance plus the heat stress is a double problem.
Other common mistakes to avoid
- Using painted or varnished wood inside or out: toxic, always skip any finish
- Placing the box too low in the cage: birds feel vulnerable and won't use it reliably
- Leaving the box in 24/7 year-round without removing it between cycles: leads to mite buildup and chronic stress
- Packing the nest with material yourself instead of letting the female build: disrupts her instinct and can cause abandonment
- Not scoring the inside of the entrance panel: birds slip and injure themselves on smooth wood
- Using scented bedding, cedar-based shavings, or synthetic fibers: respiratory irritants and ingestion risks
- Mounting the box directly against a hot exterior wall or in full sun: heat stress risk
- Adding an external perch: unnecessary and makes harassment by other birds easier
If you've been working through the sibling projects on this site, like building a general nest box from natural materials or a hanging bird nest style enclosure, many of the same material rules apply here. Lovebirds just have specific size requirements and a strong preference for that dark, enclosed, cavity feel that shapes every decision in this build. Get the dimensions right, use clean untreated wood, ventilate it properly, keep it clean between cycles, and your lovebirds will tell you it works by actually using it.
FAQ
My entrance hole came out slightly too small or too large, what should I do?
Keep the hole size consistent with standard lovebird needs (about 1.25 to 1.5 inches). If you end up slightly small, carefully enlarge with sandpaper or a rasp and re-smooth the rim. If you overshoot and it becomes too large, the safest fix is replacing the front panel, because a bigger opening increases harassment risk and makes the pair feel exposed.
How can I tell if my nest box is mounted too loosely?
If you notice wobble, re-secure the mounting points rather than “tweaking” the nest box walls. Use a bracket or screws into the back panel, or cage clips/zip ties that pass through the ventilation hole positions without blocking them. Any flex when a bird lands can discourage use and can also lead to gaps where heat and moisture build.
Can I make the roof removable for cleaning, and should it seal shut?
Yes, but don’t rely on it as your only access method. A removable roof or a hinged top should open with minimal force, and it must close tightly enough that the entrance area stays dark. Avoid leaving tools or hardware protruding inside, and make sure you can inspect without reaching deep into the nesting cup during active breeding.
What’s the best placement if my aviary gets strong sun?
Choose a location that is shaded at least from direct afternoon sun and placed away from the main traffic line of the cage. Morning light is usually okay. If your room temperature is very warm, prioritize extra ventilation and consider temporarily moving the box out of the hottest area during heat waves, rather than just hoping the holes help.
Is it okay to pre-pack the nesting material inside the box?
If you want to offer nesting material, place it nearby, not inside the box as a finished nest. Let the female build the cup herself. Also keep pieces short (under about 6 inches) and avoid any dyed or synthetic fibers because they can tangle around feet or introduce irritants.
How often should I check the box during incubation?
Egg incubation is a period to minimize disturbance. Do a quick check from the outside when possible, and open only if you see a clear problem like persistent moisture, a damaged egg, or a clear structural hazard. Frequent opening can cause stress that leads to abandonment.
What’s the right way to clean the nest box between clutches?
For safety, clean and disinfect between breeding cycles, then allow full drying before reintroducing the birds. Use the recommended diluted bleach-to-water or diluted vinegar approach, rinse thoroughly, and dry completely so fumes do not linger. After cleaning, confirm there is no strong odor and that surfaces are not slick or wet.
My birds seem to have mites in the nest, should I disinfect or replace the box?
Most problems linked to nest boxes are moisture and mites. If mites are severe in a used box, replacement is usually the most effective option because porous wood traps eggs. For prevention on new boxes, start with untreated wood, keep the box dry, remove the nest immediately after chicks fledge, and do periodic visual checks for mite activity.
Can I add a perch on the outside of the nest box to make it easier for them?
You generally should not add an outside perch on the box. Lovebirds can use the entrance area to access the cavity, and a perch can give cage-mates or predators a foothold that increases harassment. If you must provide footing for other birds in the enclosure, place perches elsewhere in the cage, not directly on the nest box.
Is it safe to use repurposed construction lumber or OSB if I sand it well?
No. Treated lumber and board products that contain binders or surface finishes should be avoided because chemical residues can off-gas and because they often degrade faster in the humid interior. Use rot-resistant, untreated pine or cedar, and double-check scrap wood for pressure-treatment markings or coatings.
Next Articles
How to Make a Hanging Bird Nest: DIY Steps for Beginners
Step-by-step guide to build a safe hanging bird nest, choose the right size for your birds, and hang, weatherproof, and
How to Make a Parakeet Bird Nest: DIY Steps
DIY guide to build a safe parakeet nesting box with size, materials, placement, lining, and maintenance tips.
How to Make a Love Bird House Step by Step DIY
Step-by-step DIY lovebird house build with safe wood, size cut list, ventilation, cleanout access, and placement tips.