You can build a functional bird hide in a weekend using basic tools, timber offcuts, and some camo netting, and if you place it right, you'll be watching birds up close within a few days of finishing it. The key things that make a hide actually work are concealment, stillness, and smart positioning relative to your target birds, not fancy construction. A well-placed simple hide beats a poorly placed elaborate one every single time.
How to Build a Bird Hide: Step-by-Step DIY Guide
Marcus Thornton
30 May 2026
Pick your hide type based on the birds you want to watch
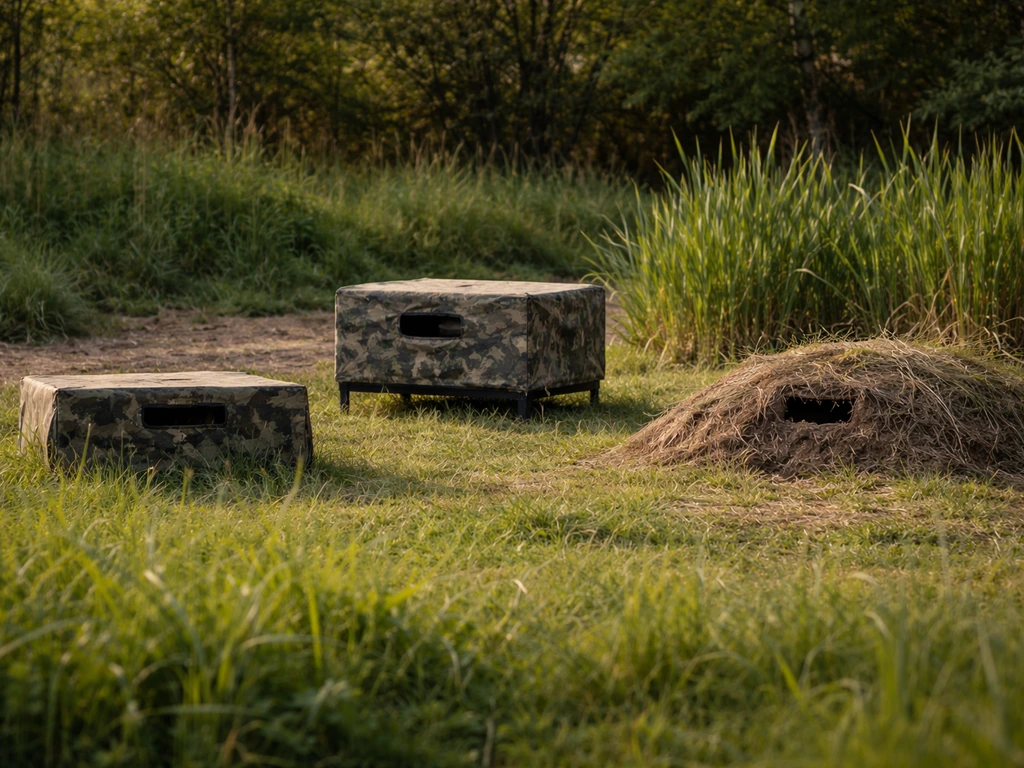
Before you touch a single piece of wood, decide what you're building for. Ground hides work brilliantly for wading birds, ducks, shorebirds, and most songbirds that feed at or near ground level. They're also the easiest to build and the most portable. Raised hides, essentially an elevated platform or small cabin on stilts or a slope, give you a sightline advantage for birds that nest or roost in tree canopy, or for watching over a large wetland or meadow from above. They take more effort but are genuinely worth it if you're watching raptors, herons, or canopy-dwelling species.
For most backyard birders just getting started, a ground-level box hide (think a small shed with a viewing slot) is the right call. It's beginner-friendly, cheap to build from repurposed materials, stable, and effective for the widest range of common garden and wetland species. If you've already built a bird box or nesting box and want to level up your backyard setup, a hide is a natural next project, it puts you in the field rather than just providing habitat. If you want to attract birds to a specific area, you can also learn how to build a bird roosting box so they have a safe place to rest. If you also want to encourage sparrows to nest nearby, follow a sparrow bird box plan so the entrance size, drainage, and placement suit them bird box for sparrows. Once you have the basic idea, you can apply the same construction principles to learn how to make bird boxes for robins specifically built a bird box or nesting box. If you want the basics first, start with a simple bird house made from a box, then build up your hide plans bird box or nesting box. If you want to combine viewing with conservation, learning how to make a bird nesting box can help you offer safe shelter while you watch from your hide.
| Hide Type | Best For | Difficulty | Cost | Portability |
|---|---|---|---|---|
| Ground box hide | Songbirds, waders, ducks, garden feeders | Beginner | Low–Medium | Medium (can be moved) |
| Camo net / frame hide | Short sessions, field trips, flexible spots | Very easy | Low | High (pack-down design) |
| Raised platform hide | Herons, raptors, canopy birds, large wetlands | Intermediate | Medium–High | Low (fixed structure) |
| Pit/sunken hide | Ground-nesting birds, very low sightline | Intermediate | Low (mostly labour) | None (permanent) |
The camo net hide deserves a mention here because it's genuinely underrated. A simple PVC or steel conduit frame draped in camo netting and natural foliage can be set up in 30 minutes and works surprisingly well for short photography sessions. It won't match a solid box hide for all-weather comfort or sound insulation, but it's a fantastic starting point if you're not ready to commit to a permanent build.
Where to put it: site selection, orientation, and sightlines
Location is where most first-time hide builders go wrong. The best-built hide in the world will sit empty if it's in the wrong spot. Start by spending a few mornings just watching, note where birds actually feed, drink, preen, and land. Those spots are your target zones. You want your hide positioned so that the viewing slot looks directly toward those hotspots, ideally with the viewing slot side of the hide facing north or northeast. That keeps the sun behind you during morning sessions (peak bird activity time) rather than blaring into your viewing slot and silhouetting you.
Wind direction matters more than most people realise. Birds are acutely sensitive to scent and sound carried on the wind. Position the hide so that the prevailing wind blows from the birds toward you, not from you toward them. This isn't always possible, but even getting within 45 degrees of that ideal makes a real difference. Also check your entry and exit route: ideally you should be able to approach the hide from the rear without crossing the bird's field of view. A solid rear wall and a door at the back (not the front or side facing the birds) is the correct design approach, movement behind a rear entry point is completely invisible from the front.
- Watch the site first for several mornings before building — locate actual feeding, drinking, and perching spots
- Orient the viewing slot to face north or northeast to keep the sun at your back during morning sessions
- Position the hide so prevailing wind blows from the birds toward you
- Plan your entry/exit route so it approaches from the rear, staying out of the birds' sightline
- Look for natural cover (hedgerow, reed bed, tree line) to integrate the hide into rather than sitting it in open ground
- Check that your sightline is clear and unobstructed from the viewing slot — crouch down and look before you commit to a position
- For raised hides, assess ground stability and access safety before planning the platform height
Planning the design: dimensions, layout, and camera-ready features
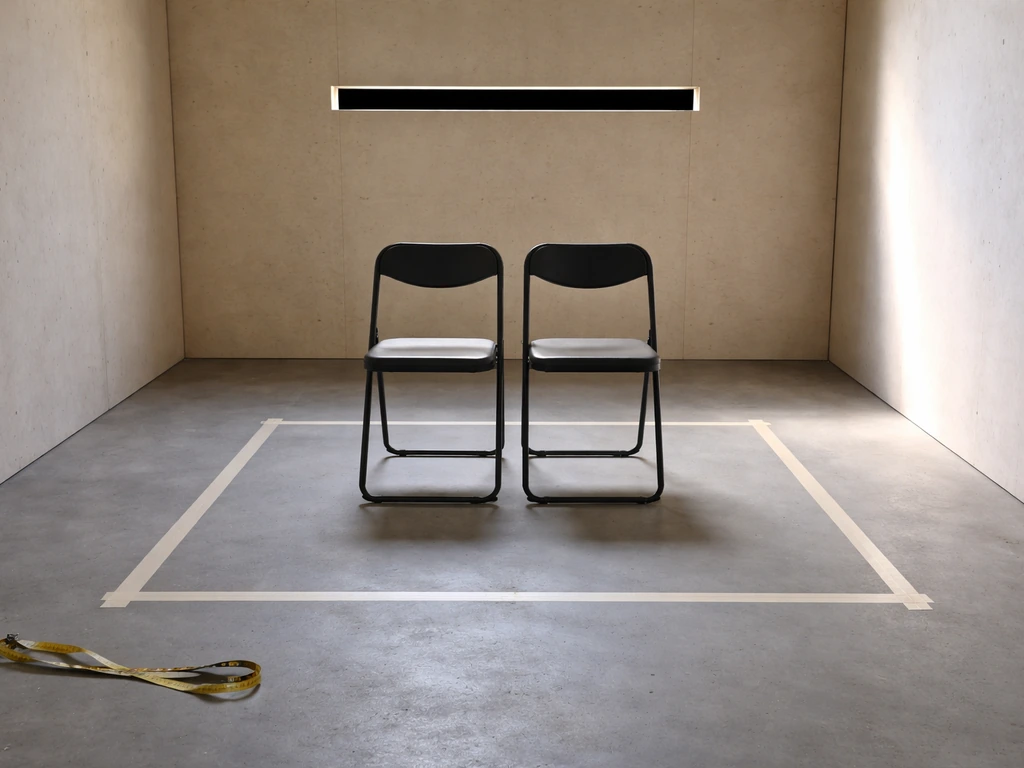
For a ground box hide, a practical internal footprint is around 1.5 m wide by 1.2 m deep (roughly 5 ft by 4 ft). That's enough space for two people sitting side by side, with room for a camera bag and tripod without anyone constantly bumping elbows. If you're building solo and want to keep it simple, 1.2 m by 1.0 m is plenty. Height internally should be around 1.4 to 1.5 m, enough to sit comfortably on a low stool and not feel like you're crammed in a crate, but not so tall that the structure becomes visually prominent from a distance.
The viewing slot is the single most important dimension to get right. The accepted standard is a slot base height of about 1,000 mm (roughly 39 inches) from the floor of the hide, that's a comfortable seated eye level on a low stool. Slot width should be at least 250 mm and ideally 300 to 350 mm if you're doing photography, because you need enough width to swing a camera lens horizontally without knocking the edges. A slot that's only 150 or 190 mm wide looks fine on paper but becomes frustrating the moment you attach a telephoto lens. Cut it wider than you think you need.
One feature I'd strongly recommend building in from the start is an elbow shelf. This is a narrow ledge on the interior front wall, running the length of the viewing slot, positioned around 800 to 900 mm above the floor. Make it about 300 mm deep. Add a small ridge along the front edge so cameras, books, and spotting scopes don't slide off. It functions as a stable camera support, a resting place for your arms during long waits, and a spot to park binoculars. It sounds like a minor comfort detail but after a two-hour session you'll understand why it matters.
Don't forget ventilation. A sealed wooden box with two people inside on a warm morning will fog up your optics and become genuinely uncomfortable within 30 minutes. Include at least two ventilation points, small baffled openings near the roofline at the rear corners work well. They let air circulate without creating movement-visible gaps at the viewing front. Good ventilation also reduces condensation on camera lenses, which is a real practical problem in cold-weather sessions.
Viewing slot design for camera-ready builds
If you're primarily building for wildlife photography rather than just observation, add a second, smaller port below or beside the main viewing slot. A port of around 100 mm by 100 mm at roughly 600 mm height works well for shooting at ground level, great for capturing birds at a feeder from a low angle. Cover unused ports with a hinged flap of fabric or a piece of foam cut to fit; this stops light leaking in and silhouetting you when a port is open and you're not using it.
Materials and tools: what you actually need (and what you can skip)
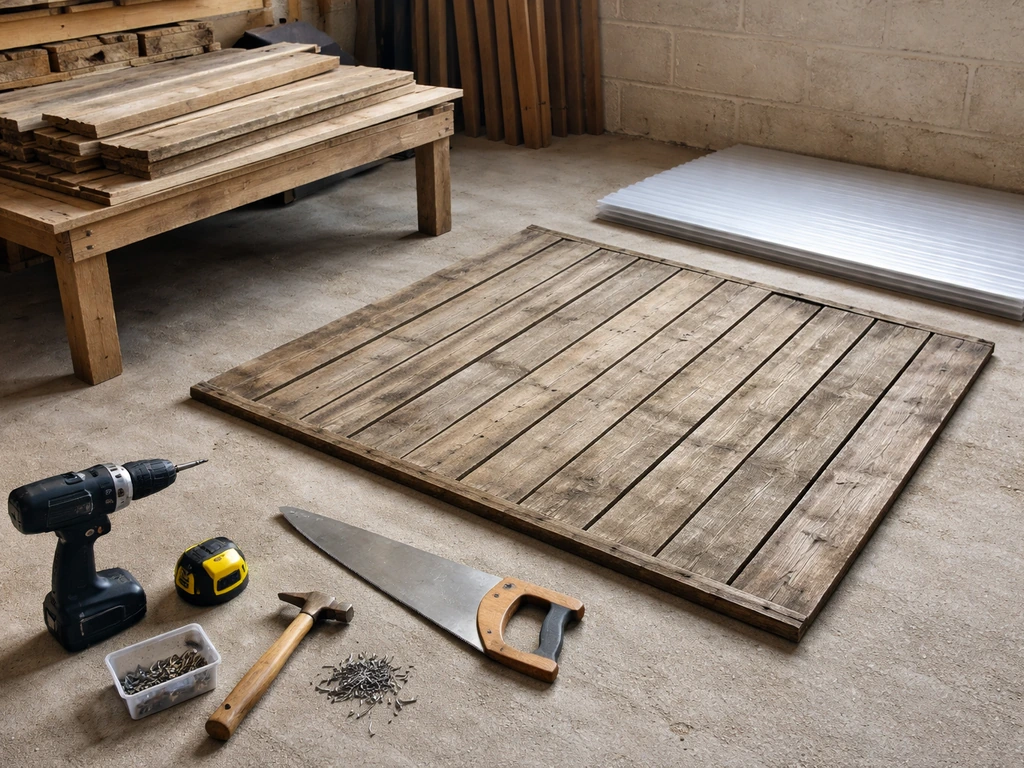
You don't need to buy new lumber for this project. Some of the best hides I've seen were built from reclaimed pallet wood, old fence panels, and corrugated plastic sheeting sourced from a skip. The structural requirements of a bird hide are not demanding, it needs to stay upright, shed rain, muffle sound, and blend into the environment. That's achievable with rough-sawn timber and basic joinery.
| Component | Recommended Material | Budget Alternative |
|---|---|---|
| Frame / uprights | 2x4 (50x100mm) treated timber | Reclaimed fence posts or pallet stringers |
| Wall panels | 12mm exterior plywood | Tongue-and-groove fence boards, OSB sheet |
| Roof | Corrugated bitumen sheet or roofing felt on ply | Tarpaulin weighted and tensioned over frame |
| Viewing slot cover/flap | Hessian fabric on a dowel | Old burlap sacking or camo netting offcut |
| Elbow shelf | 18mm ply with a small batten front edge | Any scrap board 300mm+ wide |
| Weatherproofing | Exterior wood stain, dark earth/brown tone | Used engine oil on external surfaces (traditional) |
| Seating | Folding garden stool or fixed wooden bench | Upturned milk crate with foam pad |
| Camouflage exterior | Camo netting + cut foliage woven in | Dark paint + attached local vegetation |
For tools, you genuinely only need a circular saw or hand saw, a cordless drill/driver, a measuring tape, a square, and a hammer. A jigsaw is helpful for cutting the viewing slot cleanly, but you can do it with a hand saw and a chisel. If you're building a raised hide with a platform, add a spirit level and post hole digger to the list. That's it, this is not a project that demands a workshop full of specialist tools.
- Circular saw or hand saw (for cutting panels and framing)
- Cordless drill/driver with bits and screwdriver heads
- Measuring tape and carpenter's square
- Jigsaw (optional, but useful for the viewing slot cut-out)
- Hammer and assorted screws/nails (exterior grade, stainless or galvanised)
- Spirit level (essential for raised hides, helpful for box hides)
- Staple gun (for attaching camo netting and fabric flaps)
- Paintbrush for exterior stain or weatherproofing treatment
How to build it: a step-by-step guide
This sequence is for a basic ground-level box hide at 1.5 m wide by 1.2 m deep by 1.5 m tall (external dimensions). Adjust the dimensions to fit your site, but keep the slot height and shelf height consistent, those measurements are proven to work. Once you know the basics of site selection and concealment, you can follow a simple step-by-step plan to build your own bird blind. If you want the simplest option, follow this guidance to build bird box style dimensions and keep the viewing slot and shelf height consistent for reliable results.
- Cut your four corner uprights to 1.5 m. Cut two front/back horizontal rails at 1.5 m and 1.2 m respectively. These form your basic rectangular frame. Assemble the frame flat on the ground and check it's square before standing it up.
- Stand the frame upright and stake or screw it to temporary bracing to keep it vertical while you work. For a permanent hide, dig or drive corner posts 300–400 mm into the ground rather than sitting it on the surface — this prevents shifting and rot at the base.
- Attach your wall panels to three sides (two ends and the rear wall). Leave the front wall for last. Use exterior-grade screws and pre-drill to prevent splitting if you're using thinner boards. Leave a 5–10 mm gap between boards if using rough timber — this allows slight movement and air circulation, and won't affect concealment if the gap faces away from the viewing direction.
- Frame and fit the rear door. A simple ledge-and-brace door in T-shape construction is strong and easy to build. Hang it with two heavy-duty exterior hinges and fit a simple barrel bolt. The door should open inward or swing fully clear — a door that catches on vegetation when you're trying to get in quietly will ruin your session.
- Build the front wall in two sections: a lower solid panel up to 1,000 mm from the floor, and an upper panel from about 1,250 mm to the roof. This creates the viewing slot opening between them. Cut the lower panel to exactly 1,000 mm height. Cut the upper panel to fill the space above the slot up to the roof line.
- Build and attach the elbow shelf. Cut a piece of 18 mm ply or solid board to 300 mm deep and the full interior width of the hide. Fix it at 800–850 mm height on the interior front wall, running across the full width. Add a small batten (about 20 mm square) along the front edge as a stop to prevent gear sliding off. Sand the top surface smooth.
- Fit the roof. A simple single-pitch (lean-to) roof that slopes from front to back by about 100 mm is easiest and sheds rain away from the viewing slot. Fix the roof sheet to the top frame, overhang it at least 150 mm at the front and sides, and seal joins with roofing tape or a bead of exterior silicone.
- Fit a fabric flap over the viewing slot. Cut hessian or camo fabric to slightly overlap the slot on all sides. Attach it along the top edge only, using a dowel rod stitched through a hem at the top — this creates a blind that hangs down and can be raised or held up quietly during viewing. Staple the dowel to the interior front wall above the slot.
- Fit baffled ventilation openings at the rear corners near the roofline. Cut openings about 100 mm square and cover them with a small angled baffle (a triangular piece of ply acts as a rain hood). This allows air to flow without direct light entry.
- Apply exterior wood stain in a dark earth-brown or olive tone to all external surfaces. Avoid shiny finishes — matte is essential. Let it dry fully before adding camouflage material.
Simple cut list for the ground box hide
| Part | Quantity | Dimensions (approx.) | Material |
|---|---|---|---|
| Corner uprights | 4 | 50x50mm x 1,500mm | Treated timber |
| Front/rear top/bottom rails | 4 front+rear | 50x50mm x 1,500mm | Treated timber |
| Side top/bottom rails | 4 sides | 50x50mm x 1,200mm | Treated timber |
| Rear wall panel | 1 | 1,500mm x 1,500mm | 12mm exterior ply |
| Side wall panels | 2 | 1,200mm x 1,500mm | 12mm exterior ply |
| Front lower panel | 1 | 1,500mm x 1,000mm | 12mm exterior ply |
| Front upper panel | 1 | 1,500mm x ~450mm | 12mm exterior ply |
| Roof sheet | 1 | 1,800mm x 1,500mm (with overhang) | Corrugated bitumen or ply + felt |
| Elbow shelf | 1 | 1,400mm x 300mm x 18mm | Ply or solid board |
| Door panel | 1 | 600mm x 1,400mm | 12mm ply or boards |
Camouflage, concealment, and keeping the birds relaxed
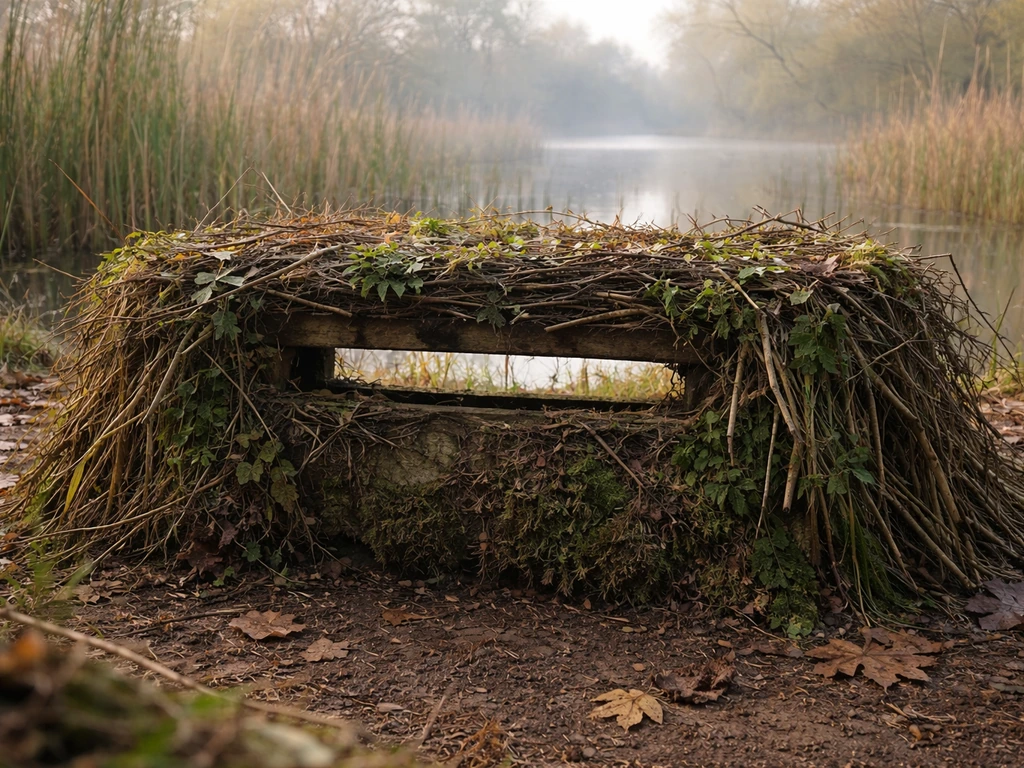
A freshly built wooden box looks exactly like what it is: a freshly built wooden box. Birds, especially wary species, will give it a wide berth for a week or two while they assess it. There are two ways to speed up acceptance: good camouflage from day one, and leaving the hide in place undisturbed so it becomes part of the local landscape. Both matter.
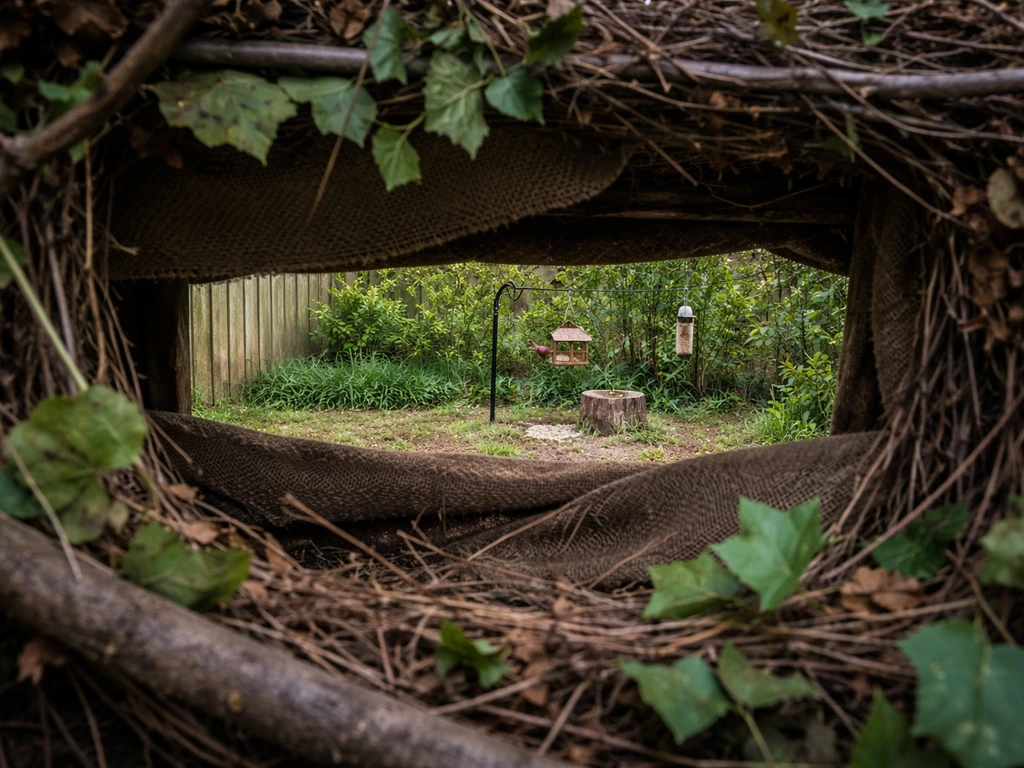
After your dark stain has dried, layer camo netting over the exterior and weave in local vegetation, cut branches, dried grass, leaf litter, whatever grows naturally at your site. The goal is to break up the straight lines and hard angles of the structure. Use a staple gun to anchor the netting to the frame and refresh the natural material every few weeks as it dries and fades. Plants that are already growing near the hide naturally are perfect: if you can train or encourage ivy, tall grass, or reeds to grow against the structure, that's the best long-term camouflage option of all.
Inside the hide, wear dark or camo-coloured clothing and avoid white or bright surfaces that could reflect light through the viewing slot. Keep a piece of dark fabric or camo material hanging just inside the slot, it stops light from silhouetting your face and hands when you're watching. When you're operating the viewing flap or adjusting a camera, move slowly. Fast movement is what triggers a bird's alarm response, not your presence itself. A bird sitting 10 metres away will tolerate a slow hand movement it can barely see, but will flush instantly at a sudden motion.
Sound insulation is often overlooked. A wooden box amplifies internal noise, a cough, a chair scrape, a lens cap hitting the floor can all alarm nearby birds. Line the interior walls with a layer of felt, old carpet underlay, or acoustic foam if you have it. At minimum, put a rubber mat or carpet offcut on the floor. These are cheap additions that make a genuine difference to how relaxed birds remain in front of the hide.
To attract birds to the zone in front of your hide, set up feeders or a shallow water dish at a natural-looking perch position, a sturdy branch, log, or flat stone, around 5 to 10 metres from the viewing slot. This gives you a natural foreground, a predictable bird position, and a shooting distance that works well for most camera setups. Bring feeders up to full loading before you use the hide and let birds establish a routine visiting pattern first. Once that pattern is established, your sessions will produce results reliably.
Safety, legal responsibilities, and keeping the hide in good shape
Wildlife ethics and legal basics
A hide does not give you a pass to approach wildlife more closely than you otherwise should. The underlying principle from wildlife-viewing guidance used by agencies like the U.S. Fish and Wildlife Service is clear: observe wildlife from a distance, and don't do anything that changes their normal behaviour. If birds are flushing, alarm calling, or abandoning nests near your hide, you're too close or the hide isn't working well enough yet. Pull back, improve the concealment, or wait longer before using it.
Active nests are especially sensitive. In the U.S. and many other countries, blank" rel="noopener noreferrer">it's illegal to physically disturb an active nest or its contents, and 'disturb' can include repeatedly flushing a nesting bird by approaching too closely. Federal rules in some areas set specific minimum approach distances: for example, blank" rel="noopener noreferrer">some protected areas prohibit approaching within 25 yards of an active raptor nest. Always check your local and state wildlife regulations before positioning a hide near any active nest site. The general rule: if the bird is looking at you, watching you, or has stopped its normal activity because of you, you are too close.
Avoid using electronic bird calls or playback to attract birds to your hide. This is explicitly discouraged by the National Park Service and widely considered poor ethics in the birding community, and in some jurisdictions it's restricted or prohibited for protected species. Stick to natural attractants, feeders, water, native planting, and patience. They work better long-term anyway because they create genuine habitat rather than just luring birds into a temporary situation.
Physical safety
For raised hides, treat the structural safety exactly as you would any elevated platform you intend to stand on. Use structural-grade timber for the platform deck and posts, check for rot annually, and add a proper handrail if the platform is more than 600 mm off the ground. Bolt, don't just screw, the platform to the uprights. If you're building on someone else's land, get written permission and check that your structure complies with any local planning or land-use rules, even small permanent structures can require permits in some areas.
For ground hides, the main safety issues are weather and access. In high winds, a lightly built hide can shift or partially collapse, stake or anchor it properly, especially if it's sited in an exposed location. Make sure the door opens reliably from the inside so you can exit quickly if needed. In summer, temperature inside a closed box hide can rise very quickly, ventilation isn't just a comfort issue, it's a safety one. Carry water on hot days and check on any companion or younger birder sharing the hide with you.
Maintenance and improvements over time
A well-built hide needs minimal maintenance but benefits from a seasonal check. Every three to six months, look for: any signs of wood rot at ground contact points (treat or replace if found), loose fixings on the roof, gaps in the camo netting, and any rodent activity inside, mice will happily nest in a quiet dark box, so check corners and the floor area. Re-apply exterior stain or preservative every one to two years. Refresh the natural vegetation woven into the camo netting as it dries out.
Over time you'll naturally spot improvements to make: a second viewing port at a different angle, a small shelf for a flask, a hook for binoculars, or better weatherstripping around the door. These incremental tweaks are part of the process. The hide that works best for you in year two will look noticeably different from the hide you finished building on day one, and that's exactly as it should be. Build it, use it, and let the birds tell you what needs changing.
Quick build checklist before your first session
- All external surfaces stained dark and matte — no bare or shiny wood visible
- Camo netting attached and local vegetation woven in
- Viewing slot at 1,000 mm from floor, 250–350 mm wide minimum
- Elbow shelf at 800–850 mm, 300 mm deep, with front stop ridge
- Rear door operates smoothly and silently (oil hinges if needed)
- Fabric flap over viewing slot attached and hanging correctly
- Ventilation openings fitted at rear roofline
- Floor covered with rubber mat or carpet for noise dampening
- Feeder or water dish set up at a perch position 5–10 m in front of the slot
- Entry/exit route checked — clear path to rear of hide without crossing bird sightlines
- Any local regulations or land permissions confirmed before first use
FAQ
How long should I wait before using a brand-new wooden bird hide?
Even with good camouflage, wary birds often take 1 to 2 weeks to fully accept a new structure. If you can, leave the hide in place and undisturbed for that period, only doing quick, slow checks from your normal approach route. Birds usually settle faster when the hide stays quiet and consistent, rather than being used immediately with frequent inside movements.
What’s the best way to reduce light and glare when I’m wearing bright gear?
Keep all reflective items out of the viewing line of sight, including shiny camera straps, phone screens, and metal tripod parts. Use a dark cover or cloth bag for equipment between shots, and avoid placing white paper notes or bright clothing directly inside the slot opening. If your optics lens hood catches light, cover it briefly with a darker cloth during adjustments.
Can I build the hide too low or too high, and how do I correct it?
Yes. If the slot is too low, birds may see you as your head rises when you sit, if it is too high you’ll cast shadows into the port and the viewing angle may miss the feeding spot. If you cannot rebuild, a common fix is changing your shooting stance (using a lower stool) and adjusting the camera height, but for major height mistakes your best option is repositioning the whole slot or rebuilding the front wall.
What if the wind keeps shifting and sometimes blows my scent toward the birds?
Aim for your ideal wind direction, but plan for variable conditions. Use scent discipline, wash hands and face with unscented products before sessions, avoid strong aftershave, and store food away from the hide. If gusts are unpredictable, consider temporary masking using natural breaks (reeds, tall grass) around the hide entry route and keep your time short while the wind is unfavorable.
How do I prevent condensation on camera lenses inside the hide?
Ventilation helps, but also manage temperature swings. Keep lens covers on when you are not actively shooting, wipe any dew immediately with a microfiber cloth, and consider a small passive desiccant pouch inside your camera bag (not loose near the lens where it can be a distraction). Avoid opening the viewing flap repeatedly for long periods, because each opening brings moist air inside.
Are there layout tweaks to reduce noise from gear and foot movement?
Yes. Put the tripod and camera bag on a rubber mat or carpet offcut to dampen impacts, and avoid adjusting gear while standing or leaning with sudden weight shifts. If you use a chair, attach felt pads to contact points on the hide floor. Also route the door opening so you do not drag a chair across boards when exiting or re-entering.
How far from the viewing slot should I place feeders or water for photography?
A distance of about 5 to 10 meters is a practical starting point because birds feel less crowded and your lens can frame them without excessive cropping. Ensure the perch looks natural from inside the hide, for example a branch or log that blends with the surrounding vegetation, and keep the feeding pattern consistent by topping up before long sessions. If birds only arrive briefly, increase distance slightly or add more concealment in front of the perch area.
What should I do if birds are flushing repeatedly when I try to photograph?
Treat it as a sign the hide is not yet meeting the concealment, sound, or movement needs. Pull back immediately, then troubleshoot in order: reduce interior noise (extra lining and floor mat), slow down all hand and flap movements, and check the wind direction and light angle. If the problem persists, wait longer between changes (birds need time to reassess) and reposition feeders or the hide to align better with established feeding lanes.
Is it okay to use a second port for photography, but still hide from birds?
It can work well, just manage the unused openings carefully. When a port is not in use, keep it covered with a fitted flap so it cannot leak light, silhouette hands, or show bright interior edges. Also be mindful that adding extra ports can create additional gaps, so re-check concealment from the birds’ side after every modification.
What are common safety mistakes with raised hides?
The most common issues are weak decking, poor anchoring, and lack of fall protection. Use structural-grade timber for the platform, bolt rather than relying on screws, and add a handrail if the deck is more than about 600 mm above the ground. Do a rot and fastener inspection at least seasonally, especially on posts that contact soil or remain damp.
Do I need permission or permits for a bird hide on private land?
Often you do if it is permanent or visible, even if it is small. Check local land-use rules and property agreements before building, and get written permission from the landowner. If you share a boundary or setback applies, confirm measurements and placement early, because moving a hide after it is camouflaged can disturb wildlife and require re-camo work.
How do I keep rodents from taking over my hide?
Rodents seek quiet, dark corners and easy entry points. Inspect corners and the floor area regularly, seal any larger gaps around ventilation baffles, and avoid leaving food, seed husks, or uncovered gear that smells like bait. If you see droppings or gnaw marks, address entry points first, then remove attractants, before returning to longer sessions.
Can I build a hide that’s portable for photography, but still use it safely in storms?
Yes, but anchor and weatherproofing matter. For light frames, stake or weight the base so it cannot shift in gusts, and avoid flimsy materials when you expect rain or strong wind. Plan your exit route in advance so you are never trapped behind vegetation or a door that sticks when the hide swells from moisture.
Next Articles
How to Make a Bird Box for Sparrows: DIY Specs
Step-by-step DIY specs to build a sparrow nesting box with correct hole size, ventilation, materials, and placement.
How to Make Bird Blocks: DIY Nesting and Feed Designs
Step-by-step DIY bird blocks for nesting boxes and feed/enrichment designs, with safe materials, specs, and placement ti
How to Build a Bird Blind: Step-by-Step DIY Guide
Step-by-step DIY guide to build a concealed bird blind, choose location, assemble safely, and set it up for better bird